


【Linux 环境】安装配置Nginx
前言
又有段时间没有写文章了,奇奇怪怪的知识又增加了不少。今天我们来安装配置一下Nginx。之前也装过很多次了,但是没有做一个记录,刚好这两天需要nginx反向代理一个websocket请求,借此机会记录一下。
一、Nginx是什么?
Nginx是轻量级的HTTP服务器,可以实现反向代理和负载均衡。最初是由俄罗斯人 Igor Sysoev 开发的。Nginx 的第一个版本发布于 2004 年,其源代码基于双条款 BSD 许可证发布,因其系统资源消耗低、运行稳定且具有高性能的并发处理能力等特性,Nginx 在互联网企业中得到广泛应用,有很多网关比如K8S里的ingress,或者kong都是基于Nginx实现的,总的来说还是非常方便好用的。
二、使用Nginx
1.安装nginx
话不多说,直接开始安装
# 这里先添加一下Nginx安装包的源,不然可能会下载不到
sudo rpm -ivh http://nginx.org/packages/centos/7/noarch/RPMS/nginx-release-centos-7-0.el7.ngx.noarch.rpm
# 安装nginx
yum install nginx -y
# 启动nginx
systemctl start nginx
# 设置开机自启动
systemctl enable nginx
# 可以通过以下命令查看是否设置成功
systemctl list-unit-files | grep nginx
或者
systemctl status nginx
到这一步,就安装完成了。
2.配置Nginx
主要是如何配置Nginx ,这里要实现的是把来自 http://localhost:8880 的请求代理到 http://test.com:9090,下面是我的配置过程,各位可以酌情参考
# 查看防火墙端口
firewall-cmd --zone=public --list-ports
# 添加你想开放的端口,这里用8880
firewall-cmd --zone=public --add-port=8880/tcp --permanent
# 当然也有跟简单粗暴的方法,直接关闭防火墙
systemctl stop firewalld
# 转到 /etc/nginx/
cd /etc/nginx/
# 查看当前配置
cat /etc/nginx/nginx.conf
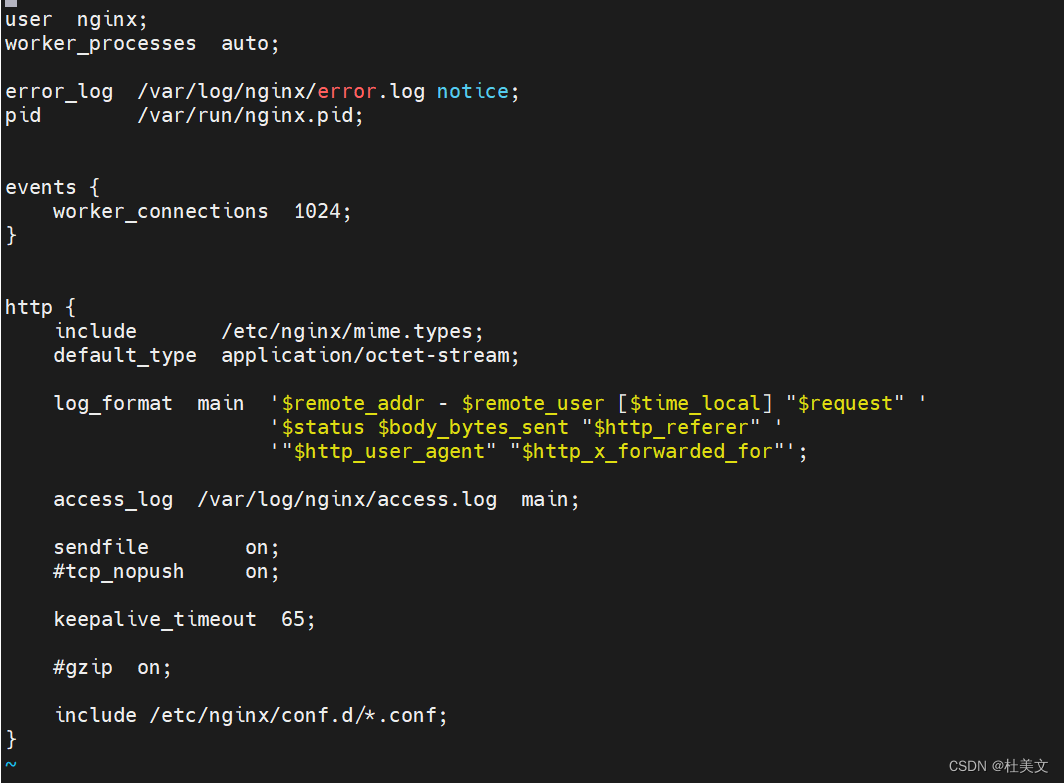
默认的nginx配置如下
在#gzip on,后面添加server代理,内容如下:
user  nginx;
worker_processes  auto;

error_log  /var/log/nginx/error.log notice;
pid        /var/run/nginx.pid;


events {
    worker_connections  1024;
}


http {
    include       /etc/nginx/mime.types;
    default_type  application/octet-stream;

    log_format  main  '$remote_addr - $remote_user [$time_local] "$request" '
                      '$status $body_bytes_sent "$http_referer" '
                      '"$http_user_agent" "$http_x_forwarded_for"';

    access_log  /var/log/nginx/access.log  main;

    sendfile        on;
    #tcp_nopush     on;
    client_max_body_size  0m;
    keepalive_timeout  165;
    client_body_timeout 165;
    #gzip  on;

    server {
        listen       8880;
        server_name  localhost;

        #charset koi8-r;

        #access_log  logs/host.access.log  main;

        location / {
            proxy_pass http://test.com:9090/;
        }

        #error_page  404              /404.html;

        # redirect server error pages to the static page /50x.html
        #
        error_page   500 502 503 504  /50x.html;
        location = /50x.html {
            root   html;
        }

    }
    include /etc/nginx/conf.d/*.conf;
}
这里我们 就把nginx所在的8880端口代理到了http://test.com:9090,我们可以通过访问localhost:8880来访问test.com:9090。这里还特别设置了一个参数,client_max_body_size 0m,代表我们对上传文件的大小不做限制,因为Nginx默认文件上传大小是1m,可以设置为其他值。
# 修改完配置,可以用以下命令检查以下改的对不对
/usr/sbin/nginx -t
# 没有问题,重启nginx
systemctl restart nginx
3.配置websocket
一般Nginx到这里就可以正常使用了,但是上面的配置只能支持http请求,这里如果想要支持websocket,可以添加如下配置:
# 在上面server的location 添加
 location / {
            proxy_pass http://test.com:9090/;
             #添加websocket支持
            proxy_http_version      1.1;
            proxy_set_header Upgrade $http_upgrade;
            proxy_set_header Connection "upgrade";
        }
4.配置负载均衡
一般在生产中,我们都会部署多台应用服务器,来做集群和容灾。这时候像我们上面的配置,只能代理到指定服务器,我们也可以通过配置upstream 来实现负载均衡,nginx提供了很多种负载均衡的策略,默认是轮询,具体有哪些策略可以自行百度,实现方式都差不多,通过配置参数的方式实现,这里就演示一个通过iphash来做负载,具体配置如下:
user  nginx;
worker_processes  auto;

error_log  /var/log/nginx/error.log notice;
pid        /var/run/nginx.pid;


events {
    worker_connections  1024;
}


http {
    include       /etc/nginx/mime.types;
    default_type  application/octet-stream;
	#自定义变量 $connection_upgrade
    map $http_upgrade $connection_upgrade {
        default          keep-alive;  #默认为keep-alive 可以支持一般http请求
        'websocket'      upgrade;     #如果为websocket 则为 upgrade 可升级的。
    }

    log_format  main  '$remote_addr - $remote_user [$time_local] "$request" '
                      '$status $body_bytes_sent "$http_referer" '
                      '"$http_user_agent" "$http_x_forwarded_for"';

    access_log  /var/log/nginx/access.log  main;

    sendfile        on;
    #tcp_nopush     on;
    client_max_body_size  0m;
    keepalive_timeout  165;
    client_body_timeout 165;
    #gzip  on;

    #setting
    upstream test {
	    ip_hash;
        server 10.169.110.110:9090 max_fails=3 fail_timeout=5s;
		server 10.169.110.111:9090  max_fails=3 fail_timeout=5s;
        server 10.169.110.112:9090  max_fails=3 fail_timeout=5s;
        server 10.169.110.113:9090 max_fails=3 fail_timeout=5s;
    }

   server {
    listen          8880;
    server_name      localhost;
    location / {
        proxy_next_upstream     http_500 http_502 http_503 http_504 error timeout invalid_header;
        proxy_set_header        Host  $http_host;
        proxy_set_header        X-Forwarded-For $proxy_add_x_forwarded_for;
        proxy_pass              http://test;
        expires                 0;
        #添加了websocket支持
        proxy_http_version      1.1;
        proxy_set_header Upgrade $http_upgrade;
        proxy_set_header Connection "upgrade";
      }
    }
    include /etc/nginx/conf.d/*.conf;
}
这样我们访问 localhost:8880 就会根据IP_hash分发到集群的四台节点中了。
总结
以上就是今天要讲的内容,本文仅仅介绍了nginx的简单使用,实际上Nginx还有很多强大的功能,就留给大神们去探索了。


 11万+
11万+


 被折叠的 条评论
为什么被折叠?
被折叠的 条评论
为什么被折叠?
 到【灌水乐园】发言


