


先购买一台服务器
第一步先安装Dokcer
Docker 安装
step : 安装必要的一些系统工具 (可选)
sudo yum install -y yum-utils device-mapper-persistent-data lvm2
Step : 添加软件源信息
sudo yum-config-manager --add-repo http://mirrors.aliyun.com/docker-ce/linux/centos/docker-ce.repo
Step : 更新并安装Docker-CE
sudo yum makecache fast
sudo yum install -y docker-ce
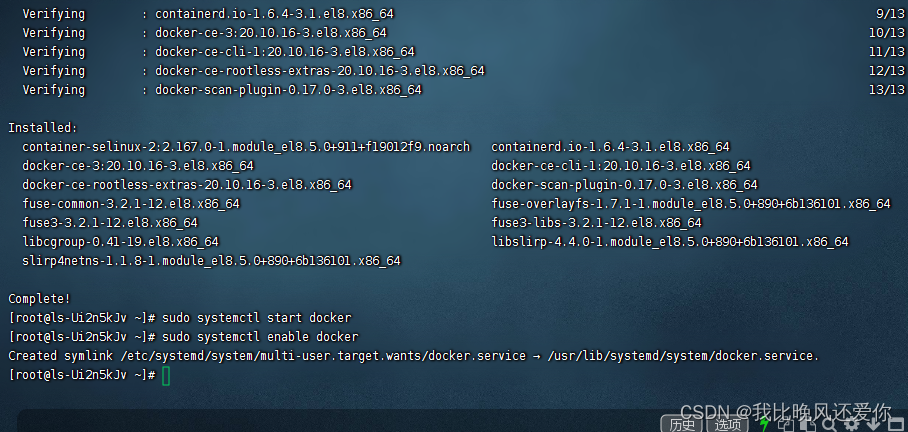
Step : 开启Docker服务
sudo systemctl start docker
Step : 开机启动Docker服务
sudo systemctl enable docker
Jenkins 安装
安装 Docker 版 Jenkins
使用 Dockerfile 创建包含 dotnet 的 Jenkins 镜像
👉 编写 Dockerfile
封装Jenkins镜像(带有dotnet环境的) sdk=6.0
mkdir JenkinsData //创建一个文件夹
vi Dockerfile
FROM jenkins/jenkins

# Switch to root to install .NET Core SDK
USER root

# Show distro information!
RUN uname -a && cat /etc/*release

# Based on instructiions at https://www.microsoft.com/net/download/linux-package-manager/debian9/sdk-current
# Install dependency for .NET Core
RUN apt-get update
RUN apt-get install -y curl libunwind8 gettext apt-transport-https

# Based on instructions at https://www.microsoft.com/net/download/linux-package-manager/debian9/sdk-current
# Install microsoft.qpg
RUN curl https://packages.microsoft.com/keys/microsoft.asc | gpg --dearmor > microsoft.gpg
RUN mv microsoft.gpg /etc/apt/trusted.gpg.d/microsoft.gpg
RUN sh -c 'echo "deb [arch=amd64] https://packages.microsoft.com/repos/microsoft-debian-stretch-prod stretch main" > /etc/apt/sources.list.d/dotnetdev.list'

# Install the .NET Core framework
RUN apt-get update
RUN apt-get install -y dotnet-sdk-3.1 \
	&& apt-get install -y dotnet-sdk-5.0 \
	&& apt-get install -y dotnet-sdk-6.0

# Install the npm
RUN apt-get install -y curl \
  && curl -sL https://deb.nodesource.com/setup_14.x | bash - \
  && apt-get install -y nodejs \
  && curl -L https://www.npmjs.com/install.sh | sh

# Install cnpm
RUN npm install cnpm -g

RUN npm -v
RUN cnpm -v

# Switch back to the jenkins user.
USER jenkins
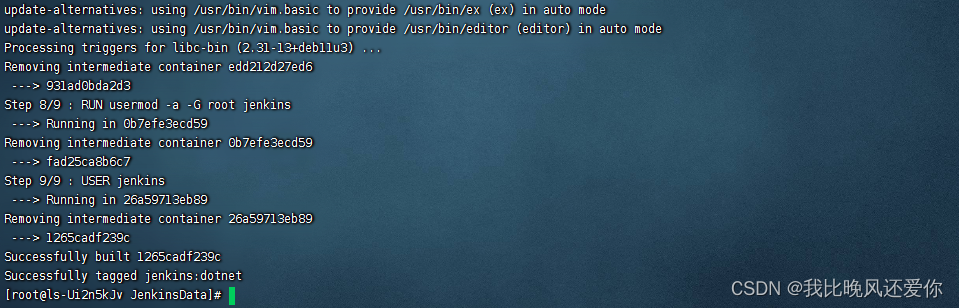
cd 到根目录下(必须含 Dockerfile) 只需构建命令 (结尾 . 不能省略)
docker build -t jenkins:dotnet .
运行 Jenkins:dotnet 镜像
docker run -u root --rm -d -p 3000:8080 \
--name jenkins \
-v /etc/localtime:/etc/localtime \
-v /usr/bin/docker:/usr/bin/docker \
-v /var/run/docker.sock:/var/run/docker.sock \
-v /home/dockerVolumes2/jenkins_home:/var/jenkins_home \
registry.cn-hangzhou.aliyuncs.com/bcvp/jenkins_with_dntcore3.1_5.0_6.0-cnpm_by_docker:latest

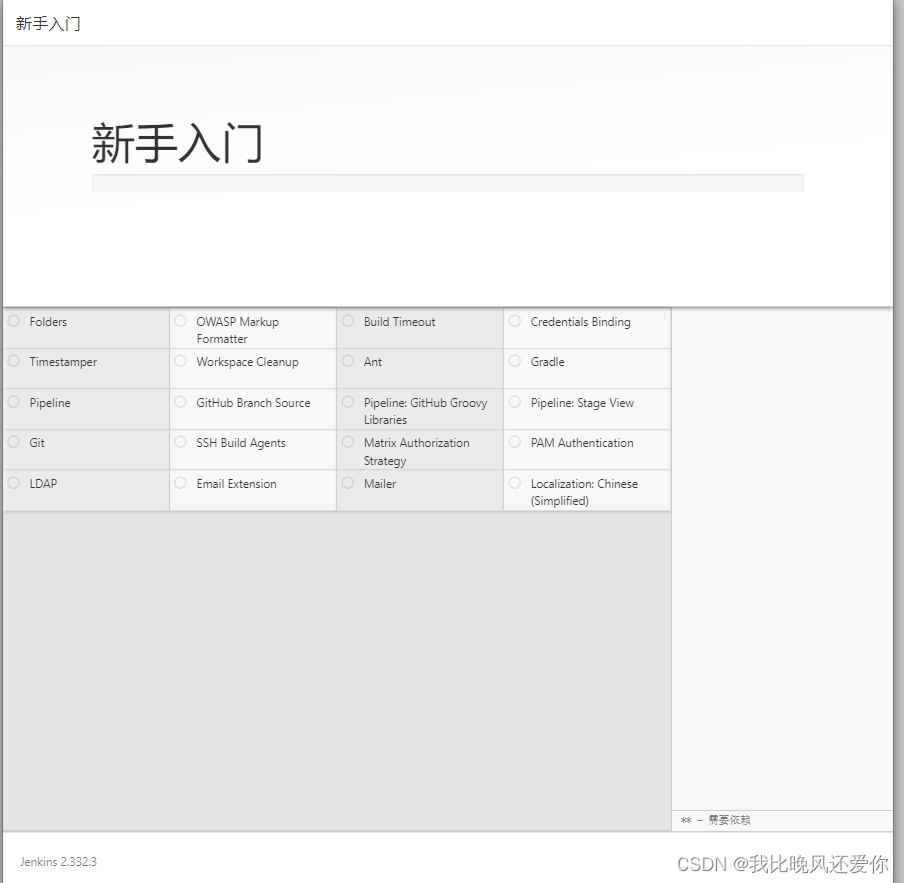
访问Jenkins页面,输入服务器IP:8080
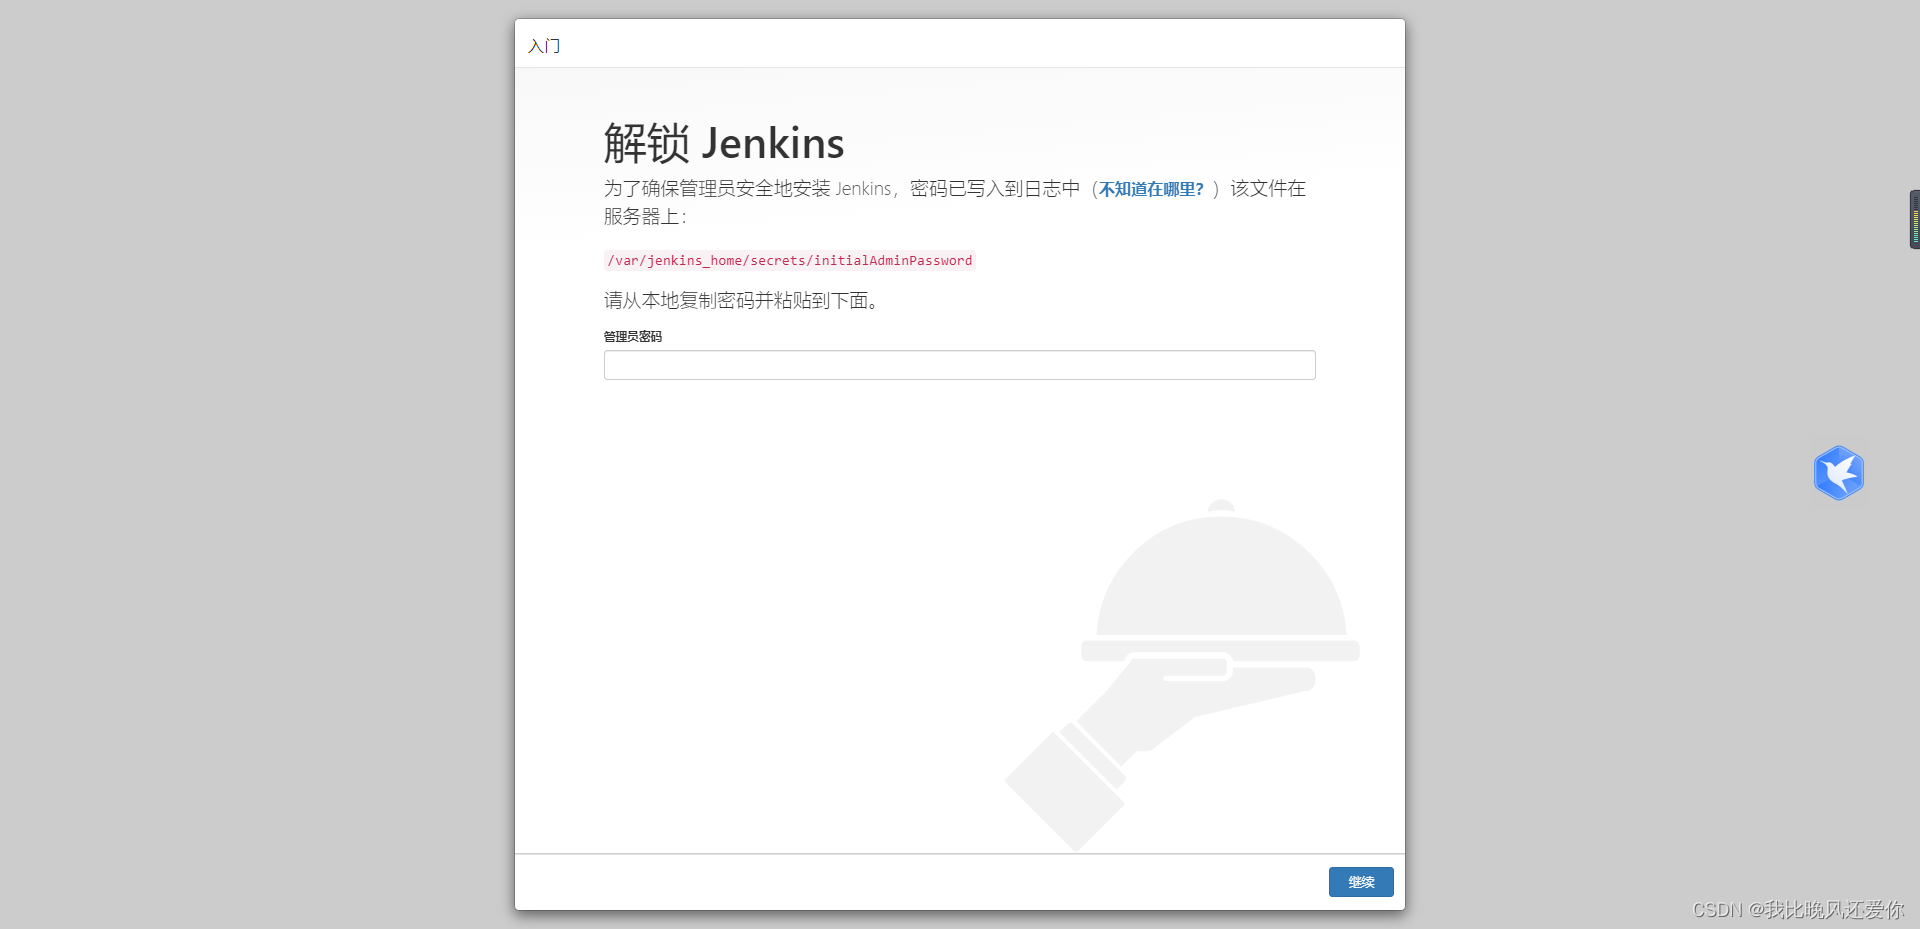
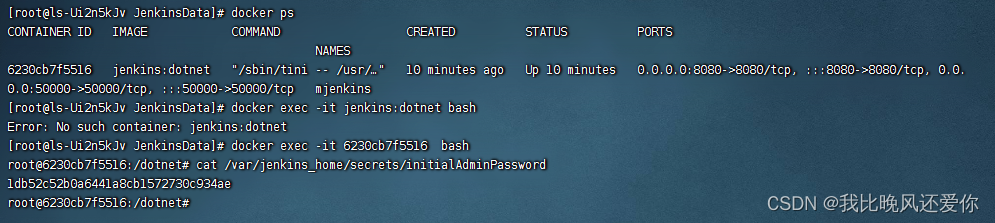
查找密码:
docker exec -it 6230cb7f5516 bash //进入jenkins容器
cat /var/jenkins_home/secrets/initialAdminPassword //查看密码

Shell 内容:
# Jenkins 构建  正式服

echo '============查看打包环境================'
pwd
ls
echo $PATH

image_version=`date +%Y%m%d%H%M`;
echo $image_version;

dotnet --info
dotnet --version

# 获取短版本号
GITHASH=`git rev-parse --short HEAD`

echo '============================begin restore======================================='
dotnet restore
echo '============================end restore======================================='

#要构建的解决方案名称
solutionName=解决方案名称
#docker run的容器名称
containerName=容器名称
#指定run的端口
port=端口
#.csproj文件全路径
csprojDir=/${solutionName}/${solutionName}.csproj

#项目发布的目录
webDir=/mudata/webroot/jenkins/publish/webapp

#归档目录
archivesDir=/mudata/webroot/jenkins/publish/archives

#清空文件夹
rm -rf ${webDir}/${JOB_NAME}/*

#发布网站到webDir
dotnet publish ${JENKINS_HOME}/workspace/${JOB_NAME}/${csprojDir} -c Release -o ${webDir}/${JOB_NAME} /p:Version=1.0.${BUILD_NUMBER}
#复制配置文件
#cp -rf /vdb1/jenkins/DotNetCoreWebPublishToDockerCommonConfigs/* ${webDir}/${JOB_NAME}/


#构建远程包

rm -rf ${JENKINS_HOME}/workspace/${JOB_NAME}/publish
mkdir ${JENKINS_HOME}/workspace/${JOB_NAME}/publish

tar -czvf ${JENKINS_HOME}/workspace/${JOB_NAME}/publish/${JOB_NAME}.${BUILD_NUMBER}.tar.gz -C ${webDir}/${JOB_NAME} .

echo "success!"


 760
760


 被折叠的 条评论
为什么被折叠?
被折叠的 条评论
为什么被折叠?
 到【灌水乐园】发言


