


---
theme: fancy
---
> TNTWeb - 全称腾讯新闻前端团队,组内小伙伴在Web前端、NodeJS开发、UI设计、移动APP等大前端领域都有所实践和积累。
>
>目前团队主要支持腾讯新闻各业务的前端开发,业务开发之余也积累沉淀了一些前端基础设施,赋能业务提效和产品创新。
>
> 团队倡导开源共建,拥有各种技术大牛,团队Github地址:[https://github.com/tnfe](https://github.com/tnfe)
>
> 今天为大家介绍FFCreator,项目地址: [FFCreator](https://github.com/tnfe/FFCreator)
## (前言)说点事情
当前太平盛世,可是互联网领域可算是一直乱世。今天我们所说的是短视频领域。
短视频已成为一种越来越流行的媒体传播形式。像<a href="https://weishi.qq.com/" target="_blank">微视</a>和抖音这种 app,每天都会生产成千上万个精彩短视频。而这些视频也为产品带来了巨大的流量。
随之而来,如何让用户可以快速生产一个短视频;或者产品平台如何利用已有的图片、视频、音乐素材批量合成大量视频就成为一个技术难点。

今天为大家带来的是一个基于<a href="http://nodejs.org" target="_blank">node.js</a>的轻量、灵活的短视频制作库。您只需要添加几张图片或视频片段再加一段背景音乐,就可以快速生成一个很酷的的视频短片。

- ### github地址:[https://github.com/tnfe/FFCreator](https://github.com/tnfe/FFCreator)
- ### 文档地址:[https://tnfe.github.io/FFCreator/#/](https://tnfe.github.io/FFCreator/#/)
### 这篇文章将会带领你从头到尾制作一个短视频。
## 生成项目并安装依赖
首先得建一个项目,然后执行npm init,一顿回车就好了。
```
mkdir ffcreator-example && cd ffcreator-example
npm init
```
接下来进行今天咱们这个包的安装操作
```js
npm install ffcreator
or
yarn add ffcreator
```
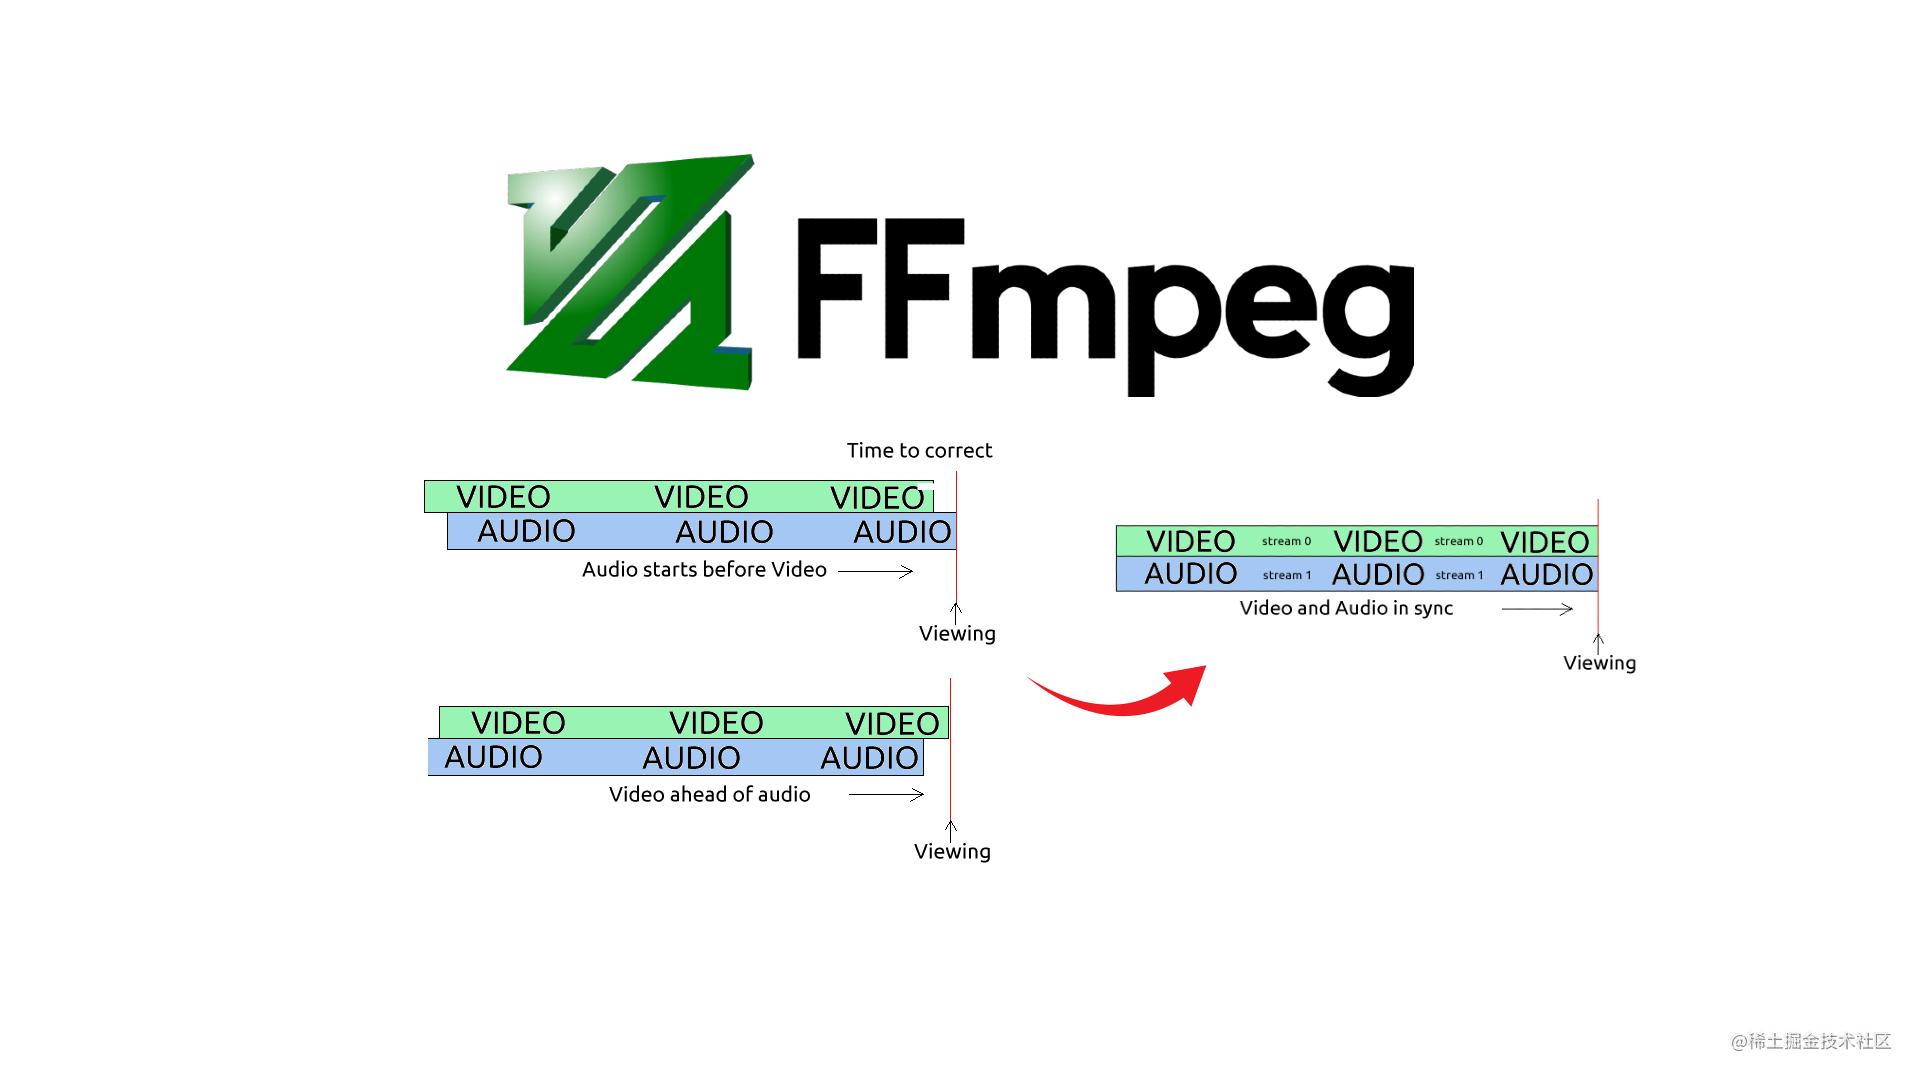
`重中之重,ffcreator依赖于FFmpeg,因此必须安装FFmpeg`。
FFCreatorLite依赖于`FFmpeg>=0.9`以上版本。请设置FFmpeg为全局变量, 否则需要使用setFFmpegPath添加FFmpeg本机路径。(windows用户的ffmpeg很可能不在您的`%PATH`中,因此您必须设置`%FFMPEG_PATH`)。
安装FFmpeg的教程,我只说下windows和mac的哈,关于其他的在上面github里面有更详细的说明,之所以只说下windows和mac,因为对于前端开发人员来说,大多数都是mac,也有部分window。对于其他研发人员,如果想尝试的话,可以进到上面github查看其他环境的安装方式。
### windows:
共四分步:下载、解压、设置环境变量、使用。
[参考文档](http://blog.gregzaal.com/how-to-install-ffmpeg-on-windows/)
### mac:
共两部分:
- 安装homebrew(如已安装,可忽略,直接进行下一步):
```js
/bin/bash -c "$(curl -fsSL https://raw.githubusercontent.com/Homebrew/install/master/install.sh)"
```
- 使用homebrew安装ffmpeg:
```js
brew install ffmpeg
```
[参考文档](https://trac.ffmpeg.org/wiki/CompilationGuide/macOS)
至此,项目、环境、依赖都ready了,我们可以进行下一步的操作了。
## 关于使用
ffcreator是一个node的库,提供了多种构造函数可以进行使用:
- FFScene, // 屏幕,也称场景
```js
// 新建一个显示屏
const scene = new FFScene();
// 设置背景色
scene.setBgColor('#30336b');
// 设置停留时长
scene.setDuration(8.5);
// 设置过渡动画(类型, 时间)
scene.setTransition('Fat', 1.5);
// 把屏幕添加到视频创造器实例上面
creator.addChild(scene);
```
- FFNode, 下面所有类型的基类,可以直接看下面。
- FFText, 文本元素
```js
const text = new FFText({text: '这是一个文字', x: 250, y: 80});
// 文字颜色
text.setColor('#ffffff');
// 背景色
text.setBackgroundColor('#b33771');
// 出现动画为fadeIn,动画的时长1秒,delay时间为1秒,
text.addEffect("fadeIn", 1, 1);
// 设置文本水平居中
text.alignCenter();
// 设置样式object
text.setStyle({padding: [4, 12, 6, 12]});
// 把当前文本节点添加到屏幕上面
scene.addChild(text);
```
- FFImage, 图片元素
```js
// 创建一个图片元素,图片路径为../images/demo.png
const img = new FFImage({path: '../images/demo.png'});
// 设置位置
img.setXY(250, 340);
// 设置缩放
img.setScale(2);
// 设置旋转
img.setRotate(45);
// 设置透明度
img.setOpacity(0.3);
// 设置宽高
img.setWH(100, 200);
// 设置动画效果
// 设置动画效果为slideInDown,动画时长为1.2秒,delay时间为0
img.addEffect("slideInDown", 1.2, 0);
// 把当前图片节点添加到屏幕上面
scene.addChild(img);
```
- FFVideo, 视频元素
```js
// 创建一个视频元素,视频路径为../videos/demo.mp4,位置在屏幕的100和150处
// 宽度为500,高度为350.
const video = new FFVideo({
path: videopath,
x: 100,
y: 150,
width: 500,
height: 350
});
设置是否有音乐
video.setAudio(true);
// 设置是否循环播放
video.setLoop(true);
// 截取播放时长,设置视频播放的开始时间和结束时间
video.setTimes("00:00:43", "00:00:50");
// 单独设置视频播放的开始时间
video.setStartTime("00:00:43"),
// 单独设置视频播放的结束时间
video.setEndTime("00:00:50"),
// video还有很多其他的方法
...
// 把当前视频元素添加到屏幕上面
scene.addChild(video);
```
- FFAlbum, 相册元素
```js
// 新建相册元素。
const album = new FFAlbum({
list: [img1, img2, img3, img4], // 相册的图片集合
x: 250,
y: 300,
width: 500,
height: 300,
});
// 设置相册切换动画
album.setTransition('zoomIn');
// 设置单张停留时长
album.setDuration(2.5);
// 设置单张动画时长
album.setTransTime(1.5);
scene.addChild(album);
// 把当前相册元素添加到屏幕上面
scene.addChild(video);
```
- FFVtuber, 虚拟主播形象
```js
const vtuber = new FFVtuber({ x: 100, y: 400 });
// 设置动画时间循环周期
vtuber.setPeriod([
[0, 3],
[0, 3]
]);
// 路径设置这里 baby/[d].png 和 baby/%d.png 两种方式均可以
const vpath = path.join(__dirname, "./avator/baby/[d].png");
// 从第1-7.png
vtuber.setPath(vpath, 1, 7);
// 播放速度
vtuber.setSpeed(6);
creator.addVtuber(vtuber);
```
- FFSubtitle, 字幕元素
```js
const content = '跟计算机工作酷就酷在这里,它们特别听话,说让干什么就干什么...';
const subtitle = new FFSubtitle({
text: content,
comma: true, // 是否逗号分割
backgroundColor: '#00219C', // 背景色
color: '#fff', // 文字颜色
fontSize: 24 // 字号
});
// 设置文案,也可以放到conf里
subtitle.setText(content);
// 缓存帧
subtitle.frameBuffer = 24;
// 设置字幕总时长
subtitle.setDuration(12);
scene.addChild(subtitle);
// 设置语音配音-tts
subtitle.setSpeech(dub);
```
- FFTween, 渐变
除了上面几种类型之外,还有实例和运行:
- FFCreator,// 创建一个实例
```js
const creator = new FFCreator({
cacheDir, // 缓存目录
outputDir, // 输出目录
output, // 输出文件名(FFCreatorCenter中可以不设)
width: 500, // 影片宽
height: 680, // 影片高
audioLoop: true, // 音乐循环
fps: 24, // fps
threads: 4, // 多线程(伪造)并行渲染
debug: false, // 开启测试模式
defaultOutputOptions: null,// ffmpeg输出选项配置
});
// 往创造器实例里面添加屏幕
creator.addChild(scene);
// 创造器的开始函数。启动。
creator.start();
```
- FFCreatorCenter, // 核心运行库,通过addTask的方式去运行
```js
// 可以通过这种方式启动多个任务,
FFCreatorCenter.addTask(createFFTask)
当然也可以不使用FFCreatorCenter,直接运行
createFFTask();
```
## 有demo的哦
- 图片动画:
<video controls="controls" width="350" height="622">
<source type="video/mp4" src="https://tnfe.github.io/FFCreator/_media/video/normal/01.mp4">
</video>
[图片动画demo地址](https://tnfe.github.io/FFCreator/#/demo/normal?id=%e5%9b%be%e7%89%87%e5%8a%a8%e7%94%bb), [demo源码地址](https://github.com/tnfe/FFCreator/blob/master/examples/image.js)
- 多图相册:
<video controls="controls" width="350" height="622">
<source type="video/mp4" src="https://tnfe.github.io/FFCreator/_media/video/normal/02.mp4">
</video>
[多图相册demo地址](https://tnfe.github.io/FFCreator/#/demo/normal?id=%e5%a4%9a%e5%9b%be%e7%9b%b8%e5%86%8c), [demo源码地址]( https://github.com/tnfe/FFCreator/blob/master/examples/album.js)
- 场景过渡:
<video controls="controls" width="350" height="622">
<source type="video/mp4" src="https://tnfe.github.io/FFCreator/_media/video/normal/03.mp4">
</video>
[场景过渡demo地址](https://tnfe.github.io/FFCreator/#/demo/normal?id=%e5%9c%ba%e6%99%af%e8%bf%87%e6%b8%a1), [demo源码地址](https://github.com/tnfe/FFCreator/blob/master/examples/transition.js)
- 配音字幕:
<video controls="controls" width="350" height="622">
<source type="video/mp4" src="https://tnfe.github.io/FFCreator/_media/video/normal/04.mp4">
</video>
[配音字幕demo地址](https://tnfe.github.io/FFCreator/#/demo/normal?id=%e9%85%8d%e9%9f%b3%e5%ad%97%e5%b9%95), [demo源码地址](https://github.com/tnfe/FFCreator/blob/master/examples/subtitle.js)
- 视频动画:
<video controls="controls" width="350" height="622">
<source type="video/mp4" src="https://tnfe.github.io/FFCreator/_media/video/normal/05.mp4">
</video>
[视频动画demo地址](https://tnfe.github.io/FFCreator/#/demo/normal?id=%e8%a7%86%e9%a2%91%e5%8a%a8%e7%94%bb), [demo源码地址](https://github.com/tnfe/FFCreator/blob/master/examples/video.js)

## 写在最后
短视频横行互联网,何不顺应潮流,用代码去实现短视频的创作呢?
既然可以node实现短视频的创造,何不搭配服务器,实现拖拽组合,**可视化生成短视频**呢?
如果你过得快乐,请努力工作使自己更快乐;如果不过得不快乐,请努力工作让自己变得快乐;总之,工作使我快乐~
祝大家工作顺利,天天快乐哦~


 2828
2828


 被折叠的 条评论
为什么被折叠?
被折叠的 条评论
为什么被折叠?
 到【灌水乐园】发言


