


import re ######################较稳定,可以爬取多部
import requests as req
from bs4 import BeautifulSoup as bs
import pandas as pd
import time
import threading
from tqdm import tqdm_notebook as tqdm
import os
import winsound
def download(res,title,number):
try:
first_byte=0
html=req.get(res,stream=True)
length = (html.headers['content-length'])
size=int((length))
if (size/1024/1024)<0.001:
print('------------------------第{}部影片{}爬取失败,请换取url-----------------------------'.format(str(number),title))
else:
print('--正在爬取-第{}部影片--{}'.format(str(number),title))
with open(r'G:\xxxxxx\{}.mp4'.format(title),'wb+') as mp4:
pbar=tqdm(total=size, initial=first_byte,unit='B',unit_scale=True,desc=str(number))
for chunk in html.iter_content(chunk_size=1024):
if chunk:
mp4.write(chunk)
pbar.update(1024)
pbar.close()
winsound.Beep(220,500)
except:
print('--{}部影片{}http出现错误'.format(str(number),title))
if __name__=='__main__':
ths=[]
realurl=[]
list1=[]
titles=[]
list=input('请输入爬取几部:')
for i in range((int(list))):
name=input('输入网址:')
realurl.append(name)
n=1
for i in range(len(realurl)):
url=req.get(url=realurl[i],headers={'User-Agent': 'xxxxxxxx'})
data=url.text
x=re.findall('"quality_1080p":"(.*?)"',data,re.S)
soup=bs(data,'lxml')
y=soup.find('title').text.split('-')[0].replace('/','').replace('*','').replace('<','').replace('>','').replace(':','').replace('?','').replace('|','').replace('\\','')
# print(titles)
if len(x)==0:
x=re.findall('"quality_720p":"(.*?)"',data,re.S)
if len(x)==0:
print('--第{}部{}---dont have 720p,已丢取'.format(str(i+1),y))
continue
else:
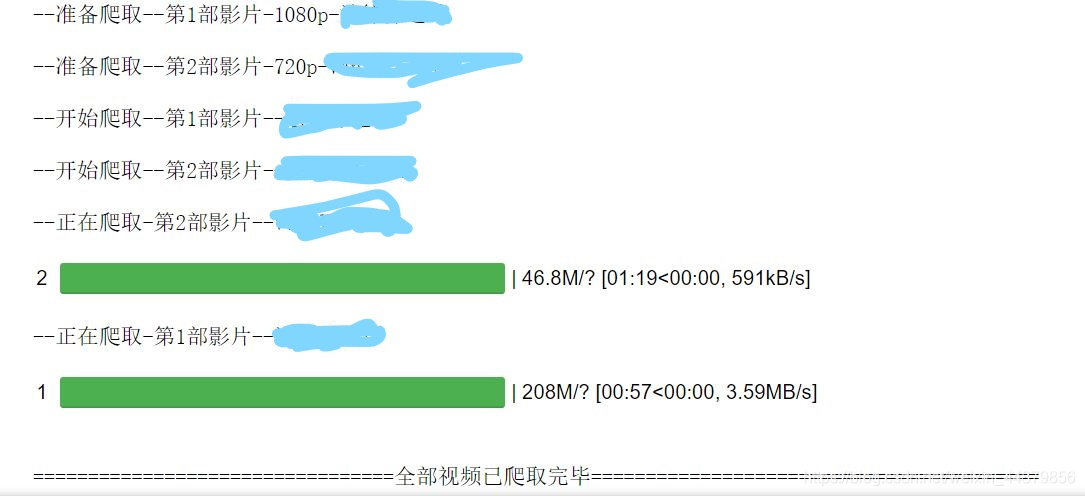
print('--准备爬取--第{}部影片-720p-{}'.format(str(i+1),y),'\n')
while 'ttl'not in x[0]:
# print(x[0])
url=req.get(url=realurl[i],headers={'User-Agent': 'xxxxxxxxxxxxxxx'})
data=url.text
x=re.findall('"quality_720p":"(.*?)"',data,re.S)
time.sleep(0.2)
url2=x[0].replace('\\','')
url3=url2.split('/')
del url3[1]
res=('//'.join(url3))
else:
print('--准备爬取--第{}部影片-1080p-{}'.format(str(i+1),y),'\n')
while 'ttl'not in x[0]:
# print(x[0])
url=req.get(url=realurl[i],headers={'User-Agent': 'xxxxxxxxxxxxxxx'})
data=url.text
x=re.findall('"quality_1080p":"(.*?)"',data,re.S)
time.sleep(0.2)
url2=x[0].replace('\\','')
url3=url2.split('/')
del url3[1]
res=('//'.join(url3))
list1.append(res)
titles.append(y)
for i in range(len(list1)):
print ('--开始爬取--第{}部影片--{}'.format(i+1,titles[i]),'\n')
th=threading.Thread(target=download,args=(list1[i],titles[i],i+1,))
th.start()
time.sleep(0.1)
n+=1
ths.append(th)
for i in ths:
i.join()
print('=================================全部视频已爬取完毕=========================================')
winsound.Beep(1000,500)
该代码需在代理全局模式下运行,只能爬取1080p和720p视频
注意的点:
1.代码上的headers的user-agent里面的xxxx要替换成自己打开p站网页的user-agent,在chrome浏览器里随便打开p站一个视频的网站,f12检查并且点选手机模式(图中圈出那里,我也不知道是不是叫手机模式),然后复制user-agent.

- with open(r’G:\xxxxxx{}.mp4’.format(title),‘wb+’) as mp4:这串代码中的G:\xxxxxx可以替换成自己想存储在哪个文件下
运行
1.会先弹出爬取几部,
2,然后逐步把视频地址复制黏贴过去即可

3.开始运行
运行完成后可以查看文件了
如果哪里能更好,你们也可以提意见,因为本人基础较差。
并且哪里出现敏感信息可以提示一下


 971
971

 被折叠的 条评论
为什么被折叠?
被折叠的 条评论
为什么被折叠?
 到【灌水乐园】发言


