


思路就是创建两个布局文件,创建两个activity文件,布局文件和activity要一一对应
第一个activity

package com.example.app5;

import android.content.Intent;
import android.os.Bundle;
import android.view.View;
import android.widget.Button;
import android.widget.ImageButton;

import androidx.appcompat.app.AppCompatActivity;


public class Login_Activity extends BaseActivity {

    ImageButton imageButton;
    @Override
    protected void onCreate(Bundle savedInstanceState) {
        super.onCreate(savedInstanceState);
        setContentView(R.layout.login);
        imageButton=findViewById(R.id.button_login);
        imageButton.setOnClickListener(new View.OnClickListener() {
            @Override
            public void onClick(View v) {
                Intent intent=new Intent();
                intent.setClass(Login_Activity.this,Register_Activity.class);
                startActivity(intent);//重要的是在这里,设置按键监听,设置跳转的界面
            }
        });
    }
}
第一个activity对应的布局文件
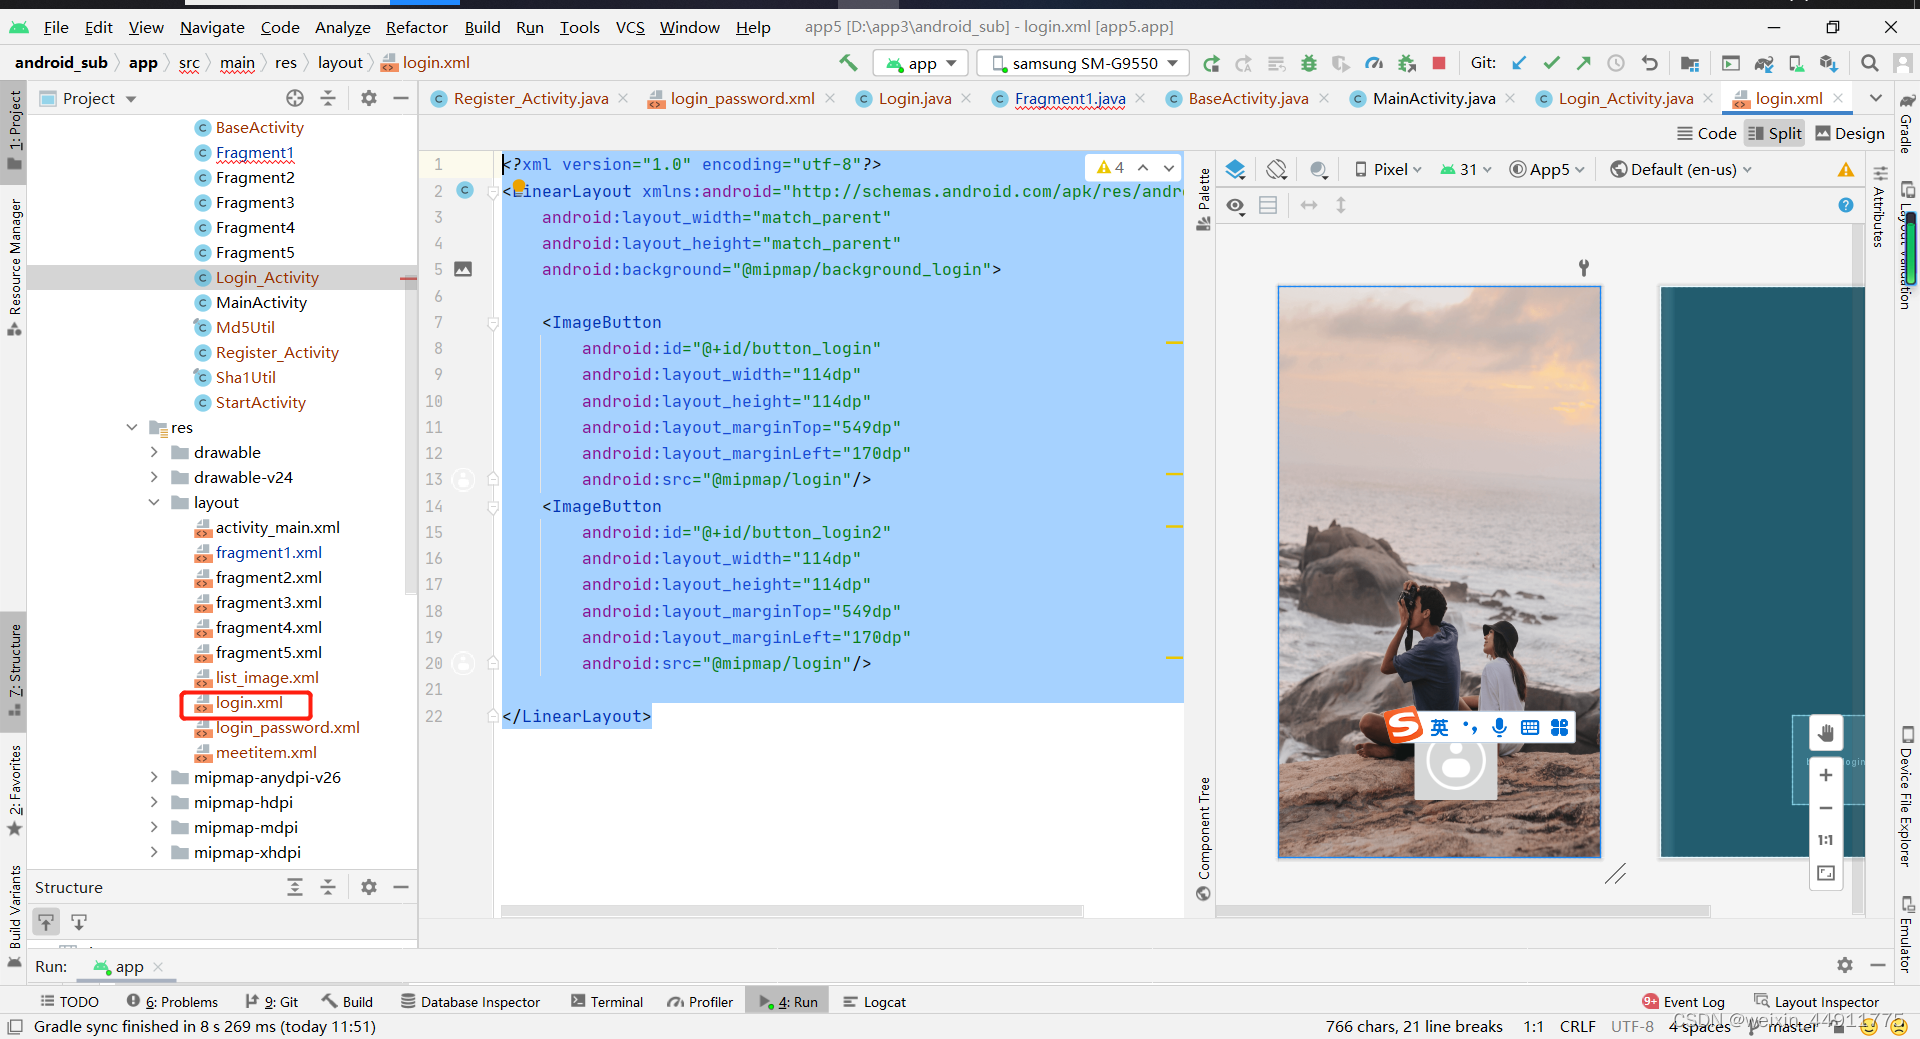
<?xml version="1.0" encoding="utf-8"?>
<LinearLayout xmlns:android="http://schemas.android.com/apk/res/android"
    android:layout_width="match_parent"
    android:layout_height="match_parent"
    android:background="@mipmap/background_login">

    <ImageButton
        android:id="@+id/button_login"
        android:layout_width="114dp"
        android:layout_height="114dp"
        android:layout_marginTop="549dp"
        android:layout_marginLeft="170dp"
        android:src="@mipmap/login"/>
    <ImageButton
        android:id="@+id/button_login2"
        android:layout_width="114dp"
        android:layout_height="114dp"
        android:layout_marginTop="549dp"
        android:layout_marginLeft="170dp"
        android:src="@mipmap/login"/>

</LinearLayout>
第二个activity随意吧,里面不放东西也可以的

package com.example.app5;

import android.content.Intent;
import android.content.SharedPreferences;
import android.os.Bundle;
import android.provider.ContactsContract;
import android.util.Log;
import android.view.View;
import android.widget.Button;

import androidx.annotation.NonNull;
import androidx.appcompat.app.AppCompatActivity;

import com.example.app5.data.Login;
import com.google.gson.Gson;

import java.io.IOException;
import java.nio.charset.Charset;
import java.util.Date;

import okhttp3.Call;
import okhttp3.Callback;
import okhttp3.FormBody;
import okhttp3.OkHttpClient;
import okhttp3.Request;
import okhttp3.Response;

public class Register_Activity extends BaseActivity {
    Button button_Register;

    @Override
    protected void onCreate(Bundle savedInstanceState) {
        super.onCreate(savedInstanceState);
        setContentView(R.layout.login_password);
        button_Register = findViewById(R.id.register_button);
        button_Register.setOnClickListener(new View.OnClickListener() {
            @Override
            public void onClick(View v) {
                getData();
                Intent intent=new Intent();
                intent.setClass(Register_Activity.this,MainActivity.class);
                startActivity(intent);
            }
        });
    }}
第二个activity对应的布局文件

<?xml version="1.0" encoding="utf-8"?>
<LinearLayout xmlns:android="http://schemas.android.com/apk/res/android"
    android:layout_width="match_parent"
    android:layout_height="match_parent"
    android:orientation="vertical">

    <EditText
        android:layout_width="match_parent"
        android:layout_height="46dp"
        android:hint="请输入账号"
        android:id="@+id/edittext1"
        android:textSize="16sp"
        android:background="@drawable/yuanxing"
        android:layout_marginTop="48dp"
        android:layout_marginLeft="35dp"
        android:layout_marginRight="35dp" />
    <EditText
        android:layout_width="match_parent"
        android:layout_height="46dp"
        android:hint="请输入密码"
        android:id="@+id/edittext2"
        android:textSize="16sp"
        android:layout_marginTop="10dp"
        android:background="@drawable/yuanxing"
        android:layout_marginLeft="35dp"
        android:layout_marginRight="35dp"/>
    <Button
        android:layout_width="match_parent"
        android:layout_height="46dp"
        android:text="登陆"
        android:id="@+id/register_button"
        android:textSize="16sp"
        android:layout_marginTop="20dp"
        android:background="@drawable/test"
        android:layout_marginLeft="35dp"
        android:layout_marginRight="35dp"/>

</LinearLayout>
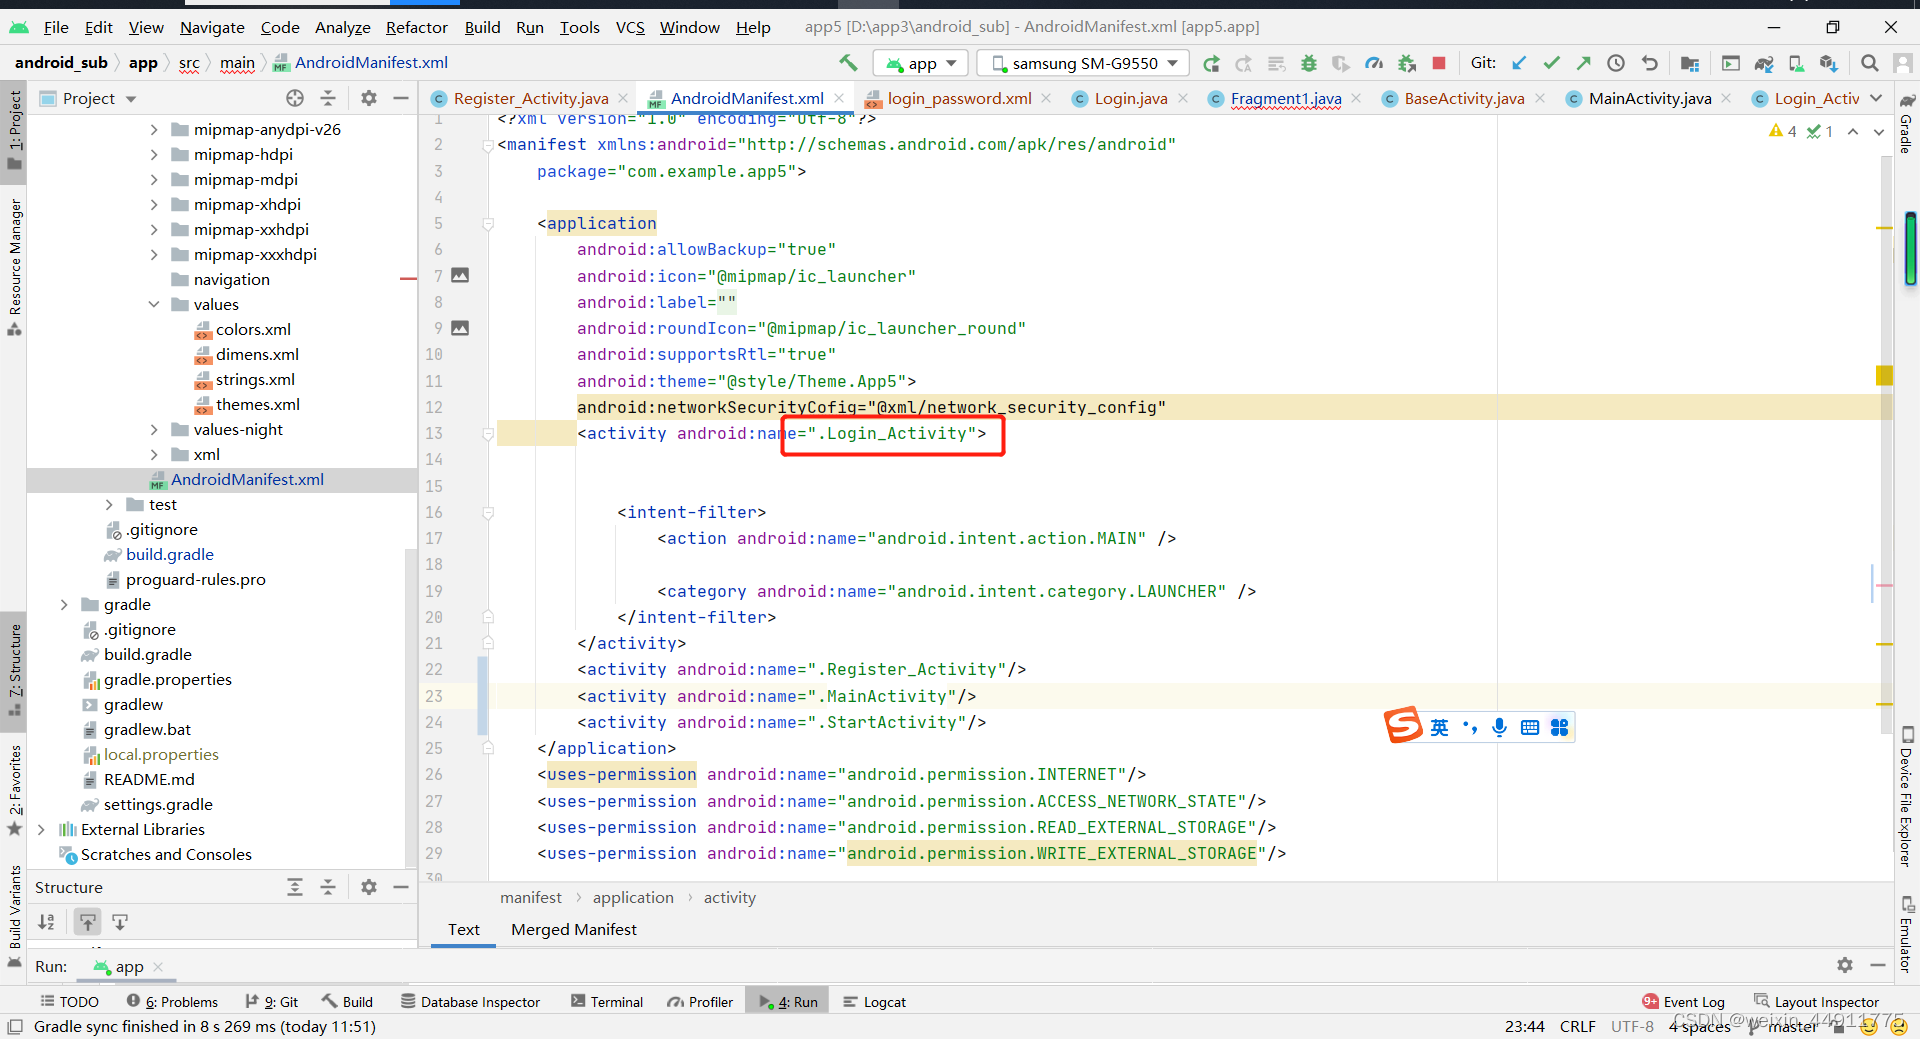
最后记得在这里声明一下

下面这里是设置启动页的,就是app启动时界面


 6398
6398


 被折叠的 条评论
为什么被折叠?
被折叠的 条评论
为什么被折叠?
 到【灌水乐园】发言


