


简介:视频直播网站由三个部分构成:1.推流端 2.服务器 3.拉流端。在该实验中,推流端用OBS完成,服务器由NGINX+RTMP模块完成,拉流端使用VLC完成。
rtmp概念
环境准备:
推流端:系统:windows 工具:OBS OBS下载地址
服务器:系统: centos7.6 工具:NGINX+RTMP
拉流端:系统:windows 10 工具:VLC VLC下载地址
下载 nginx-rtmp-module
从 GIT 上拷贝 nginx-rtmp-module 源码,然后进行编译安装,下载代码如下:(如果没有git工具,先下载 # yum install -y git)
# cd /usr/local
# git clone https://github.com/arut/nginx-rtmp-module.git
Nginx的安装
源码编译安装Nginx软件
源码编译三步走:
1、./configure配置
2、make编译
3、make  install安装

第一步:上传Nginx软件包到Linux服务器端

第二步:联网,安装Nginx软件所需的依赖库
# yum install pcre-devel zlib-devel openssl-devel -y

第三步:对Nginx软件包进行解压缩操作
# tar -xf nginx-1.16.0.tar.gz

第四步:创建一个www账号
# useradd -r -s /sbin/nologin www

第五步:使用./configure对Nginx软件进行配置(对软件安装包进行配置)
# cd nginx-1.16.0
# ./configure --prefix=/usr/local/nginx --user=www --group=www --with-http_ssl_module --with-http_stub_status_module --with-http_realip_module  --add-module=/usr/local/nginx-rtmp-module

第六步:编译与安装Nginx软件
# make && make install
修改Nginx配置文件
# cd /usr/local/nginx/conf
# grep -Ev '#|^$' nginx.conf
worker_processes  1;
events {
    worker_connections  1024;
}
http {
    include       mime.types;
    default_type  application/octet-stream;
    sendfile        on;
    keepalive_timeout  65;
    server {
        listen       80;
        server_name  localhost;
        location / {
            root   html;
            index  index.html index.htm;
        }
        error_page   500 502 503 504  /50x.html;
        location = /50x.html {
            root   html;
        }
    }
}

启动nginx服务
# sbin/nginx -c conf/nginx.conf

# cat conf/nginx.conf
worker_processes  1;
events {
    worker_connections  1024;
}
http {
    include       mime.types;
    default_type  application/octet-stream;
    sendfile        on;
    keepalive_timeout  65;
    server {
        listen       80;
        server_name  localhost;
        location /stat {
                rtmp_stat all;
            rtmp_stat_stylesheet stat.xsl;
    }
        location /stat.xsl {
            root /usr/local/nginx-rtmp-module/;
    }
        location / {
            root   html;
            index  index.html index.htm;
        }
        error_page   500 502 503 504  /50x.html;
        location = /50x.html {
            root   html;
        }
    }
}
rtmp {
    server {
        listen 1935;  # 监听的端口
        chunk_size 4000;  # 数据传输块的大小

        application vod {  # rtmp 推流请求路径
            live on;
            hls on;
            play /opt/video/vod;  # 点播配置,存放视频的目录;这个目录需要创建(如果是非点播,可以对这行进行注释)
            hls_fragment 5s;
        }
        application live {
             live on;
      }
    }
}
创建视频存储目录并设置权限
# mkdir /opt/video/vod -p
# chmod -R 777 /opt/video/vod
上传视频(格式:flv;如果没有.flv格式的视频,可以用Apowersoft (下载地址)软件来转换)到视频存储目录
 # ls /opt/video/vod
 test.flv
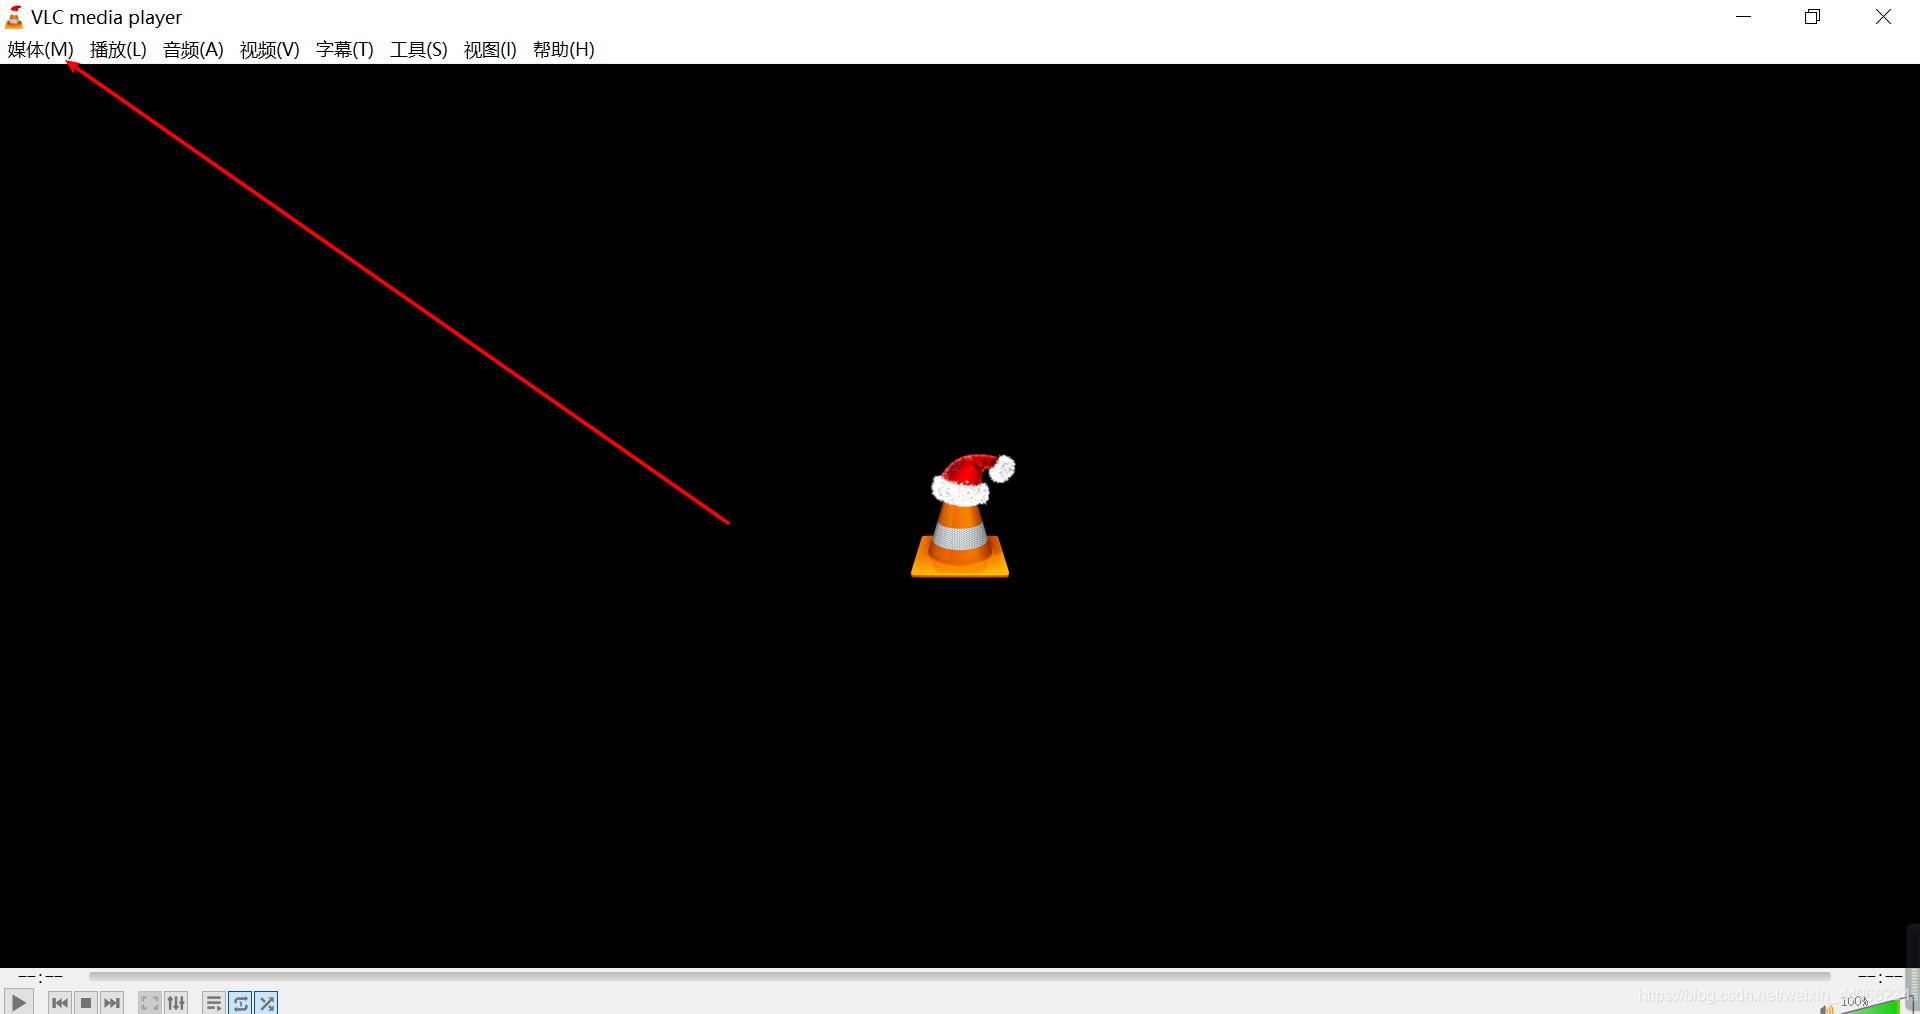
播放测试
第一步:
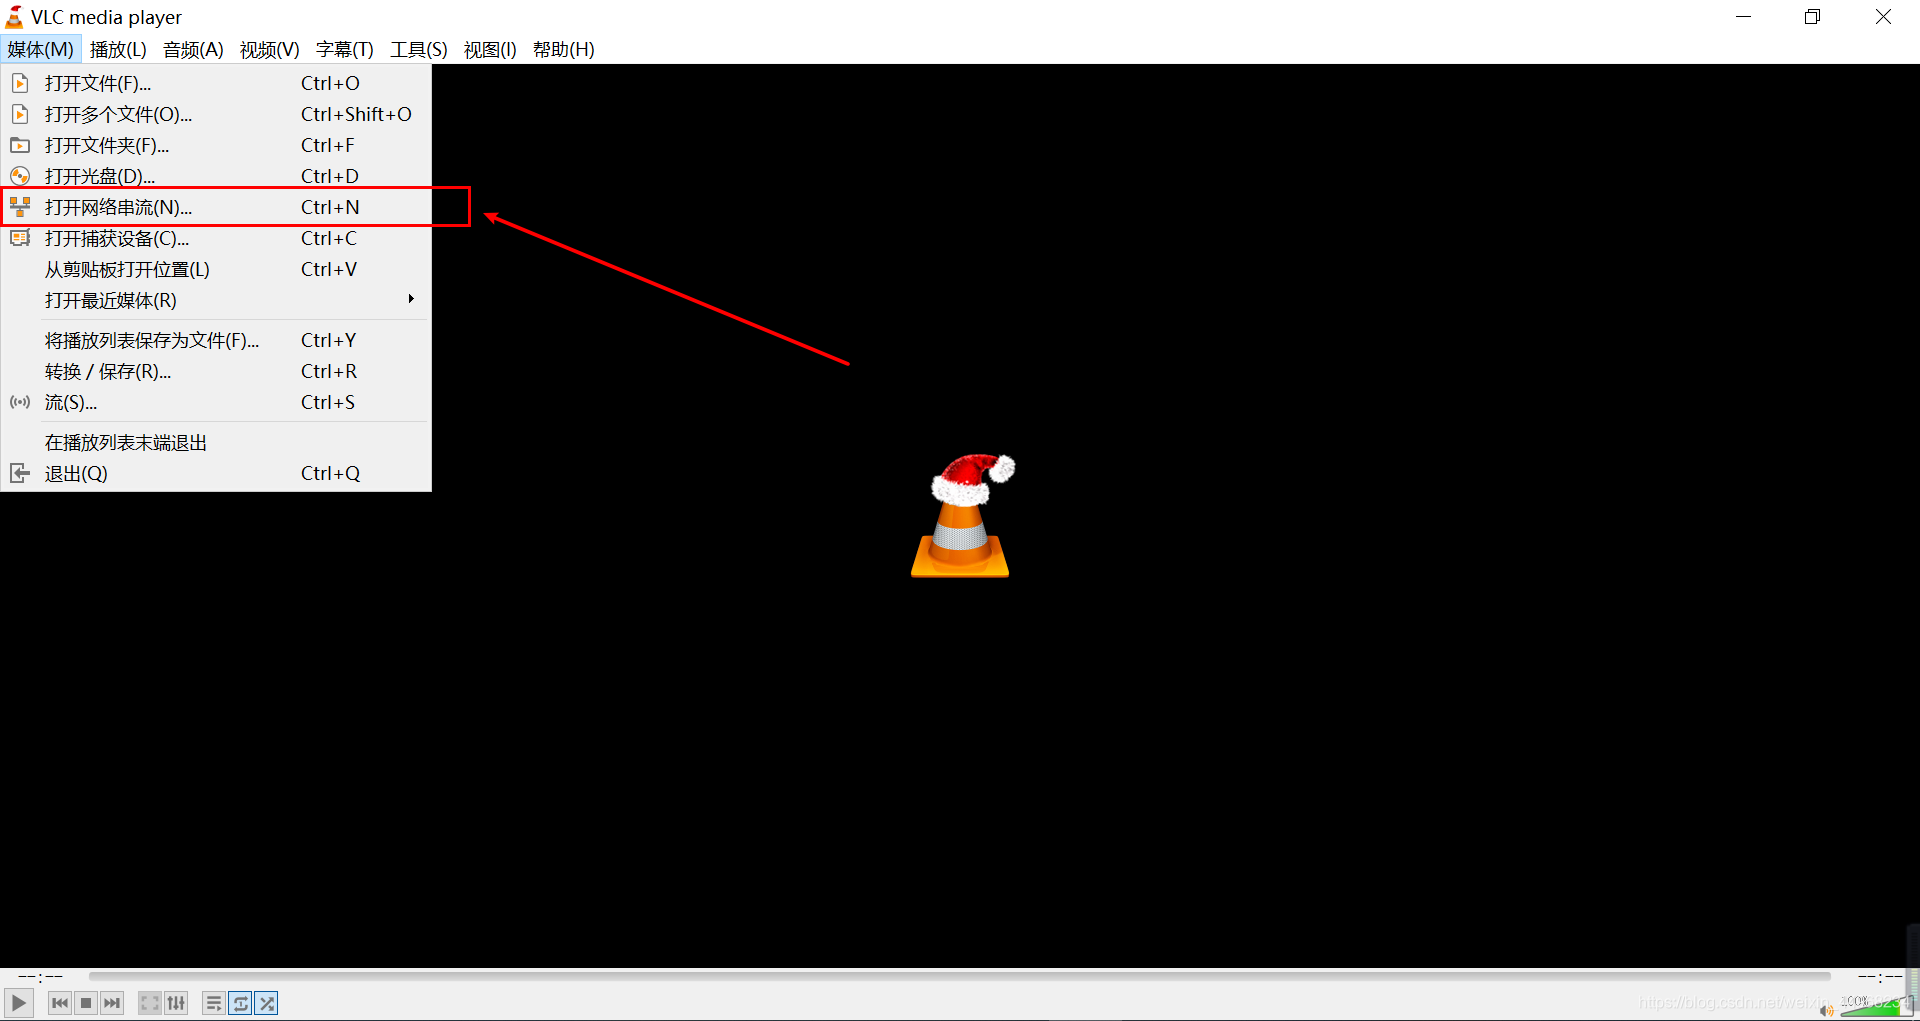
第二步:
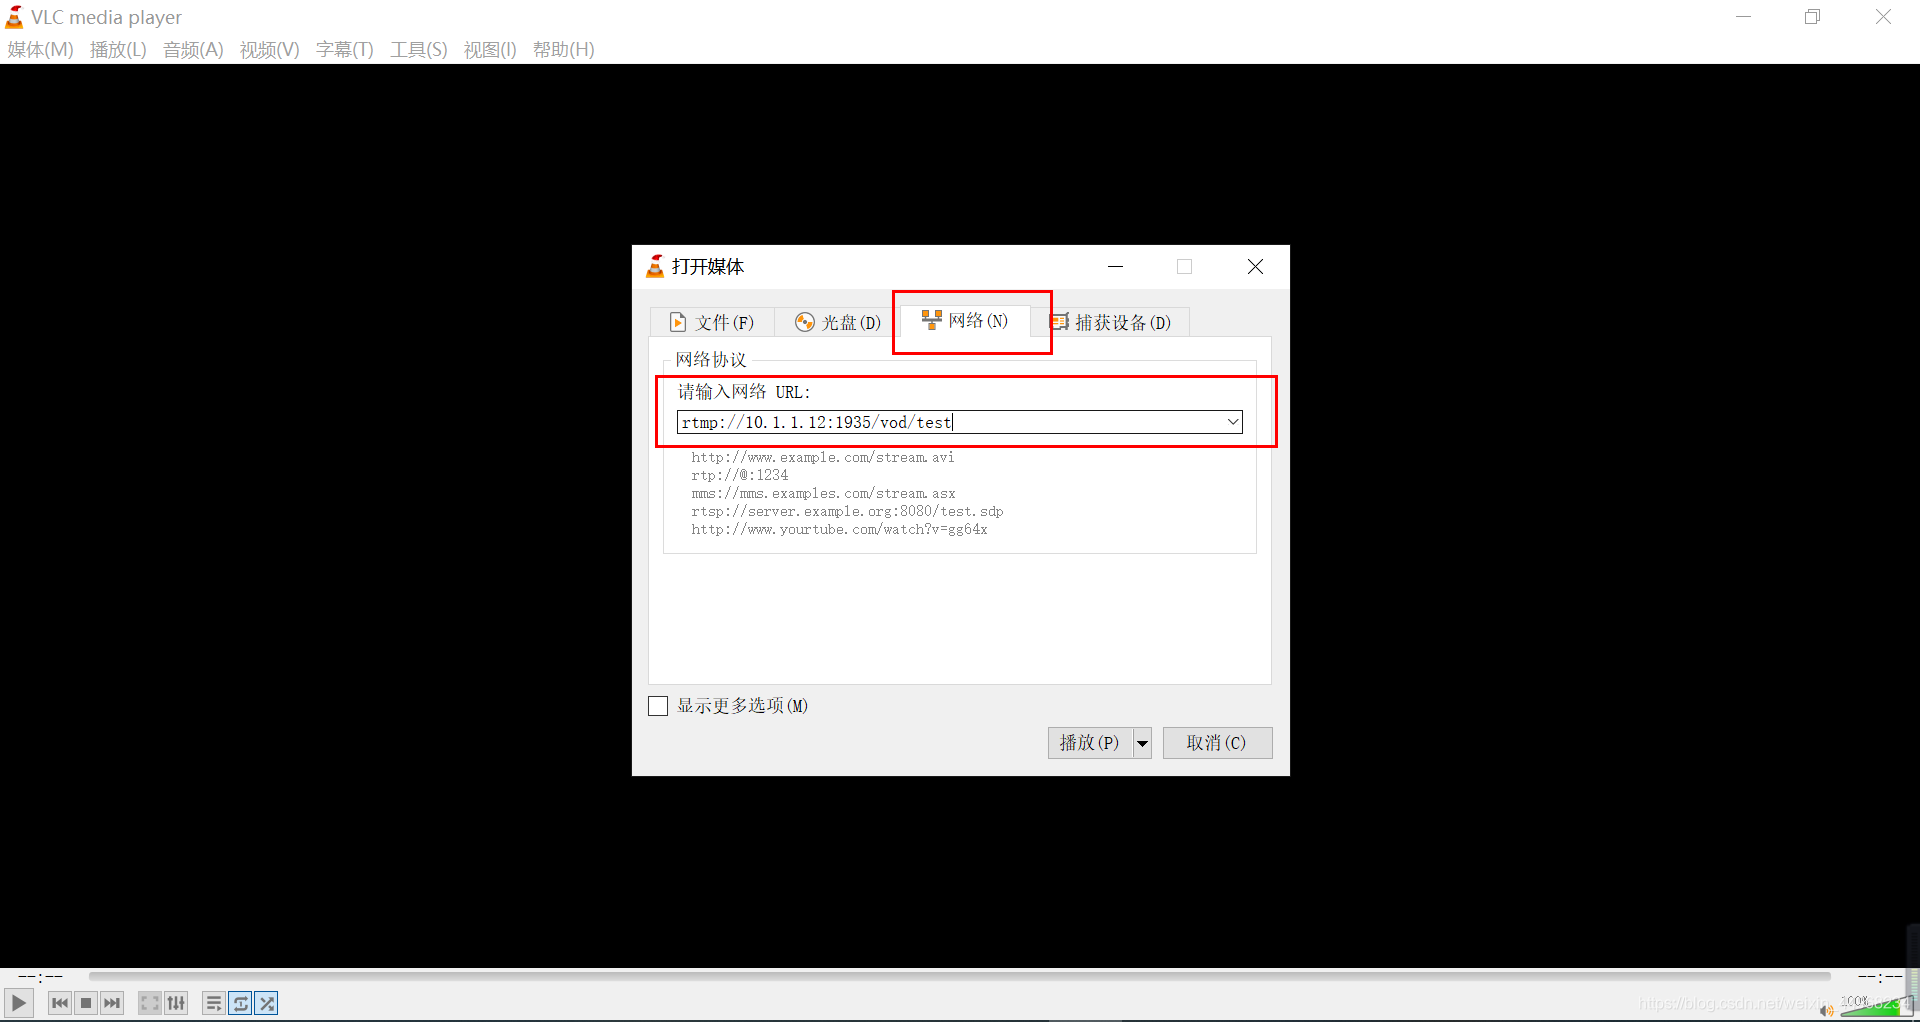
第三步:
到此,点播配置方法如以上步骤所示
OBS+VLC验证
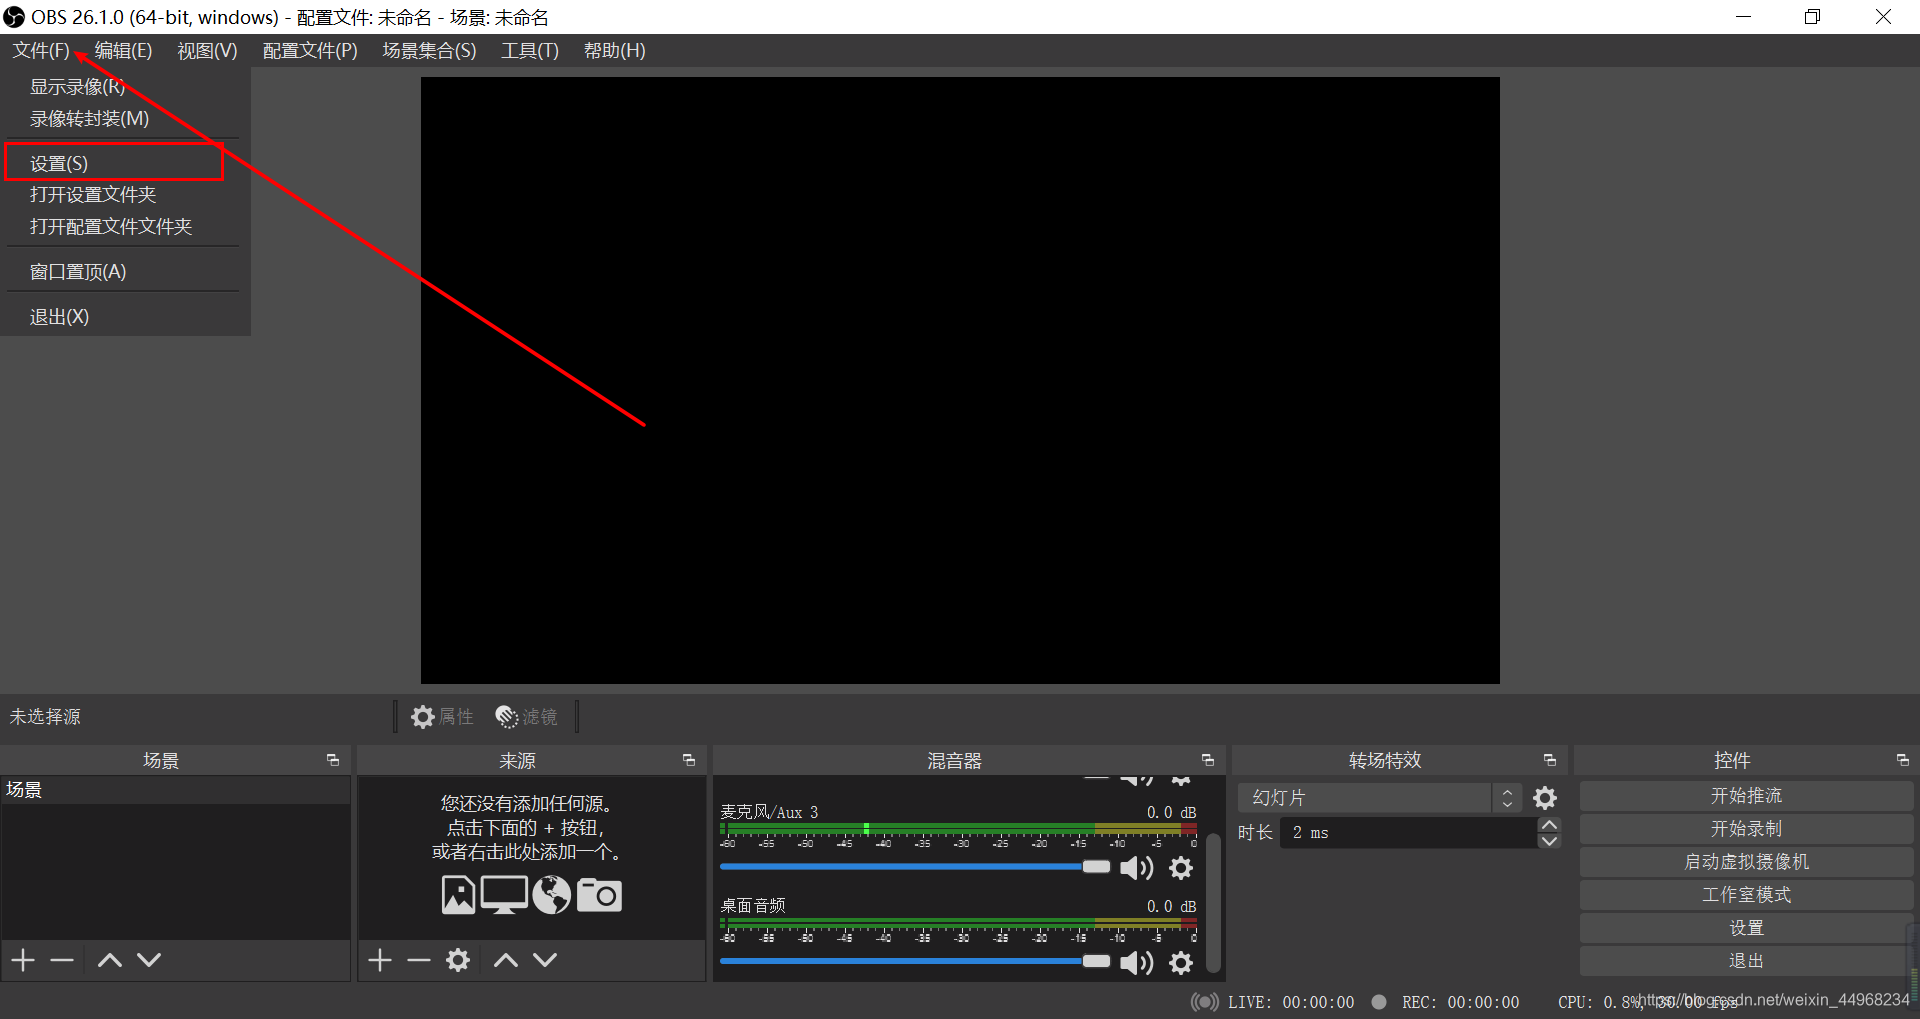
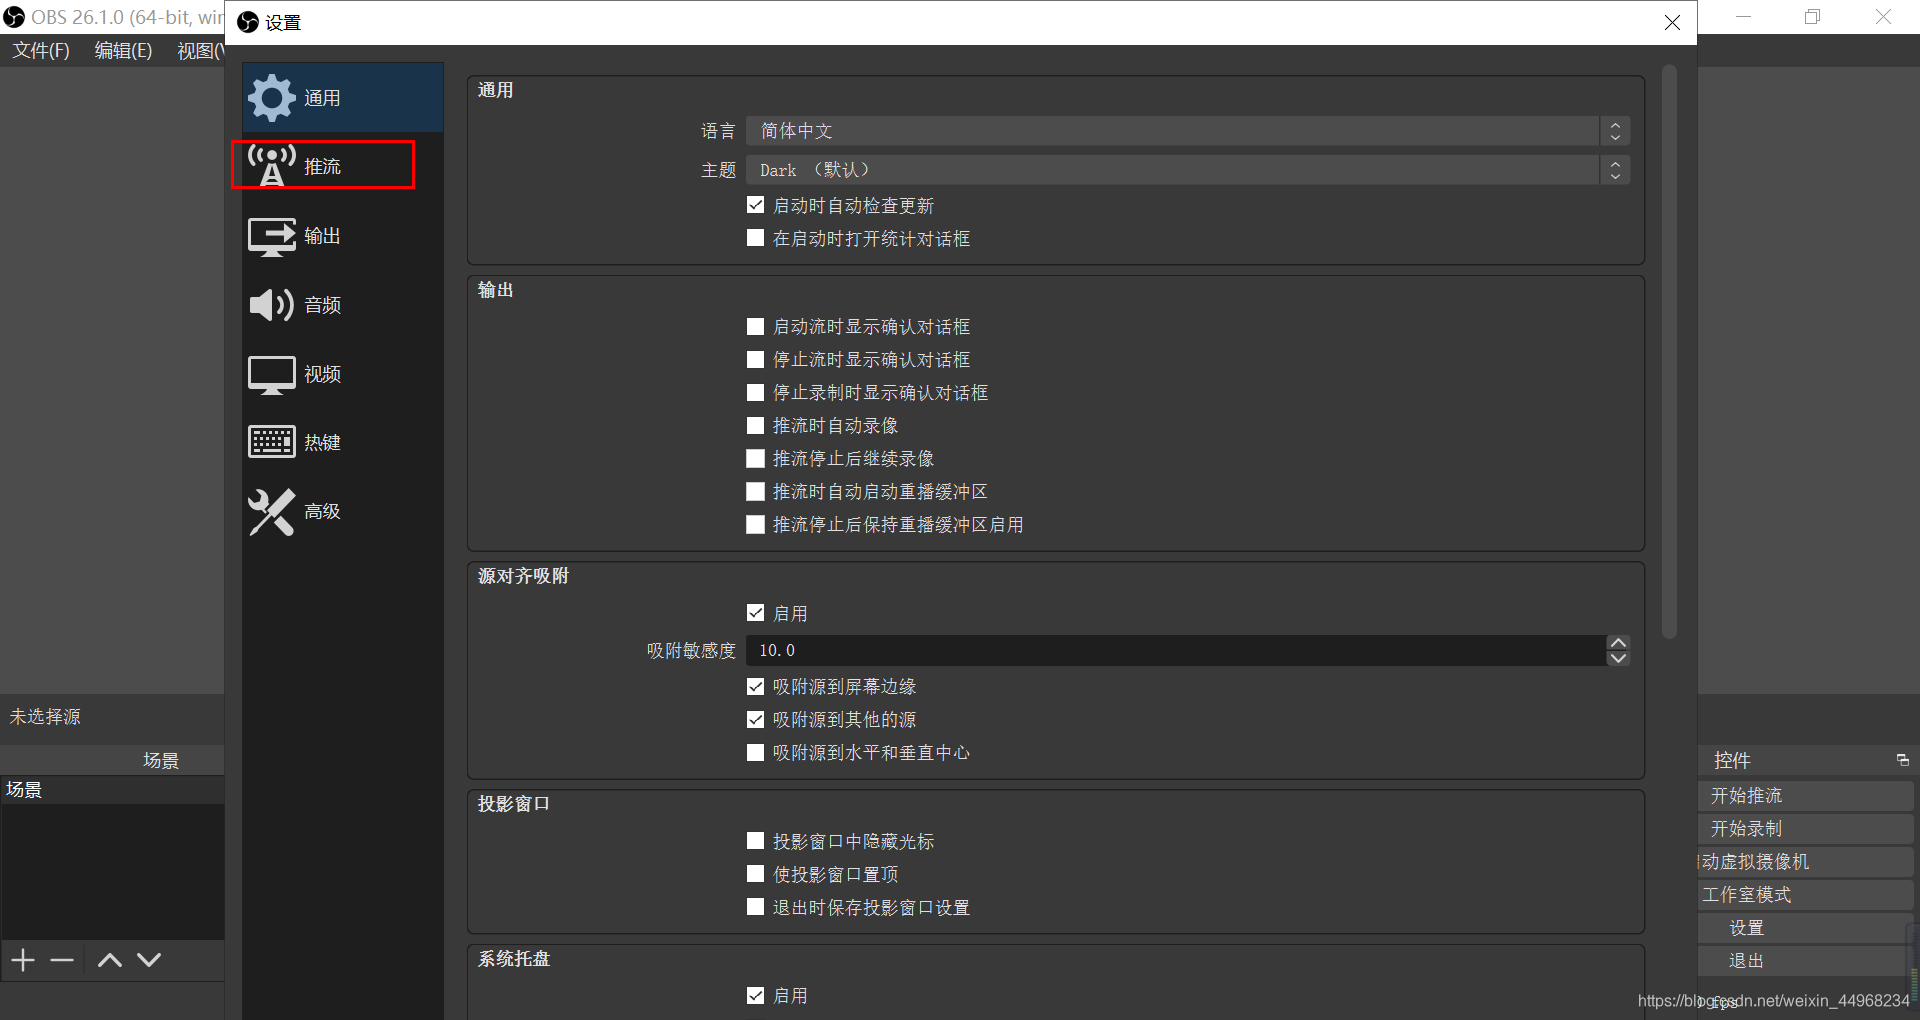
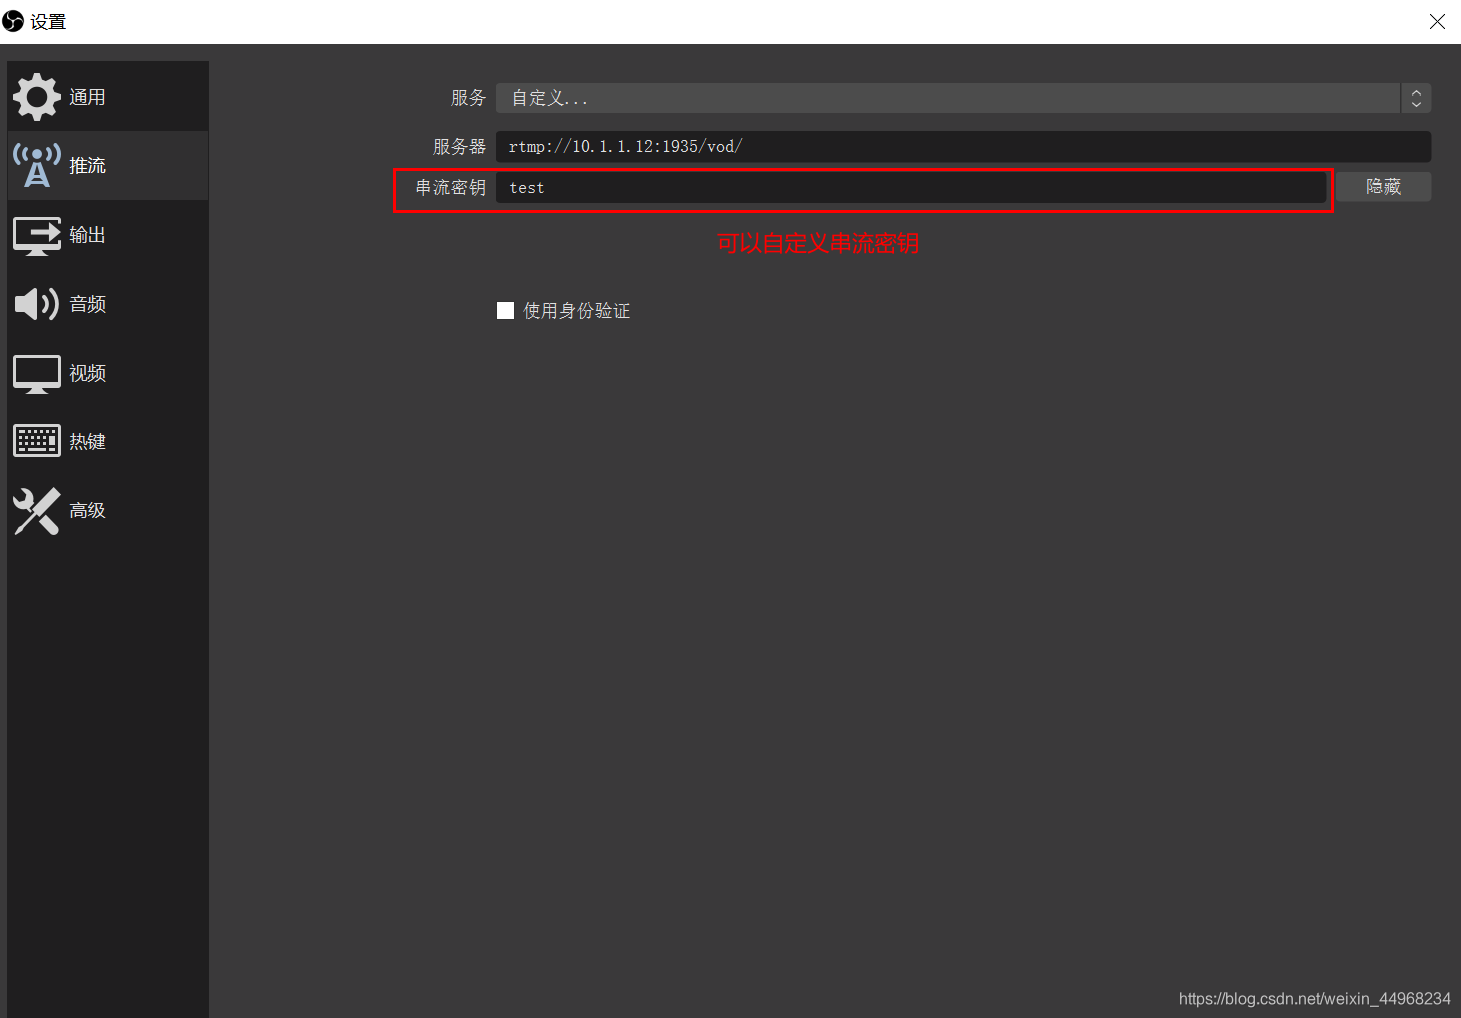
OBS执行推流设置
与点播不同的地方是,不需要创建视频存储目录
# cat conf/nginx.conf
worker_processes  1;
events {
    worker_connections  1024;
}
http {
    include       mime.types;
    default_type  application/octet-stream;
    sendfile        on;
    keepalive_timeout  65;
    server {
        listen       80;
        server_name  localhost;
        location /stat {
                rtmp_stat all;
            rtmp_stat_stylesheet stat.xsl;
    }
        location /stat.xsl {
            root /usr/local/nginx-rtmp-module/;
    }
        location / {
            root   html;
            index  index.html index.htm;
        }
        error_page   500 502 503 504  /50x.html;
        location = /50x.html {
            root   html;
        }
    }
}
rtmp {
    server {
        listen 1935;  # 监听的端口
        chunk_size 4000;  # 数据传输块的大小

        application vod {  # rtmp 推流请求路径
            live on;
            hls on;
            hls_fragment 5s;
        }
        application live {
             live on;
      }
    }
}

重启nginx服务
# sbin/nginx -s reload
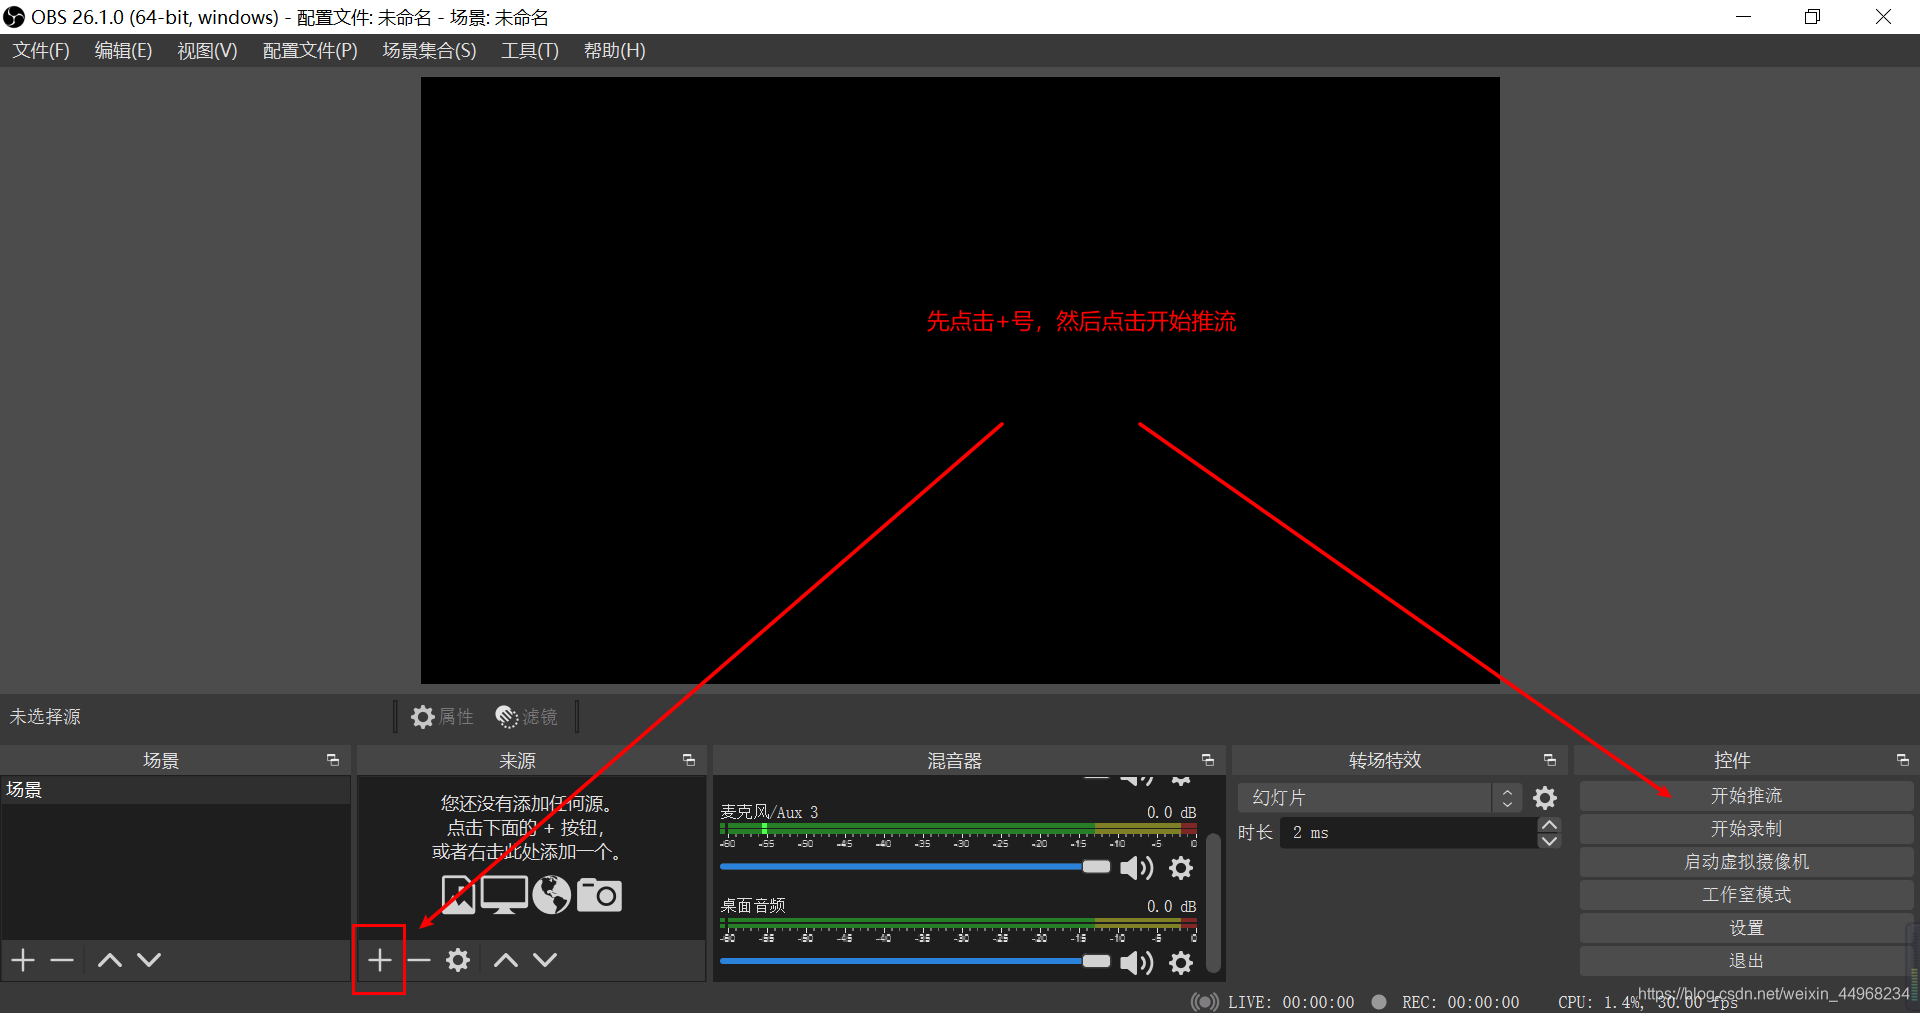
OBS推流
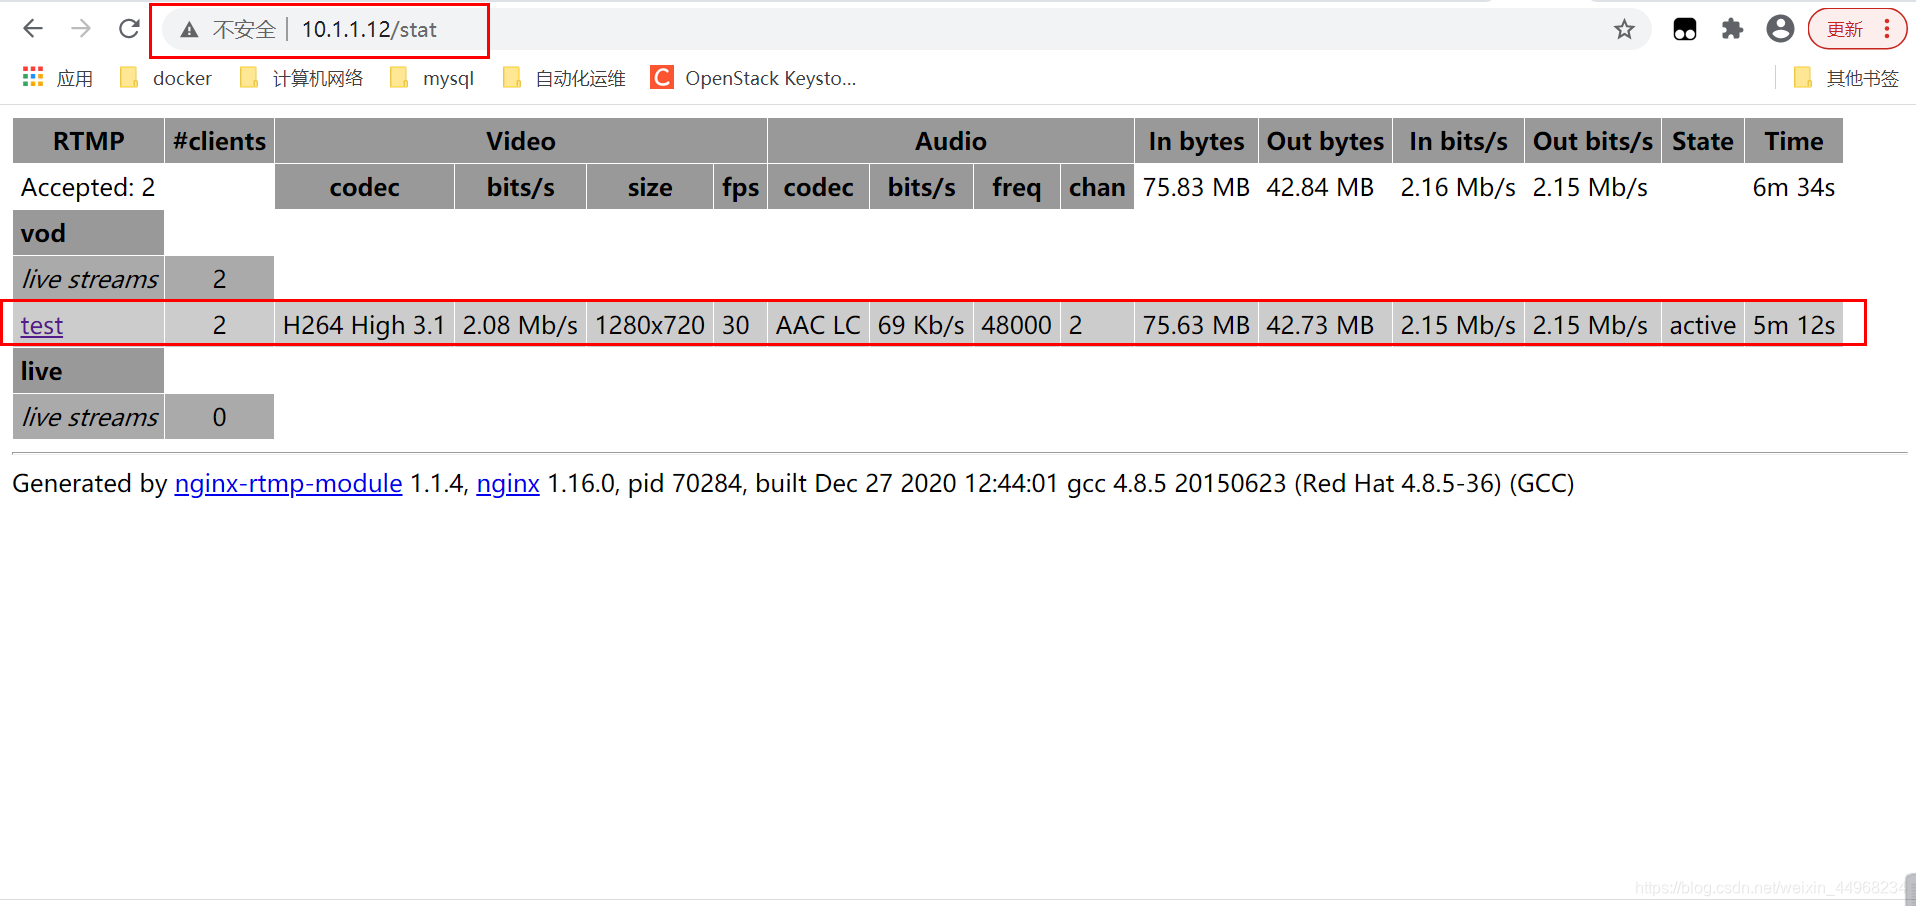
在VLC拉流的过程中,我们可以通过一下方式去监测传输


 4050
4050


 被折叠的 条评论
为什么被折叠?
被折叠的 条评论
为什么被折叠?
 到【灌水乐园】发言


