


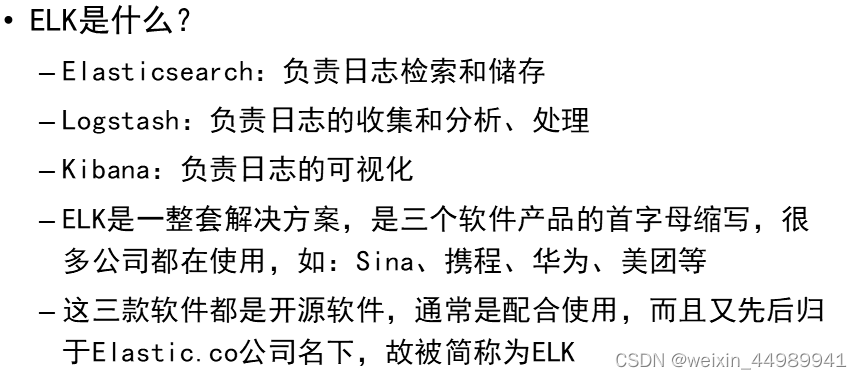
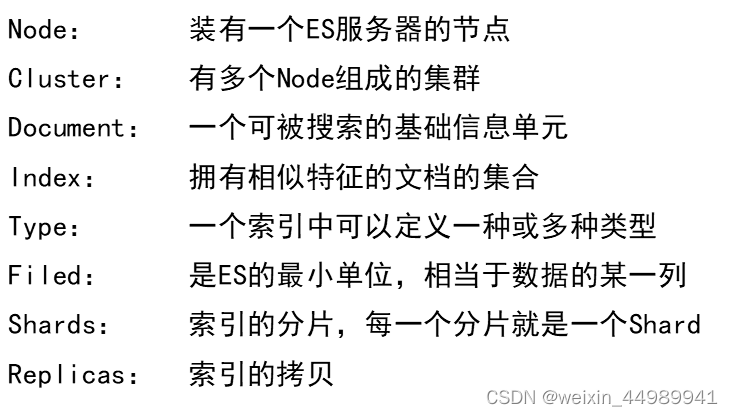
ELK:


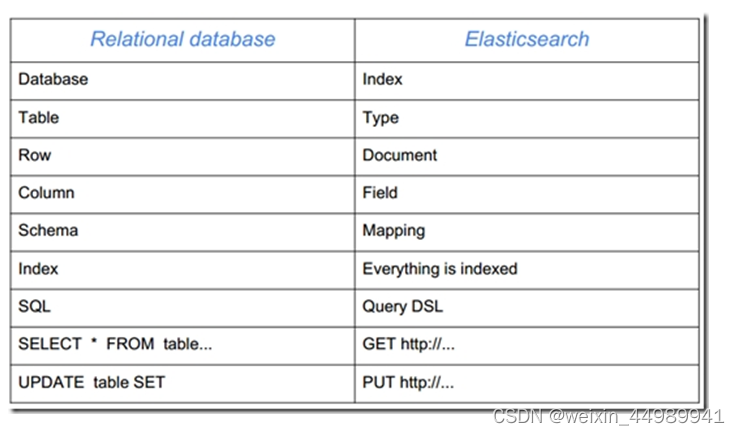
与关系型数据库对比:
单台Elasticsearch 安装
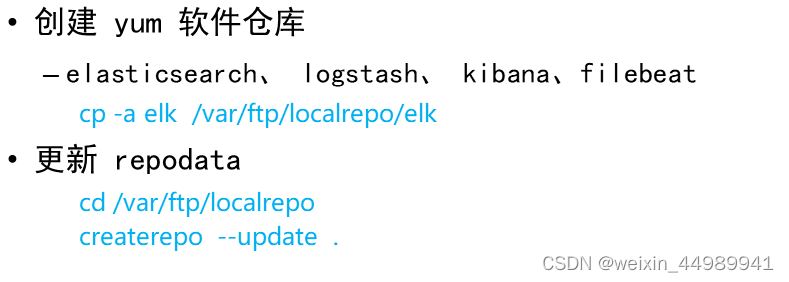
拷贝云盘 rpm-package/elk 目录到跳板机
```shell
[root@ecs-proxy ~]# cp -a elk /var/ftp/localrepo/elk
[root@ecs-proxy ~]# cd /var/ftp/localrepo/
[root@ecs-proxy localrepo]# createrepo --update .
```
###### 购买云主机
| 主机 | IP地址 | 配置 |
| ------- | ------------ | ------------- |
| es-0001 | 192.168.1.41 | 最低配置2核2G |
| es-0002 | 192.168.1.42 | 最低配置2核2G |
| es-0003 | 192.168.1.43 | 最低配置2核2G |
| es-0004 | 192.168.1.44 | 最低配置2核2G |
| es-0005 | 192.168.1.45 | 最低配置2核2G |
###### 单机安装
```shell
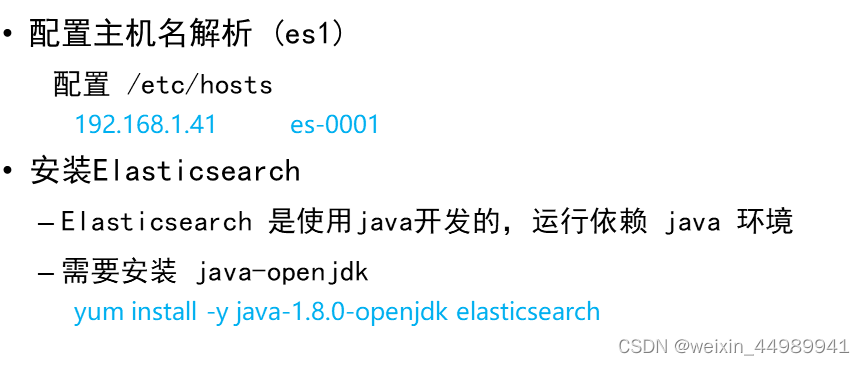
[root@es-0001 ~]# vim /etc/hosts
192.168.1.41 es-0001
[root@es-0001 ~]# yum install -y java-1.8.0-openjdk elasticsearch
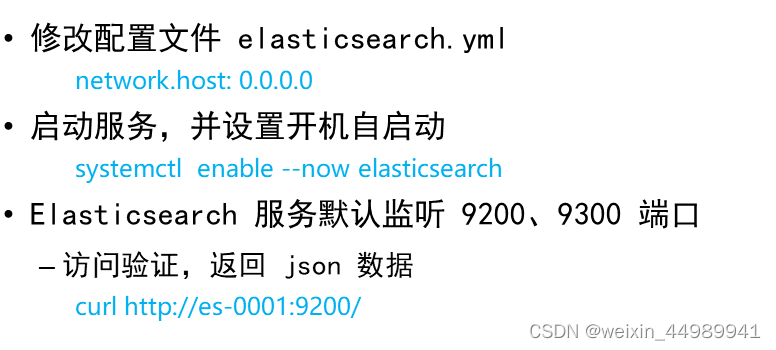
[root@es-0001 ~]# vim /etc/elasticsearch/elasticsearch.yml
55: network.host: 0.0.0.0
[root@es-0001 ~]# systemctl enable --now elasticsearch
[root@es-0001 ~]# curl http://192.168.1.41:9200/
{
"name" : "War Eagle",
"cluster_name" : "elasticsearch",
"version" : {
"number" : "2.3.4",
"build_hash" : "e455fd0c13dceca8dbbdbb1665d068ae55dabe3f",
"build_timestamp" : "2016-06-30T11:24:31Z",
"build_snapshot" : false,
"lucene_version" : "5.5.0"
},
"tagline" : "You Know, for Search"
}
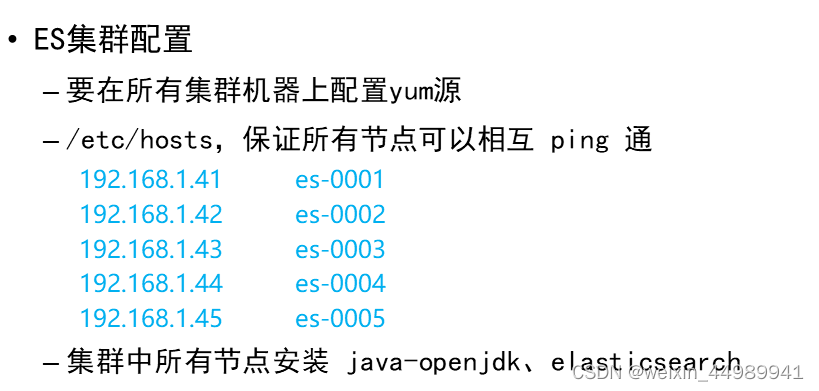
集群安装
es-0001 ... es-0005 所有主机,都要执行以下操作
```shell
[root@es-0001 ~]# vim /etc/hosts
192.168.1.41 es-0001
192.168.1.42 es-0002
192.168.1.43 es-0003
192.168.1.44 es-0004
192.168.1.45 es-0005
[root@es-0001 ~]# yum install -y java-1.8.0-openjdk elasticsearch
[root@es-0001 ~]# vim /etc/elasticsearch/elasticsearch.yml
17: cluster.name: my-es
23: node.name: es-0001 # 本机主机名
55: network.host: 0.0.0.0
68: discovery.zen.ping.unicast.hosts: ["es-0001", "es-0002"]
[root@es-0001 ~]# systemctl enable --now elasticsearch
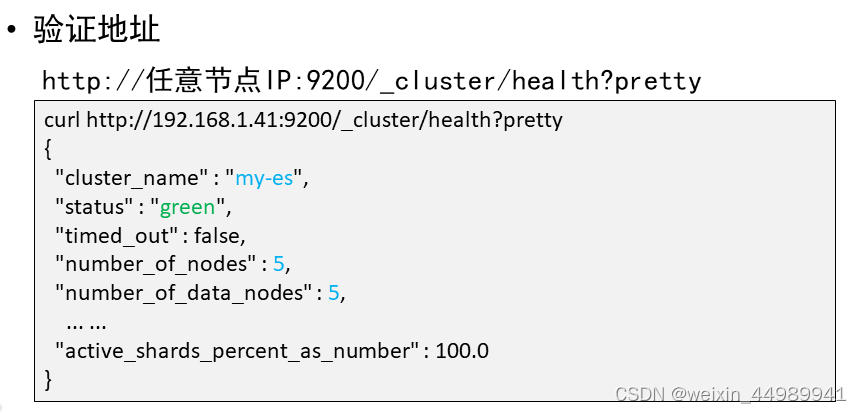
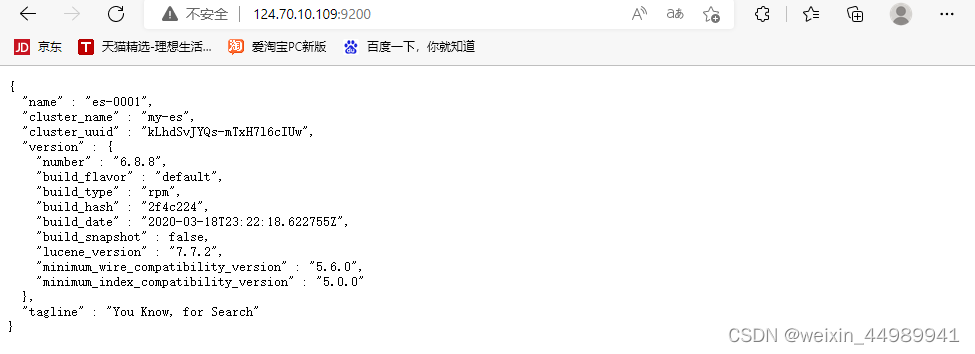
[root@es-0001 ~]# curl http://192.168.1.41:9200/_cluster/health?pretty
{
"cluster_name" : "my-es",
"status" : "green",
"timed_out" : false,
"number_of_nodes" : 5,
"number_of_data_nodes" : 5,
... ...
}


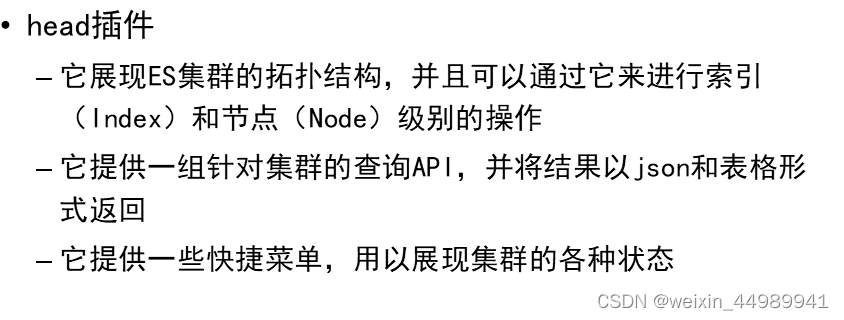
Head插件:

购买云主机

| 主机 | IP地址       | 配置          |
| ---- | ------------ | ------------- |
| web  | 192.168.1.48 | 最低配置1核1G |

安装 apache,并部署 head 插件

```shell
[root@web ~]# yum install -y httpd
[root@web ~]# tar zxf head.tar.gz
[root@web ~]# mv elasticsearch-head /var/www/html/head
[root@web ~]# systemctl enable --now httpd
Created symlink from /etc/systemd/system/multi-user.target.wants/httpd.service to /usr/lib/systemd/system/httpd.service.
[root@web ~]#
使用华为 ELB, 把 web 服务和 es-0001 的 9200 端口发布到互联网,并通过浏览器访问

es-0001 访问授权

```shell
[root@es-0001 ~]# vim /etc/elasticsearch/elasticsearch.yml
# 配置文件最后追加
http.cors.enabled : true
http.cors.allow-origin : "*"
http.cors.allow-methods : OPTIONS, HEAD, GET, POST, PUT, DELETE
http.cors.allow-headers : X-Requested-With,X-Auth-Token,Content-Type,Content-Length
[root@es-0001 ~]# systemctl restart elasticsearch.service
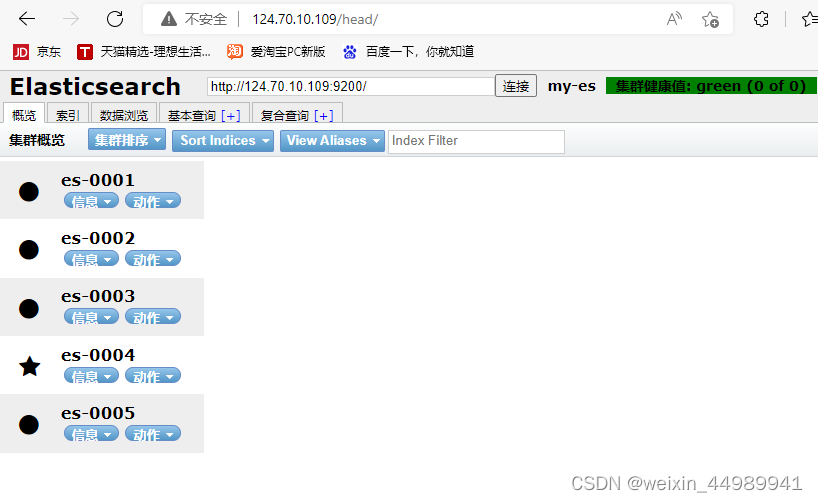
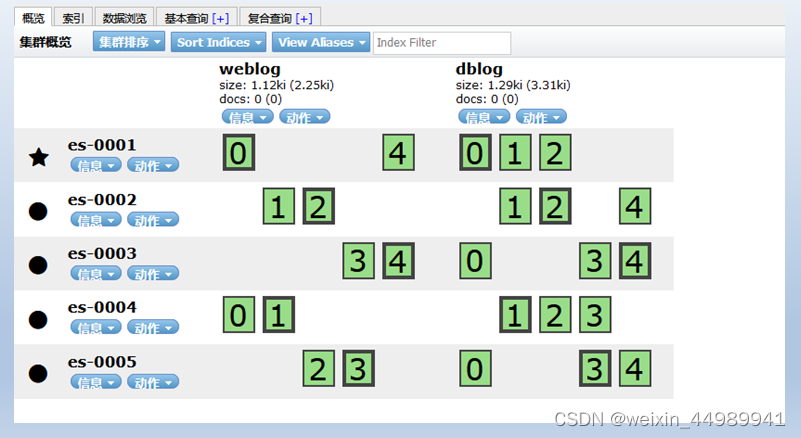
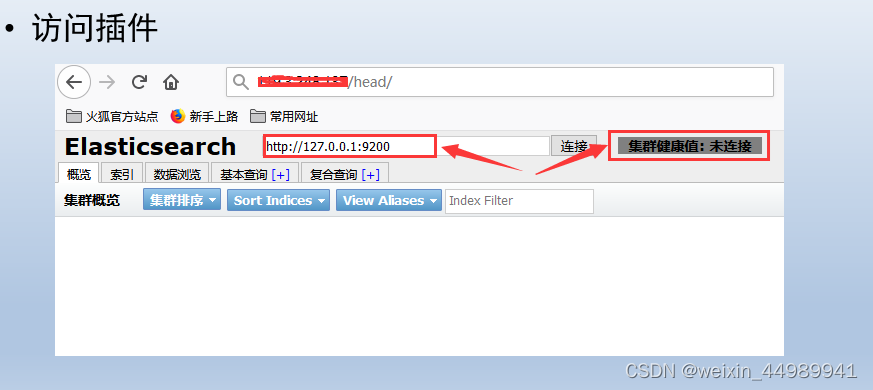
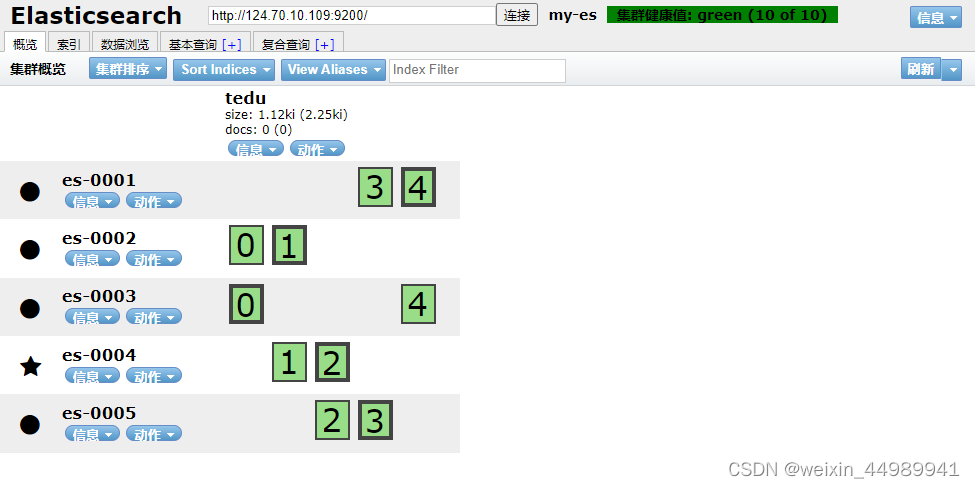
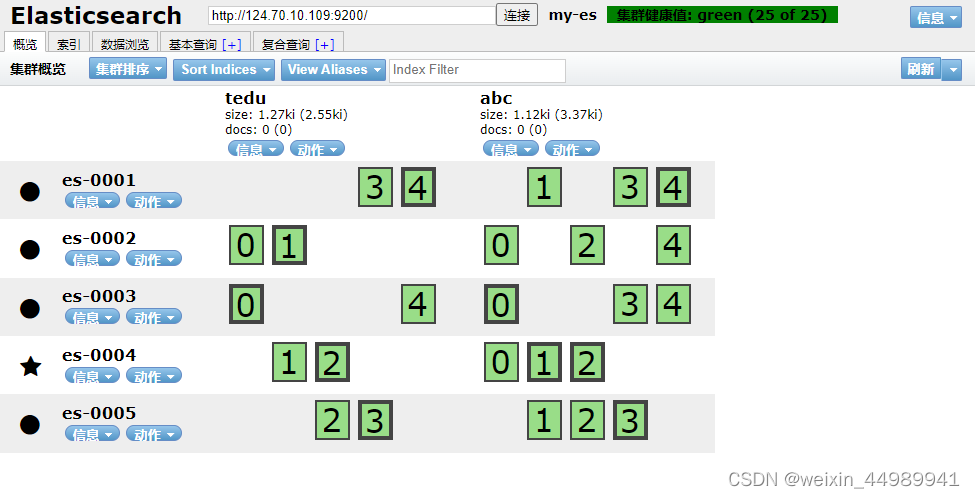
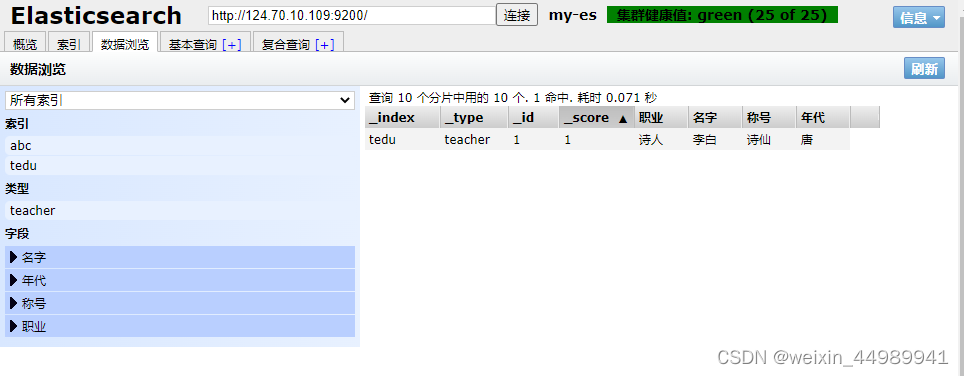
使用插件访问 es 集群服务
Elasticsearch基本操作
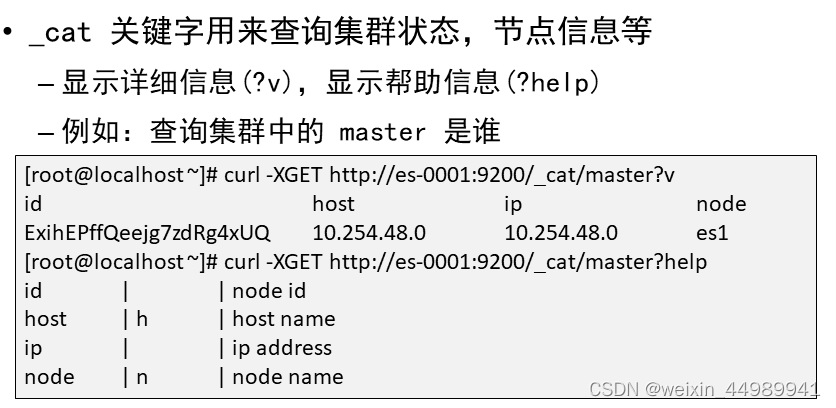
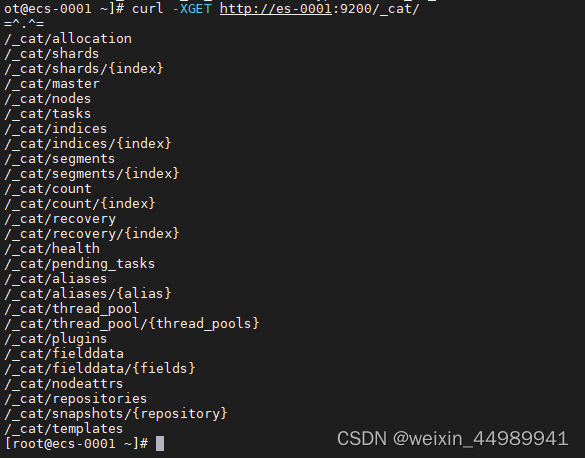
查询_cat方法
# 查询支持的关键字
[root@es-0001 ~]# curl -XGET http://es-0001:9200/_cat/
# 查具体的信息
[root@es-0001 ~]# curl -XGET http://es-0001:9200/_cat/master

# 显示详细信息 ?v
[root@es-0001 ~]# curl -XGET http://es-0001:9200/_cat/master?v

# 显示帮助信息 ?help
[root@es-0001 ~]# curl -XGET http://es-0001:9200/_cat/master?help
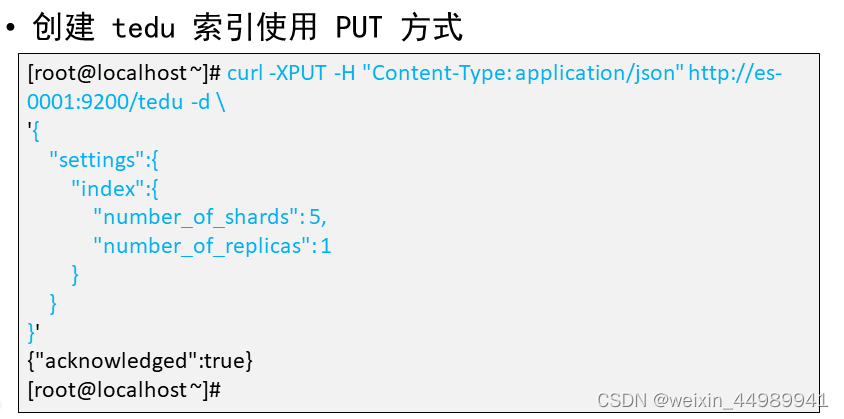
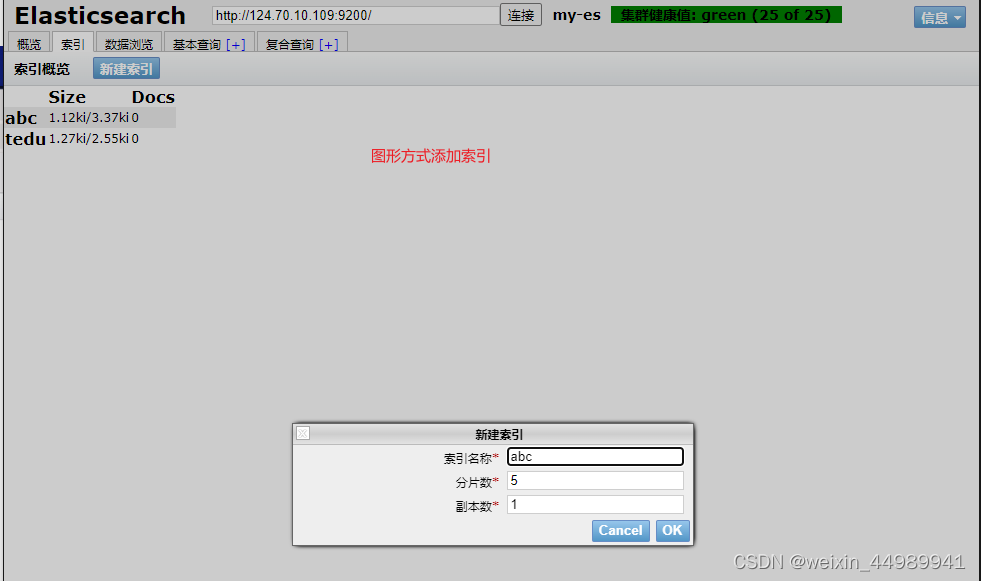
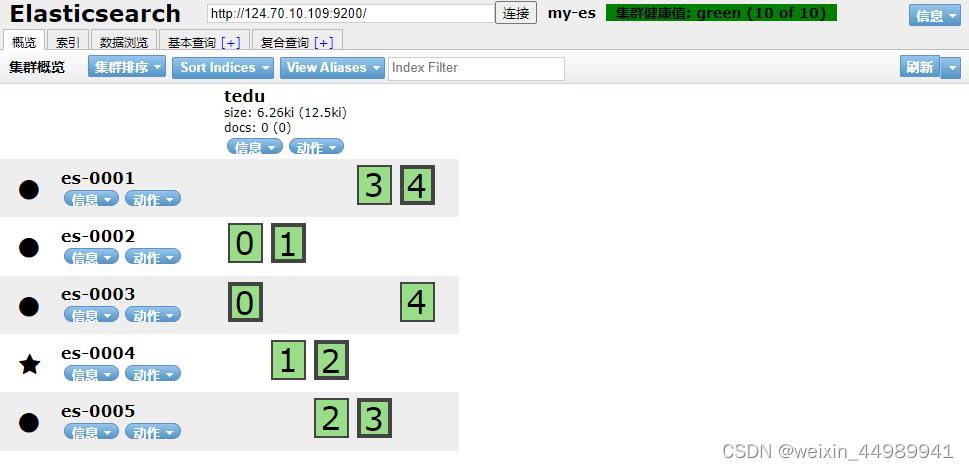
创建索引

指定索引的名称,指定分片数量,指定副本数量

创建索引使用 PUT 方法,创建完成以后通过 head 插件验证


[root@es-0001 ~]# curl -XPUT -H "Content-Type: application/json" http://es-0001:9200/tedu -d \
'{
    "settings":{
       "index":{
          "number_of_shards": 5,
          "number_of_replicas": 1
       }
    }
}'

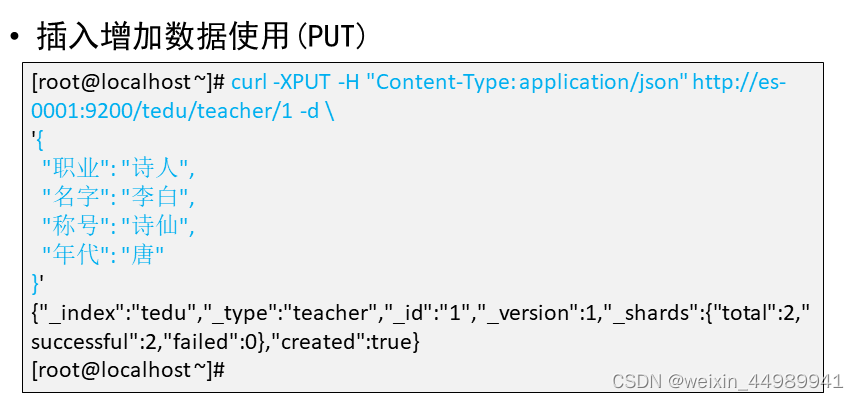
增加数据:
[root@es-0001 ~]# curl -XPUT -H "Content-Type: application/json" http://es-0001:9200/tedu/teacher/1 -d \
'{
  "职业": "诗人",
  "名字": "李白",
  "称号": "诗仙",
  "年代": "唐"
}'

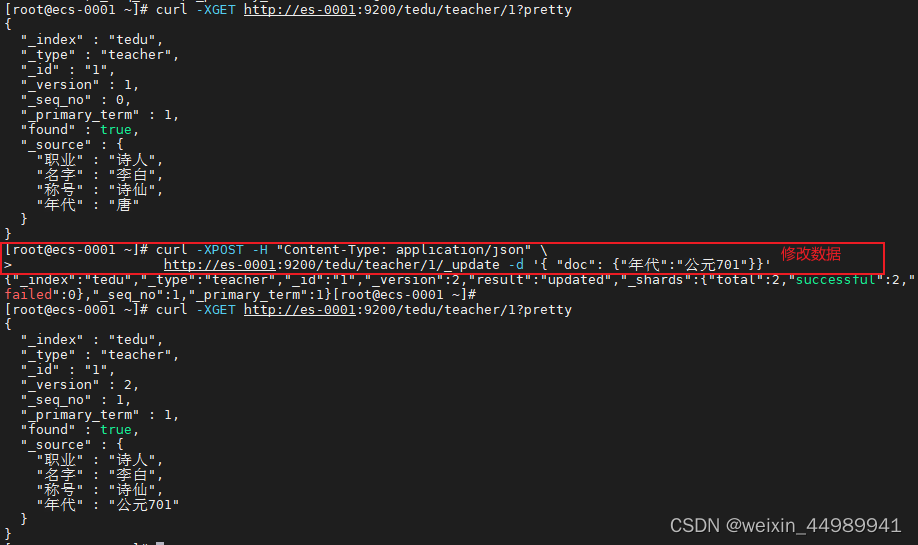
查询数据
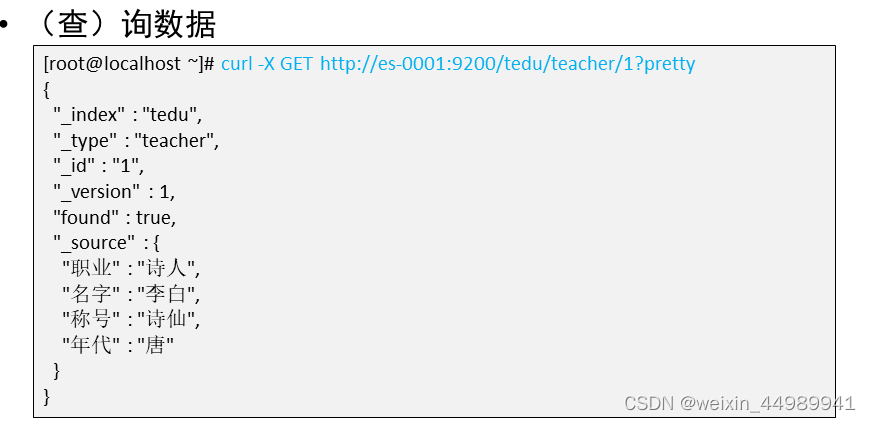
[root@es-0001 ~]# curl -XGET http://es-0001:9200/tedu/teacher/1?pretty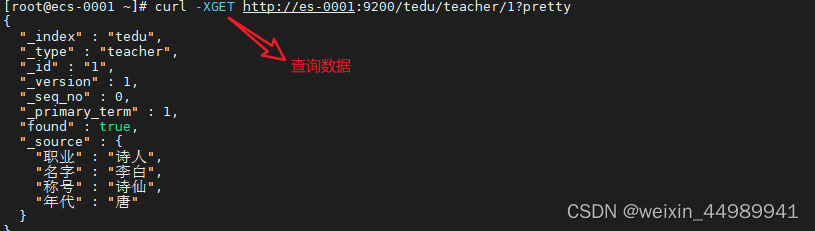
修改数据
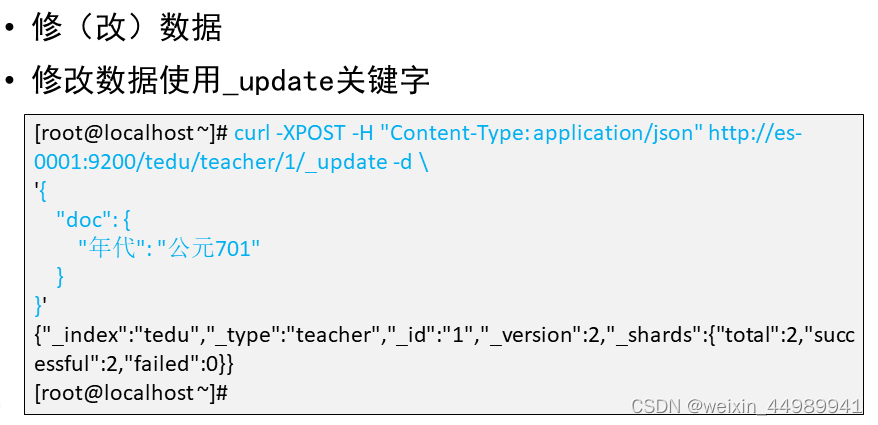
[root@es-0001 ~]# curl -XPOST -H "Content-Type: application/json" \
      http://es-0001:9200/tedu/teacher/1/_update -d '{ "doc": {"年代":"公元701"}}'
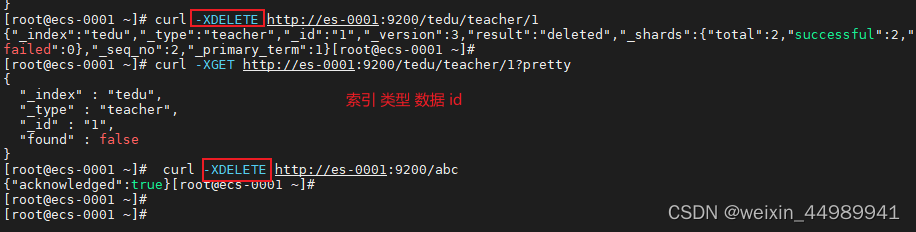
删除数据
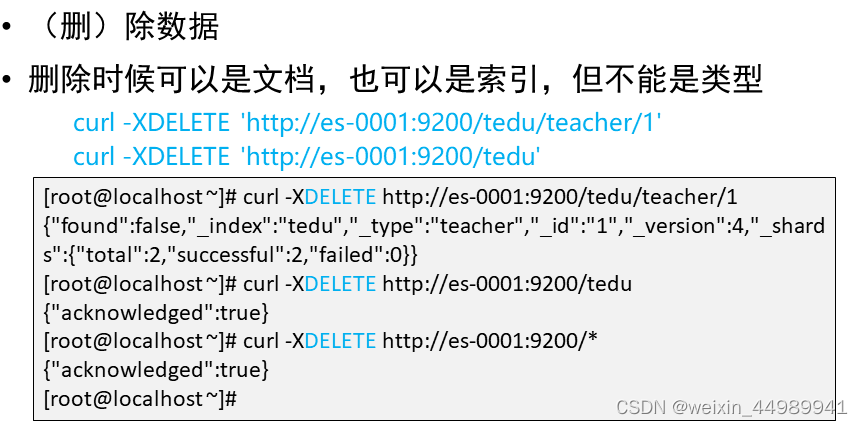
# 删除一条
[root@es-0001 ~]# curl -XDELETE http://es-0001:9200/tedu/teacher/1
# 删除索引
[root@es-0001 ~]# curl -XDELETE http://es-0001:9200/abc
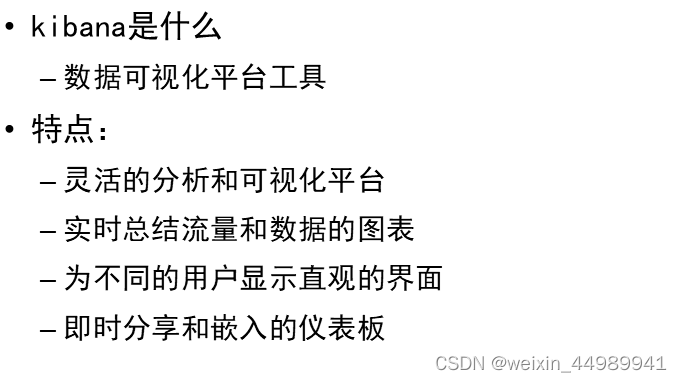
kibana安装
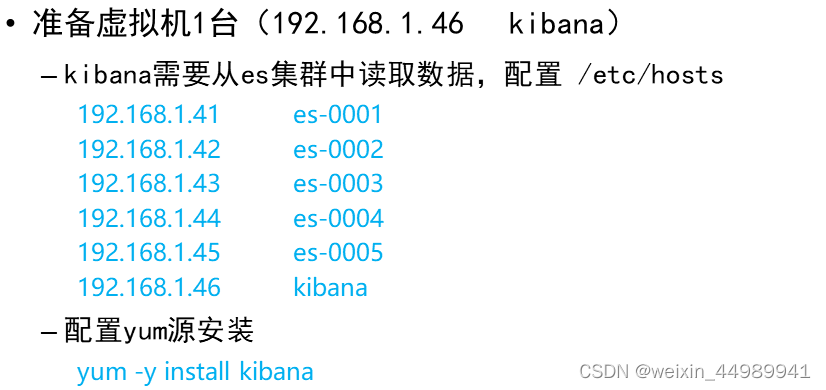
购买云主机
| 主机 | IP地址 | 配置 |
| ------ | ------------ | ------------- |
| kibana | 192.168.1.46 | 最低配置1核1G |
###### 安装kibana
```shell
[root@kibana ~]# vim /etc/hosts
192.168.1.41 es-0001
192.168.1.42 es-0002
192.168.1.43 es-0003
192.168.1.44 es-0004
192.168.1.45 es-0005
192.168.1.46 kibana
[root@kibana ~]# yum install -y kibana
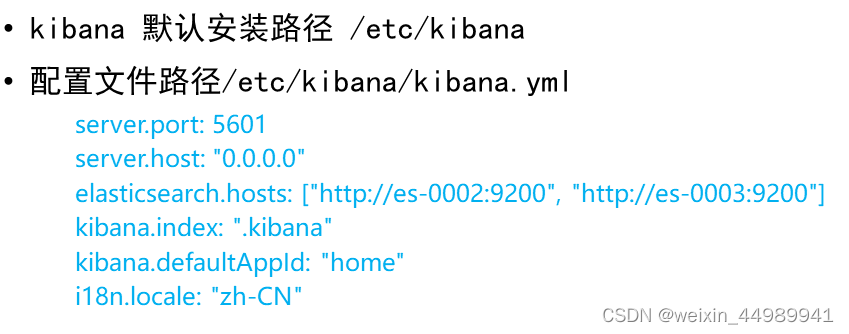
[root@kibana ~]# vim /etc/kibana/kibana.yml
02 server.port: 5601
07 server.host: "0.0.0.0"
28 elasticsearch.hosts: ["http://es-0002:9200", "http://es-0003:9200"]
37 kibana.index: ".kibana"
40 kibana.defaultAppId: "home"
113 i18n.locale: "zh-CN"
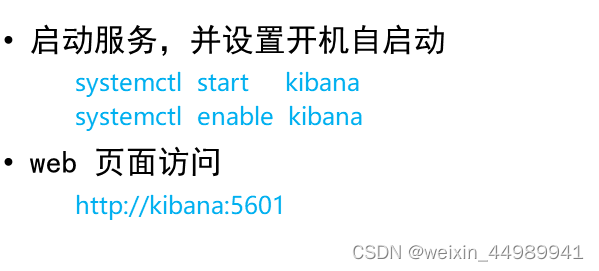
[root@kibana ~]# systemctl enable --now kibana
```
绑定弹性公网IP,通过 WEB 浏览器验证

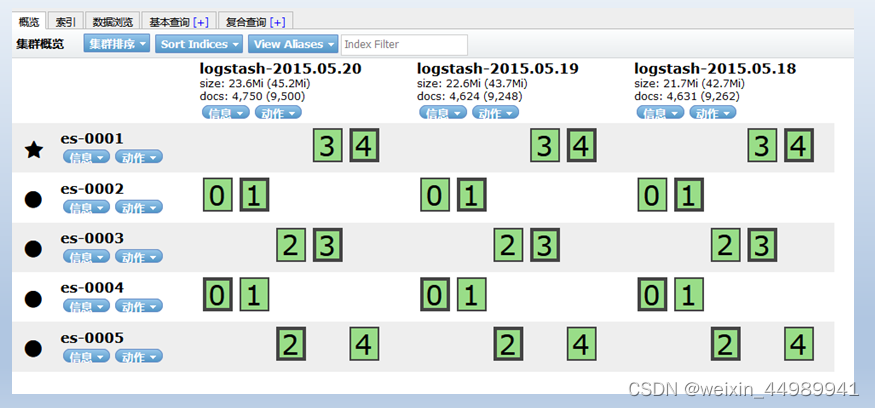
导入日志数据

拷贝云盘 logs.jsonl.gz 到跳板机

```shell
[root@ecs-proxy ~]# gunzip logs.jsonl.gz
[root@ecs-proxy ~]# curl -XPOST -H "Content-Type: application/json" http://192.168.1.41:9200/_bulk --data-binary @logs.jsonl
导入数据
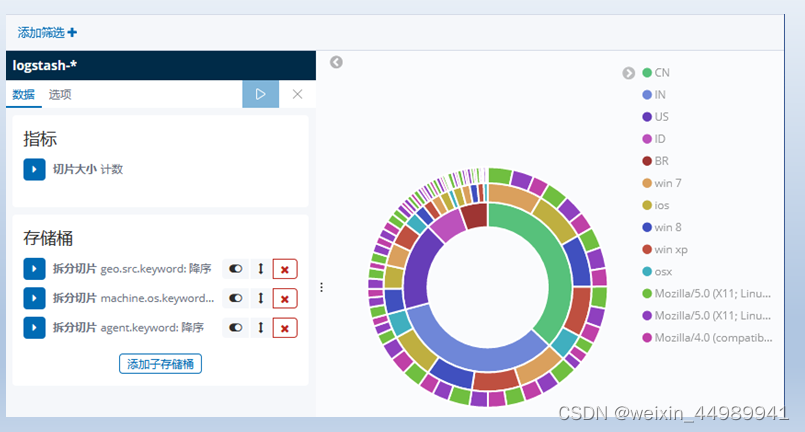
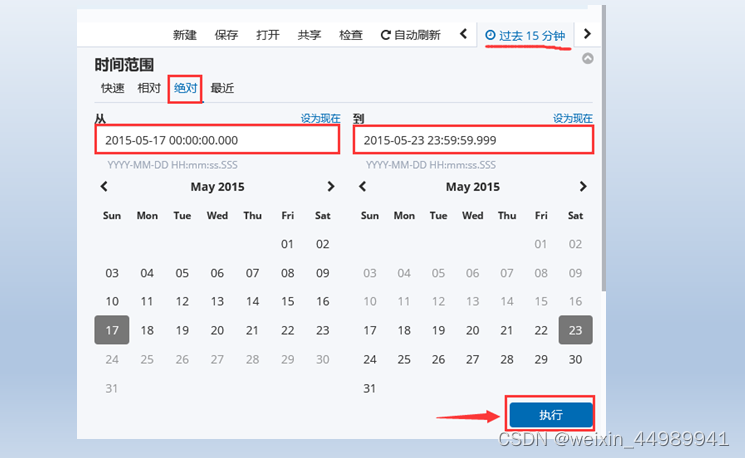
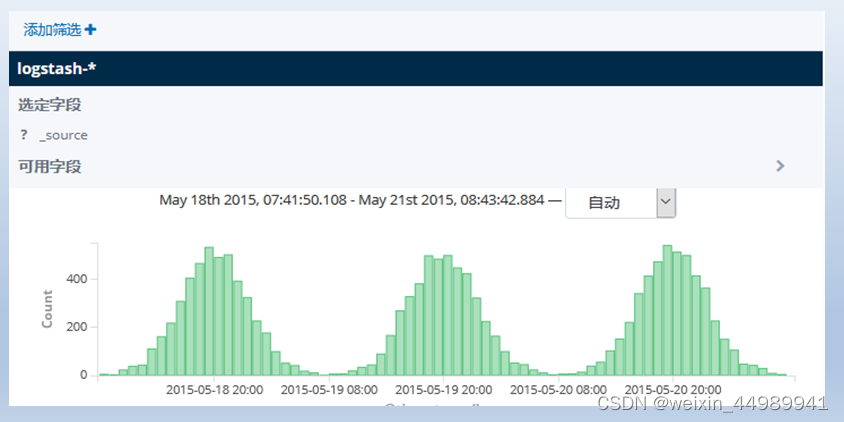
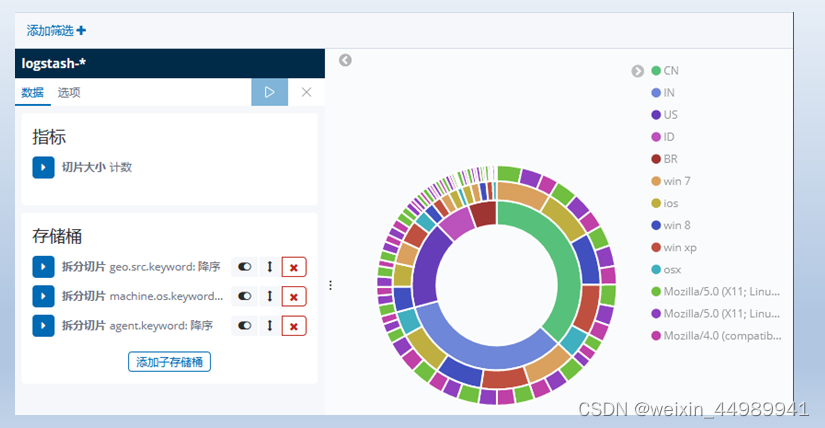
绘制流量图


 5617
5617


 被折叠的 条评论
为什么被折叠?
被折叠的 条评论
为什么被折叠?
 到【灌水乐园】发言


