


官方文档
https://docs.gitlab.com/ee/install/docker.html
安装环境
- 操作系统:centos 7.9
- 本地IP:172.20.10.4
- 保证外网连接通畅,关闭防火墙和SELinux
创建本地镜像数据目录
mkdir -p /opt/gitlab/{config,logs,data}安装docker并启动
# yum安装docker
[root@cloud ~]# yum install -y docker
Loaded plugins: fastestmirror, langpacks
Loading mirror speeds from cached hostfile
 * base: mirrors.bfsu.edu.cn
 * epel: mirrors.neusoft.edu.cn
 * extras: mirrors.bfsu.edu.cn
 * updates: mirrors.bfsu.edu.cn
Resolving Dependencies
--> Running transaction check
......
Installed:
  docker.x86_64 2:1.13.1-209.git7d71120.el7.centos


Dependency Installed:
  atomic-registries.x86_64 1:1.22.1-33.gitb507039.el7_8
 ......
  subscription-manager-rhsm-certificates.x86_64 0:1.24.50-1.el7.centos


Complete!


# 启动docker并设置开机自启
[root@cloud ~]# systemctl enable docker --now
# 查看状态
[root@cloud ~]# systemctl status docker
拉取镜像并启动,配置http访问
# 网络拉取gitlab镜像
[root@cloud ~]# docker pull gitlab/gitlab-ee:latest
# 这里其实可以不用执行docker pull,执行docker run的时候如果没有对应的image则会自动执行pull来获取image


# 直接配置并启动
[root@cloud ~]# docker run --detach \
> --hostname gitlab \
> --publish 8443:443 \
> --publish 8080:80 \
> --publish 2222:22 \
> --name gitlab \
> --restart always \
> --volume /opt/gitlab/config:/etc/gitlab \
> --volume /opt/gitlab/logs:/var/log/gitlab \
> --volume /opt/gitlab/data:/var/opt/gitlab \
> --shm-size 256m \
> gitlab/gitlab-ee:latest


# 完成后查看运行状态
[root@cloud ~]# docker ps
CONTAINER ID        IMAGE                     COMMAND             CREATED             STATUS                    PORTS                                                               NAMES
557d32dbf505        gitlab/gitlab-ee:latest   "/assets/wrapper"   3 minutes ago      Up 3 minutes (healthy)   0.0.0.0:2222->22/tcp, 0.0.0.0:8080->80/tcp, 0.0.0.0:8443->443/tcp   gitlab


# 查看gitlab初始化过程
[root@cloud ~]# docker logs -f gitlab


# 进入容器gitlab后台
[root@cloud ~]# docker exec -it gitlab /bin/bash
访问页面
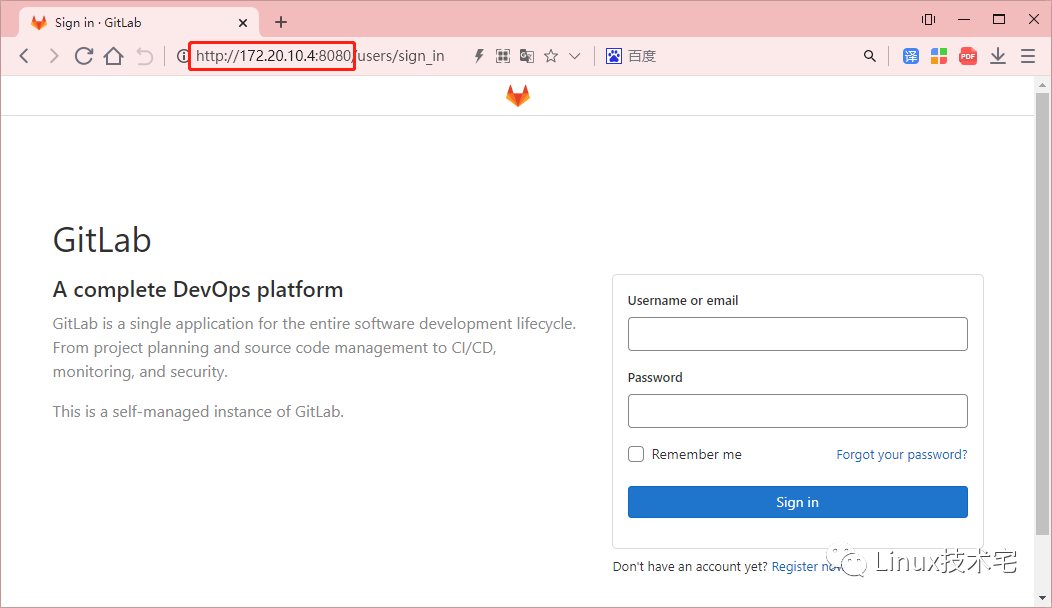
# 账号:root
# 查看初始页面登录密码
[root@cloud ~]# grep 'Password:' /opt/gitlab/config/initial_root_password
Password: J7ndtscfQII0/LaG3tzfkmKgwui58pvRLlkOQj6ojm0=- 访问页面:http://172.20.10.4:8080
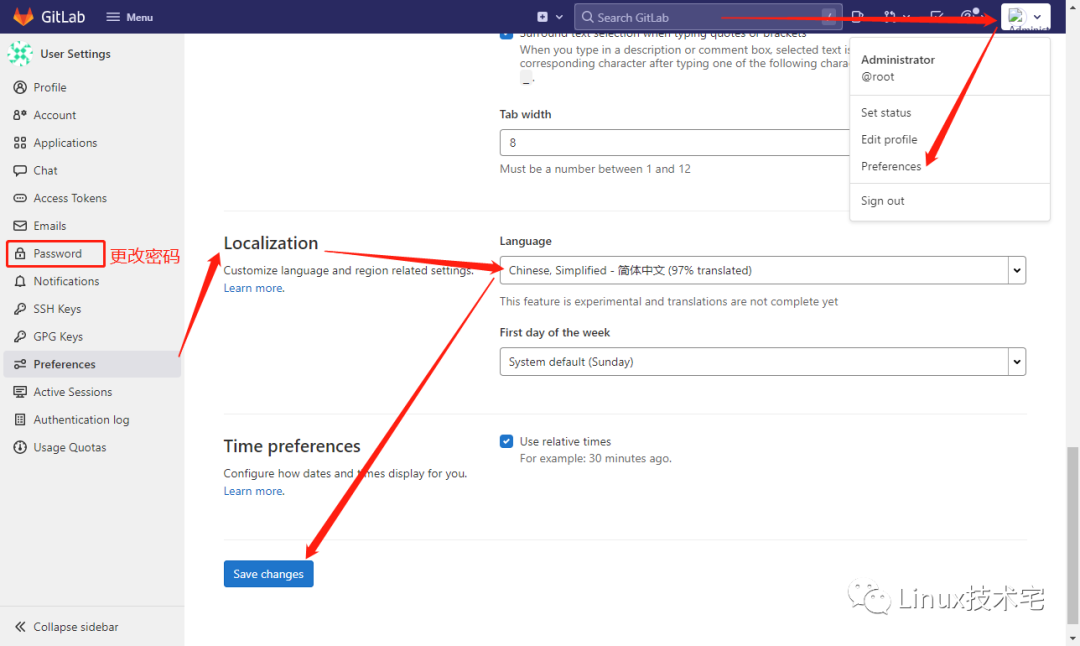
- 基本配置:设置本地中文及更改密码
http配置到此结束,下面为https访问相关配置!
配置证书
# 创建ssl证书目录
[root@cloud ~]# mkdir /opt/gitlab/config/ssl/
# 设置权限
[root@cloud ~]# chmod 755 /opt/gitlab/config/ssl/
# 切换到ssl目录下
[root@cloud ~]# cd /opt/gitlab/config/ssl/
# 创建证书
[root@cloud ssl]# openssl req -x509 -newkey rsa:1024 -keyout gitlab.key -out gitlab.crt -nodes -days 36500
Generating a 1024 bit RSA private key
....++++++
.......................................++++++
writing new private key to 'gitlab.key'
-----
You are about to be asked to enter information that will be incorporated
into your certificate request.
What you are about to enter is what is called a Distinguished Name or a DN.
There are quite a few fields but you can leave some blank
For some fields there will be a default value,
If you enter '.', the field will be left blank.
-----
Country Name (2 letter code) [XX]:cn
State or Province Name (full name) []:bj
Locality Name (eg, city) [Default City]:bj
Organization Name (eg, company) [Default Company Ltd]:cn
Organizational Unit Name (eg, section) []:cn
Common Name (eg, your name or your server's hostname) []:Toiny
Email Address []:
[root@cloud ssl]# ll
total 8
-rw-r--r-- 1 root root 908 May  8 18:53 gitlab.crt
-rw-r--r-- 1 root root 916 May  8 18:53 gitlab.key
修改配置文件并启用https支持
# 切换目录,备份gitlab.rb
[root@cloud ssl]# cd ..
[root@cloud config]# cp gitlab.rb gitlab.rb.bak
# 修改配置文件,添加下列内容
[root@cloud config]# vim gitlab.rb
33 external_url "https://172.20.10.4:8443"
1400 nginx['redirect_http_to_https'] = true
1414 nginx['ssl_certificate'] = "/etc/gitlab/ssl/gitlab.crt"
1415 nginx['ssl_certificate_key'] = "/etc/gitlab/ssl/gitlab.key"
# 配置页面git及https连接
[root@cloud config]# vim /opt/gitlab/data/gitlab-rails/etc/gitlab.yml
    host: 172.20.10.4
    port: 8443
    https: true


# 保存退出,进入docker容器内,重新加载配置文件
[root@cloud ~]# docker exec -it gitlab /bin/bash
root@gitlab:~# gitlab-ctl reconfigure
访问页面
- 刷新访问页面http://172.20.10.4:8080
- 返回 https://gitlab.example.cn/ 表示https配置成功
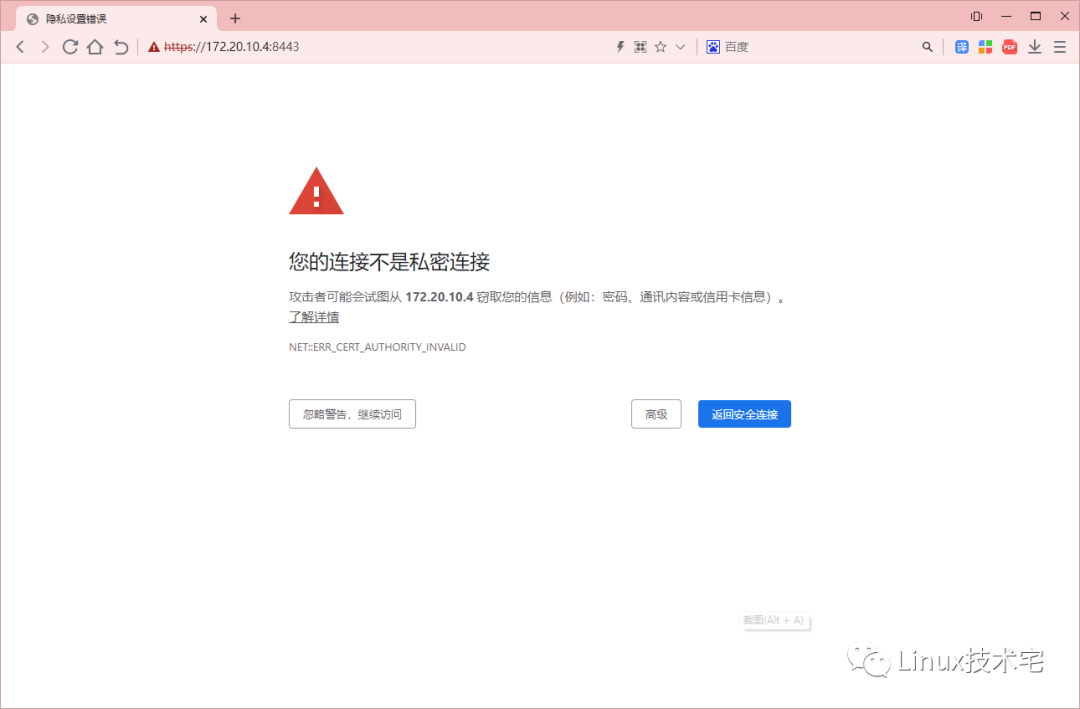
- 访问新页面即可:https://172.20.10.4:8443,使用默认密码或前面更过的登录即可
git客户端问题
- 问题描述:使用git采用https进行的clone,结果出现错误 SSL certificate problem: self signed certificate
- 原因:SSL认证失败
- 解决办法:关闭SSL的认证
- git客户端执行如下命令:
git config --global http.sslVerify false相关配置文件
/opt/gitlab/data/gitlab-rails/etc/gitlab.yml
/opt/gitlab/config/gitlab.rb


docker exec -it gitlab /bin/bash
/var/opt/gitlab/gitlab-rails/etc/gitlab.yml
/etc/gitlab/gitlab.rb
重置root密码
- 登录到 Gitlab 服务器,执行如下命令:
gitlab-rails console production- 如果此时有报错:
Traceback (most recent call last):
    8: from bin/rails:4:in `<main>'
    7: from bin/rails:4:in `require'
    6: from /opt/gitlab/embedded/lib/ruby/gems/2.6.0/gems/railties-6.0.2/lib/rails/commands.rb:18:in `<top (required)>'
    5: from /opt/gitlab/embedded/lib/ruby/gems/2.6.0/gems/railties-6.0.2/lib/rails/command.rb:46:in `invoke'
    4: from /opt/gitlab/embedded/lib/ruby/gems/2.6.0/gems/railties-6.0.2/lib/rails/command/base.rb:69:in `perform'
    3: from /opt/gitlab/embedded/lib/ruby/gems/2.6.0/gems/thor-0.20.3/lib/thor.rb:387:in `dispatch'
    2: from /opt/gitlab/embedded/lib/ruby/gems/2.6.0/gems/thor-0.20.3/lib/thor/invocation.rb:126:in `invoke_command'
    1: from /opt/gitlab/embedded/lib/ruby/gems/2.6.0/gems/thor-0.20.3/lib/thor/command.rb:27:in `run'
/opt/gitlab/embedded/lib/ruby/gems/2.6.0/gems/railties-6.0.2/lib/rails/commands/console/console_command.rb:95:in `perform': wrong number of arguments (given 1, expected 0) (ArgumentError)
    9: from bin/rails:4:in `<main>'
    8: from bin/rails:4:in `require'
    7: from /opt/gitlab/embedded/lib/ruby/gems/2.6.0/gems/railties-6.0.2/lib/rails/commands.rb:18:in `<top (required)>'
    6: from /opt/gitlab/embedded/lib/ruby/gems/2.6.0/gems/railties-6.0.2/lib/rails/command.rb:46:in `invoke'
    5: from /opt/gitlab/embedded/lib/ruby/gems/2.6.0/gems/railties-6.0.2/lib/rails/command/base.rb:69:in `perform'
    4: from /opt/gitlab/embedded/lib/ruby/gems/2.6.0/gems/thor-0.20.3/lib/thor.rb:387:in `dispatch'
    3: from /opt/gitlab/embedded/lib/ruby/gems/2.6.0/gems/thor-0.20.3/lib/thor/invocation.rb:126:in `invoke_command'
    2: from /opt/gitlab/embedded/lib/ruby/gems/2.6.0/gems/thor-0.20.3/lib/thor/command.rb:20:in `run'
    1: from /opt/gitlab/embedded/lib/ruby/gems/2.6.0/gems/thor-0.20.3/lib/thor/command.rb:34:in `rescue in run'
/opt/gitlab/embedded/lib/ruby/gems/2.6.0/gems/thor-0.20.3/lib/thor/base.rb:506:in `handle_argument_error': ERROR: "rails console" was called with arguments ["production"] (Thor::InvocationError)
Usage: "rails console [options]"- 则可能是 Gitlab 版本不一样,然后参数方式不一样,需要用如下方式:
gitlab-rails console -e production- 接着查询一下用户:
> user = User.where(username:"root").first
=> #<User id:1 @root>- 然后修改密码:(至少8位)
> user.password = "Admin@123"
=> "Admin@123"- 然后保存:
> user.save!
Enqueued ActionMailer::DeliveryJob (Job ID: 1f015e02-34bc-4b26-8e37-3101937b7ce1) to Sidekiq(mailers) with arguments: "DeviseMailer", "password_change", "deliver_now", #<GlobalID:0x00007fa6b83b1378 @uri=#<URI::GID gid://gitlab/User/1>>
=> true- 保存之后,可以使用如上密码Admin@123进行登陆,登陆之后,记得更改密码!
分享、在看与点赞
只要你点,我们就是胖友


 1981
1981


 被折叠的 条评论
为什么被折叠?
被折叠的 条评论
为什么被折叠?
 到【灌水乐园】发言


