


一、安装前准备
step 1: 安装介质下载:
官网下载地址:(需要oracle的账号)
https://www.oracle.com/database/technologies/oracle-database-software-downloads.html#19c
云盘下载地址:
链接:https://pan.xunlei.com/s/VNis7oE1VDr86WLc5767luPbA1?pwd=2teh#
二、上传安装介质
step 2:上传安装介质到服务器
三、yum源缺少包安装
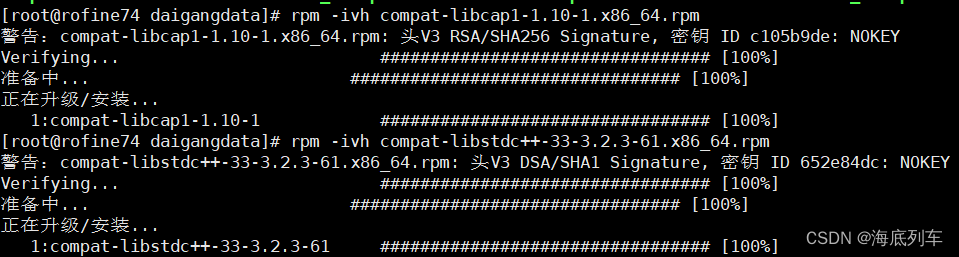
step 3:安装上传到服务器的rpm包
rpm -ivh compat-libcap1-1.10-1.x86_64.rpm
rpm -ivh compat-libstdc++-33-3.2.3-61.x86_64.rpm
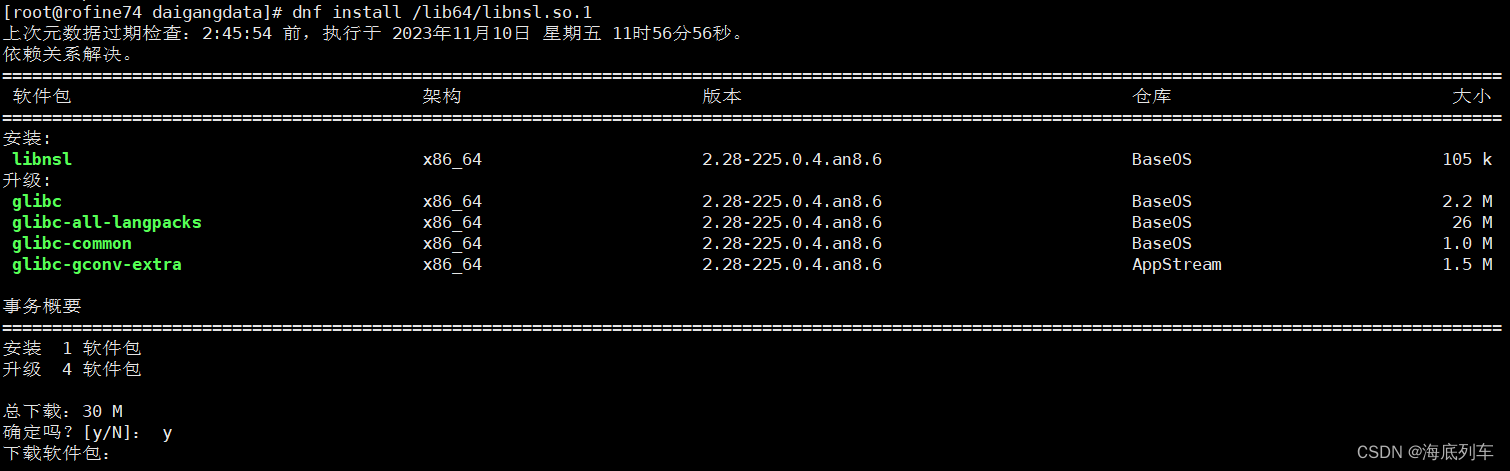
step 4:解决安装过程中报错
dnf -y install /lib64/libnsl.so.1
四、配置hosts
step 5:将本机IP和本机名添加到hosts
vim /etc/hosts
192.168.1.2 oracle
五、数据库安装
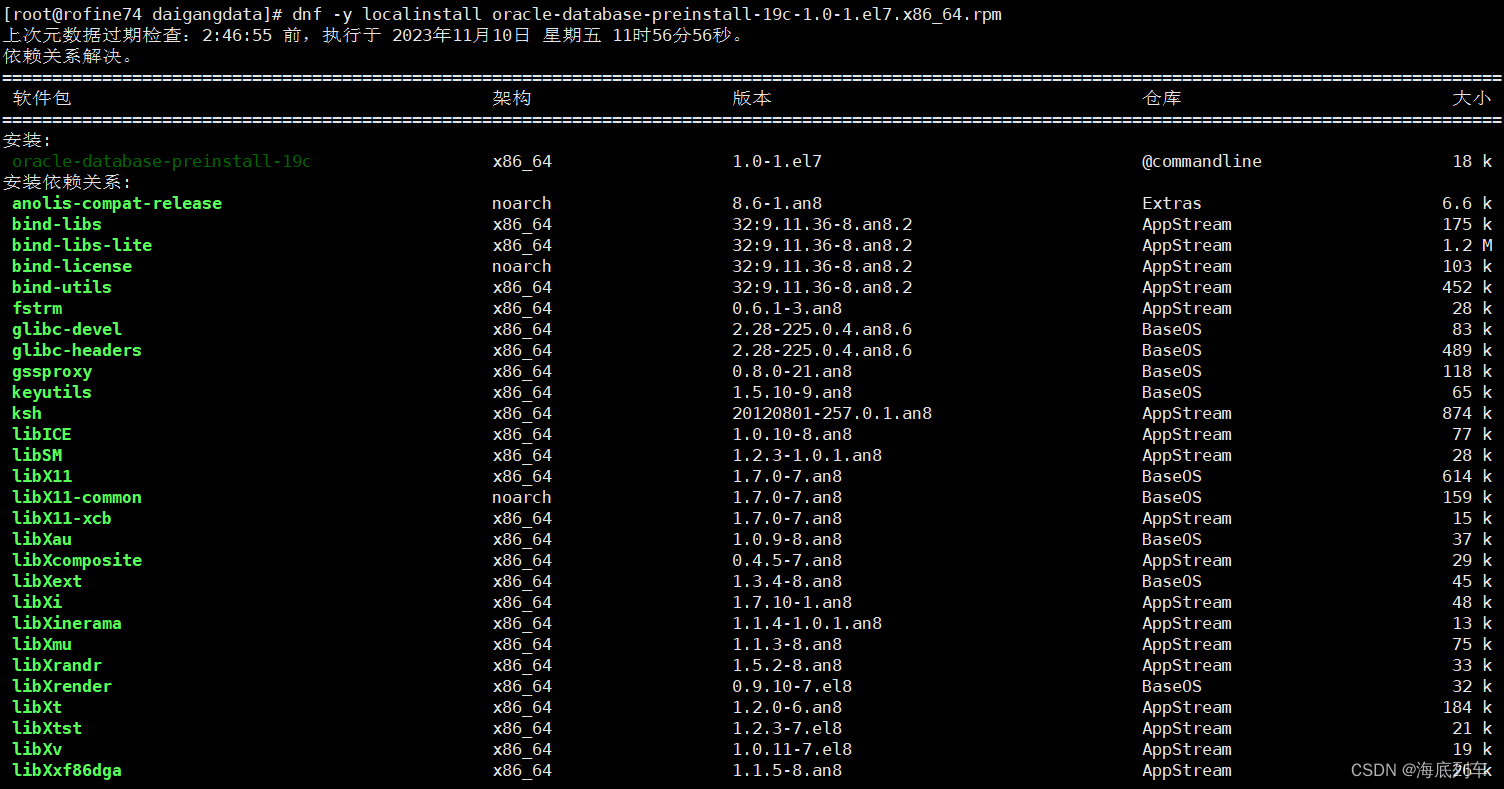
step 6:执行预安装(root用户执行)
dnf -y localinstall oracle-database-preinstall-19c-1.0-1.el7.x86_64.rpm
step 7:安装oracle(root用户执行)
dnf -y localinstall oracle-database-ee-19c-1.0-1.x86_64.rpm
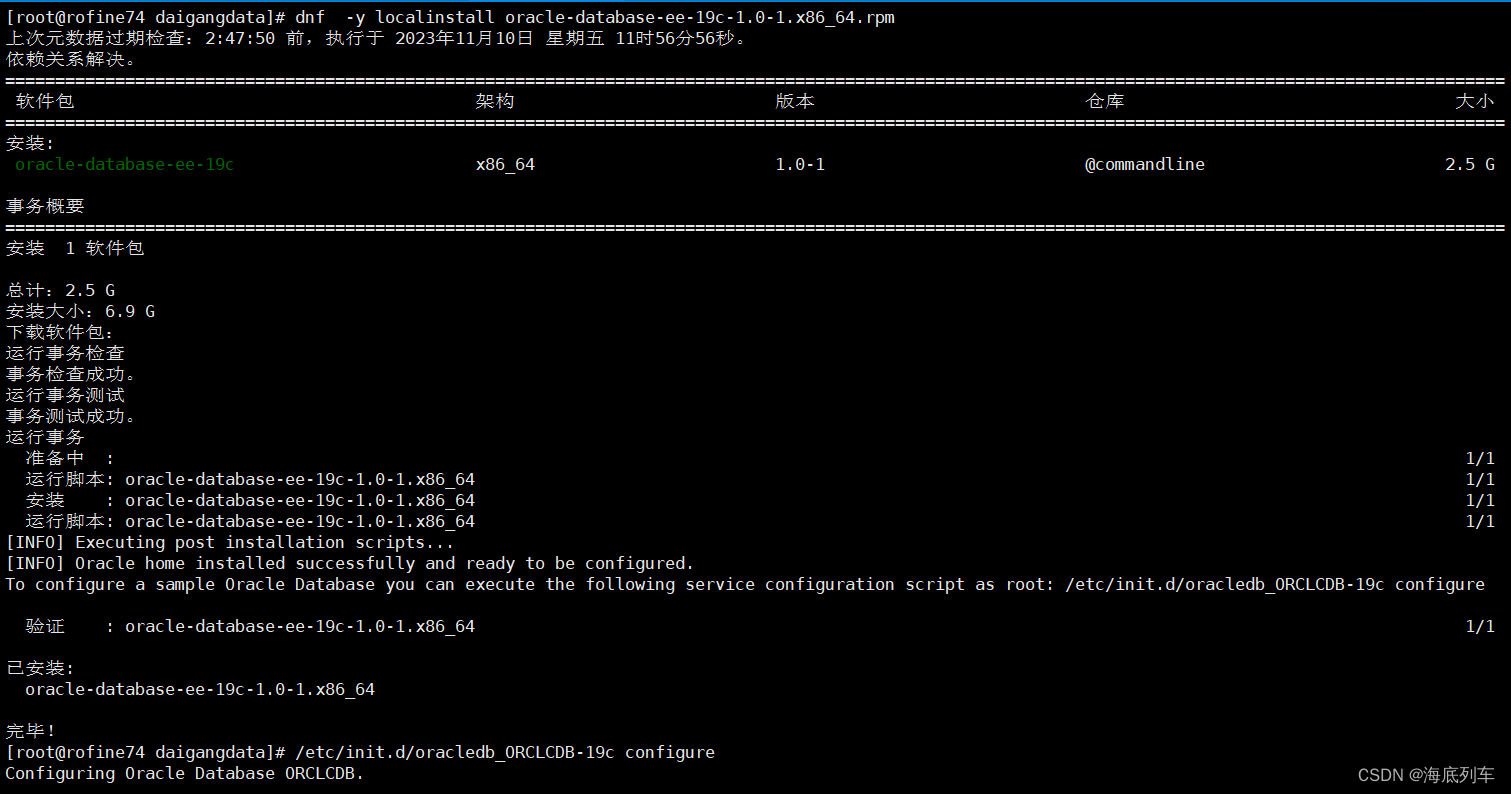
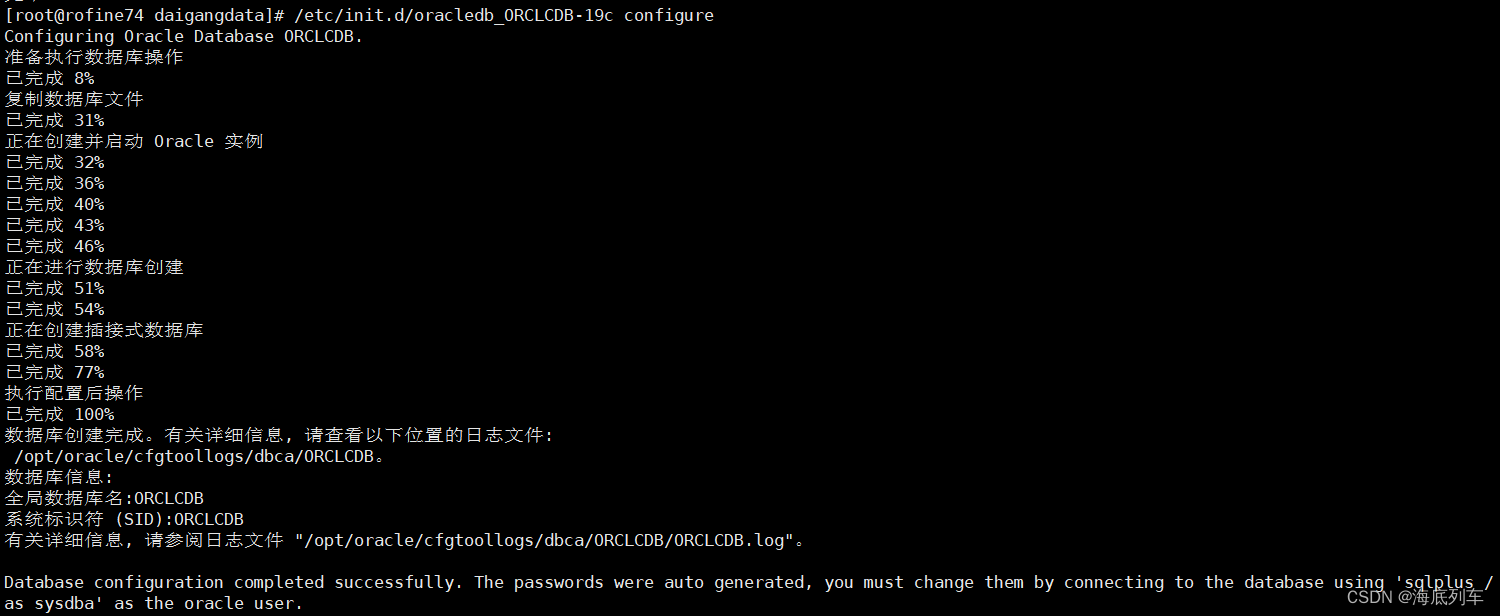
step 8:初始化数据库(root用户执行)
/etc/init.d/oracledb_ORCLCDB-19c configure
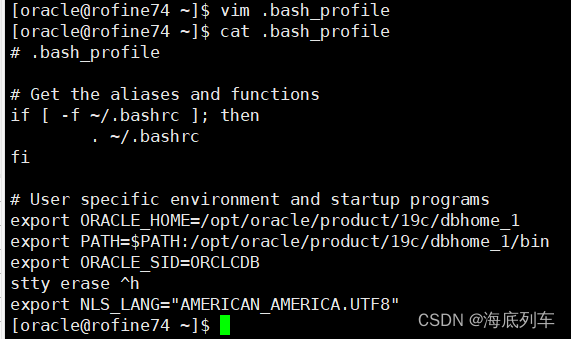
step 9:配置环境变量(oracle用户执行)
su - oracle
vi .bash_profile
export ORACLE_HOME=/opt/oracle/product/19c/dbhome_1
export PATH=$PATH:/opt/oracle/product/19c/dbhome_1/bin
export ORACLE_SID=ORCLCDB
stty erase ^h
export NLS_LANG="AMERICAN_AMERICA.UTF8"
source .bash_profile
五、数据库基本操作
1、通过sqlplus访问数据库(oracle用户执行)
sqlplus / as sysdba
2、修改system用户的密码
alter user system identified by Rofine321;
3、创建表空间
CREATE TABLESPACE JXKH LOGGING DATAFILE '/home/oracle/jxkh.dbf' SIZE 500M AUTOEXTEND ON NEXT 32M MAXSIZE 3000M EXTENT MANAGEMENT LOCAL;
4、创建临时表空间
create temporary tablespace JXKH_temp tempfile '/home/oracle/JXKH_temp.dbf' size 300m autoextend on next 32m maxsize 800m extent management local;
5、解决Oracle创建用户报ORA-65096错的解决
alter session set "_ORACLE_SCRIPT"=true;
6、创建用户
create user JXKH identified by Rofine321 default tablespace JXKH temporary tablespace JXKH_temp;
7、修改用户密码
alter user JXKH identified by Rofine321;
8、授权
grant connect,resource to JXKH;
9、ORA-01950: 对表空间 ‘USERS’ 无权限(插入数据时的报错解决)
alter user JXKH quota unlimited on users;
EOF


 1765
1765

 被折叠的 条评论
为什么被折叠?
被折叠的 条评论
为什么被折叠?
 到【灌水乐园】发言


