


WPF学习记录——布局:分割窗口(GridSplitter)
原则:


示例代码:
<Window x:Class="WpfApplication1.MainWindow"
        xmlns="http://schemas.microsoft.com/winfx/2006/xaml/presentation"
        xmlns:x="http://schemas.microsoft.com/winfx/2006/xaml"
        xmlns:d="http://schemas.microsoft.com/expression/blend/2008"
        xmlns:mc="http://schemas.openxmlformats.org/markup-compatibility/2006"
        xmlns:local="clr-namespace:WpfApplication1"
        mc:Ignorable="d"
        Title="Test" Height="223" Width="200">

    <!--This is the Grid for the entire window.-->
    <Grid>
        <!--创建三列-->
        <Grid.ColumnDefinitions>
            <ColumnDefinition></ColumnDefinition>
            <ColumnDefinition Width=" Auto"></ColumnDefinition>
            <ColumnDefinition></ColumnDefinition>
        </Grid.ColumnDefinitions>

        <!--This is the nested Grid on the lift
        It isn't subdivided furture with a spliter.-->
        <!--在grid第一列嵌套三行,垂直方向位置为stretch-->
        <Grid Grid.Column="0" VerticalAlignment="Stretch">
            <Grid.RowDefinitions>
                <RowDefinition></RowDefinition>
                <RowDefinition></RowDefinition>
            </Grid.RowDefinitions>

            <!--设置两个按钮,注意指定位置,第1行和第2行-->
            <Button Margin="3" Grid.Row="0">Top Left</Button>
            <Button Margin="3" Grid.Row="1">Bottom Left</Button>
        </Grid>

        <!--This is the vertical splitter that sits between the two nested (left and right) grids.-->
        <!--创建分割线,指定其位置为第二列,并设置其宽度为3-->
        <GridSplitter Grid.Column="1" Width="3" HorizontalAlignment="Center" VerticalAlignment="Stretch" ShowsPreview="False"></GridSplitter>

        <!--This is the nested grid on the right.-->
        <!--在Grid第三列,嵌套3行-->
        <Grid Grid.Column="2">
            <Grid.RowDefinitions>
                <RowDefinition></RowDefinition>
                <RowDefinition Height="Auto"></RowDefinition>
                <RowDefinition></RowDefinition>
            </Grid.RowDefinitions>

            <!--设置按钮-->
            <Button Grid.Row="0" Margin="3">Top Right</Button>
            <Button Grid.Row="2" Margin="3">Bottom Right</Button>

            <!--This is the horizontal splitter that subdivides it into a top and bottom region..-->
            <!--在该模块中的第2行添加分割线-->
            <GridSplitter Grid.Row="1" Height="3" VerticalAlignment="Center" HorizontalAlignment="Stretch" ShowsPreview="False"></GridSplitter>
        </Grid>
    </Grid>

</Window>
设计效果: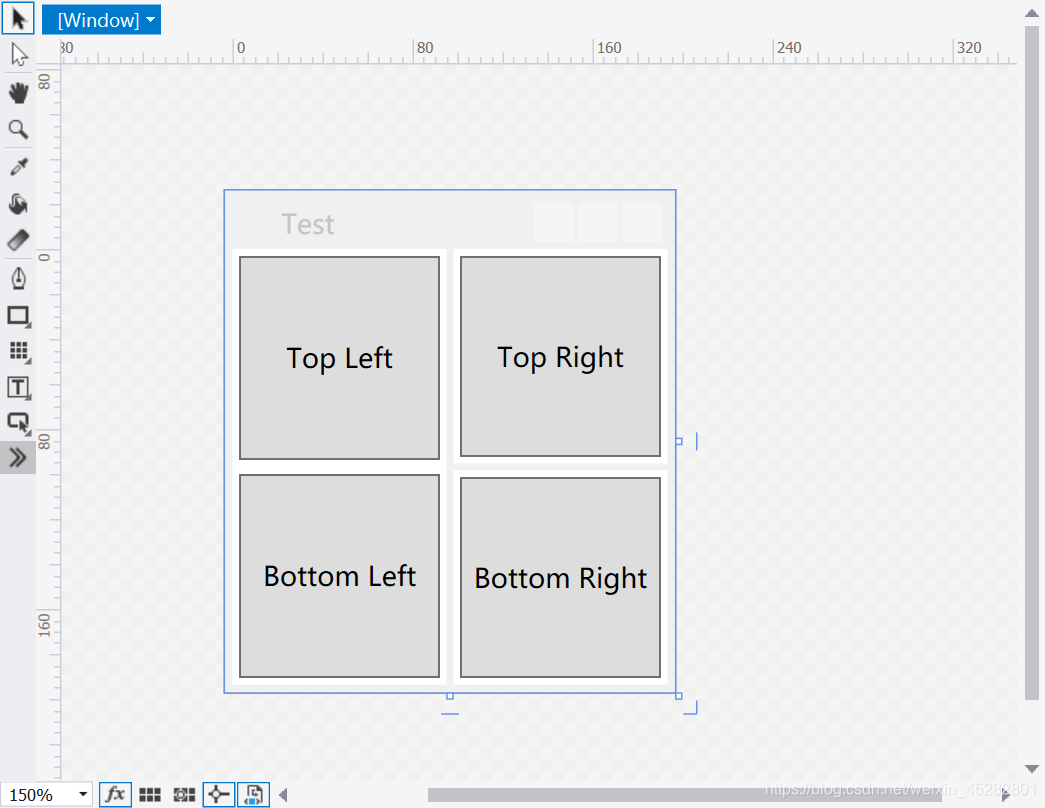
运行效果:可以看到设置的分割线位置是可以调整的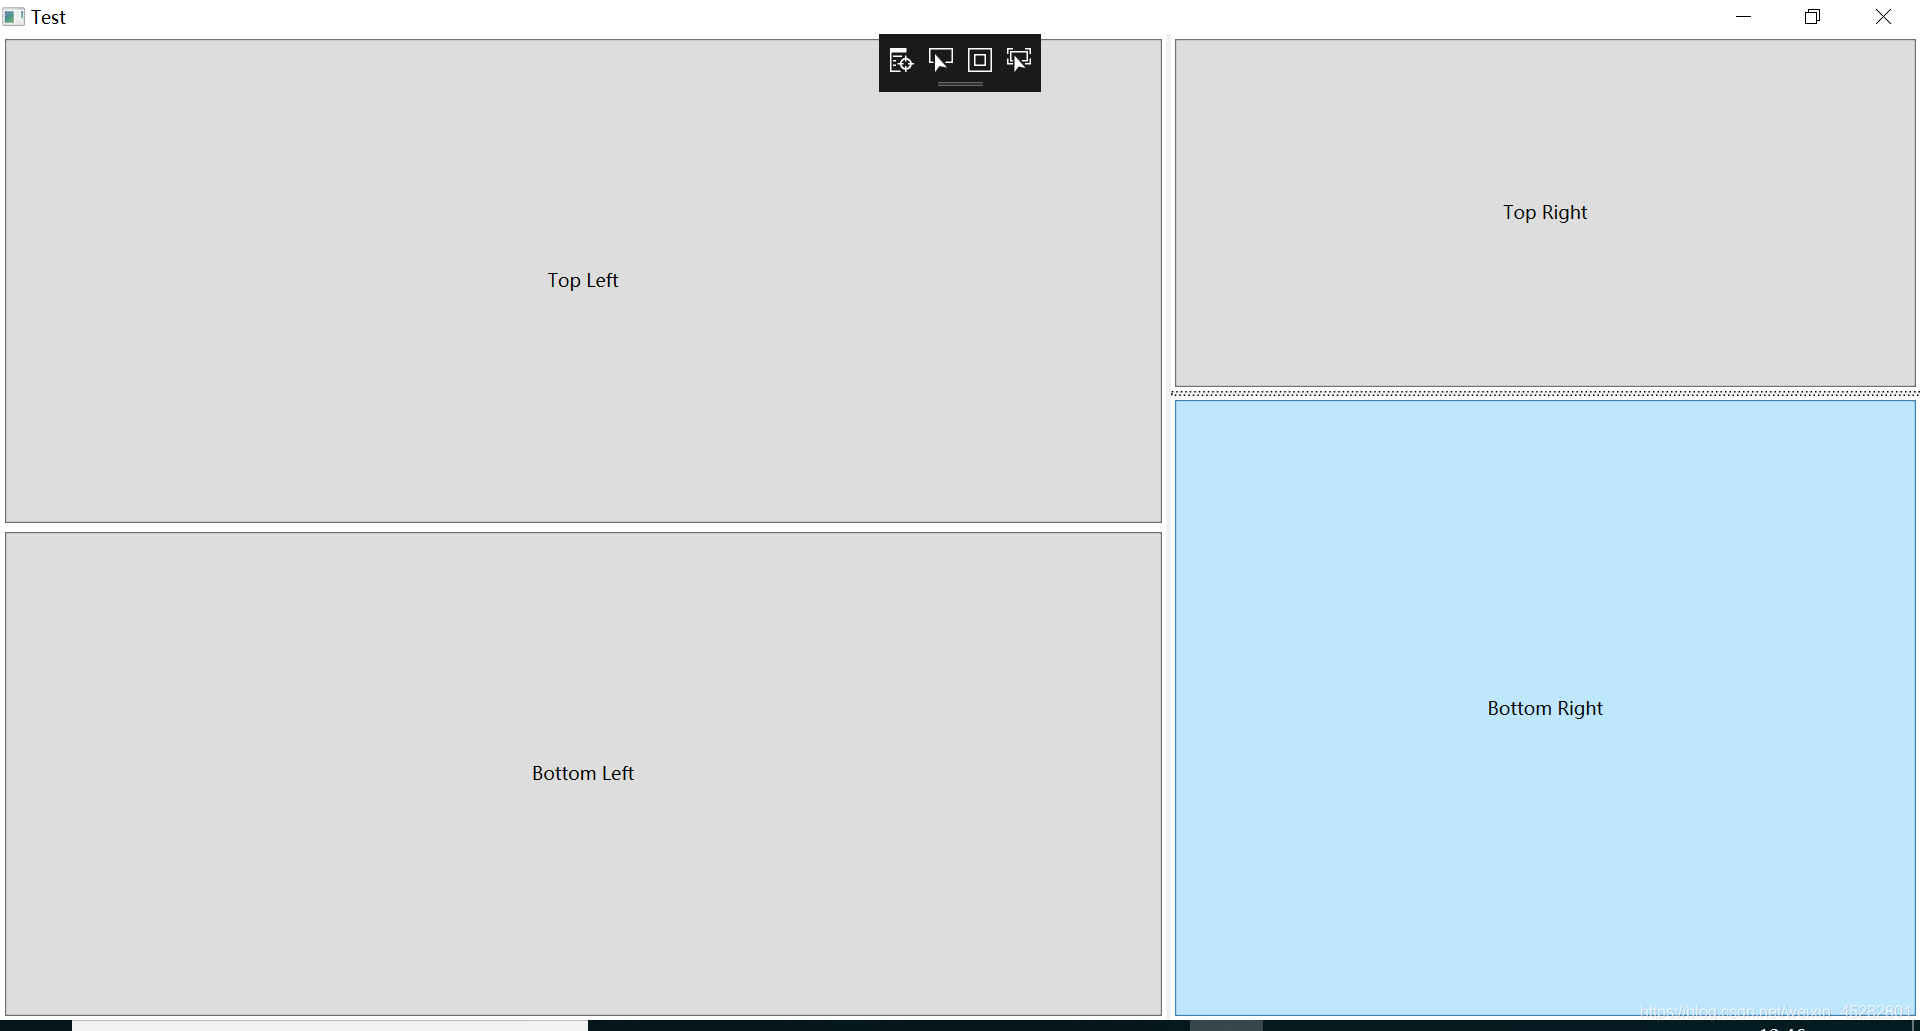
在网格中嵌套子元素我还比较混乱~继续学习子


 3084
3084

 被折叠的 条评论
为什么被折叠?
被折叠的 条评论
为什么被折叠?
 到【灌水乐园】发言


