


机器翻译:(这个项目需要配置环境 Faker==4.0.2)
导入包: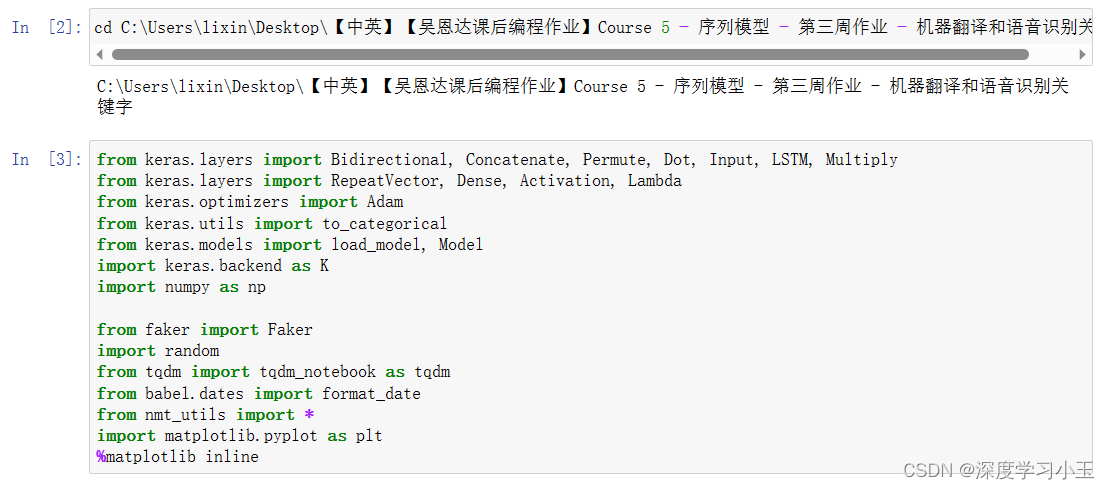
1 将人类可读的日期转换成机器可读的日期: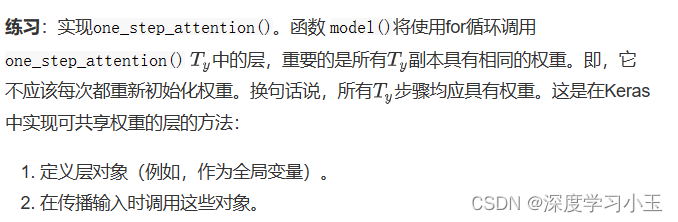
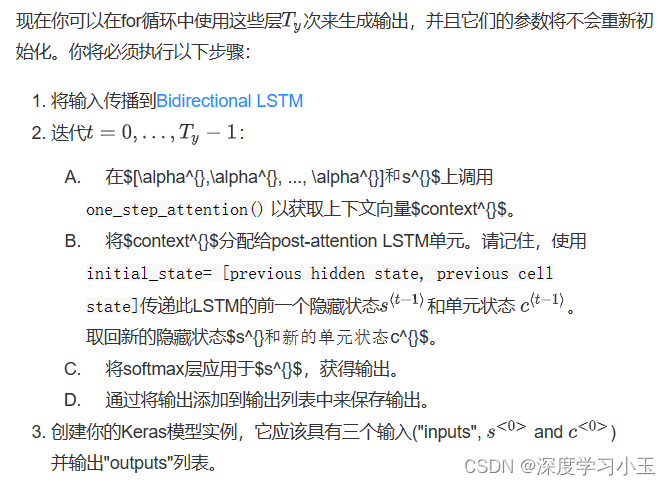
 现在你可以使用这些层来实现
one_step_attention()。 为了通过这些层之一传播Keras张量对象X,请使用layer(X)(如果需要多个输入则使用layer([X,Y]))。densor(X)将通过上面定义的 Dense(1) 层传播X。
在对model()函数进行编码之后,你将能够检查one_step_attention()的预期输出。


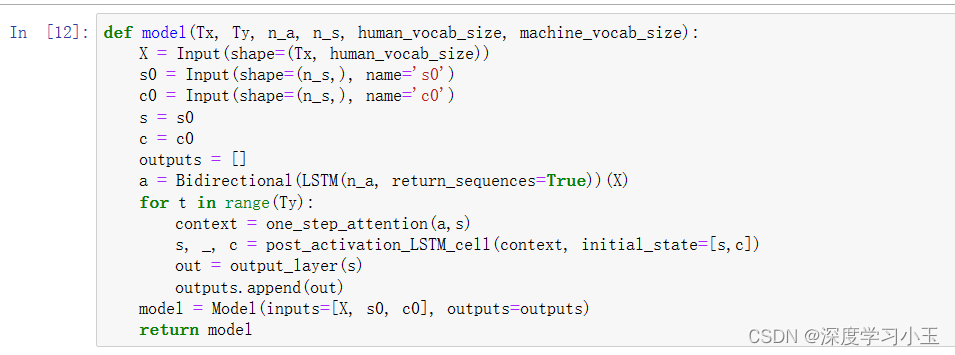


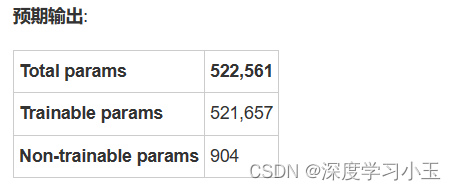
预期输出:
Here is the summary you should see
| Total params: | 185,484 |
| ------------------------------------- | --------------- |
| Trainable params: | 185,484 |
| Non-trainable params: | 0 |
| bidirectional_1's output shape | (None, 30, 128) |
| repeat_vector_1's output shape | (None, 30, 128) |
| concatenate_1's output shape | (None, 30, 256) |
| attention_weights's output shape | (None, 30, 1) |
| dot_1's output shape | (None, 1, 128) |
| dense_2's output shape | (None, 11) |
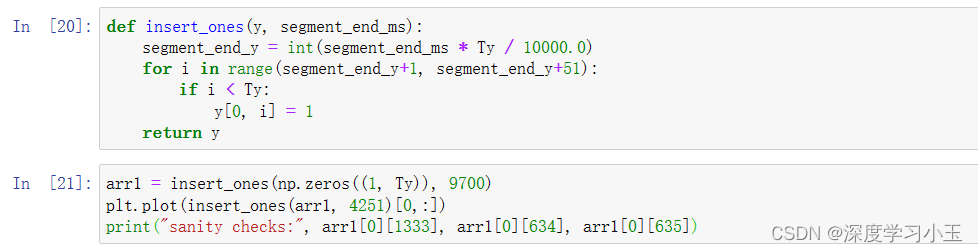
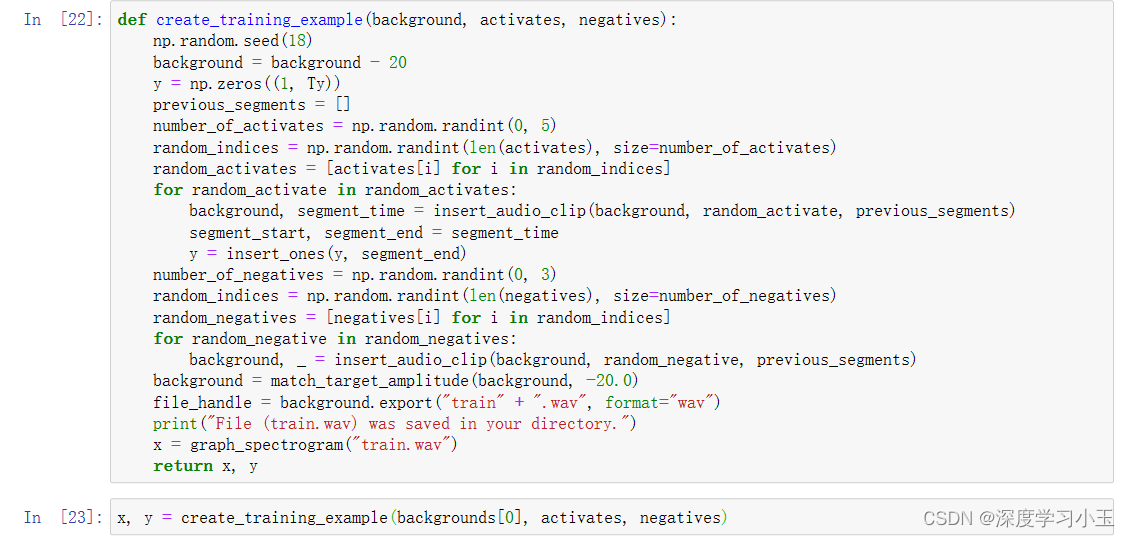
关键字语音识别:(这个项目需要配置环境 pydub==0.23.1)
导入包: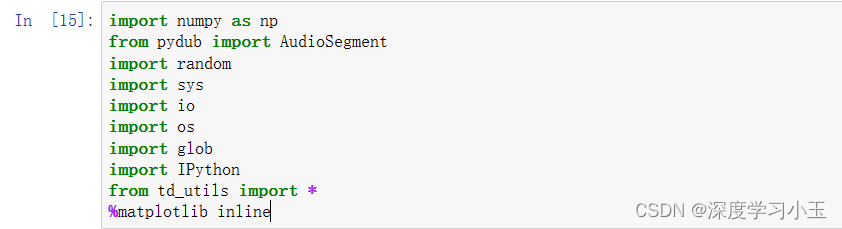


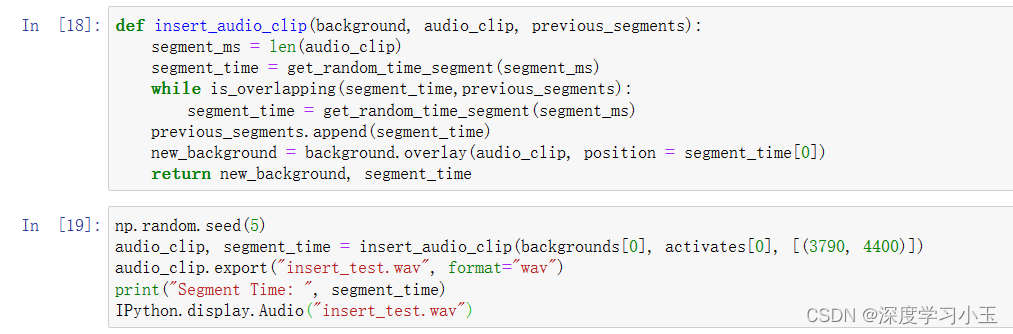
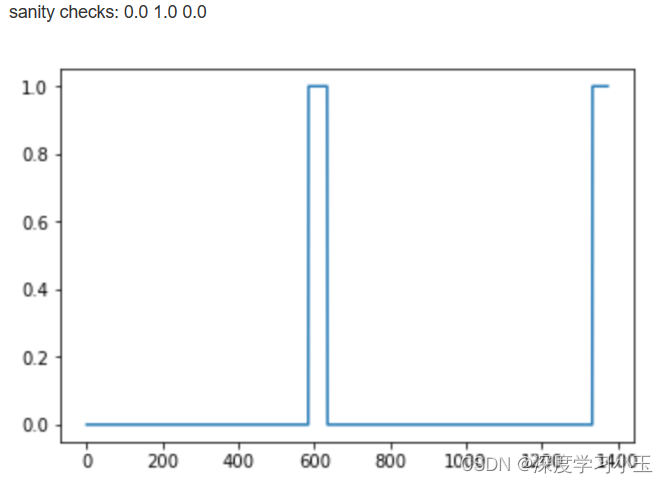
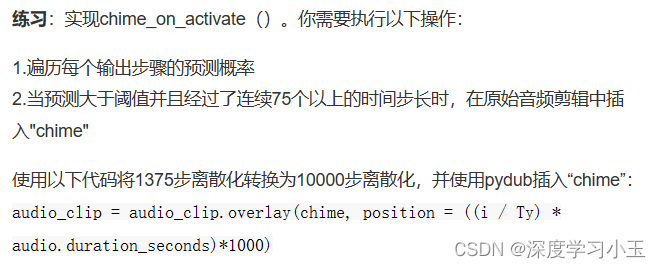
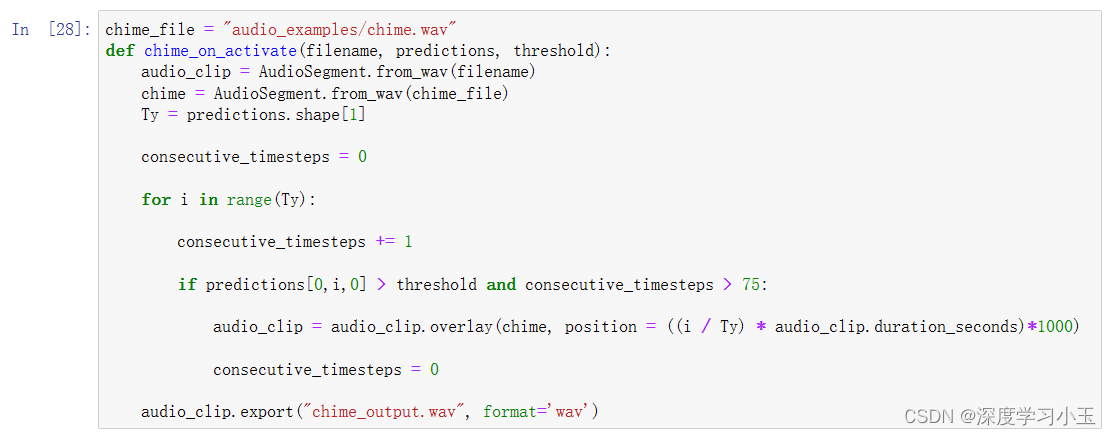
预期输出
Segment Time: (2915, 3569)
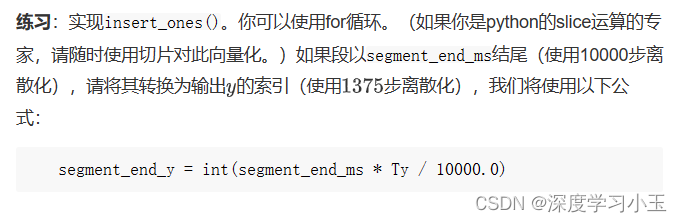
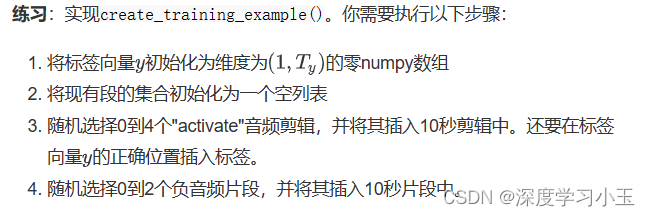

练习:实现model()
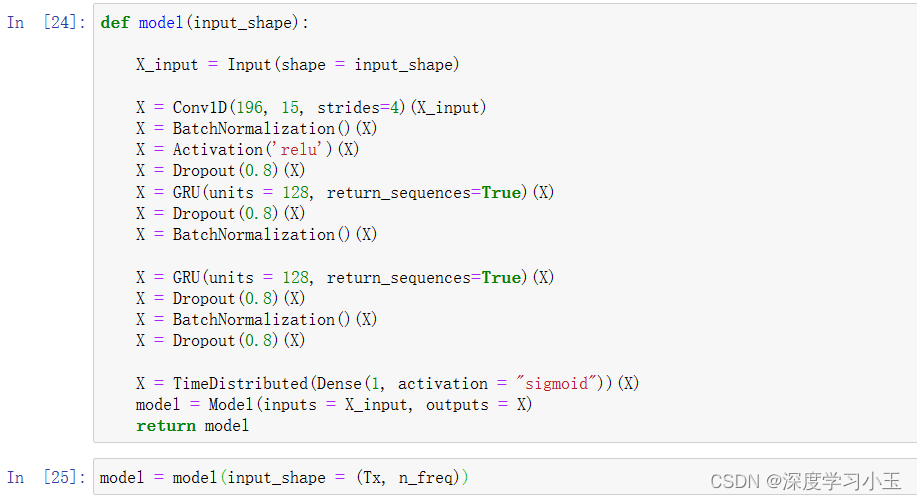

网络的输出为(None,1375,1),输入为(None,5511,101)。Conv1D将步数从频谱图上的5511减少到1375。
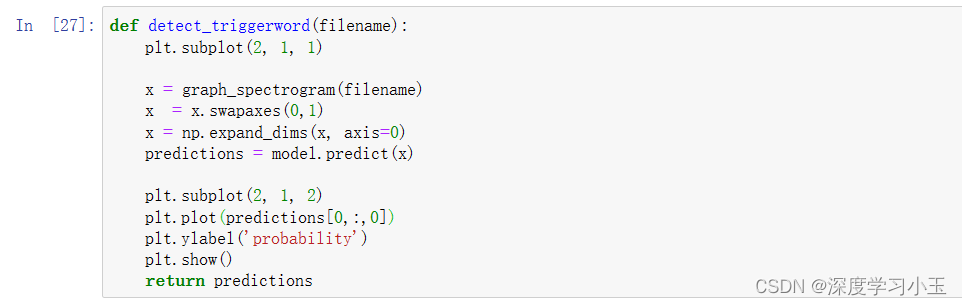
 测试开发集:
![]()
![]()


 被折叠的 条评论
为什么被折叠?
被折叠的 条评论
为什么被折叠?
 到【灌水乐园】发言


