


1、pytest单元测试框架干了啥?
(1)从多个文件中找到测试用例文件
(2)按照一定规则去执行,并生成结果
(3)通过断言判断预期结果
(4)统计测试进度,耗时、通过率,生成测试报告
2、pytest基础介绍:
(1)非常成熟的单元测试框架,可以和selenium、requests、appium结合实现web自动化、接口自动化、app自动化。
(2)pytest兼容unittest(毛坯房)框架,unittest框架迁移pytest框架不需要重写代码。
(3)可以实现测试用例的跳过、失败用例重试
(4)和allure生成美观的测试报告,比如:错误的截图
(5)与jenkins持续集成
(6)pytest(精装房,300多插件实现了实用的操作)
(7)常用插件:
pytest-html 生成html测试报告
pytest-xdist 测试用例分布式执行
pytest-ordering 测试用例的执行顺序
pytest-rerunfailures 用例失败后重跑
allure-pytest 美观的测试报告
如何一次性安装插件?
将以下内容放到根目录下的requirements.txt中,通过Terminal栏目pip install -r requirements.txt,文件内容:
pytest-html
pytest-xdist
pytest-ordering
pytest-rerunfailures
allure-pytest
pytest
(8)pytest用例编写规则是什么?
测试用例层全部以test开头,别问,问就是以test开头。文件、类、方法统统以test开头,类的首字母默认大写。你问我为啥???pytest代码逻辑就是这,你不以这开头,代码去哪找你的测试用例。还有一个,不能有init方法。
3、pytest运行方式
(1)测试用例执行方式1:
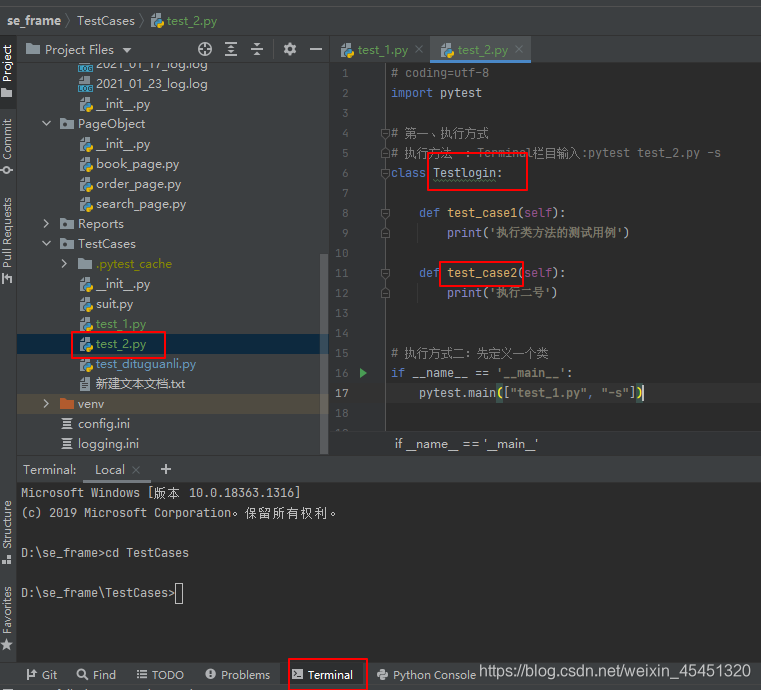
命令行中Terminal中输入【pytest -vs test_2.py】
(2)测试用例执行方式2:
令定义文件,用pytest.main()方法执行,示例:suit.py
# coding=utf-8
import pytest

if __name__ == '__main__':

    # # 执行测试用例目录(TestCase)下,所有test开头的.py文件
    pytest.main(['-vs'])
    pytest.main()

    # 执行测试用例目录(TestCase)下test_1.py的文件,这个文件跟test_2在一层
    pytest.main(['-vs','test_2.py'])

    # 执行interface_testcase目录下面的test开头的用例
    pytest.main(['-vs', 'D:\\se_frame\\interface_testcase'])

    # 失败的用例再跑2次,运用插件:pytest_rerunfailures
    pytest.main(['-vs', 'test_2.py', '--reruns=2'])

    # 执行下test_2.py下的testlogin类下的test_case1方法
    pytest.main(['-vs', 'test_2.py::Testlogin::test_004'])

    # 分布式运行,执行2个用例。运用插件:pytest-xdist
    pytest.main(['-vs', 'test_2.py', '-n=2'])

    # 根据用例的部分字符串指定测试用例,ao是用例的方法名内容
    pytest.main(['-vs', 'test_2.py', '-k=ao'])
    pytest -vs test_2.py -k "ao"

    """
    分布式结果是这样的:
    test_2.py::Testlogin::test_case1
    test_2.py::Testlogin::test_case2
    [gw1] PASSED test_2.py::Testlogin::test_case2
    [gw0] PASSED test_2.py::Testlogin::test_case1
    test_2.py::Testlogin::test_case4
    test_2.py::Testlogin::test_case3
    [gw0] PASSED test_2.py::Testlogin::test_case3
    [gw1] FAILED test_2.py::Testlogin::test_case4
    """

(3)测试用例执行方式3:通过pytest.ini运行,核心配置文件,
    # 位置:项目根目录,
    # 编码格式:ANSI编码(notepad++转格式)
    # 运行规则:主函数、命令行执行用例都会读取配置文件
    # 文件内容:干掉标注,转成ANSI格式
    """
    [pytest]
    # pytest执行用例的参数,空格分开,这里加了-vs,你用pytest执行用例,就不用加了
    addopts = -vs --html ./report/report.html
    # 测试用例文件夹,可以自己配置
    testpaths = D:\se_frame\TestCases
    # 配置测试搜索的测试类名
    python_classes = Test*
    # 配置测试搜索的测试函数名
    python_functions = test
    # 分模块执行用例
    markers =
        smoke:冒烟用例
        usermange:用户管理模块
        product:产品模块
    """

# 执行用例的顺序是:
    # 按照@pytest.mark.run(order=2)这个order的值来排序
#如何执行冒烟用例?分模块执行?分接口?分web?>>>配置文件
# (1)用例上加标记 @pytest.mark.xxx 例如冒烟用例:@pytest.mark.smoke
# (2)配置文件进行配置
# # 执行了冒烟用例、product模块
# pytest.main([’-vs’, ‘test_2.py’, ‘-m= smoke or product’])
4、生成测试报告?
第一种报告:pytest.ini加--html 路径。运行用例即可生成测试报告,举例如下:
pytest配置文件详解:https://blog.csdn.net/weixin_45451320/article/details/113916427
pytest.ini
参数详解:
-s 表示输出信息,包括print打印的信息
-v 表示更相信的信息
-vs 一般一起用
-n 支持分布式运行测试用例
-k 根据用例的部分字符串指定测试用例
--html 路径 生成测试报告

"""
[pytest]
addopts = -vs --html D:\\se_frame\\Reports\\report.html
testpaths = D:\se_frame\TestCases
python_classes = Test*
python_functions = test
markers =
    smoke:冒烟用例
    usermange:用户管理模块
    product:产品模块
"""
# 第二种报告:
allure-pytest【项目基本用这个,自动截图失败用例,自动记录失败异常,美观好看各种好】
https://blog.csdn.net/weixin_45451320/article/details/113916870
5、pytest.main()示例:
# coding=utf-8
import pytest
import time


class Testlogin:

    # 装饰器:标记用例执行的顺序,用的插件:pytest-ordering
    @pytest.mark.run(order=2)
    @pytest.mark.smoke
    def test_case_03(self):
        time.sleep(3)
        print('一只小黄狗')

    @pytest.mark.product
    @pytest.mark.run(order=1)
    def test_case_02(self):
        time.sleep(3)
        print('一只小红狗')

    @pytest.mark.run(order=3)
    def test_case_04(self):
        time.sleep(3)
        print('一只小绿狗')

    @pytest.mark.run(order=4)
    def test_case4_01_ao(self):
        time.sleep(3)
        print('一只小花狗')
        assert 1==2

# def test_004():
#     print('函数')


 1078
1078


 被折叠的 条评论
为什么被折叠?
被折叠的 条评论
为什么被折叠?
 到【灌水乐园】发言


