


苍穹外卖前台笔记整理–Day01
一、Vue基础回顾
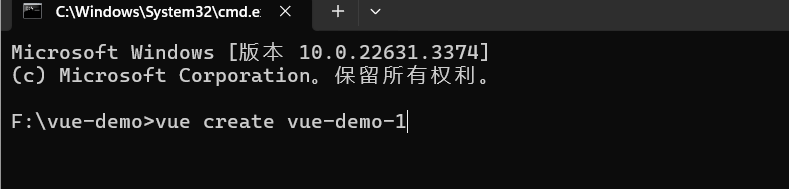
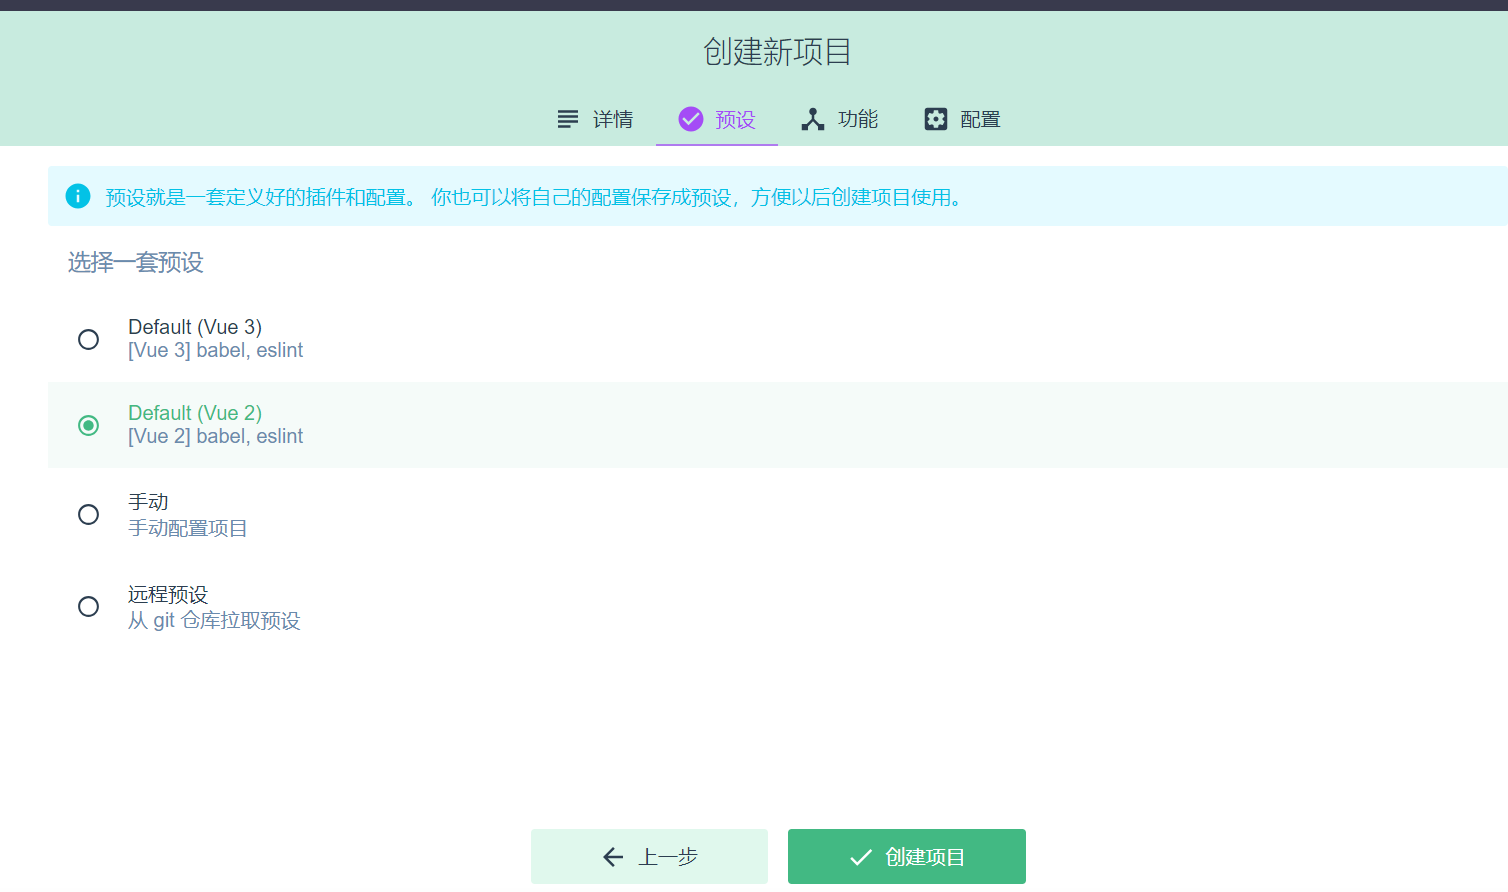
1、基于脚手架创建前端工程
- 方式一:使用 vue create 项目名称(使用的较少,切记一定要是在非中文目录下)
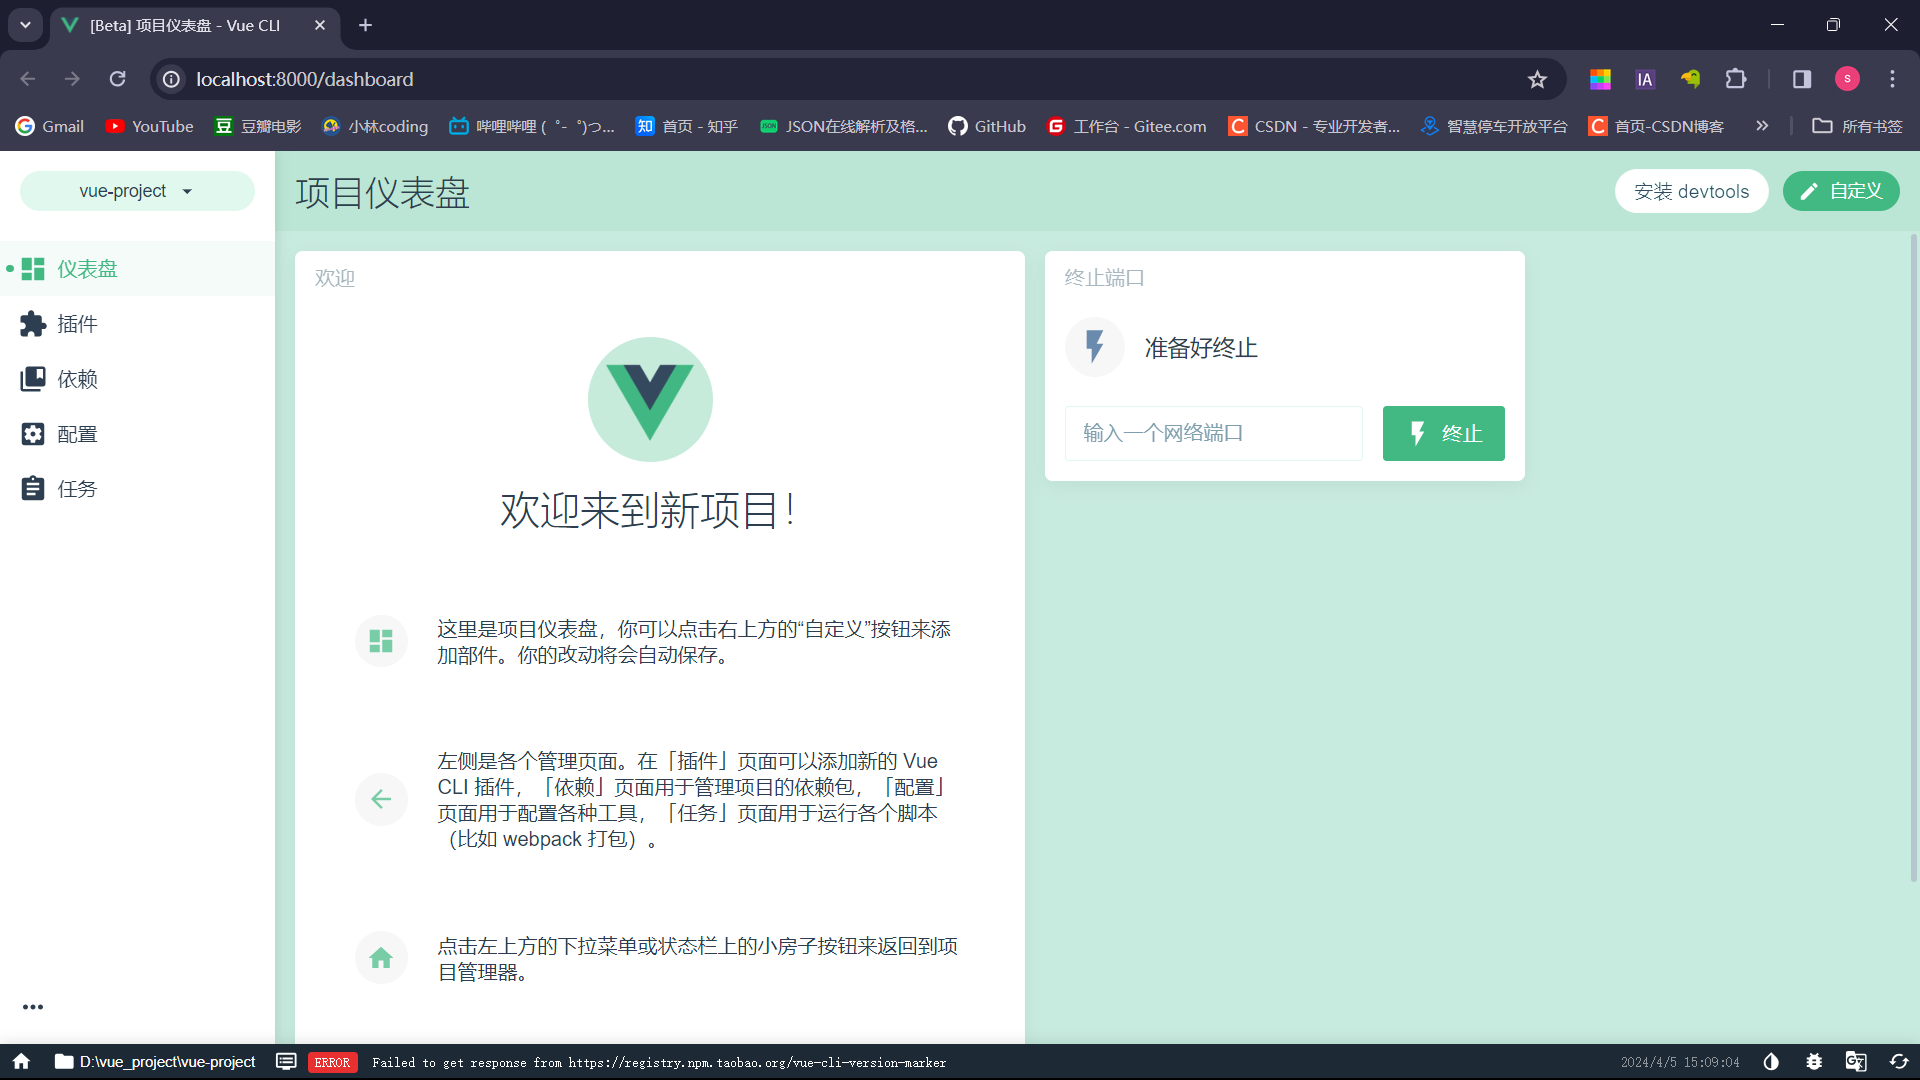
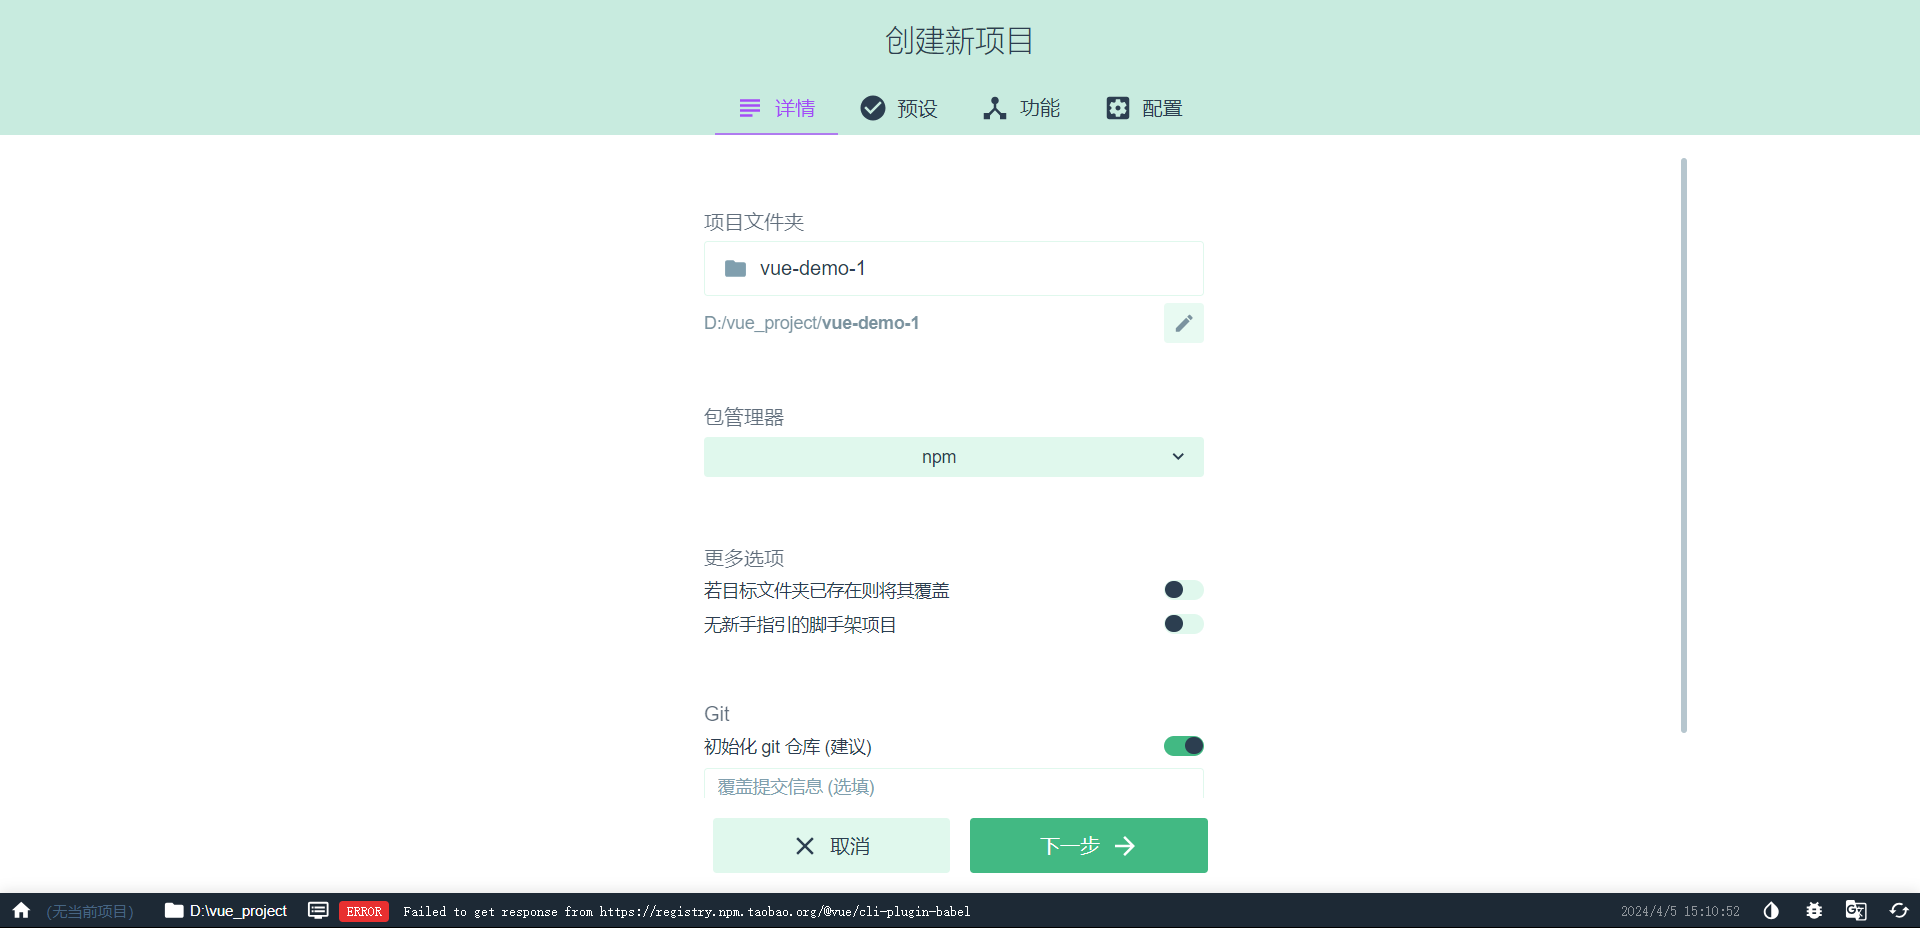
- 方式二:使用 vue ui(经常使用)
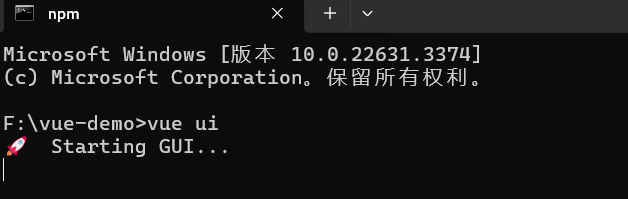
在浏览器中会自动打开一个默认端口为8000的vue项目管理器
2、Vue项目结构
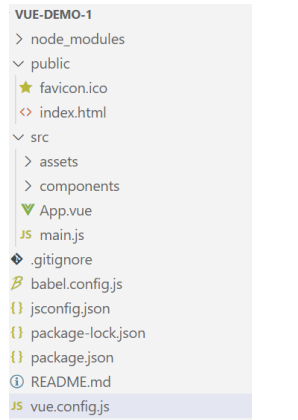
- node_modules:当前项目所依赖的JS包
- assets:静态资源存放的目录
- components:公共组件存放的目录
- App.js:项目的主组件,页面的入口文件
- main.js:整个项目的入口文件
- package.json:项目的配置信息、依赖包管理
- vue.config.js:vue-cli的配置文件
3、Vue项目启动
1、将Vue项目导入到VSCode中
2、打开终端,输入命令 npm run serve
3、停止项目的命令 ctrl + C
二、Vue的基本使用
1、Vue组件
Vue的组件是以.vue结尾的文件,只要是由<template>、<script>、<style>三部分组成
- 结构元素<template> 整个页面的一些HTML代码,只能有一个<div>根元素,再写一个和根元素平级的<div>会报错
- 逻辑元素<script> 编写JS代码,控制模版数据的来源和行为
- 样式元素<style> 编写CSS样式代码 控制页面的布局(全局样式[影响所有的组件]和局部样式[只影响当前组件])
2、Vue组件 – 文本插值
-
作用:用于绑定data()方法中的返回的对象属性
-
使用方式:在结构元素<template> 中的html代码中使用{{ 对象属性名称 }}
<template>
  <div class="hello">
    <h1>{{ name }}</h1>
    <h1>{{ age > 18 ? '成年' : '未成年'}}</h1>
  </div>
</template>

<script>
export default {
  name: 'HelloWorld',
  data() {
    return {
      name: '张三',
      age: 15
    }
  }
}
</script>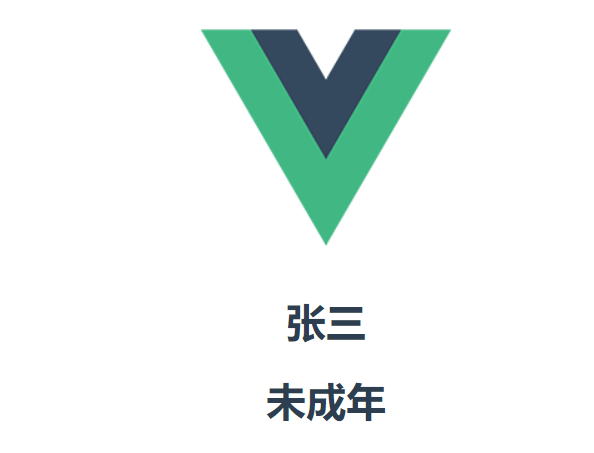
3、Vue组件 – 属性绑定
-
作用:为结构元素绑定data()方法中的属性
-
使用方式:使用v-bind:xxx或者:xxx
<template>
  <div class="hello">
    <h1>{{ name }}</h1>
    <h1>{{ age > 18 ? '成年' : '未成年'}}</h1>
    <div><input type="text" v-bind="name"></div> //这种的写法是错误的,输入框中没有值
    <div><input type="text" v-bind:value="name"></div>
    <div><input type="text" :value="age"></div>
    <div><img :src="src"/></div>
  </div>
</template>

<script>
export default {
  name: 'HelloWorld',
  data() {
    return {
      name: '张三',
      age: 15,
      src: "https://www.itcast.cn/2018czgw/images/logo2.png"

    }
  }
}
</script>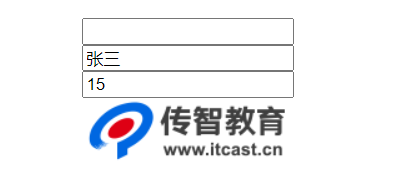
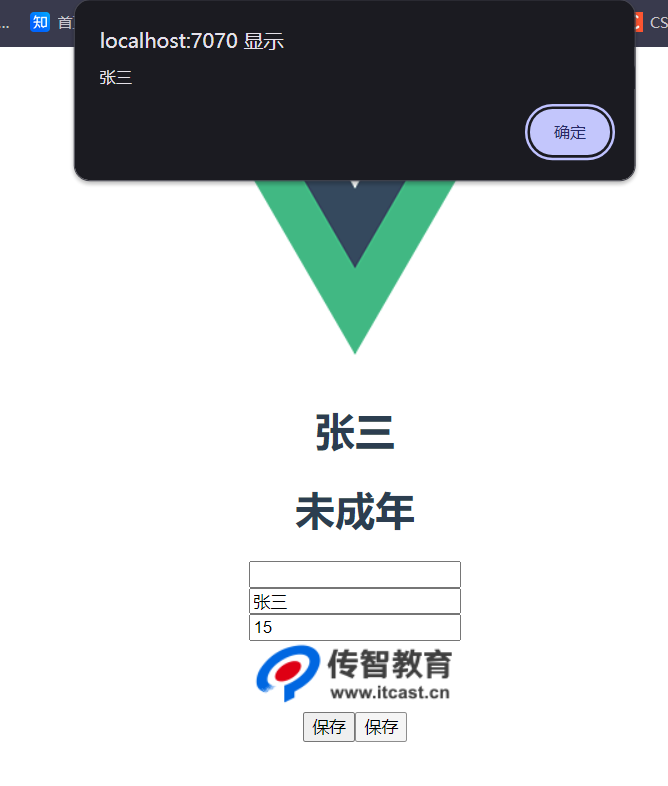
4、Vue组件 – 事件绑定
- 作用:为结构元素中的元素绑定对应的事件
- 使用方式:使用v-on:xxx或者@xxx
<template>
  <div class="hello">
    <h1>{{ name }}</h1>
    <h1>{{ age > 18 ? '成年' : '未成年'}}</h1>
    <div><input type="text" v-bind="name"></div>
    <div><input type="text" v-bind:value="name"></div>
    <div><input type="text" :value="age"></div>
    <div><img :src="url"/></div>
    <input type="button" value="保存" v-on:click="handSave()">
    <input type="button" value="保存" @click="handSave()">
  </div>
</template>

<script>
export default {
  name: 'HelloWorld',
  data() {
    return {
      name: '张三',
      age: 15,
      url: "https://www.itcast.cn/2018czgw/images/logo2.png"

    }
  },
  methods:{
    handSave() {
      alert(this.name)
    }
  }
}
</script>
5、Vue组件 – 双向绑定
- 作用:为结构元素中的表单元素和data方法中值实现双向绑定,任何一方改变都会同步给另外一方
- 使用方式:使用v-model
<template>
  <div class="hello">
    <h1>{{ name }}</h1>
    <h1>{{ age > 18 ? '成年' : '未成年'}}</h1>
    <div><input type="text" v-bind="name"></div>
    <div><input type="text" v-bind:value="name"></div>
    <div><input type="text" :value="age"></div>
    <div><img :src="url"/></div>
    <input type="button" value="保存" v-on:click="handSave()">
    <input type="button" value="保存" @click="handSave()">
    <h2>双向绑定</h2>
    <input type="text" v-model="name"/>
    <input type="button" value="改变" @click="handChange()"/>
  </div>
</template>

<script>
export default {
  name: 'HelloWorld',
  data() {
    return {
      name: '张三',
      age: 15,
      url: "https://www.itcast.cn/2018czgw/images/logo2.png"

    }
  },
  methods:{
    handSave() {
      alert(this.name)
    },
    handChange() {
      this.name = '李四'
    }
  }
}
</script>

6、Vue组件 – 条件渲染
- 作用:根据表达式的值来动态渲染页面的元素
- 使用方式:使用v-if、v-else、v-else-if
<template>
  <div class="hello">
    <h1>{{ name }}</h1>
    <h1>{{ age > 18 ? '成年' : '未成年'}}</h1>
    <div><input type="text" v-bind="name"></div>
    <div><input type="text" v-bind:value="name"></div>
    <div><input type="text" :value="age"></div>
    <div><img :src="url"/></div>
    <input type="button" value="保存" v-on:click="handSave()">
    <input type="button" value="保存" @click="handSave()">
    <h2>双向绑定</h2>
    <input type="text" v-model="name"/>
    <input type="button" value="改变" @click="handChange()"/>
    <h2>条件渲染</h2>
  <div v-if="name == '张三'">
    张三
  </div>
  <div v-else-if="name == '赵四'">
    赵四
  </div>
  <div v-else>
    未知
  </div>
  </div>
</template>

<script>
export default {
  name: 'HelloWorld',
  data() {
    return {
      name: '张三',
      age: 15,
      url: "https://www.itcast.cn/2018czgw/images/logo2.png"

    }
  },
  methods:{
    handSave() {
      alert(this.name)
    },
    handChange() {
      this.name = '李四'
    }
  }
}
</script>

7、Vue组件 – axios请求库
Axios是一个基于promise的网络请求库,作用于浏览器和Node.js中
安装命令
npm install axios
导入命令
import axios from 'axios'
axios的API列表
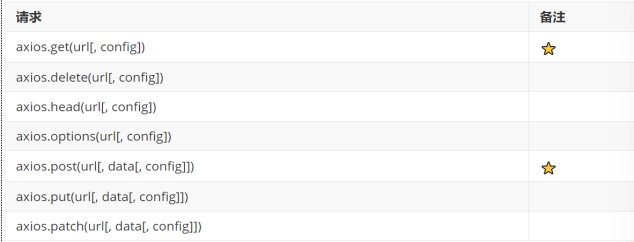
url:请求路径
data:请求体,最常见的是JSON格式
config:配置参数,可设置查询参数、请求头信息
-
使用axios最大的问题—跨域
在vue.config.js中配置代理
const { defineConfig } = require('@vue/cli-service')
module.exports = defineConfig({
  transpileDependencies: true,
  devServer:{
    port:7070,
    proxy: {}
    '/api': {
      target: "https://localhost:8080",
      pathRewrite: {
        '^/api'
      }
    }
  }
})
使用案例
 <h2>axios网络请求</h2>
    <div>
      <button @click="handHttp()">点击请求</button>
    </div>
handHttp() {
axios.post("https://localhost:8080/admin/employee/login",{
        username : 'admin',
        password: '123456'
    }).then(
      res => {
        console.log(res.data)
  })
  }
注 axios库要使用的话必须在method方法中里使用
-
axios统一使用的方式
   handHttp() {
      axios.post({
        url:'api/employee/login',
        method: 'post',
        data:{
          username:'admin',
          password:'123456'
        }
      }).then(res => {
        console.log(res.data)
      })
  }
三、路由Vue-Router
1、Vue-Router介绍
浏览器中访问不同的网址对应不同的页面,这就是所谓的路由的概念
-
Vue通过使用Vue-Router来实现路由功能,需要安装vue-router库,安装命令如下:
npm install vue-router
2、路由配置
- 路由组成
- 路由表(路由器)VueRouter
- 路由链接组件<router-link>,浏览器会解析成<a>标签
- 路由视图组件<router-view>
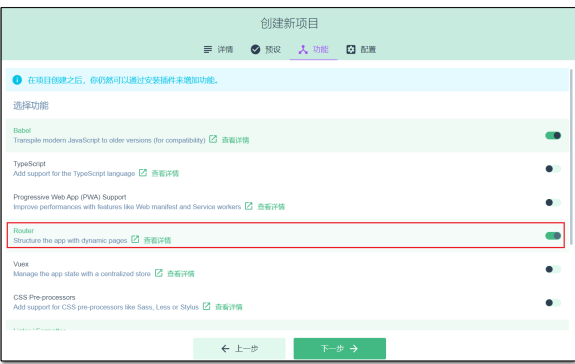
使用Vue UI来创建vue项目的时候可以增加Router
-
路由路径和视图对应关系
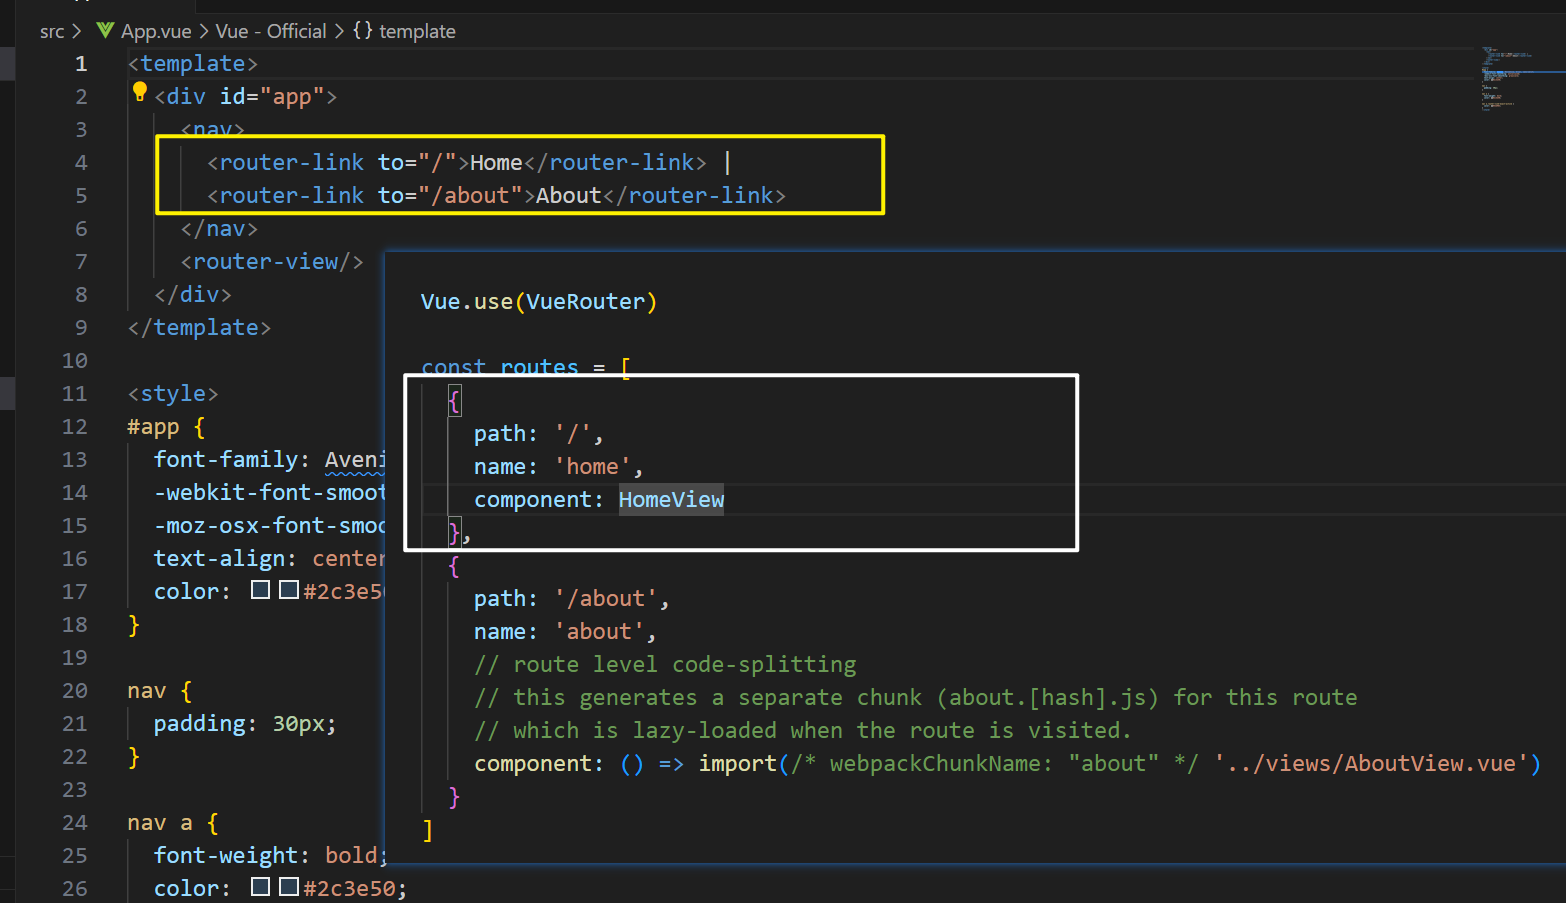
<template>
<div id="app">
<nav>
<router-link to="/">Home</router-link> |
<router-link to="/about">About</router-link>
<input type="button" value="编程式路由跳转" @click="jump()"/>
</nav>
<router-view/>
</div>
</template>
<script>
export default {
methods:{
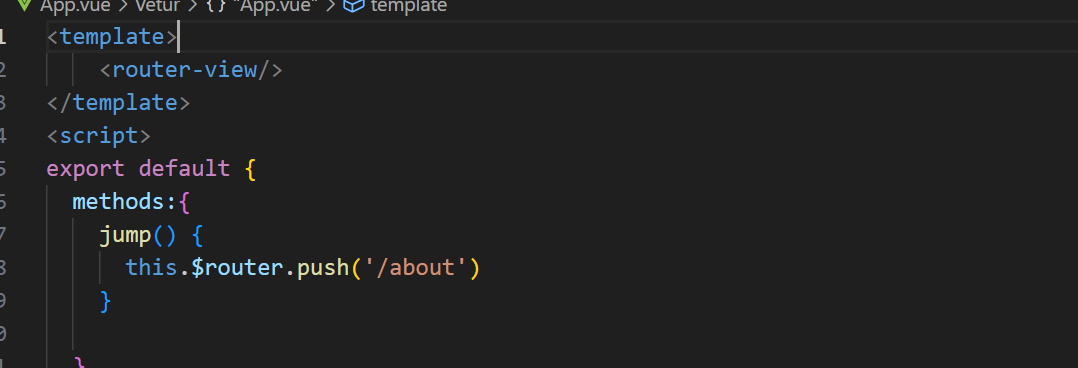
jump() {
this.$router.push('/')
}
}
}
</script>
this.$router是为了获取路有对象
push()方法是跳转到对应的url
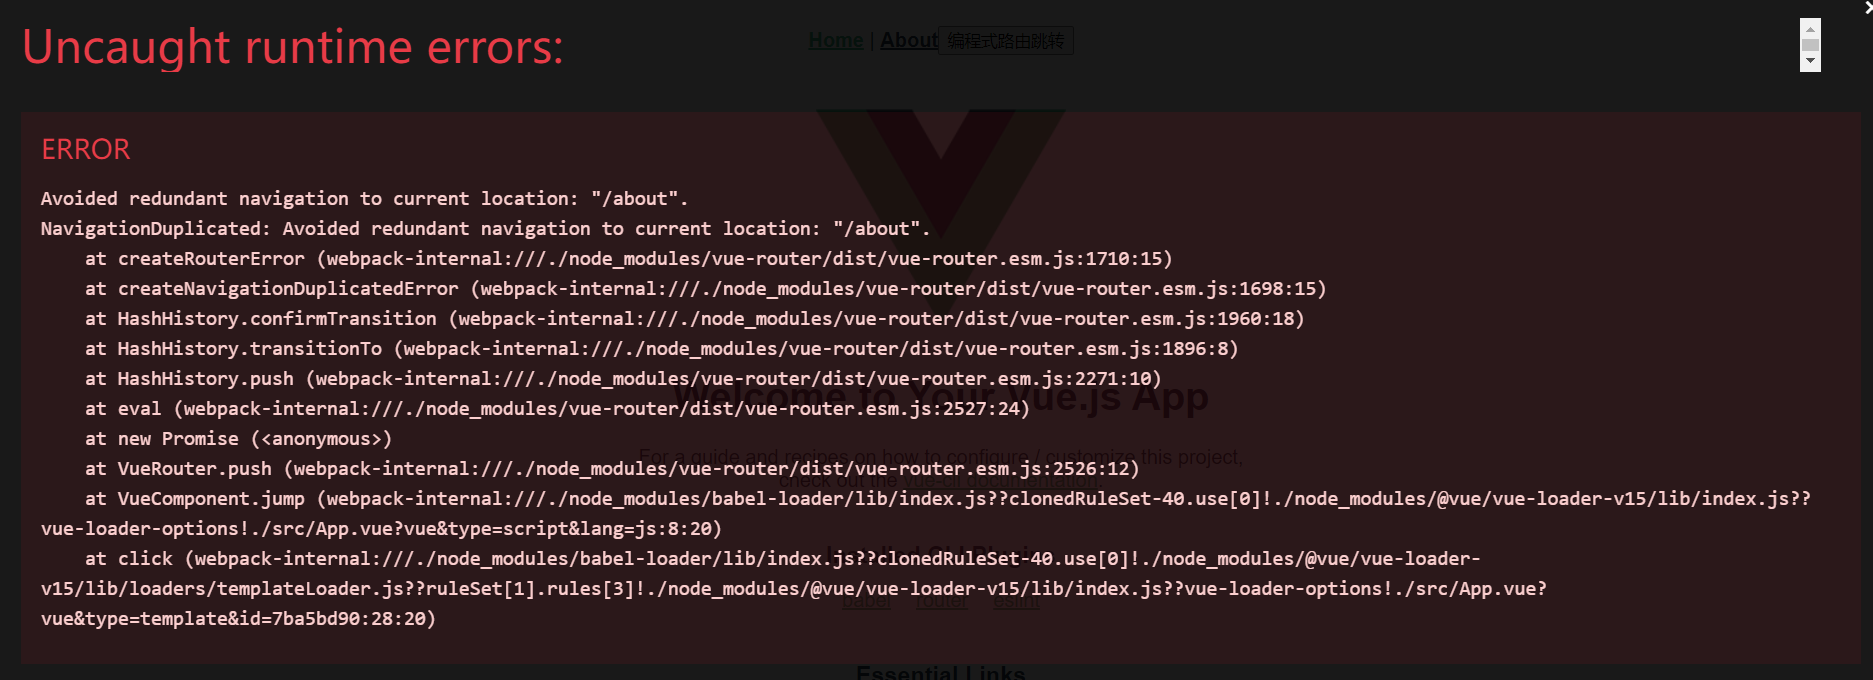
错误原因:跳转到当前页报错
解决办法:将this. r o u t e r . p u s h ( " / " ) 改为 t h i s . router.push("/")改为this. router.push("/")改为this.router.push(“/about”)

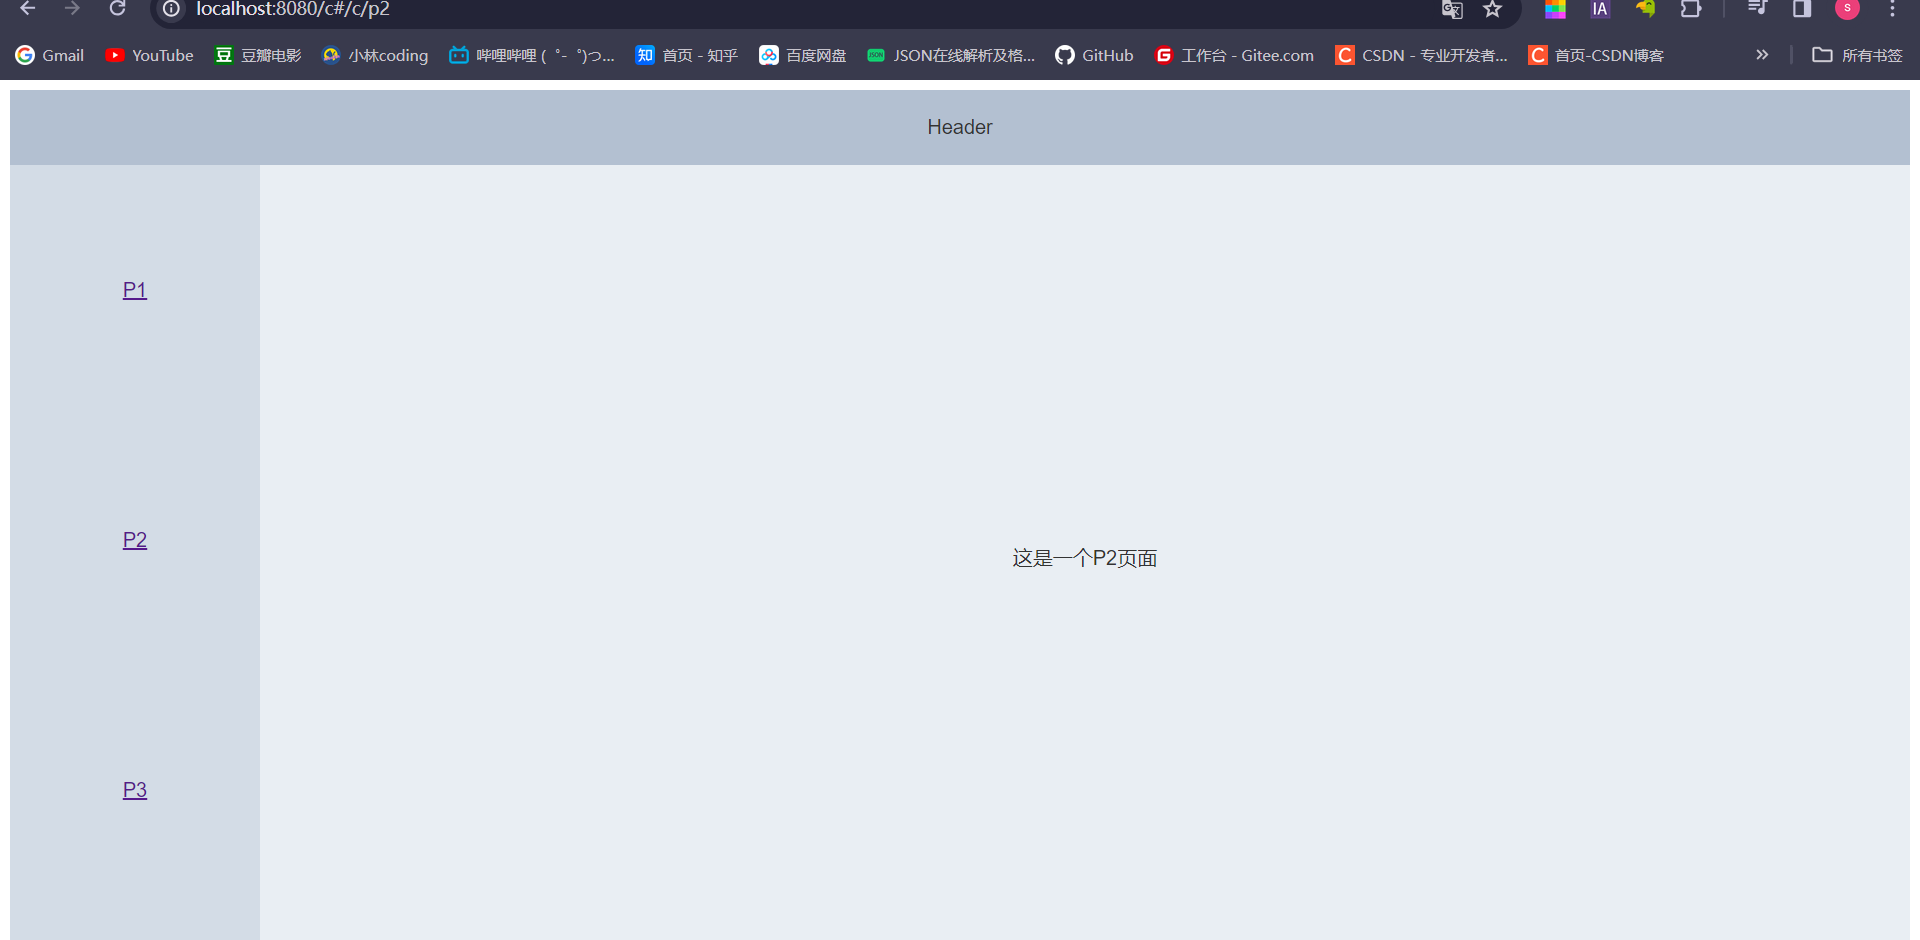
3、嵌套路由
前套路由即是页面的主框架不变,地址变化的时候只有菜单页面变化
- 实现步骤
- 安装elementui,使用页面布局(Container布局容器)
- 提供子视图组件
- 在src/router/index.js中添加映射规则
- 在布局容器中添加<router-view>,实现子视图组件展示
- 在布局容器中添加<router-link>,实现路由请求

报错原因:Container不符合Vue推荐的命名方式,应该是驼峰式的形式,比如:ContainerView.vue
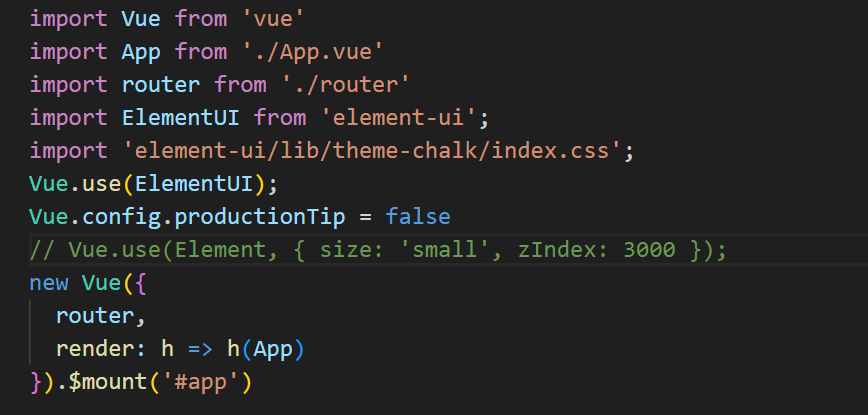
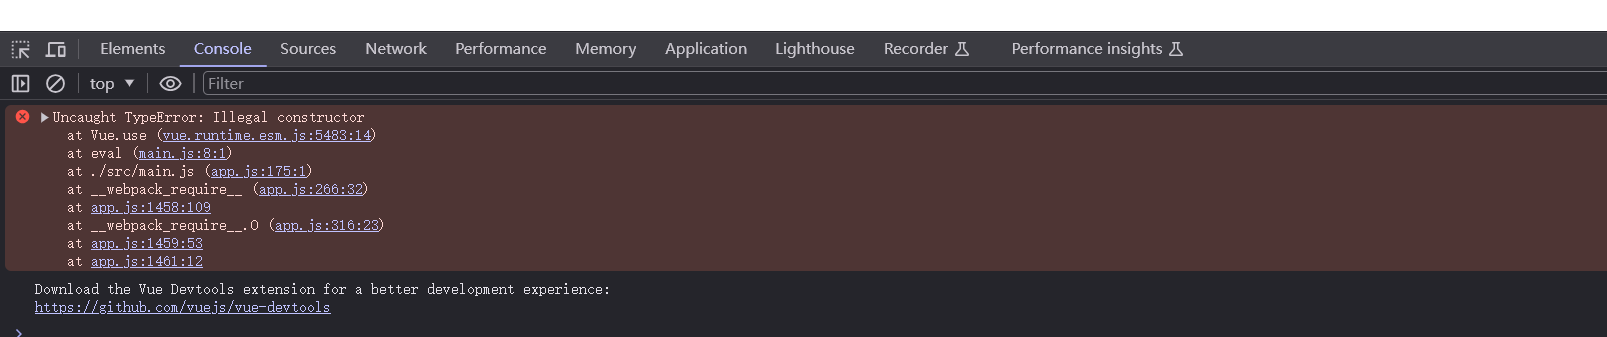
ElementUI使用上述注释方式写的话会报错
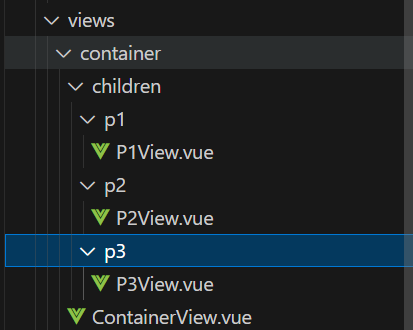
按照如下创建文件
在App.js中的div标签中添加<router-view/>
<template>
  <div id="app">
    <nav>
      <router-link to="/">Home</router-link> |
      <router-link to="/about">About</router-link>
    </nav>
    <router-view/>
  </div>
</template>
在router文件夹下的index.js文件中添加嵌套的路由地址
{
    path: '/c',
    name: 'container',
    component: () => import('../views/container/ContainerView.vue'),
    children: [
      {
        path: '/c/p1',
        component : () => import('../views/container/children/p1/P1View.vue')
      },
      {
        path: '/c/p2',
        component : () => import('../views/container/children/p2/P2View.vue')
      },
      {
        path: '/c/p3',
        component : () => import('../views/container/children/p3/P3View.vue')
      }
    ]
  }
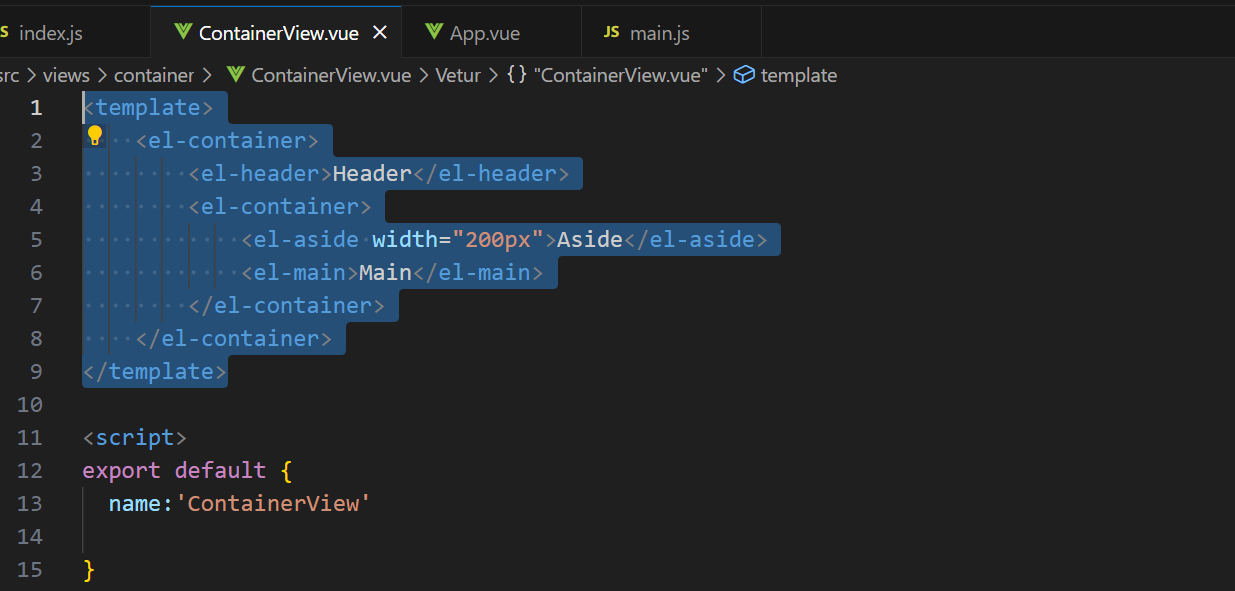
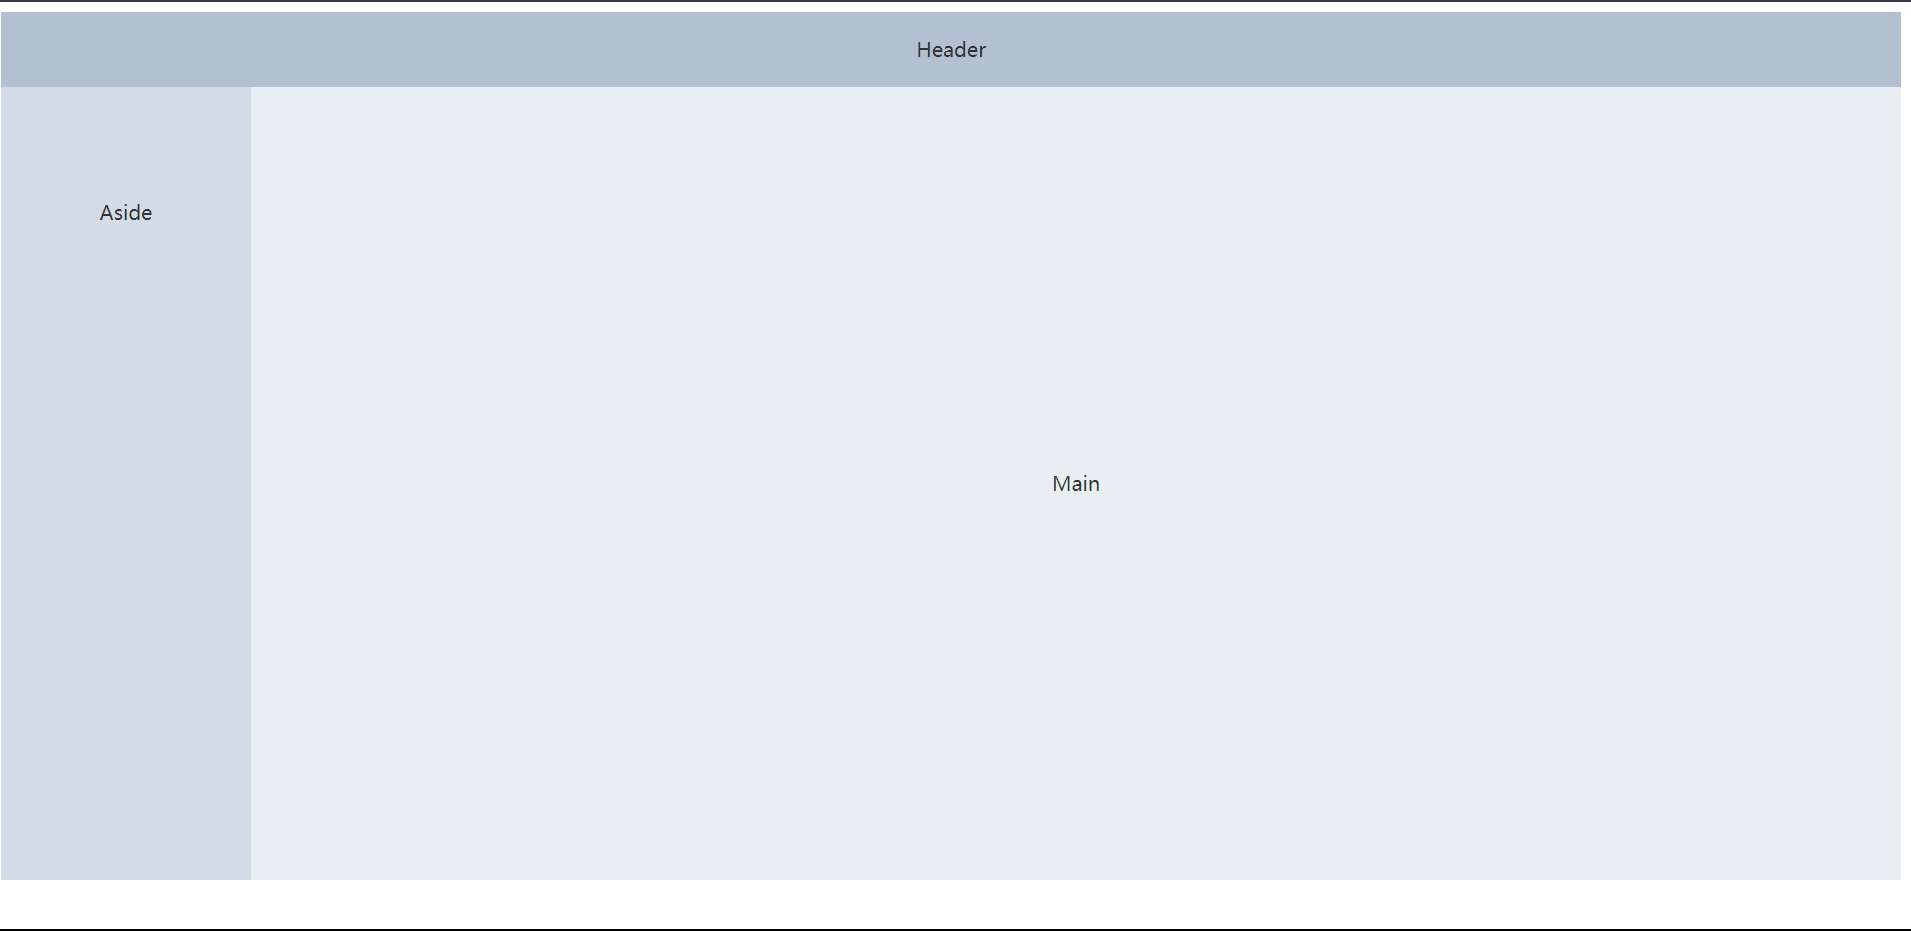
添加容器文件ContainerView.vue
<template>
    <el-container>
        <el-header>Header</el-header>
        <el-container>
            <el-aside width="200px">
              <router-link to="/c/p1">P1</router-link><br/>
              <router-link to="/c/p2">P2</router-link><br/>
              <router-link to="/c/p3">P3</router-link><br/>
            </el-aside>
            <el-main>
              <router-view/>
            </el-main>
        </el-container>
    </el-container>
</template>

<script>
export default {
  name:'ContainerView'
}
</script>

<style>
  .el-header, .el-footer {
    background-color: #B3C0D1;
    color: #333;
    text-align: center;
    line-height: 60px;
  }

  .el-aside {
    background-color: #D3DCE6;
    color: #333;
    text-align: center;
    line-height: 200px;
  }

  .el-main {
    background-color: #E9EEF3;
    color: #333;
    text-align: center;
    line-height: 590px;
  }

  body > .el-container {
    margin-bottom: 40px;
  }

  .el-container:nth-child(5) .el-aside,
  .el-container:nth-child(6) .el-aside {
    line-height: 460px;
  }

  .el-container:nth-child(7) .el-aside {
    line-height: 320px;
  }
</style>
四、状态管理–Vuex
1、Vuex介绍
- Vuex是一个专门为Vue.js应用程序开发的状态管理库
- Vuex是用于多个组件之间实现数据共享,同时共享的数据是响应式的,数据的变更可以及时的渲染到模板
- Vuex采用集中式存储管理所有组件的状态
安装vuex的命令
npm install vuex@next--save
2、Vuex的使用
- state中的共享数据使用方式
import Vue from 'vue'
import Vuex from 'vuex'

Vue.use(Vuex)

export default new Vuex.Store({
  //设置共享数据
  state: {
    name: '未登录用户'
  },
  getters: {
  },
  mutations: {
  },
  actions: {
  },
  modules: {
  }yin
})
引用方式
<h1> {{ $store.state.name }}</h1>
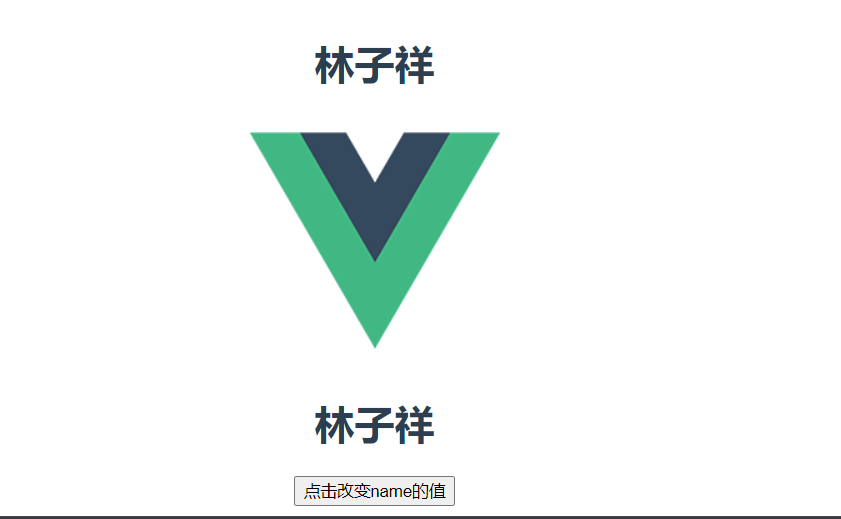
- mutations中的修改共享数据
  mutations: {
    //修改共享数据,必须采用同步方式
    setName(state,name){
      state.name = name
    }
  },
    methods: {
    changeName() {
      //调用在组件实例上的$store.commit方法,修改state中的name值
      this.$store.commit('setName', '林子祥');
  }
  }
- actions中发送异步请求
  actions: {
    //发送异步请求
    setNameByAxios(context) {
      axios({
        method: 'post',
        url: '/api/employee/login',
        data: {
          name: 'admin',
          password: '123456'
        }
      }).then(res => {
        if (res.data.code == 1) {
          context.commit('setName', res.data.data.name)
        }
        console.log(res.data)
      })
    }
  }
changeNameByAxios() {
      //调用在组件实例上的$store.dispatch方法,修改state中的name值
      this.$store.dispatch('setNameByAxios');
    }
五、前端环境搭建
1、技术选型
node.js
vue
ElementUI
axios
vuex
vue-router
typescript
2、熟悉前端代码结构
-
将源码导入到前端工程
ByAxios(context) {
    axios({
      method: 'post',
      url: '/api/employee/login',
      data: {
        name: 'admin',
        password: '123456'
      }
    }).then(res => {
      if (res.data.code == 1) {
        context.commit('setName', res.data.data.name)
      }
      console.log(res.data)
    })
  }
}changeNameByAxios() {
    //调用在组件实例上的$store.dispatch方法,修改state中的name值
    this.$store.dispatch('setNameByAxios');
  }


 2万+
2万+


 被折叠的 条评论
为什么被折叠?
被折叠的 条评论
为什么被折叠?
 到【灌水乐园】发言


