


Deepstream - python -apps
根据HOWTO.readme
在 source folder中git clone
按照Readme编译bindings
1.库文件安装error,和cmake有关,跳过
2.git submodule update --init 下载其中的子工程
3.install gst-python 失败,跳过
4.install bindings,make完成之后无法按照readme pip3 安装whl,而是把生成的pyds.so复制到/usr/local/lib/python3.8/dist-packages中
5.运行test1,运行文件后缀为h264
Gstreamer 教程学习
各test运行效果 here
test 1
参考1
参考2
参考3
代码分成两部分:probe函数 、 main函数(pipeline的构建)
probe函数代码:视频有许多帧,需要循环处理,而每一帧的图片中又有许多检测到的目标,也需要循环处理,所以会形成双层循环,第一层循环的单元是帧,第二层循环的单元是每一帧的目标。每层循环的内容基本是这样的流程:获取数据→转化数据(使其符合deepstream)→实现功能。第一层要实现的功能是获取当前帧的子属性数据并在视频上显示检测结果,第二层要实现的功能是对当前帧检测到的目标,进行计数。
pipeline:filesrc → decode → nvstreammux → nvinfer (primary detector) →nvvidconv→ nvdsosd → renderer.
其中的nvvidconv属于Gst-nvvideoconvert插件,目的是转化视频格式类型
将模型换为yolo模型
将config路径改为deepstream-yolo路径下的config_infer_primary_yoloV5.txt文件。
重新定义其中的检测类别的label对应的id, 如bus-5 car-2,
obj_meta.class_id返回的是检测到的label的id, 然后在obj_counter字典中对相应的label计数,这个字典是int-int类型字典
因为yolo的labels有80,而字典只记录了4个,这里在obj_counter[obj_meta.class_id] +=1 前面加入 if obj_meta.class_id<3 防止报错。
deepstream-test1-usbcam (skip)
test2(test1 + tracker + sgie)
In this sample, we first create one instance of “nvinfer”, referred as
the pgie.This is our 4 class detector and it detects for “Vehicle ,
RoadSign, TwoWheeler,Person”. After this we link a “nvtracker”
instance which tracks the objects detected by the pgie. After this we create 3 more instances of “nvinfer” referred to as sgie1, sgie2, sgie3 respectively.
理解:track element 用来track pgie检测到的物体
Each of the nvinfer elements attach some MetaData to the buffer. By attaching the probe function at the end of the pipeline, one can extract meaningful information from these inferences
理解:每一个gie都会增加一些metadata,即颜色、车型等数据信息。
单个的4类别(car, person, bicycle, roadsign)主检测器,加上3个基于“Car”类别的次级检测器,包括颜色、品牌、车型等等,这里还必须打开“追踪器(tracker)”的功能。不仅能为每个检测到的物体标上编号,这就是“追踪”的功能,在“car”物体上,还有“颜色”、“品牌”、“车型”等信息。
pipeline中,在pgie和nvvidconv之间加入了track,sgie1,sgie2,sgie3.
在probe函数中,增加了追踪功能,为每一个物体打上id编号,并且输出该物体在前面几帧出现的位置和置信度。
函数分析
追踪函数中,第二个for循环是对track的label的遍历,如这一帧既有对car的追踪也有对person的追踪。numobj表示在之前出现了多少帧,与下一个for循环的次数是一致的。unique_id表示这个label单独的id编号,class_id暂时未知,objlabel表示该物体属于哪一个label。
第三个for循环是对track的label之前出现过的帧的遍历,framenum表示出现在之前的哪一帧,tbox表示bbox的位置,confidence表示置信度,age暂时不知道,猜测也是和出现帧数相关。
test3
Builds on deepstream-test1 (simple test application 1) to demonstrate how to:
1.Use multiple sources in the pipeline
2.Use a uridecodebin to accept any type of input (e.g. RTSP/File), any GStreamer supported container format, and any codec
3.Configure Gst-nvstreammux to generate a batch of frames and infer on it for better resource utilization
4.Extract the stream metadata, which contains useful information about the frames in the batched buffer
This sample accepts one or more H.264/H.265 video streams as input. It creates a source bin for each input and connects the bins to an instance of the “nvstreammux” element, which forms the batch of frames. The batch of frames is fed to “nvinfer” for batched inferencing. The batched buffer is composited into a 2D tile array using “nvmultistreamtiler.” The rest of the pipeline is similar to the deepstream-test1 sample.
理解:source->streammux->nvinfer->nvtiler
因为test1 input is .h264,在source和streammux中加了h264parser和decoder.和之前的相比增加了nvtiler,属于Gst-nvmultistreamtiler,用来支持多个source同时输入
运行:要加file,否则会报错,注意文件类型是mp4
python3 deepstream_test_3.py -i file:///opt/nvidia/deepstream/deepstream/samples/streams/sample_720p.mp4 file:///opt/nvidia/deepstream/deepstream/samples/streams/sample_qHD.mp4
queue的作用
test 4 (Skip)
Builds on deepstream-test1 for a single H.264 stream: filesrc, decode,nvstreammux, nvinfer, nvdsosd, renderer to demonstrate how to:
Use the Gst-nvmsgconv and Gst-nvmsgbroker plugins in the pipelineCreate NVDS_META_EVENT_MSG type metadata and attach it to the buffer
Use NVDS_META_EVENT_MSG for different types of objects, e.g. vehicle and person
Implement “copy” and “free” functions for use if metadata is extended through the extMsg field
deepstream-test1-rtsp-out
The output video data with inference output overlayed is encoded and streamed using GstRtspServer.
pipeline:source->h264_parser->decoder->nvifer->nvvidconv->nvoosd->nvvidconv_postosd->caps->encoder->rtppay->udpsink
- 输出的是rtsp视频流,一个问题,终端最终输出:rtsp://localhost:8554/ds-test,这里的localhost就是本机ip吗,为什么vlc打不开
解决:localhost是10.193.158.77 不是127.0.0.1, 直接vlc可以显示
deepstream-rtsp-in-rtsp-out
查看windows ip here
将mp4视频转为rtsp流:here
注意:这里 查看rtsp时:rtsp://ip:8554/1,原文忘记加了8554
注意:这里需要同时开两个vlc,一个用来converting(mp4->rtsp),另一个用来查看rtsp,我的理解是rtsp只是放在网络上可以读取的流,不像mp4一样可以保存为文件,所以同上一个,只有终端运行的同时使用vlc才可以查看得到。
deepstream-preprocess-test
整体代码和test3相似,增加了Preprocess过程,输出的也是rtsp视频流
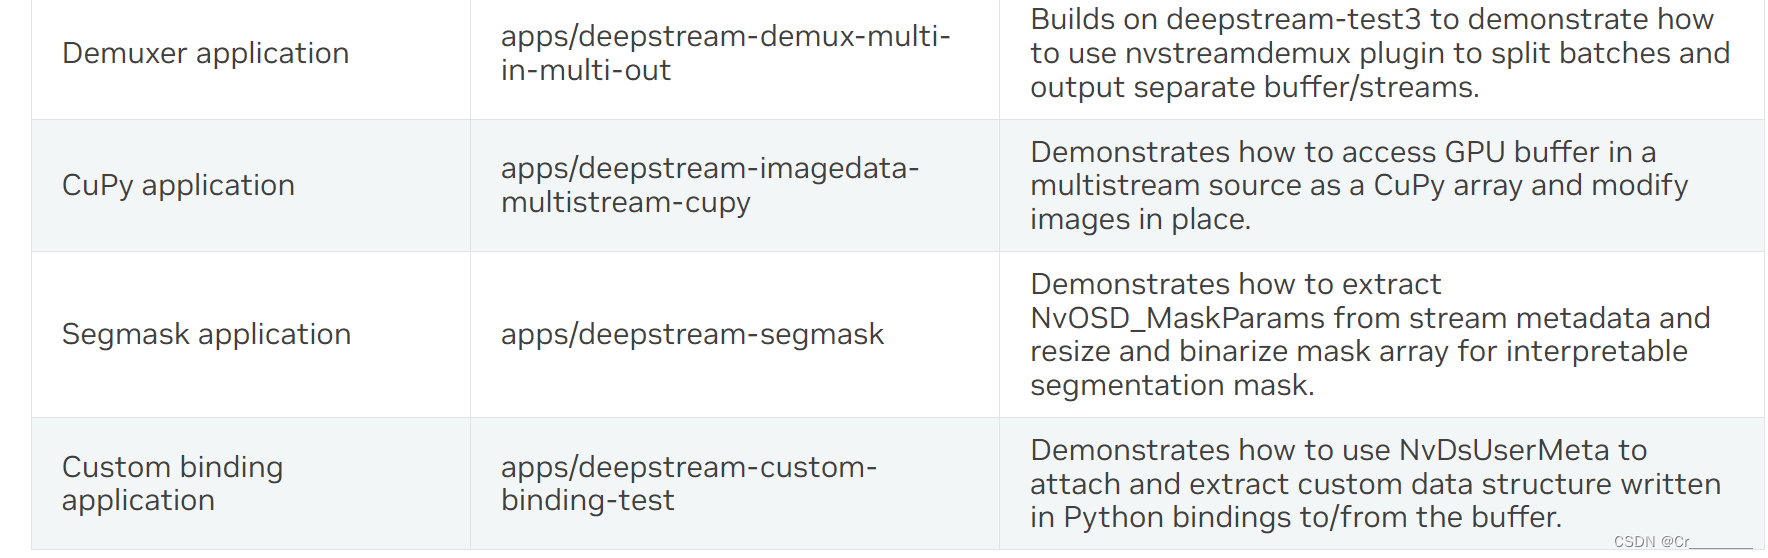
deepstream-imagedata-multistream
- Access imagedata in a multistream source
- Modify the images in-place. Changes made to the buffer will reflect in the downstream but color format, resolution and numpy transpose
operations are not permitted.- Make a copy of the image, modify it and save to a file. These changes are made on the copy of the image and will not be seen
downstream.- Extract the stream metadata, imagedata, which contains useful information about the frames in the batched buffer.
- Annotating detected objects within certain confidence interval
- Use OpenCV to draw bboxes on the image and save it to file.
- Use multiple sources in the pipeline.
- Use a uridecodebin so that any type of input (e.g. RTSP/File), any GStreamer supported container format, and any codec can be used as
input.- Configure the stream-muxer to generate a batch of frames and infer on the batch for better resource utilization.
运行命令:注意后面的frames是要保存照片的folder
python3 deepstream_imagedata-multistream.py file:///home/ubuntu/video1.mp4 file:///home/ubuntu/video2.mp4 frames
在探针函数中添加代码:
对于帧数是30倍数的帧,如果该帧检测到的第一个物体置信度在一定范围区间,将其保存在一个文件中。
方法:每一帧中,置is_first_obj= =True,如果is_first_obj= =True,置它为False,那么后面的obj就不是第一个obj了。
deepstream-imagedata-multistream-redaction
需要提前按照Readme下载好pretrain_model,并且修改config中的路径,第一次会自动build engine,之后再根据终端提示,将config中engine路径和名称做相应修改。
python3 deepstream_imagedata-multistream_redaction.py -i file:///home/ubuntu/video2.mp4 -c H264
和上一个类似,在probe函数中增添了代码:
将帧数为10的倍数,而且是检测到的第一个obj是人脸的话,就crop该图像将人脸截取保存下来。
deepstream-opticalflow
python3 deepstream-opticalflow.py file:///opt/nvidia/deepstream/deepstream-<version>/samples/streams/sample_720p.mp4 output
```pin


## deepstream-segmentation
python3 deepstream_segmentation.py dstest_segmentation_config_semantic.txt …/…/…/…/samples/streams/sample_720p.mjpeg output
> 1. The 4-class segmentation model configured through dstest_segmentation_config_semantic.txt
>2. The 2-class segmentation model configured through dstest_segmentation_config_industrial.txt
这里如果使用industrial效果不好,使用semantic可以有效将人、车、背景进行分离。
## deepstream-nvdsanalytics
## runtime_source_add_delete


 617
617


 被折叠的 条评论
为什么被折叠?
被折叠的 条评论
为什么被折叠?
 到【灌水乐园】发言


