


maven私服+mybatisplus

1.下载安装nexus版本nexus-3.40.1-01-unix.tar.gz
https://help.sonatype.com/repomanager3/product-information/download
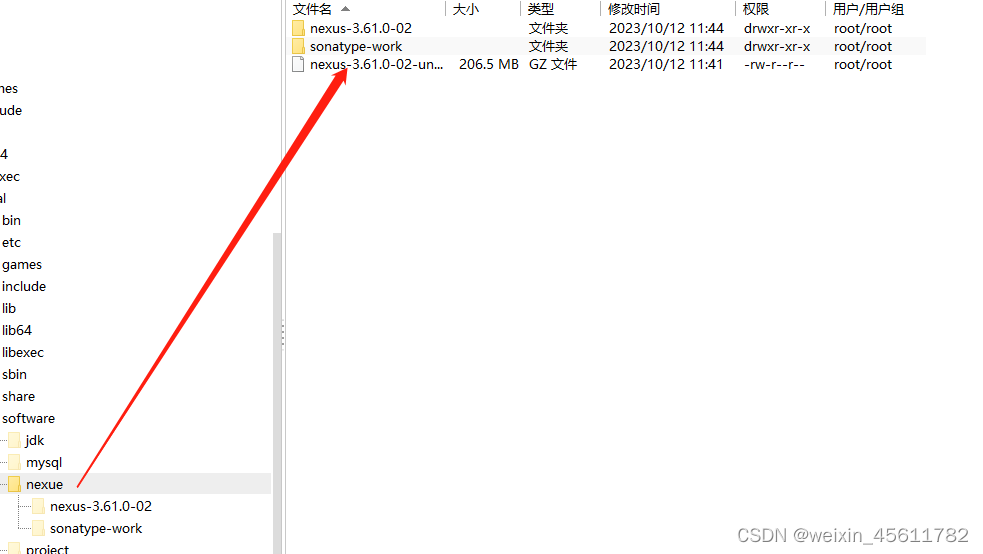
2.创建文件夹nexus,并上传解压包
tar -zxvf nexus-3.40.1-01-unix.tar.gz
3.进入nexus-3.40.1/bin文件夹
/usr/local/software/nexus/nexus-3.40.1-01/bin

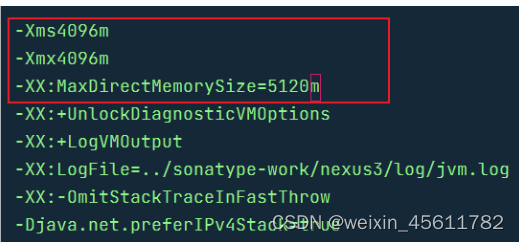
4.编辑nexus.vmoptions文件
vim nexus.vmoptions
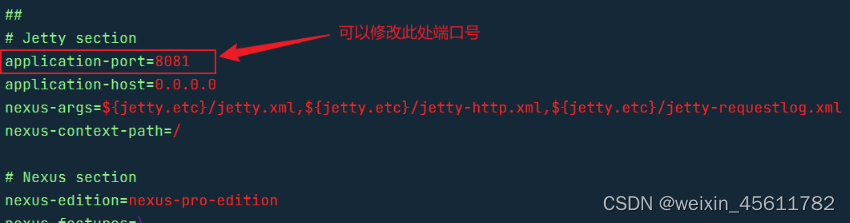
5.默认端口为8081,如果需要在要在文件中配置端口
1.进入etc文件夹
2.vim nexus-default.properties
6.开放8081端口
firewall-cmd --add-port=8081/tcp --permanent

firewall-cmd --reload
7.启动nexus
./nexus  start
显示Starting nexus即成功
8.在浏览器中输入http://192.168.237.131:8081/
右上角登录按钮:

9.查看密码
1.进入sonatype-work\nexus3文件夹
2.cat admin.password

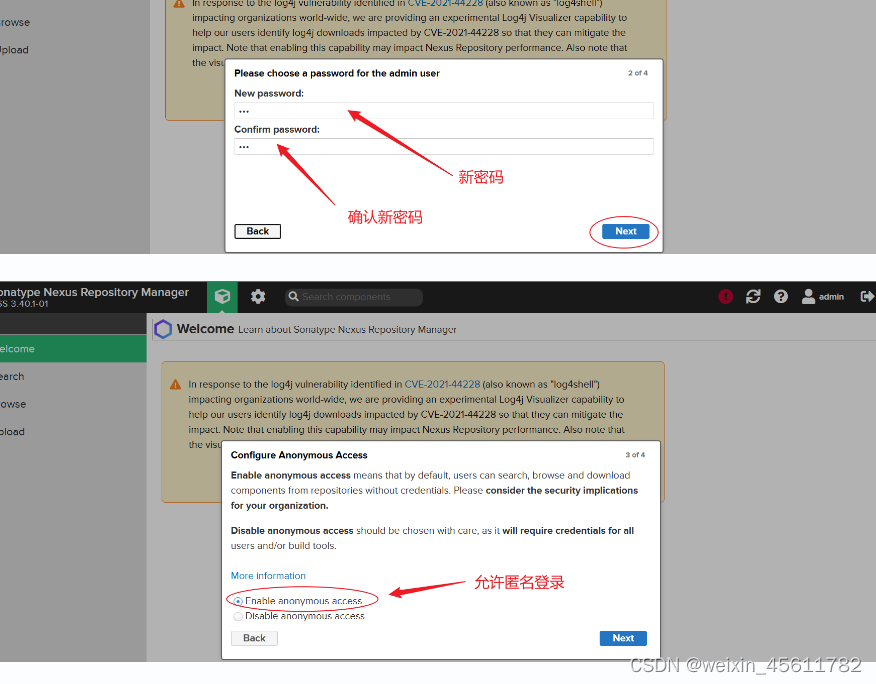
10.登录后修改密码
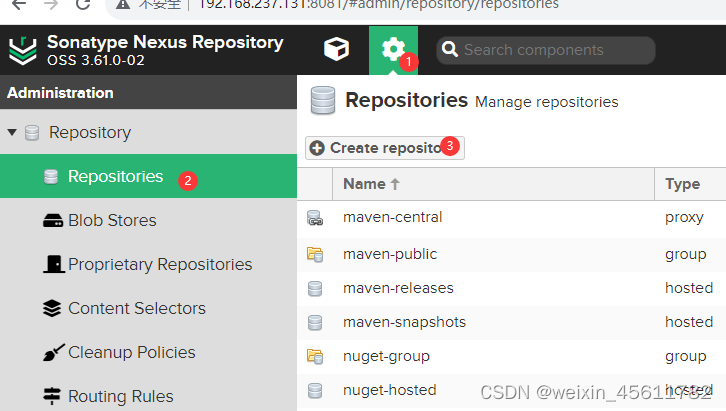
二:配置私有仓库
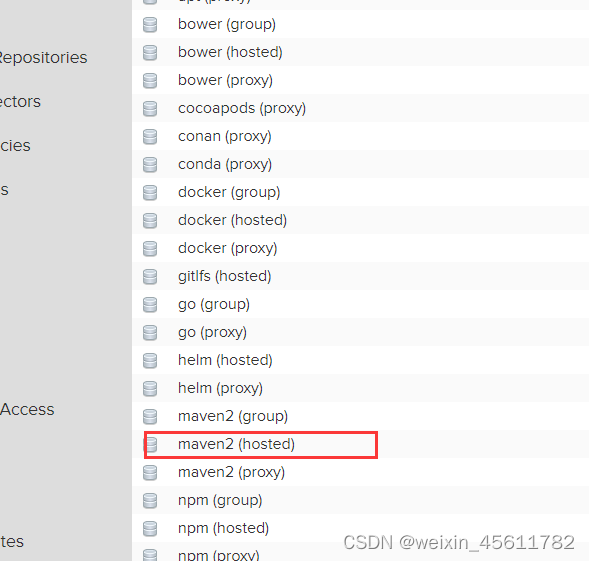
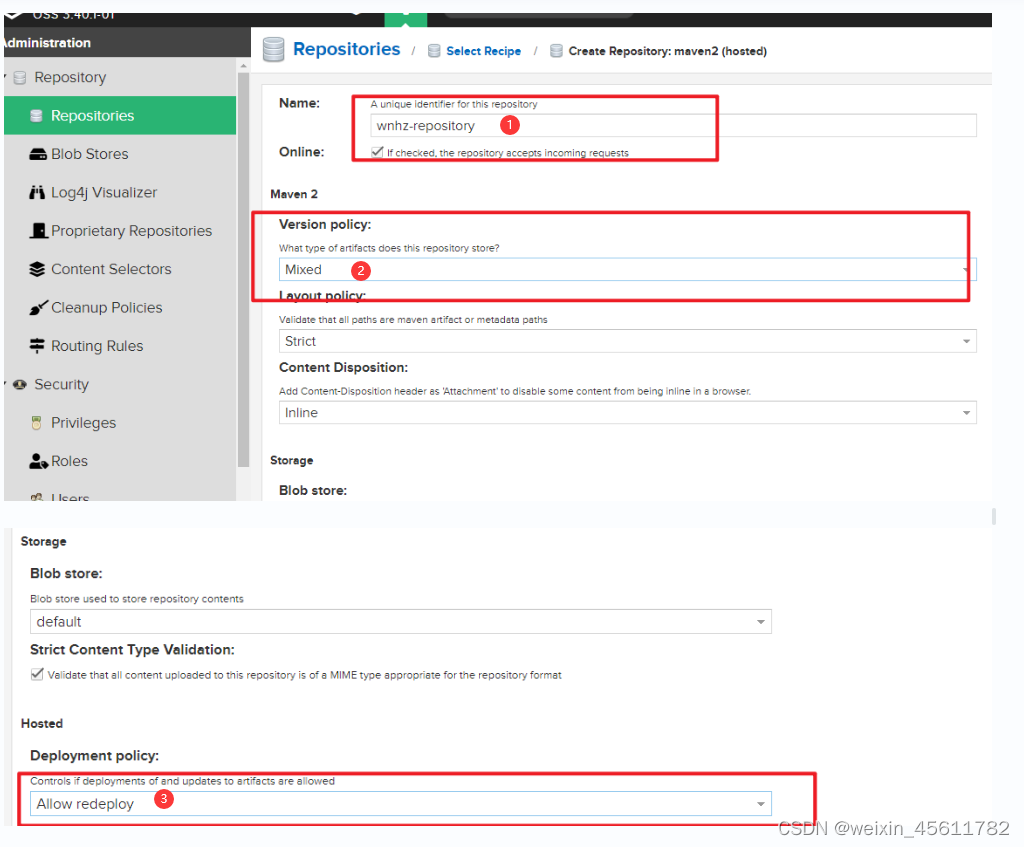
1.创建创库
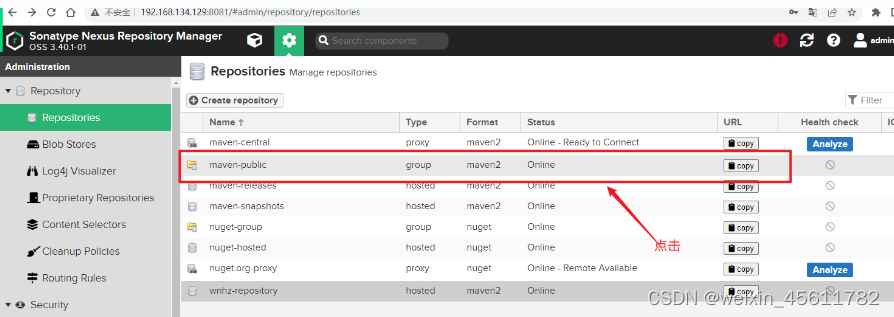
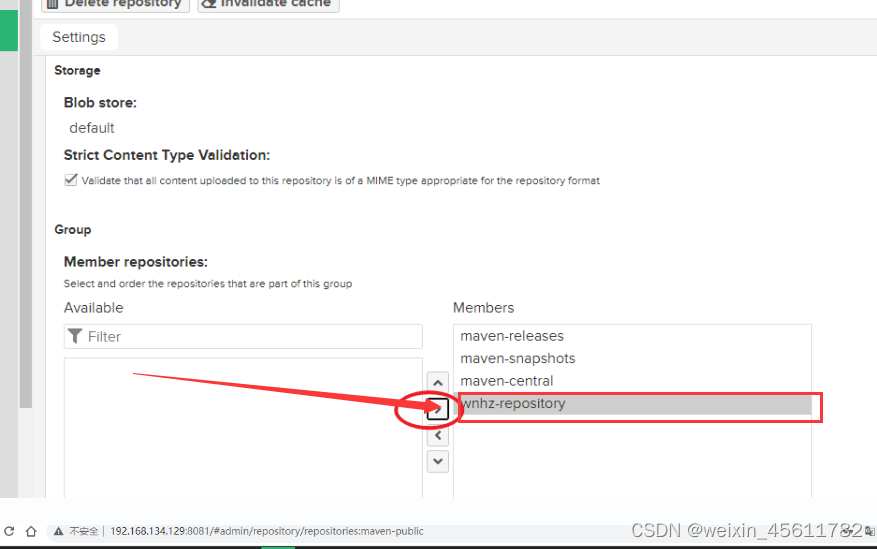
2.添加新建仓库到maven-public群组中
选中maven-public群组,之后访问maven-public就可以访问自己的私有仓库了
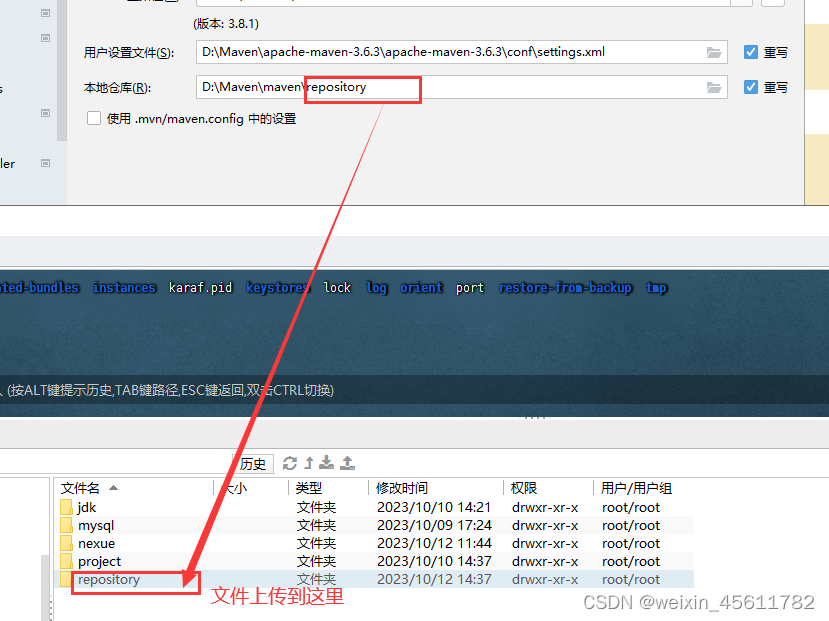
3.批量上传本地文件到自定义仓库中
4.编辑批量上传脚本
repository目录下创建一个shell脚本,命名repo.sh
touch repo.sh
5.编辑脚本
vim repo.sh
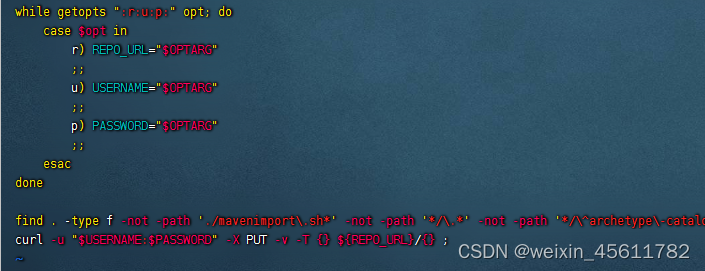
#!/bin/bash
while getopts ":r:u:p:" opt; do
    case $opt in
        r) REPO_URL="$OPTARG"
        ;;
        u) USERNAME="$OPTARG"
        ;;
        p) PASSWORD="$OPTARG"
        ;;
    esac
done

find . -type f -not -path './mavenimport\.sh*' -not -path '*/\.*' -not -path '*/\^archetype\-catalog\.xml*' -not -path '*/\^maven\-metadata\-local*\.xml' -not -path '*/\^maven\-metadata\-deployment*\.xml' | sed "s|^\./||" | xargs -I '{}' curl -u "$USERNAME:$PASSWORD" -X PUT -v -T {} ${REPO_URL}/{} ;
6.添加权限
chmod +x repo.sh

7.导入本地仓库到nexus私有仓库
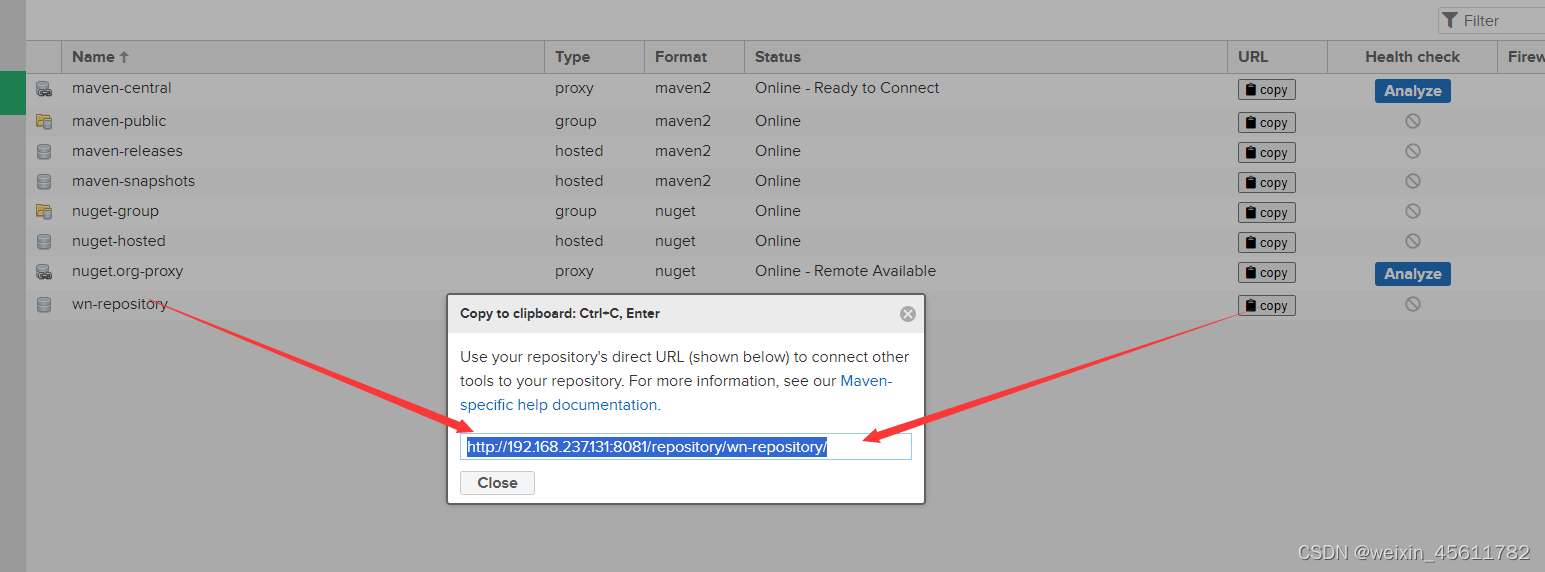
./repo.sh -u admin -p 123 -r http://192.168.237.131:8081/repository/wn-repository/
三:项目中引用nexus库
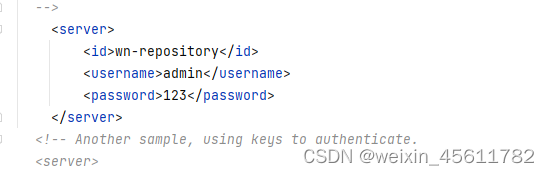
1.在maven的conf/settings.xml中配置server


<server>
		  <id>wn-repository</id>
		  <username>admin</username>
		  <password>123</password>
	  </server>
<mirror>
		<id>aliyunmaven</id>
		<mirrorOf>*</mirrorOf>
		<name>阿里云公共仓库</name>
		<url>https://maven.aliyun.com/repository/public</url>
	</mirror>
	  <mirror>
		  <id>wnmaven</id>
		  <mirrorOf>*</mirrorOf>
		  <name>wn-repository</name>
		  <url>http://192.168.237.131:8081/repository/maven-public/</url>
	  </mirror>
  </mirrors>
  <profile>
	 <id>jdk-1.8</id>
	 <activation>
		  <activeByDefault>true</activeByDefault>
		  <jdk>1.8</jdk>
	 </activation>

	 <properties>
		  <maven.compiler.source>1.8</maven.compiler.source>
		  <maven.compiler.target>1.8</maven.compiler.target>
		  <maven.compiler.compilerVersion>1.8</maven.compiler.compilerVersion>
	 </properties>
	</profile>


2.在项目的pom.xml文件中添加
<distributionManagement>
        <repository>
            <id>wn-repository</id>
            <url>http://192.168.237.131:8081/repository/wn-repository/</url>
        </repository>
    </distributionManagement>

3.mybatispuls依赖
<dependency>
    <groupId>mysql</groupId>
    <artifactId>mysql-connector-java</artifactId>
</dependency>
<dependency>
    <groupId>com.alibaba</groupId>
    <artifactId>druid-spring-boot-starter</artifactId>
    <version>1.2.18</version>
</dependency>
<dependency>
    <groupId>com.baomidou</groupId>
    <artifactId>mybatis-plus-boot-starter</artifactId>
    <version>3.5.3.1</version>
</dependency>
4.yml配置
server:
  port: 9090
logging:
  level:
   com.wn.book.controller: debug
knife4j:
  enable: true


spring:
  datasource:
    druid:
      url: jdbc:mysql://192.168.237.131:3306/book_db?useSSL=false&serverTimezone=Asia/Shanghai&allowPublicKeyRetrieval=true
      username: root
      password: 123
      driver-class-name: com.mysql.cj.jdbc.Driver
5.mapper书写
@Mapper
public interface TypeMapper extends BaseMapper<Type> {
}
6.service书写
接口:
    public interface TypeService {
    void addType(Type type);
    List<Type> findTypeAll();
}

实现:
@Service
public class TypeServiceImpl implements TypeService {
    @Autowired
    private TypeMapper typeMapper;
    @Override
    public void addType(Type type) {
        typeMapper.insert(type);
    }

    @Override
    public List<Type> findTypeAll() {
        return typeMapper.selectList(null);
    }
}
ents TypeService {
@Autowired
private TypeMapper typeMapper;
@Override
public void addType(Type type) {
typeMapper.insert(type);
}
@Override
public List<Type> findTypeAll() {
    return typeMapper.selectList(null);
}
}


 1万+
1万+


 被折叠的 条评论
为什么被折叠?
被折叠的 条评论
为什么被折叠?
 到【灌水乐园】发言


