


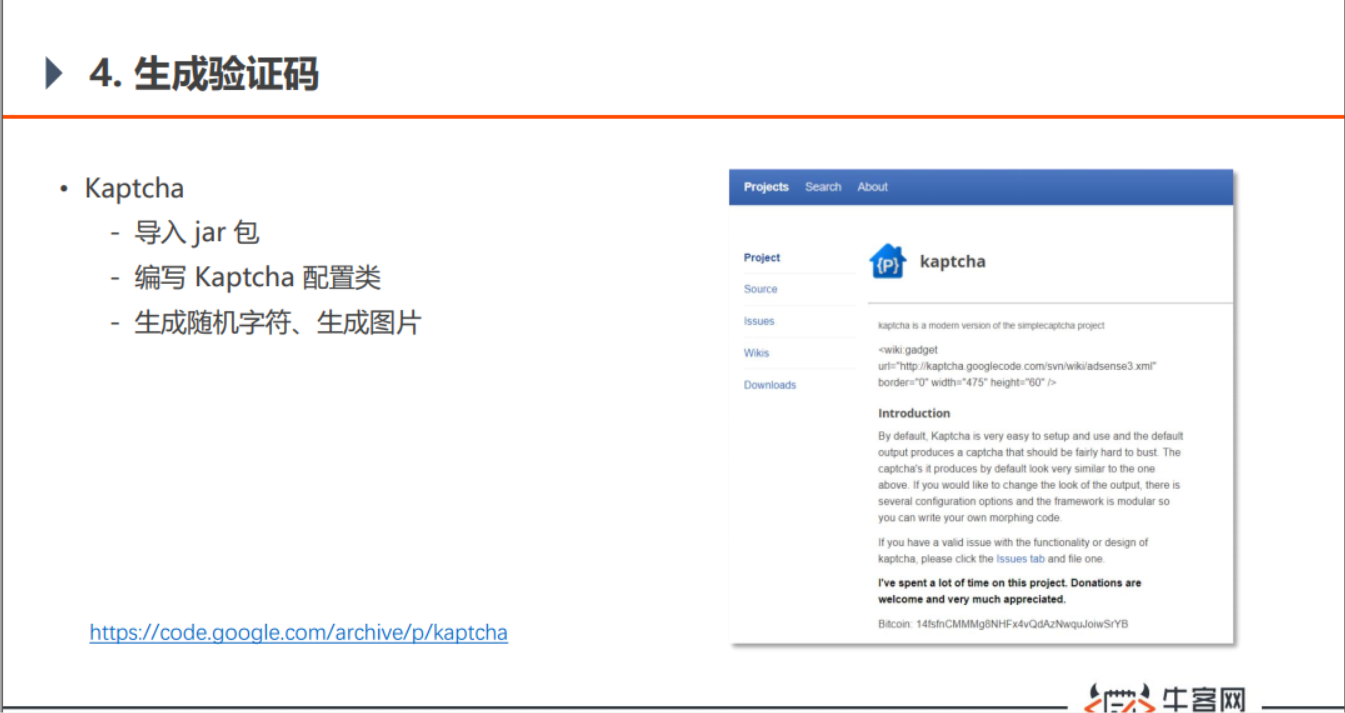
生成验证码
//登录模块中会用到生成验证码功能,先来熟悉一下验证码Kaptcha的api使用。
1.导入jar包
在项目的pom.xml中添加如下依赖:
		<dependency>
			<groupId>com.github.penggle</groupId>
			<artifactId>kaptcha</artifactId>
			<version>2.3.2</version>
		</dependency>
2.编写Kaptcha配置类
在config包中创建KaptchaConfig类,对其进行配置并加入到Spring容器中,代码见下。
package com.gerrard.community.config;

import com.google.code.kaptcha.Producer;
import com.google.code.kaptcha.impl.DefaultKaptcha;
import com.google.code.kaptcha.util.Config;
import org.springframework.context.annotation.Bean;
import org.springframework.context.annotation.Configuration;

import java.util.Properties;

@Configuration
public class KaptchaConfig {
    @Bean
    public Producer kaptchaProducer(){
        Properties properties = new Properties();
        properties.setProperty("kaptcha.image.width", "100");
        properties.setProperty("kaptcha.image.height", "40");
        properties.setProperty("kaptcha.textproducer.font.size", "32");
        properties.setProperty("kaptcha.textproducer.font.color", "0,0,0");
        properties.setProperty("kaptcha.textproducer.char.string", "0123456789ABCDEFGHIJKLMNOPQRSTUVWXYAZ");
        properties.setProperty("kaptcha.textproducer.char.length", "4");
        properties.setProperty("kaptcha.noise.impl", "com.google.code.kaptcha.impl.NoNoise");

        DefaultKaptcha kaptcha = new DefaultKaptcha();
        Config config = new Config(properties);
        kaptcha.setConfig(config);
        return kaptcha;
    }
}
3.Controller层
在LoginController中添加getKaptcha方法,响应随机生成的验证码图片,代码见下。
@RequestMapping(path = "/kaptcha", method = RequestMethod.GET)
    public void getKaptcha(HttpServletResponse response, HttpSession session) {
        // 生成验证码
        String text = kaptchaProducer.createText();
        BufferedImage image = kaptchaProducer.createImage(text);

        // 将验证码存入session
        session.setAttribute("kaptcha", text);

        // 将突图片输出给浏览器
        response.setContentType("image/png");
        try {
            OutputStream os = response.getOutputStream();
            ImageIO.write(image, "png", os);
        } catch (IOException e) {
            logger.error("响应验证码失败:" + e.getMessage());
        }
    }
这里将验证码信息存入session,目前仅仅实现将验证码返回给页面,后续还要
1.设置验证码的归属存入Cookie中以区分多次刷新验证码的行为。
2.同时刷新验证码是比较常用的功能,可以对其优化,将验证码存入Redis中。
tip:将图片输出给浏览器这一串代码较常见,建议多加熟悉。
4.View层
login.html:
1.引入th库,资源路径更改,组件重用:


2.页面动态数据替换:


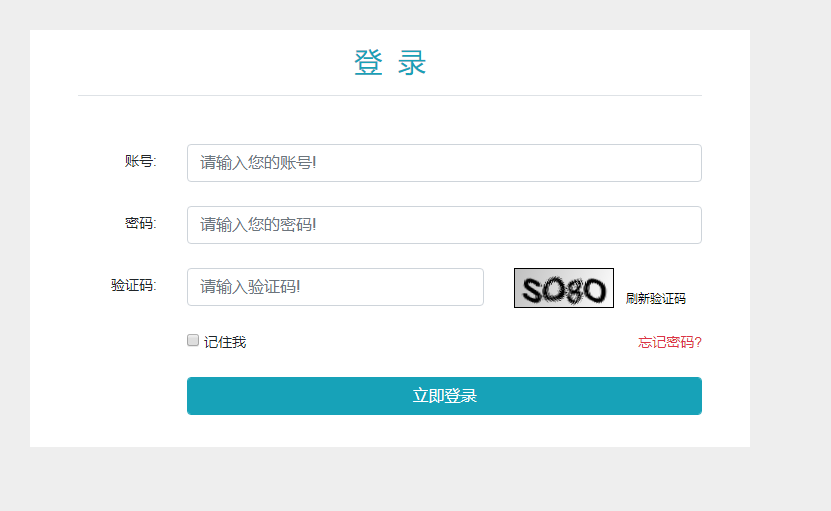
5.功能测试
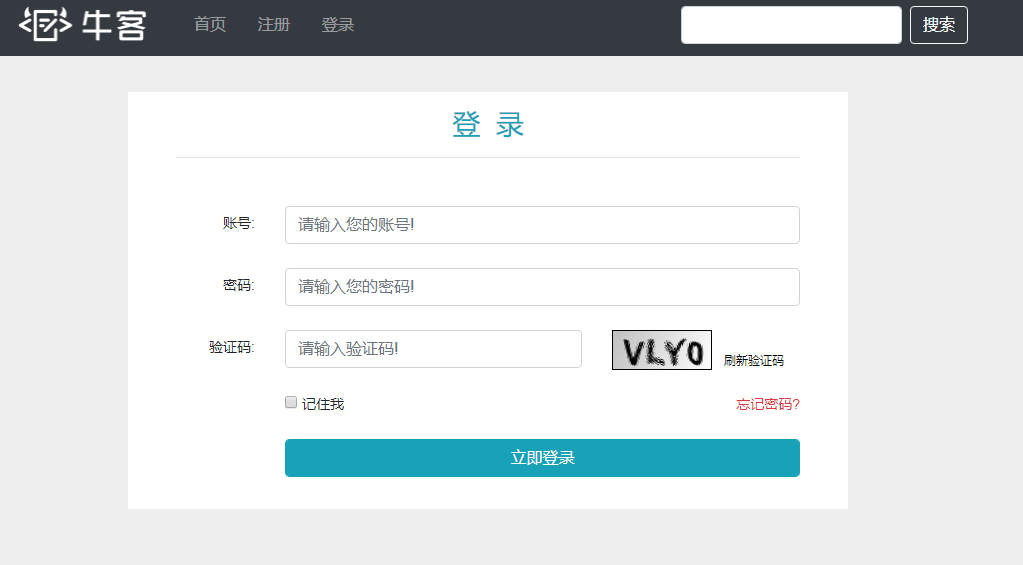
点击刷新验证码:


 被折叠的 条评论
为什么被折叠?
被折叠的 条评论
为什么被折叠?
 到【灌水乐园】发言


