


 本文详细介绍了如何在SpringBoot项目中集成Thymeleaf模板引擎,设置静态页面,以及实现SpringSecurity的权限管理、登录登出功能,包括自定义登录页面的配置过程。
一.准备工作
1.创建maven工程创建导入jar包
<parent>
    <groupId>org.springframework.boot</groupId>
    <artifactId>spring-boot-starter-parent</artifactId>
    <version>2.2.3.RELEASE</version>
</parent>
<dependencies>
    <dependency>
        <groupId>org.springframework.boot</groupId>
        <artifactId>spring-boot-starter-web</artifactId>
    </dependency>
    <dependency>
        <groupId>org.springframework.boot</groupId>
        <artifactId>spring-boot-starter-thymeleaf</artifactId>
    </dependency>
    <dependency>
    <groupId>org.springframework.boot</groupId>
    <artifactId>spring-boot-starter-security</artifactId>
</dependency>
</dependencies>
2.新建配置文件关闭thymeleaf缓存
server:
  port: 9000
#关闭thymeleaf缓存
spring:
  thymeleaf:
    cache: false
3.创建静态页面
resources/templates/index.html
<!DOCTYPE html>
<html lang="en">
<head>
    <meta charset="UTF-8">
    <title>index</title>
</head>
<body>
<form action="">
    <h1><a href="/level1/index">level1</a></h1>
    <h1><a href="/level2/index">level2</a></h1>
    <h1><a href="/level3/index">level3</a></h1>
</form>
</body>
</html>
resources/templates/level1/index.html
resources/templates/level2/index.html
resources/templates/level3/index.html
<!DOCTYPE html>
<html lang="en">
<head>
    <meta charset="UTF-8">
    <title>level1</title>
</head>
<body>
<h1>level1</h1>
</body>
</html>
4.创建controller
package com.atguigu.controller;

import org.springframework.stereotype.Controller;
import org.springframework.web.bind.annotation.GetMapping;

/**
 * @program: could2022
 * @description:
 * @author: 展大海
 * @create: 2022-02-12 09:40
 **/
@Controller
public class RouterController {
    @GetMapping({"/", "index", "index.html"})
    public String index() {
        return "index";
    }

    @GetMapping("/level1/index")
    public String level1() {
        return "level1/index";
    }

    @GetMapping("/level2/index")
    public String level2() {
        return "level2/index";
    }

    @GetMapping("/level3/index")
    public String level3() {
        return "level3/index";
    }

}
5.创建启动类
@SpringBootApplication
public class RouteSecurity9000 {
    public static void main(String[] args) {
        SpringApplication.run(RouteSecurity9000.class, args);
    }
}
6,启动
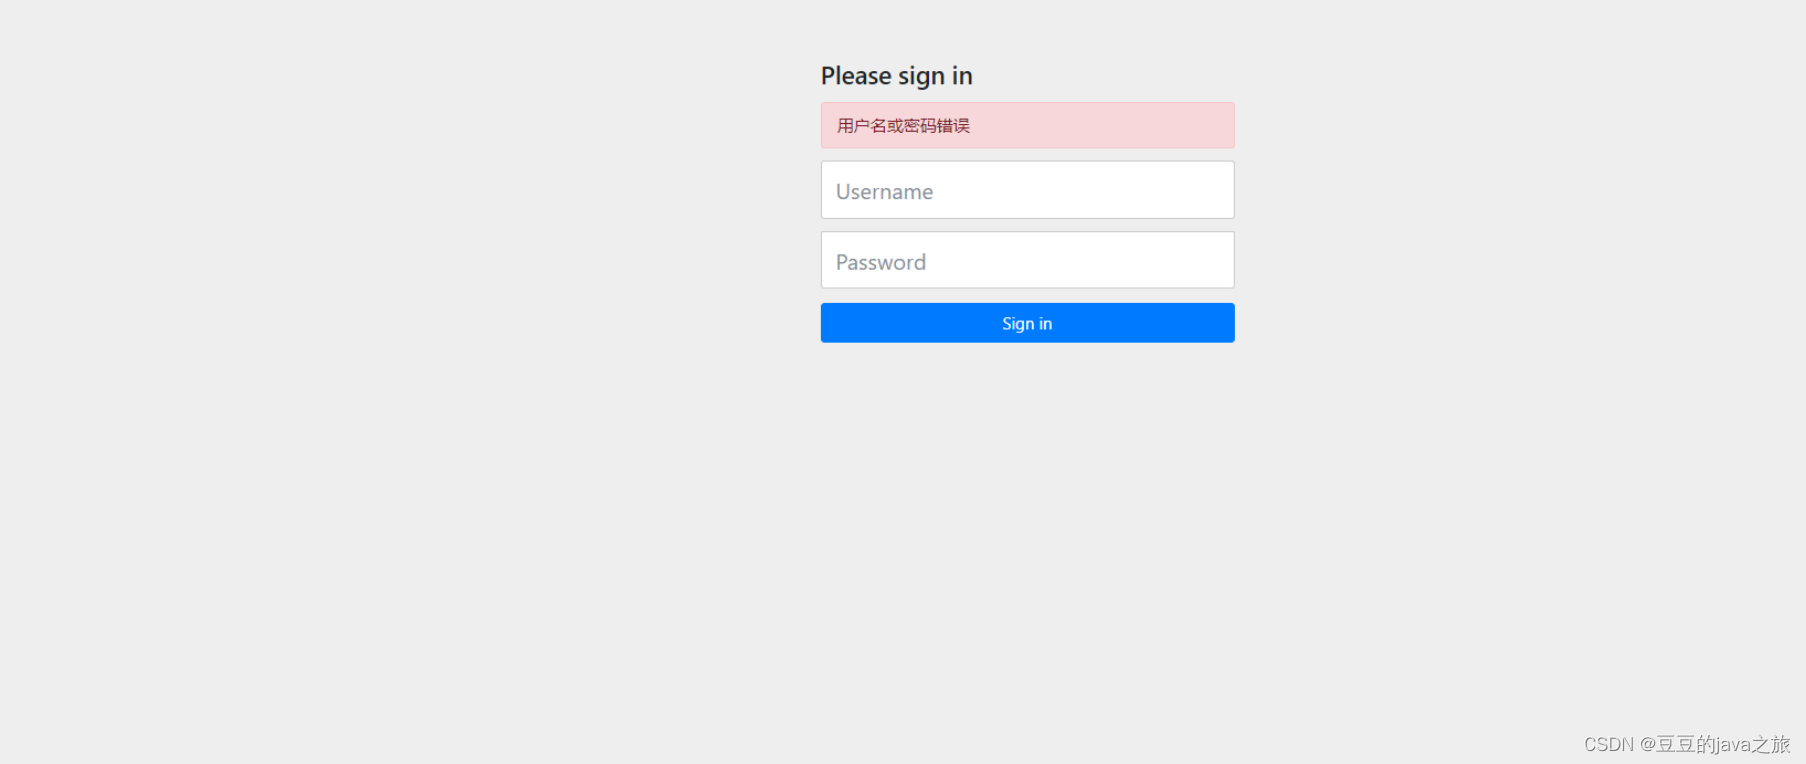
未导入security之前发现所有的页面都可以正常访问,导入spring-boot-starter-security发现程序直接来到了自带的登录页面
 二,创建配置类
@EnableWebSecurity
public class SecurityConfig extends WebSecurityConfigurerAdapter {


    //认证规则
    @Override
    protected void configure(AuthenticationManagerBuilder auth) throws Exception {
        // 在新版本的SpringSecurity中新增了许多加密方法,不使用加密的话就会出现异常
        // 这个例子模拟的是内存中的用户,真正开发中我们可以使用数据库
        auth.inMemoryAuthentication()
                .passwordEncoder(new BCryptPasswordEncoder())
                .withUser("root").password(new BCryptPasswordEncoder().encode("12345")).roles("vip1", "vip2", "vip3")
                .and()
                .withUser("qianyu").password(new BCryptPasswordEncoder().encode("12345")).roles("vip1", "vip2")
                .and()
                .withUser("guest").password(new BCryptPasswordEncoder().encode("12345")).roles("vip1");

    }

//    授权规则
    @Override
    protected void configure(HttpSecurity http) throws Exception {
        // 添加请求授权规则
        http.authorizeRequests()
                // 首页所有人都可以访问
                .antMatchers("/").permitAll()
                // level1下的所有请求,vip1用户才能访问
                .antMatchers("/level1/**").hasRole("vip1")
                // level2下的所有请求,vip2用户才能访问
                .antMatchers("/level2/**").hasRole("vip2")
                // level3下的所有请求,vip3用户才能访问
                .antMatchers("/level3/**").hasRole("vip3");
        // 开启登录页面,即没有权限的话跳转到登录页面,对应地址:/login
        http.formLogin();
        // 开启注销功能
        http.logout()
                // 注销之后跳转到首页
                .logoutSuccessUrl("/");
        // 开启记住我功能,默认保存两周,底层使用cookie机制实现
        http.rememberMe();


    }

}
登录之后,不同权限的用户可以访问不同的页面
三,退出功能
在需要的地方添加,然后使用即可
<h1><a href="/logout">注销</a></h1>
 四,自定义页面
前面我们的登录页面都是使用的SpringSecurity默认的,我们可以在配置类中修改成我们自定义的登录页面
1、自定义登录页面
resources/templates/login.html
这里的name属性默认是username和password,这里我们采用自定义的方式,/login是SpringSecurity默认的处理登录的Controller
<!DOCTYPE html>

<html lang="en">

<head>

  <meta charset="UTF-8">

  <title>login</title>

</head>

<body>

<form action="/login" method="post">

  用户名:<input type="text" name="user"><br>

  密码:<input type="password" name="pwd"><br>

  <input type="radio" name="remember">记住我

  <button type="submit">提交</button>

</form>

</body>

</html>
2、修改SecurityConfig配置类
在configure(HttpSecurity http)方法中添加如下内容,(注意这里我们要禁止csrf,否则登录会被拦截):
// 开启登录页面,即没有权限的话跳转到登录页面,对应地址:/login
http.formLogin()

  // 登录页面

  .loginPage("/toLogin")

  // 用户名的name

  .usernameParameter("user")

  // 密码的name

  .passwordParameter("pwd")

  // 处理登录的Controller

  .loginProcessingUrl("/login");

http.csrf().disable();

// 开启记住我功能,默认保存两周

http.rememberMe()

  // name属性

  .rememberMeParameter("remember");
3、编写Controller
@GetMapping("/toLogin")

public String toLogin(){

  return "login";

}
此时,我们就可以使用自定义登录页面了
SpringSecurity使用的AOP的思想,我们在不用修改原来代码的基础上就可以实现原有代码功能的增强


 1万+
1万+


 被折叠的 条评论
为什么被折叠?
被折叠的 条评论
为什么被折叠?
 到【灌水乐园】发言


