


用Numpy和PIL进行图像的简单处理
使用PIL库(Python Image Library)
Image是PIL库的一个类,一个Image可以看成一个对象
from PIL import Image
import numpy as np
图像的数组表示
图像是一个由像素组成的二维矩阵,每个元素是一个RGB值。
以本地图片fcity.jpg为例
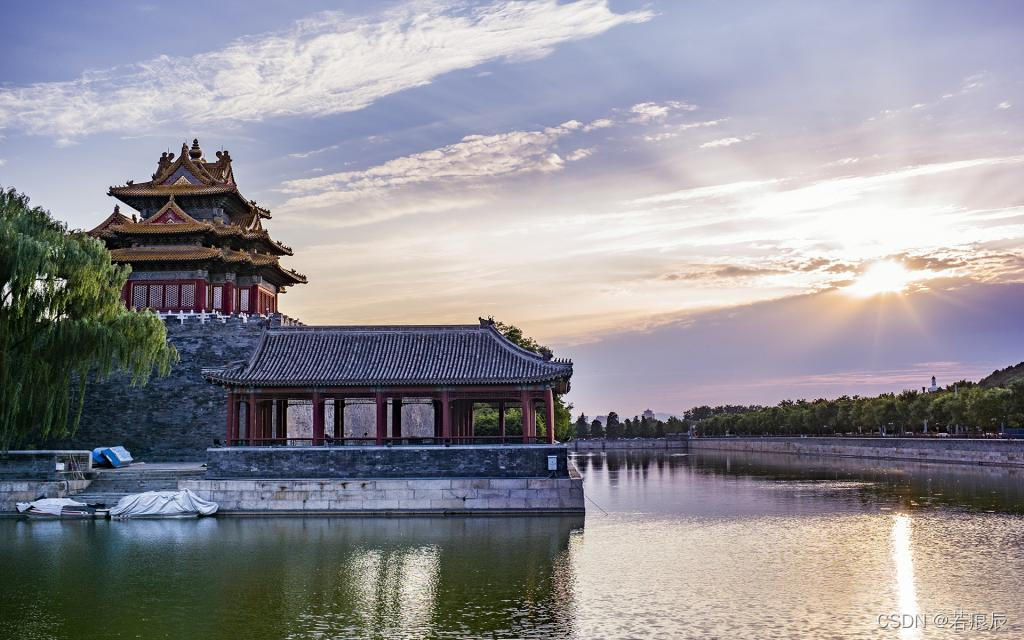
im = np.array(Image.open("img/fcity.jpg"))
print(im.shape, im.dtype)
(1080, 1920, 3) uint8
图像是一个三维数组,维度分别是高度、宽度和像素RGB值。
图像的变换
读入图像后,获得像素的RGB值,修改后保存为新的文件。
# example1
im_arr = [255, 255, 255] - im  # 计算RGB的补值
im_new = Image.fromarray(im_new.astype('uint8'))
im_new.save("img/fcity2.jpg")
处理过后的图像:

也可以将彩色图片变灰,模式“L”为灰色图像,它的每个像素用8个bit表示,0表示黑,255表示白,其他数字表示不同的灰度。在PIL中,从模式“RGB”转换为“L”模式是按照下面的公式转换的:
L
=
R
⋅
299
/
1000
+
G
⋅
587
/
1000
+
B
⋅
114
/
1000
L = R \cdot 299/1000 + G \cdot 587/1000+ B \cdot 114/1000
L=R⋅299/1000+G⋅587/1000+B⋅114/1000
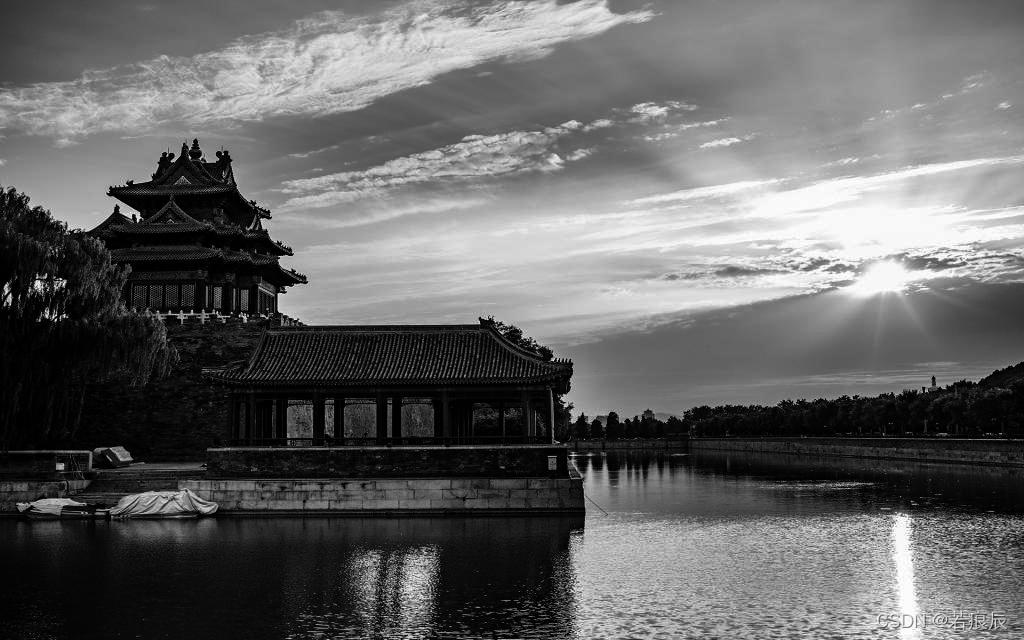
# example2
im = np.array(Image.open("img/fcity.jpg").convert('L'))  # convert('L')表示将彩色图片变为灰度值图片
im_arr = 255 - im  # 计算RGB的补值
im_new2 = Image.fromarray(im_arr.astype('uint8'))
im_new2.save("img/fcity3.jpg")
处理过后的图像:
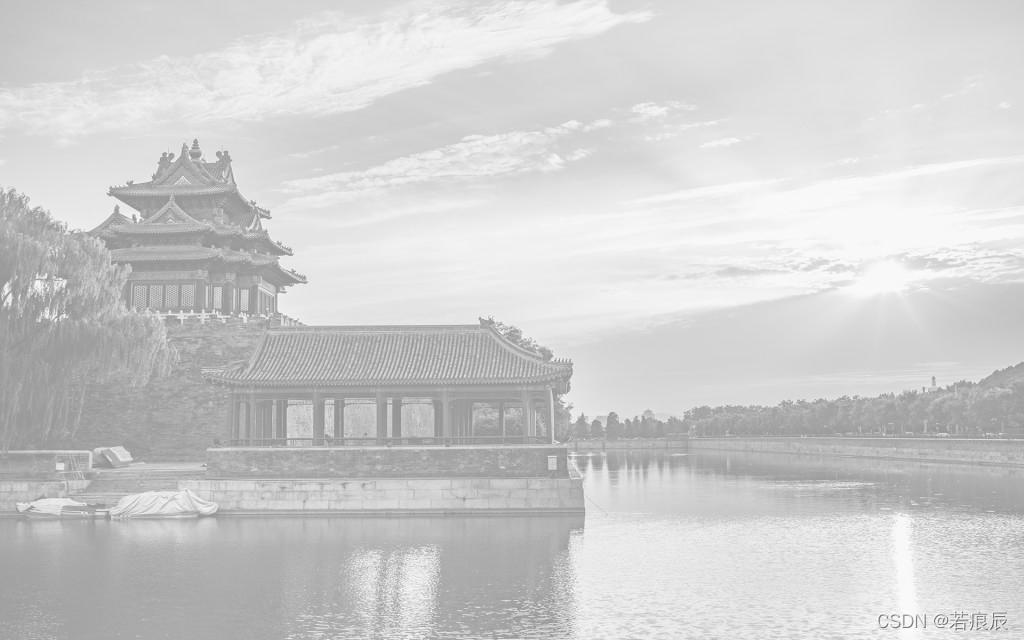
# example3
im = np.array(Image.open("img/fcity.jpg").convert('L'))  # convert('L')表示将彩色图片变为灰度值图片
im_arr = (100/255)*im + 150  # 区间变换
im_new3 = Image.fromarray(im_arr.astype('uint8'))
im_new3.save("img/fcity4.jpg")
处理后的图像:
# example4
im = np.array(Image.open("img/fcity.jpg").convert('L'))  # convert('L')表示将彩色图片变为灰度值图片
im_arr = 255 * (im/255)**2  # 像素平方
im_new3 = Image.fromarray(im_arr.astype('uint8'))
im_new3.save("img/fcity5.jpg")
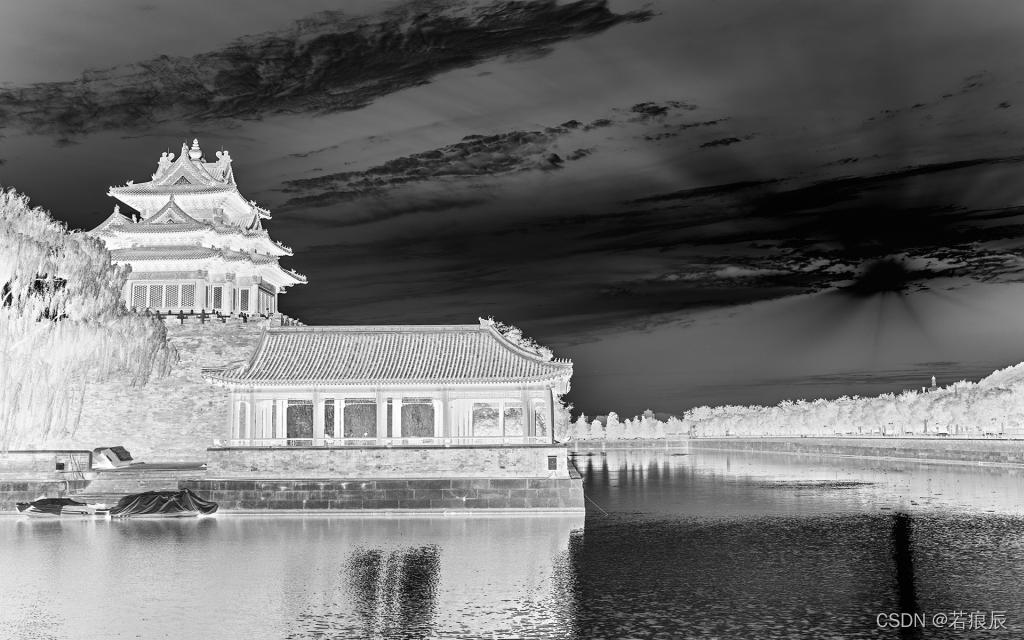
手绘效果
手绘风格是在对图像进行灰度化的基础上由立体效果和明暗效果叠加而成。灰度值代表图像的明暗变化,而梯度值表示灰度的变化率,所以可以通过像素的梯度值间接改变图片的明暗程度,立体效果则通过添加虚拟深度值来实现。
梯度的重构:利用像素之间的梯度值和虚拟深度值对图像进行重构,根据灰度变化来模拟人类视觉的明暗程度。
光源效果模型如下图所示:
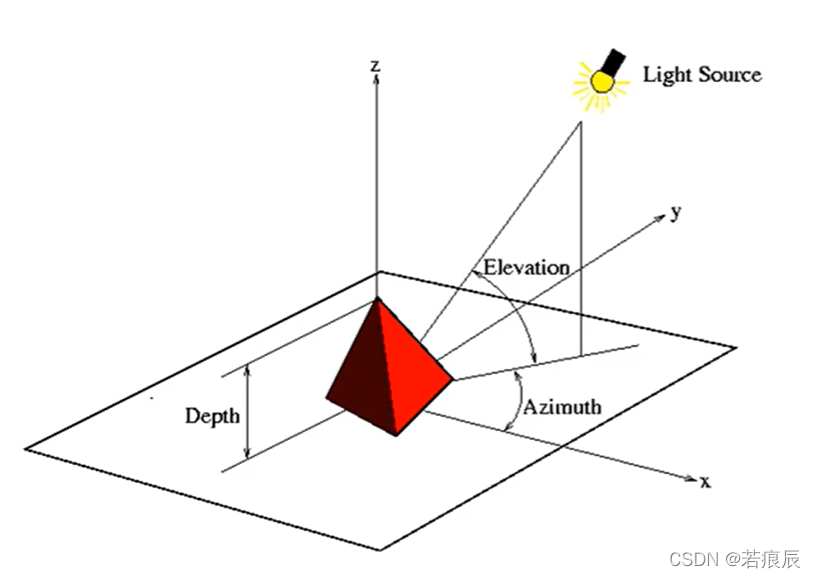
假设一个虚拟位置的光源,建立光源对各个点梯度值的影响函数,运算出各点的新像素值。
im = np.asarray(Image.open("img/fcity.jpg").convert('L')).astype('float')
depth = 10. # 预设深度值,取值范围为0-100
grad = np.gradient(im) # 取图像灰度的梯度值
grad_x, grad_y = grad # 分别取横纵(x,y方向)图像梯度值
grad_x = grad_x * depth/100. # 根据深度调整x,y方向的梯度值
grad_y = grad_y * depth/100.
sq = np.sqrt(grad_x**2 + grad_y**2 + 1.) # 构造x和y轴梯度三维归一化的单位坐标系
uni_x = grad_x/sq # uni_*表示图像平面的单位法向量
uni_y = grad_y/sq
uni_z = 1./sq
vec_el = np.pi/2.2 # 光源的俯视角,单位:弧度
vec_az = np.pi/4. # 光源的方位角,单位:弧度
dx = np.cos(vec_el)*np.cos(vec_az) # 光源对x轴的影响,可以看作光源在坐标轴中具体位置的表示
dy = np.cos(vec_el)*np.cos(vec_az) # 光源对y轴的影响, np.cos(vec_el)为单位光线在地平面上的投影长度
dz = np.sin(vec_el) # 光源对z轴的影响
im_arr = 255*(dx*uni_x + dy*uni_y + dz*uni_z) # 光源归一化
im_arr = im_arr.clip(0,255) # 将数值限制在(0,255)
im_new = Image.fromarray(im_arr.astype('uint8')) # 重构图像
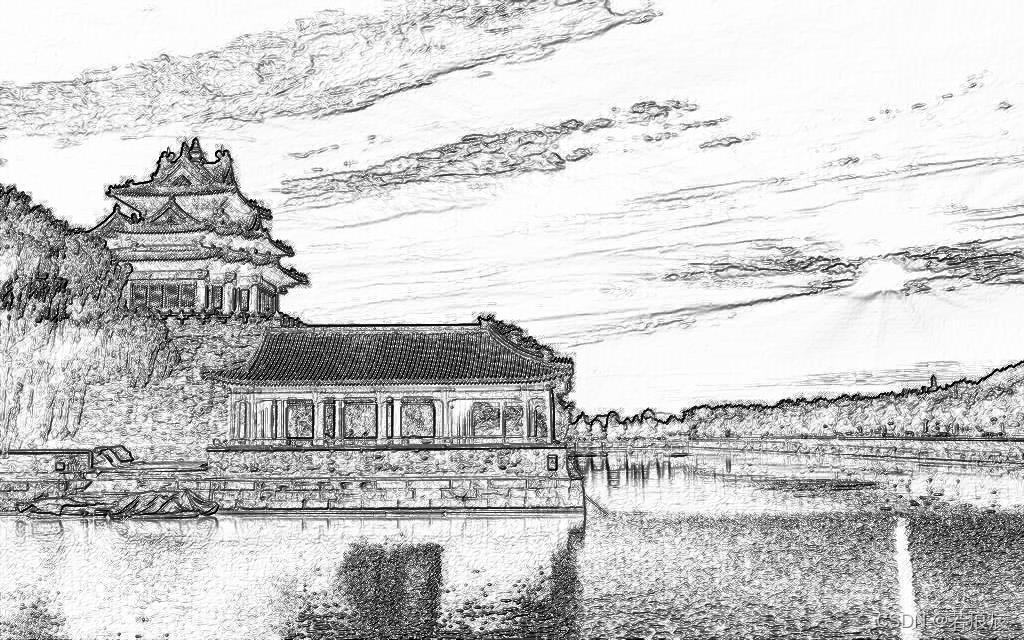
im_new.save("img/fcityHD.jpg")
处理后的图像:


 765
765


 被折叠的 条评论
为什么被折叠?
被折叠的 条评论
为什么被折叠?
 到【灌水乐园】发言


