


@author: Wanfw, Sun Yat-sen University
很多人在安装运行WRF模式时由于环境变量的设置或者其他的各种问题,经常需要耗时很久才能成功的安装好并且运行模式,因此笔者在自己个人电脑上全流程安装运行了一遍,并给出了过程,以供大家参考。
1.安装Linux系统
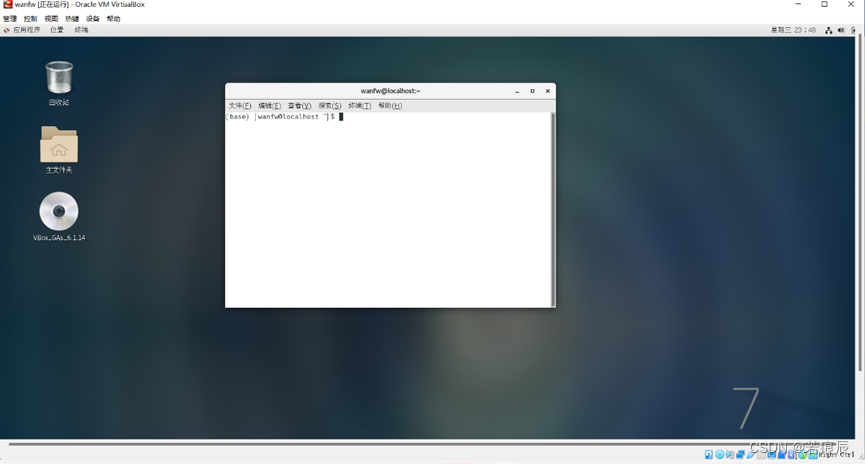
首先安装虚拟机VirtualBox,然后下载Centos镜像,并配置一些相关资源与安装扩展项,最终安装的Linux系统效果如下所示:
下载网址:http://mirrors.aliyun.com/centos/7/isos/x86_64/
2.安装netcdf
首先安装netcdf的依赖库,下面是各依赖库及netcdf的下载地址,使用wget命令下载。 本次在/usr/local下新建了netcdf并将软件全部装在该目录下,需要注意的是安装每个依赖均须在该源代码目录下进行。
zlib: http://www.zlib.net/zlib-1.2.11.tar.gz
szip: ftp://ftp.unidata.ucar.edu/pub/netcdf/netcdf-4/szip-2.1.tar.gz
curl: https://curl.se/download/curl-7.81.0.tar.gz
hdf5: https://support.hdfgroup.org/ftp/HDF5/releases/hdf5-1.13/hdf5-1.13.0/src/hdf5-1.13.0.tar.gz
netcdf: ftp://ftp.unidata.ucar.edu/pub/netcdf/netcdf-4.6.1.tar.gz
netcdf-c: https://downloads.unidata.ucar.edu/netcdf-c/4.8.1/src/netcdf-c-4.8.1.tar.gz
netcdf-fortran: https://downloads.unidata.ucar.edu/netcdf-fortran/4.5.4/netcdf-fortran-4.5.4.tar.gz
(1)安装zlib
$ wget http://www.zlib.net/zlib-1.2.11.tar.gz
$ tar -zxvf zlib-1.2.11.tar.gz
$ cd zlib-1.2.11
$ ./configure --prefix=/usr/local/netcdf
$ make
$ sudo make install(2)安装szip
$ wget ftp://ftp.unidata.ucar.edu/pub/netcdf/netcdf-4/szip-2.1.tar.gz
$ tar -zxvf szip-2.1.tar.gz
$ cd szip-2.1
$ ./configure --prefix=/usr/local/netcdf
$ make
$ sudo make install(3)安装curl
$ wget https://curl.se/download/curl-7.81.0.tar.gz
$ tar -zxvf curl-7.81.0.tar.gz
$ cd curl-7.81.0
$ ./configure --prefix=/usr/local/netcdf -with-wolfssl
$ make
$ sudo make install(4)安装hdf5
$ wget https://support.hdfgroup.org/ftp/HDF5/releases/hdf5-1.13/hdf5-1.13.0/src/hdf5-1.13.0.tar.gz
$ tar -zxvf hdf5-1.13.0.tar.gz
$ cd hdf5-1.13.0
$ export CPPFLAGS=-I/usr/local/netcdf/include
$ export LDFLAGS=-L/usr/local/netcdf/lib
$ export LD_LIBRARY_PATH=/usr/local/netcdf/lib
$ ./configure --prefix=/usr/local/netcdf
$ make
$ sudo make install(5)安装netcdf
$ wget ftp://ftp.unidata.ucar.edu/pub/netcdf/netcdf-4.6.1.tar.gz
$ tar -zxvf netcdf-4.6.1.tar.gz
$ cd netcdf-4.6.1
$ ./configure --prefix=/usr/local/netcdf
$ make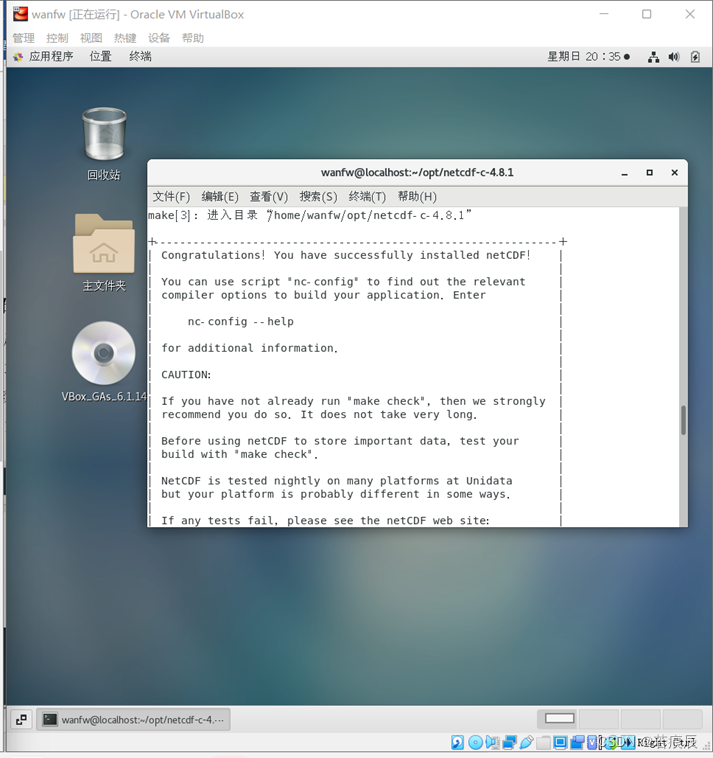
$ sudo make install(6)安装netcdf-c
$ wget https://downloads.unidata.ucar.edu/netcdf-c/4.8.1/src/netcdf-c-4.8.1.tar.gz
$ tar -zxvf netcdf-c-4.8.1.tar.gz
$ cd netcdf-c-4.8.1
$ ./configure --prefix=/usr/local/netcdf
$ make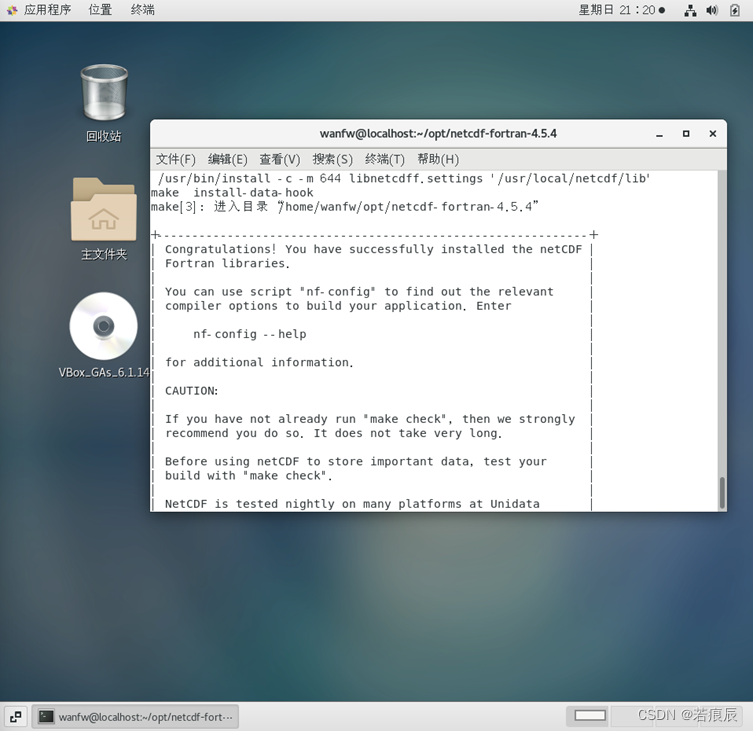
$ sudo make install(7)安装netcdf-fortran
$ wget https://downloads.unidata.ucar.edu/netcdf-fortran/4.5.4/netcdf-fortran-4.5.4.tar.gz
$ tar -zxvf netcdf-fortran-4.5.4.tar.gz
$ cd netcdf-fortran-4.5.4
$ export LIBS=-lnetcdf
$ ./configure --prefix=/usr/local/netcdf
$ make
$ sudo make instal
安装成功如下图所示:
3.安装ncl
考虑到安装ncl有三种方式,使用conda安装较简单,故先安装conda,使用如下命令安装anaconda与进入base环境:
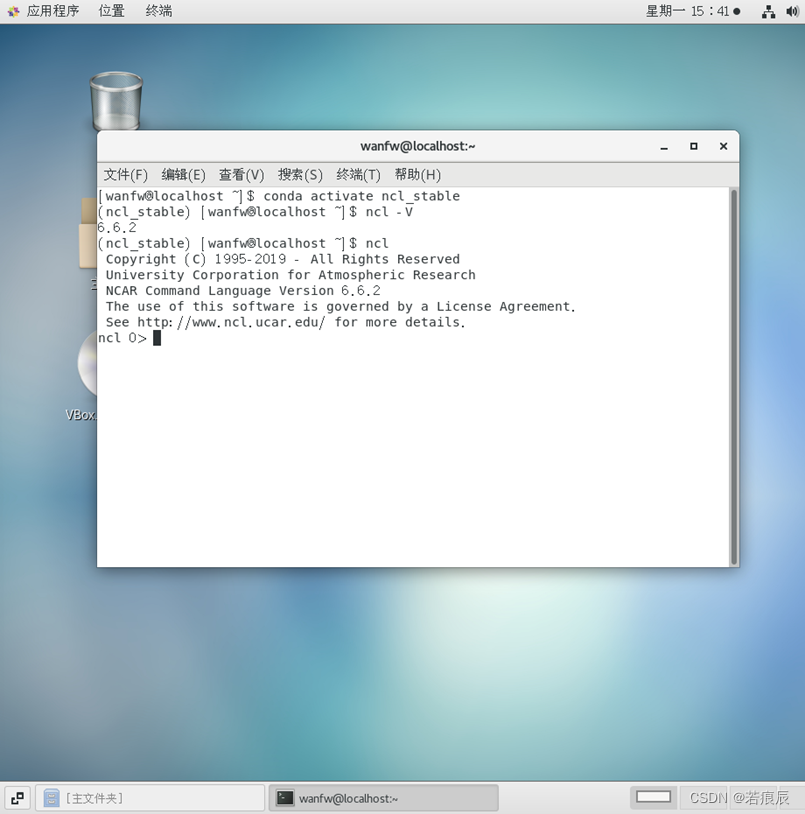
然后使用conda安装ncl:
$ conda create -n ncl_stable -c conda-forge ncl
$ conda activate ncl_stable
安装成功后可以查看ncl版本等,效果如下所示:
4. 安装wrf
(1)环境检查
$ which gfortran
$ which cpp
$ which gcc
进行上述操作之后会显示库位置即可。
(2)测试环境
考虑到测试环境步骤较多,这里不过多叙述。
(3)依赖库的安装
这里需要安装以下库:
mpich: 信息传递接口,用于跨节点通讯的基础软件环境,并行构建WRF所必需。
netcdf: 网络通用数据格式,一种面向数组型并适于网络共享的数据描述和编码标准。
Jasper: 编译具有 GRIB2 功能的 WPS(特别是 Unrib)所必需的压缩库。
libpng: 编译具有 GRIB2 功能的 WPS(特别是 Unrib)所必需的压缩库。
zlib: 编译具有 GRIB2 功能的 WPS(特别是 Unrib)所必需的压缩库。
其中zlib与netcdf在前述过程中已安装好,这里在个人用户目录下新建software/Build_WRF/LIBRARIES/,并将之前安装好的netcdf移动到该目录下。
接下来只安装png,jasper,Mpich三个库。
首先设置库的安装路径
$ export DIR=/home/wanfw/software/Build_WRF/LIBRARIES①png的安装
$ wget https://www2.mmm.ucar.edu/wrf/OnLineTutorial/compile_tutorial/tar_files/libpng-1.2.50.tar.gz
$ tar -zxvf libpng-1.2.50.tar.gz
$ cd libpng-1.2.50
$ ./configure –prefix=$DIR/netcdf LDFLAGS=-L$DIR/netcdf/lib CPPFLAGS=-I$DIR/netcdf/
$ make
$ sudo make install
② jasper的安装
$ wget https://www2.mmm.ucar.edu/wrf/OnLineTutorial/compile_tutorial/tar_files/jasper-1.900.1.tar.gz
$ tar -zxvf jasper-1.900.1.tar.gz
$ cd jasper-1.900.1
$ ./configure –prefix=$DIR/netcdf
$ make
$ sudo make install
③Mpich的安装
$ wget https://www2.mmm.ucar.edu/wrf/OnLineTutorial/compile_tutorial/tar_files/mpich-3.0.4.tar.gz
$ cd mpich-3.0.4
$ ./configure –prefix=$DIR/mpich-3.0.4
$ make
$ sudo make install(4)安装WRF(下载3.9.1版本,下载目录在Build_WRF下)
$ wget https://www2.mmm.ucar.edu/wrf/src/WRFV3.9.1.TAR.gz
$ wget https://www2.mmm.ucar.edu/wrf/src/WPSV3.9.1.TAR.gz
$ tar -zxvf WRFV3.9.1.TAR.gz
$ tar -zxvf WPSV3.9.1.TAR.gz
$ touch wrfenv.sh
上述步骤后,将WRF与WPS文件夹改名为WRF-3.9.1与WPS-3.9.1,并编辑wrfenv.sh,设置环境变量。
#!/bin/bash
export DIR=/home/wanfw/software/Build_WRF/LIBRARIES
export CC=gcc
export CXX=g++
export FC=gfortran
export FCLAGS=-m64
export F77=gfortran
export FFLAGS=-m64
export PATH=$DIR/netcdf/bin:$PATH
export NETCDF=$DIR/netcdf
export PATH=$DIR/mpich/bin:$PATH
export JASPERLIB=$DIR/netcdf/lib
export JASPERINC=$DIR/netcdf/include
export LDFLAGS=-L$DIR/netcdf/lib
export LD_LIBRARY_PATH=$DIR/netcdf/lib
export CPPFLAGS=-I$DIR/netcdf/include
export NETCDF_classic=1
export WRF_DIR=/home/wanfw/software/Build_WRF/WRF-3.9.1
export WRFIO_NCD_NO_LARGE_FILE_SUPPORT=1
export WRF_EM_CORE=1
保存之后运行该文件,进入WRF-3.9.1文件夹
$ source wrfenv.sh
$ cd WRF-3.9.1
$ ./configure
Enter selection:32
Compile for nesting? 1
然后编译即可
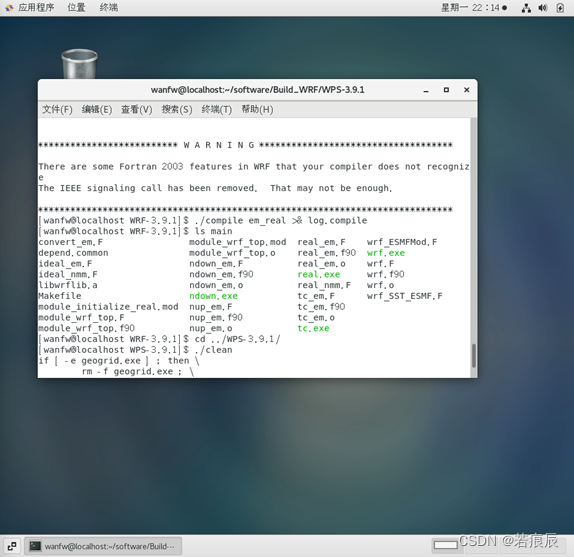
$ ./compile em_real >& log.compile成功即可在main目录下看到wrf.exe, real.exe, ndon.exe, tc.exe四个可执行文件,
执行效果如下图所示:
(5)安装WPS
$ cd WPS-3.9.1
$ ./clean -a
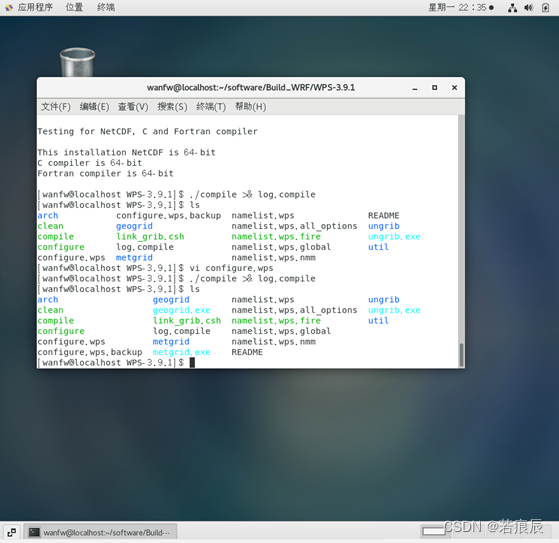
$ ./configure
Enter selection:1
$ ./compile >& log.compile检查是否生成geogrid.exe, metgrid.exe, ungrib.exe,执行结果如下图所示:
5 运行WRF
(1)准备地形数据
在https://www2.mmm.ucar.edu/wrf/users/download/get_sources_wps_geog.html下载所需的地形数据即可。
(2)运行geogrid.exe
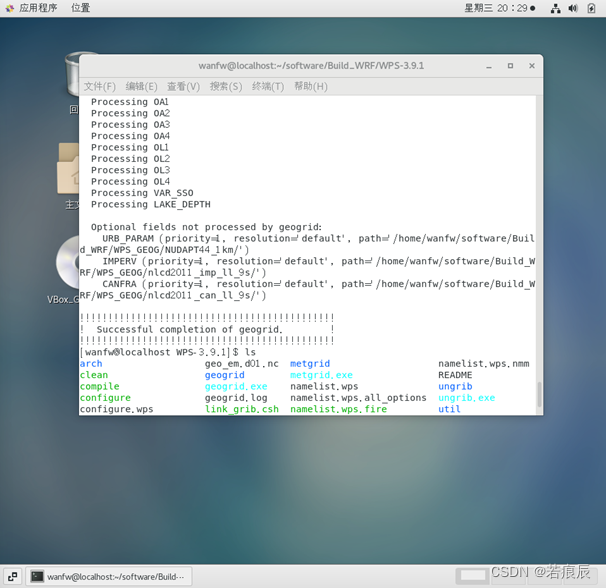
首先修改地形数据打开路径,本次在WPS同级目录下新建WPS_GEOG文件夹,并将地形数据放置在该目录下,修改namlist.wps里的地形数据打开路径与嵌套。
geog_data_path = '/home/wanfw/software/Build_WRF/WPS_GEOG/'
max_dom = 1
运行geogrid.exe,生成geo_em.d01.nc文件,结果如下图所示。
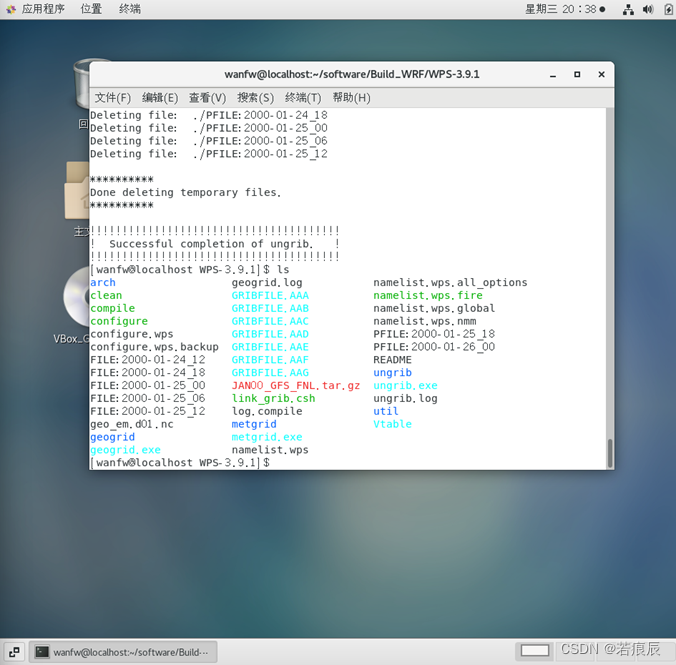
(3)运行ungrib.exe
首先下载气象数据放置在WPS-3.9.1同级目录DATA下,然后链接Variable_Table文件,运行ungrib.exe
$ wget https://www2.mmm.ucar.edu/wrf/TUTORIAL_DATA/JAN00_GFS_FNL.tar.gz
$ tar -zxvf JAN00_GFS_FNL.tar.gz

# 进入WPS-3.9.1目录
$ ln -sf ungrib/Variable_Tables/Vtable.GFS Vtable
$ ./link_grib.csh ../DATA/JAN00/fnl_2000012

# 修改namelist.wps
start_date = '2000-01-24_12:00:00','2000-01-24_12:00:00',
end_date = '2000-01-25_12:00:00','2000-01-25_12:00:00',

# 运行ungrib.exe
$ ./ungrib.exe
运行结束后结果如下图所示。
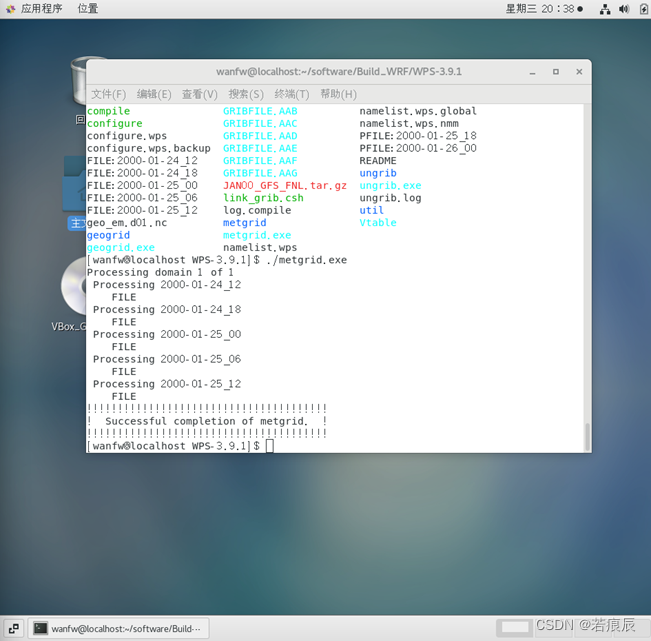
(4)运行metgrid.exe
直接运行metgrid.exe,结果如下图所示。
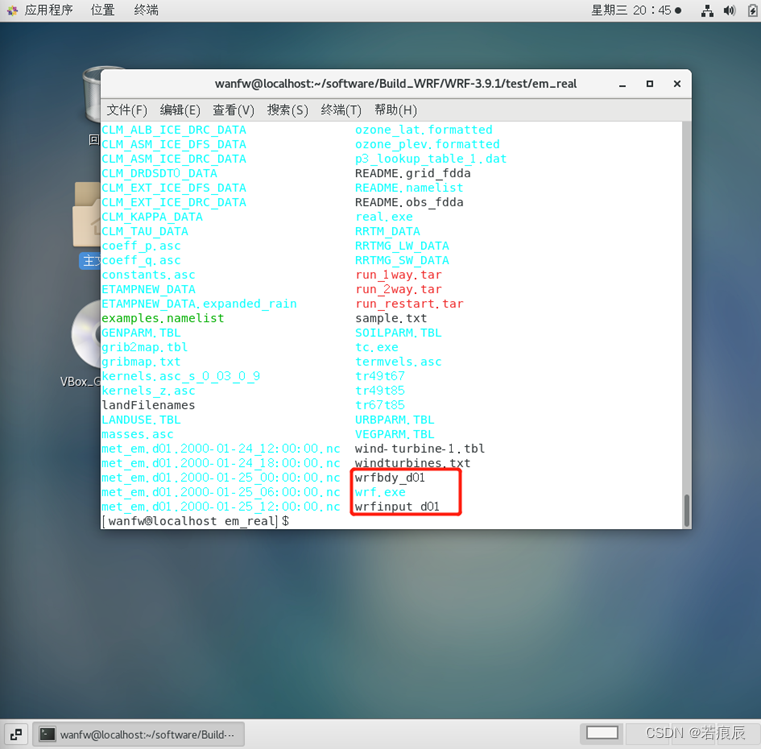
(5)运行real.exe
$ cd ../WRF-3.9.1/test/em_real
$ ln -sf /home/wanfw/software/Build_WRF/WPS-3.9.1/met_em.d01.2000-01*

# 修改namelist.input
run_days = 0,
run_hours = 12,
run_minutes = 0,
run_seconds = 0,
start_year = 2000,
start_month = 01,
start_day = 24,
start_hour = 12,
end_year = 2000,
end_month = 01,
end_day = 25,
end_hour = 12,
interval_seconds = 21600
input_from_file = .true.,
history_interval = 180,
frames_per_outfile = 1000,
time_step = 180,
max_dom = 1,
s_we = 1,
e_we = 74,
s_sn = 1,
e_sn = 61,
s_vert = 1,
e_vert = 33,
num_metgrid_levels = 27
dx = 30000,
dy = 30000

# 在namelist.input “domains”部分添加
sfcp_to_sfcp = .true.

# 修改其他项
gwd_opt = 0
num_metgrid_soil_levels = 2

$ ./real.exe
运行结果如下图所示,检查生成的wrfbdy_d01与wrfinput_d01文件。
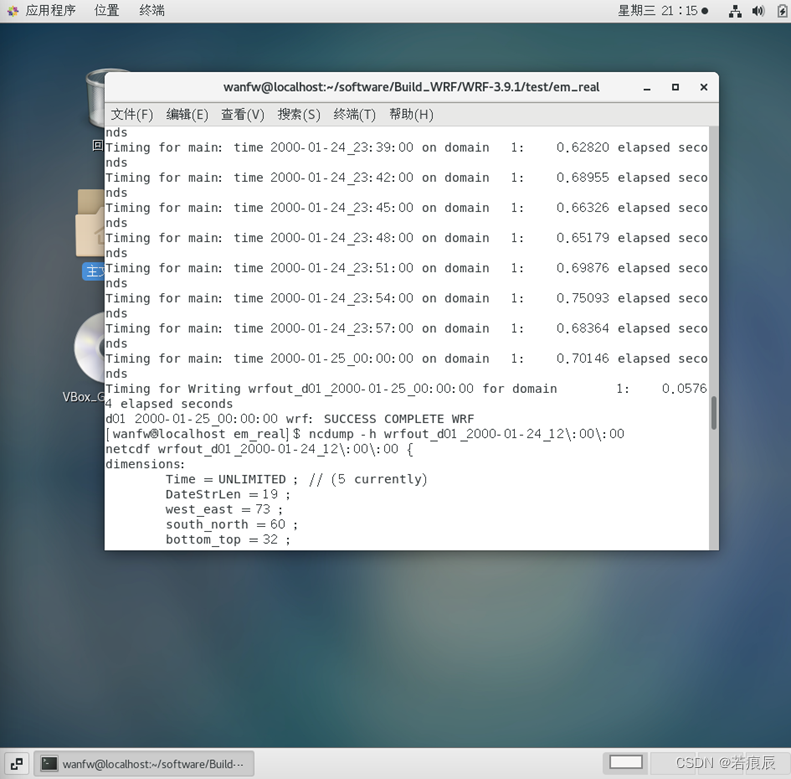
(6)运行wrf.exe
直接运行wrf.exe,运行结果如下图所示,使用ncdump查看生成文件信息,无误。


 2325
2325


 被折叠的 条评论
为什么被折叠?
被折叠的 条评论
为什么被折叠?
 到【灌水乐园】发言


