


前后端分离的项目中离不开接口文档的生成,Swagger 是一个用于设计、构建、文档化和使用 RESTful 风格的 Web 服务的开源软件框架。它包括一系列工具,可以帮助开发人员快速构建、测试和使用 RESTful API。
Swagger 可以生成交互式 API 文档,使得开发人员可以轻松地了解 API 的结构、请求和响应的格式、参数的含义等信息。此外,Swagger 还可以自动生成客户端代码,使得开发人员可以更加方便地使用 API。
搭建的步骤
- 引入相关的依赖包
        <dependency>
            <groupId>io.springfox</groupId>
            <artifactId>springfox-boot-starter</artifactId>
            <version>3.0.0</version>
        </dependency>
- 新建一个SwaggerConfig配置类,用于生成一的文档的页面标题,描述,需要扫描的包等
package com.example.bootdemo.utils;


import io.swagger.annotations.ApiOperation;
import org.springframework.context.annotation.Bean;
import org.springframework.context.annotation.Configuration;
import springfox.documentation.builders.ApiInfoBuilder;
import springfox.documentation.builders.PathSelectors;
import springfox.documentation.builders.RequestHandlerSelectors;
import springfox.documentation.oas.annotations.EnableOpenApi;
import springfox.documentation.service.ApiInfo;
import springfox.documentation.spi.DocumentationType;
import springfox.documentation.spring.web.plugins.Docket;

@Configuration
@EnableOpenApi
public class SwaggerConfig {
    @Bean
    public Docket createRestApi(){
        return new Docket(DocumentationType.OAS_30)
                .apiInfo(apiInfo())
                .select()
//                .apis(RequestHandlerSelectors.withMethodAnnotation(ApiOperation.class))
//com.example.bootdemo.controller控制层的包名
                .apis(RequestHandlerSelectors.basePackage("com.example.bootdemo.controller"))
                .paths(PathSelectors.any())
                .build();
    }

    private ApiInfo apiInfo(){
        return new ApiInfoBuilder()
                .title("Swagger3接口文档")
                .description("前后端分离的接口文档")
                .version("1.0")
                .build();
    }
}
结果实体类
package com.example.bootdemo.entity;

public class Result<T> {
    private int code;
    private String message;
    private String token;
    private T data;

    public Result(int code, String message, String token, T data) {
        this.code = code;
        this.message = message;
        this.token = token;
        this.data = data;
    }

    public int getCode() {
        return code;
    }

    public void setCode(int code) {
        this.code = code;
    }

    public String getMessage() {
        return message;
    }

    public void setMessage(String message) {
        this.message = message;
    }

    public String getToken() {
        return token;
    }

    public void setToken(String token) {
        this.token = token;
    }

    public T getData() {
        return data;
    }

    public void setData(T data) {
        this.data = data;
    }

    public static <T> Result<T> success(int code, String message, T data) {
        return new Result<T>(code, message, null, data);
    }

    public static <T> Result<T> error(int code, String message, String token, T data) {
        return new Result<T>(code, message, token, data);
    }
}
3.在启动类中添加@EnableOpenApi注解
@SpringBootApplication
@EnableOpenApi
public class BootdemoApplication {
    public static void main(String[] args) {
        SpringApplication.run(BootdemoApplication.class, args);
    }

}
4.配置文件处理(如果有报错可配置一下内容,主要是出现在2.6 、2.7等版本中)
  #  这个mvc的配置是springboot2.6.1不支持swagger3的折衷配置,后面考虑升级Springboot版本或降级版本
  mvc:
   pathmatch:
    matching-strategy: ant_path_matcher
参考:https://blog.csdn.net/m0_67402235/article/details/125109353
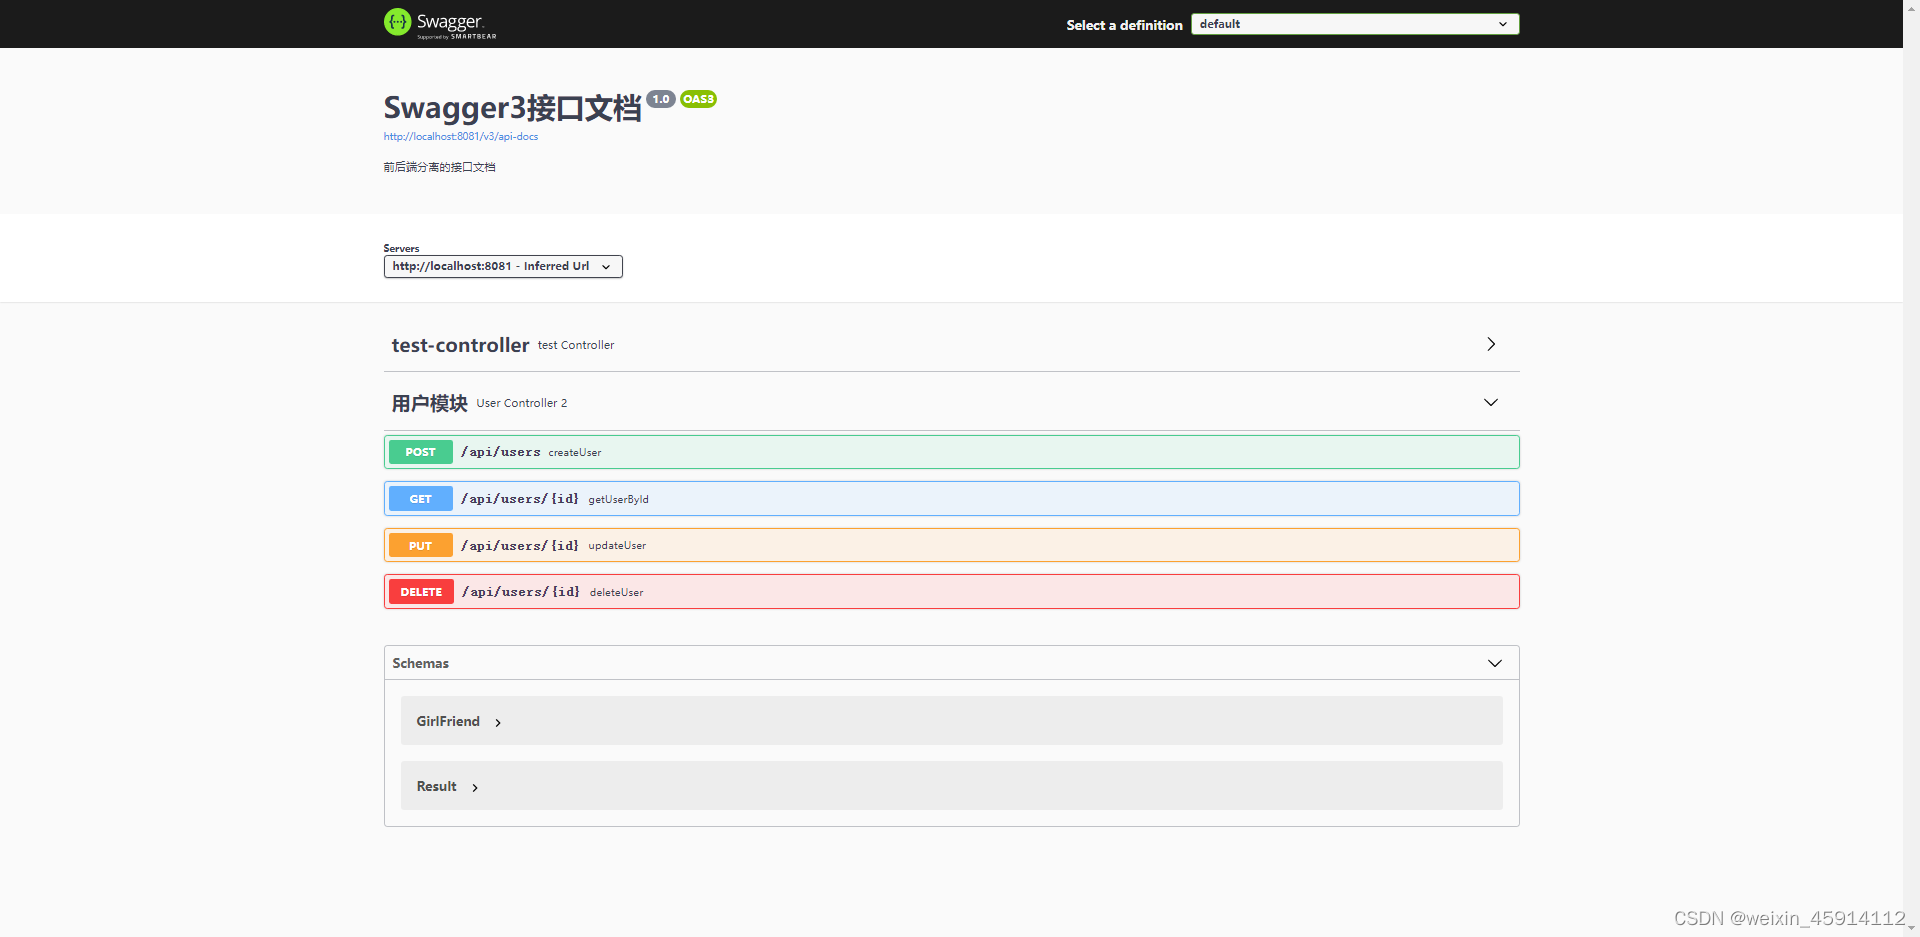
5.运行项目,访问地址http://localhost:8081/swagger-ui/
运行效果:


 2849
2849


 被折叠的 条评论
为什么被折叠?
被折叠的 条评论
为什么被折叠?
 到【灌水乐园】发言


