


在理解aop之前需要理解什么是代理模式。可参考这两篇:静态代理、动态代理
理解完动态代理之后理解aop就十分简单了。
一、AOP概念
面向方面编程 (AOP) 通过提供另一种思考程序结构的方式来补充面向对象编程 (OOP)。OOP 中模块化的关键单元是类,而 AOP 中模块化的单元是方面。方面支持跨多种类型和对象的关注点(例如事务管理)的模块化。
二、AOP名词
理解即可,死记硬背没啥意义。
切面(Aspect):跨多个程序多个模块的类或方法,和业务功能无关的附加部分,即横切关注点。如日志、缓存、事务等。
通知(Advice):切面必须完成的工作。即类中的方法
连接点(JoinPoint):程序执行过程中的一个点。
切入点(PointCut):匹配连接点的谓词。
目标对象(Target):一个或多个方面建议的对象,即被通知对象。
代理(Proxy):由 AOP 框架创建的对象,即目标对象代理出来的对象。
三、AOP支持的5中Advice
通知前:在连接点之前运行但不能阻止执行流继续到连接点的通知(除非它抛出异常)。
返回通知后:在连接点正常完成后运行的通知(例如,如果方法返回而没有引发异常)。
抛出建议后:如果方法因抛出异常而退出,则运行建议。
(最终)通知之后:无论连接点以何种方式退出(正常或异常返回),都将运行建议。
围绕建议:围绕连接点的建议,例如方法调用。这是最有力的建议。环绕通知可以在方法调用之前和之后执行自定义行为。
四、导包
aop特有的包是面向切面编程的,需要导一个包
        <dependency>
            <groupId>org.aspectj</groupId>
            <artifactId>aspectjweaver</artifactId>
            <version>1.9.4</version>
        </dependency>
五、代码目录
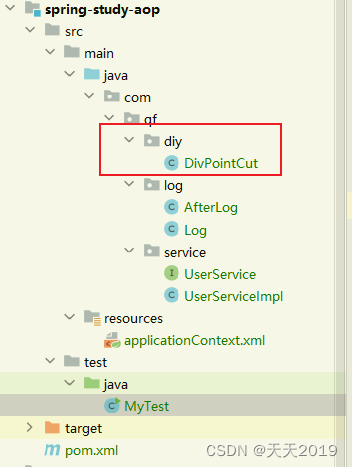
六、代码
方式一:执行spring API接口
准备需要被通知的类和其接口。
public interface UserService {
    public void add();
    public void delete();
    public void query();
    public void update();
}
public class UserServiceImpl implements UserService{
    @Override
    public void add() {
        System.out.println("增加了一个用户");
    }

    @Override
    public void delete() {
        System.out.println("删除了一个用户");
    }

    @Override
    public void query() {
        System.out.println("查询了一个用户");
    }

    @Override
    public void update() {
        System.out.println("修改了一个用户");
    }
}
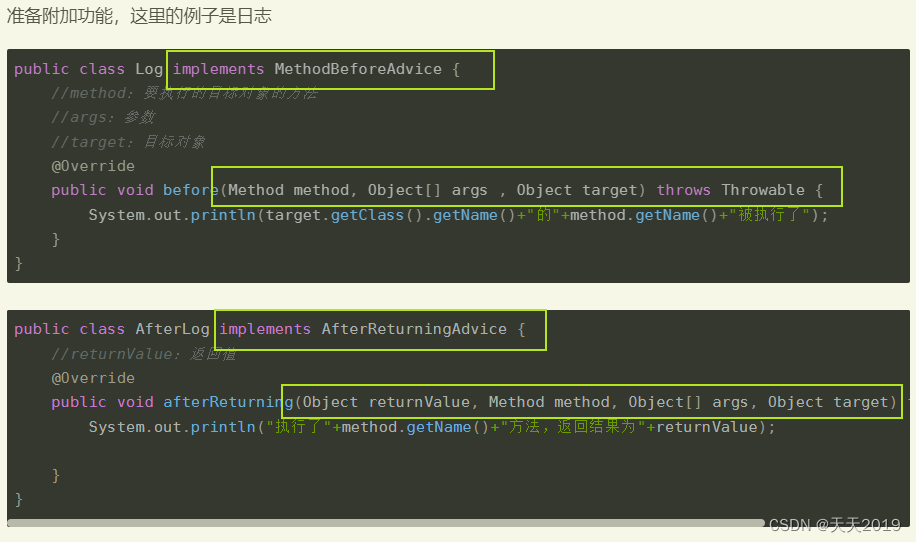
准备附加功能,这里的例子是日志
public class Log implements MethodBeforeAdvice {
    //method:要执行的目标对象的方法
    //args:参数
    //target:目标对象
    @Override
    public void before(Method method, Object[] args , Object target) throws Throwable {
        System.out.println(target.getClass().getName()+"的"+method.getName()+"被执行了");
    }
}
public class AfterLog implements AfterReturningAdvice {
    //returnValue:返回值
    @Override
    public void afterReturning(Object returnValue, Method method, Object[] args, Object target) throws Throwable {
        System.out.println("执行了"+method.getName()+"方法,返回结果为"+returnValue);

    }
}
在applicationContext中先注册前面的实现类和两个附加功能
    <bean id="userService" class="com.qf.service.UserServiceImpl" />
    <bean id="log" class="com.qf.log.Log"/>
    <bean id="afterLog" class="com.qf.log.AfterLog"/>
接着导入aop的约束头文件后进行配置。
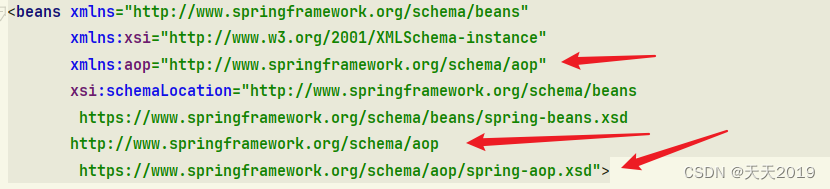
    <?xml version="1.0" encoding="UTF-8"?>
<beans xmlns="http://www.springframework.org/schema/beans"
       xmlns:xsi="http://www.w3.org/2001/XMLSchema-instance"
       xmlns:aop="http://www.springframework.org/schema/aop"
       xsi:schemaLocation="http://www.springframework.org/schema/beans
        https://www.springframework.org/schema/beans/spring-beans.xsd
       http://www.springframework.org/schema/aop
        https://www.springframework.org/schema/aop/spring-aop.xsd">
    <!-- 注册bean -->
    <bean id="userService" class="com.qf.service.UserServiceImpl" />
    <bean id="log" class="com.qf.log.Log"/>
    <bean id="afterLog" class="com.qf.log.AfterLog"/>
    <!--方式一:执行spring API接口-->
    <!-- 配置aop:需要导入aop约束-->
    <aop:config>
        <!-- 切入点 expression:表达式(要执行的方法)-->
        <aop:pointcut id="pointcut" expression="execution(* com.qf.service.UserServiceImpl.*(..))"/>
        <!-- 执行环绕增加 -->
        <aop:advisor advice-ref="log" pointcut-ref="pointcut" />
        <aop:advisor advice-ref="afterLog" pointcut-ref="pointcut" />
    </aop:config>
</beans>
在测试类中测试。
    public static void main(String[] args) {
        ApplicationContext context = new ClassPathXmlApplicationContext("applicationContext.xml");
        //动态代理代理的是接口
        UserService userService = context.getBean("userService", UserService.class);
        userService.add();
    }
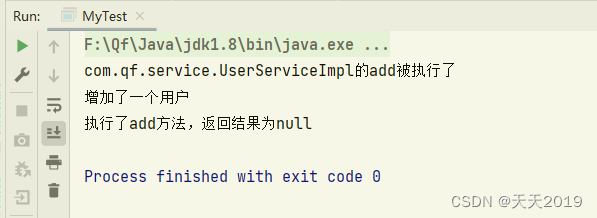
运行结果如下
方式二:自定义切面
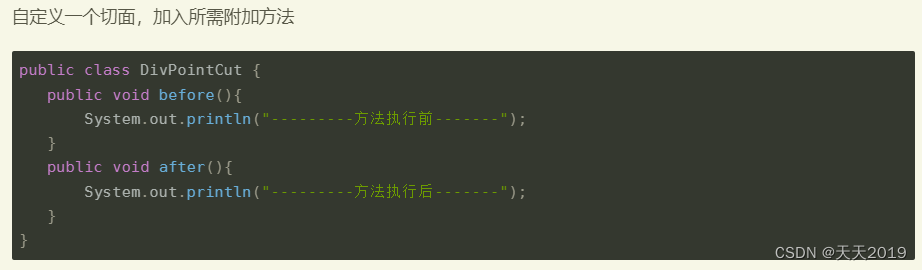
自定义一个切面,加入所需附加方法
public class DivPointCut {
   public void before(){
       System.out.println("---------方法执行前-------");
   }
   public void after(){
       System.out.println("---------方法执行后-------");
   }
}
在xml注册自定义的切面并进行配置
   <!-- 方式二:自定义类 -->
   <bean id="diy" class="com.qf.diy.DivPointCut" />
   <aop:config>
       <!-- 自定义切面,ref引用切面类 -->
       <aop:aspect ref="diy">
           <!-- 切入点 -->
           <aop:pointcut id="point" expression="execution(* com.qf.service.UserServiceImpl.*(..))"/>
           <!-- 通知 -->
           <aop:before method="before" pointcut-ref="point" />
           <aop:after method="after" pointcut-ref="point" />
       </aop:aspect>
   </aop:config>
测试类不变
public class MyTest {
   public static void main(String[] args) {
       ApplicationContext context = new ClassPathXmlApplicationContext("applicationContext.xml");
       //动态代理代理的是接口
       UserService userService = context.getBean("userService", UserService.class);
       userService.add();
   }
}
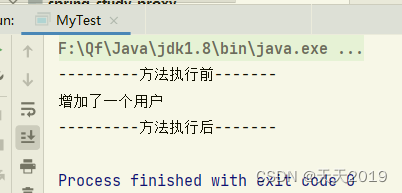
运行结果
方式三:使用注解实现aop
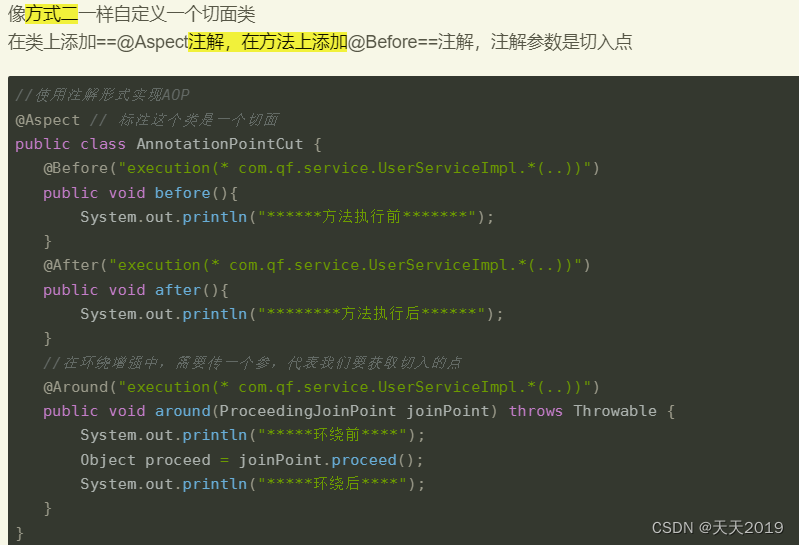
像方式二一样自定义一个切面类
在类上添加@Aspect注解,在方法上添加@Before注解,注解参数是切入点
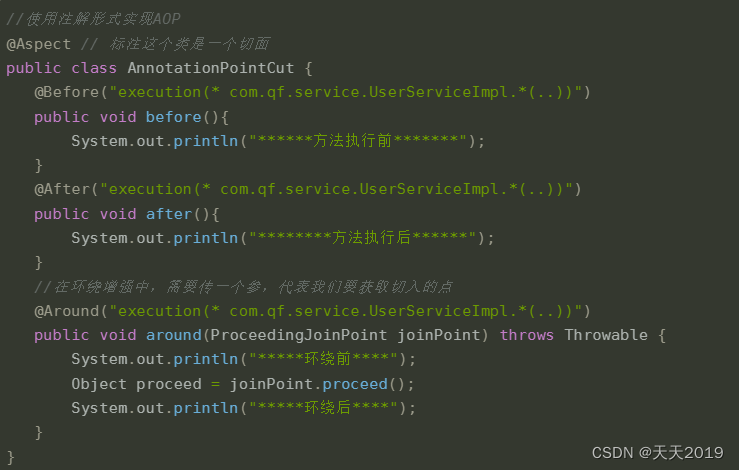
//使用注解形式实现AOP
@Aspect // 标注这个类是一个切面
public class AnnotationPointCut {
   @Before("execution(* com.qf.service.UserServiceImpl.*(..))")
   public void before(){
       System.out.println("******方法执行前*******");
   }
   @After("execution(* com.qf.service.UserServiceImpl.*(..))")
   public void after(){
       System.out.println("********方法执行后******");
   }
   //在环绕增强中,需要传一个参,代表我们要获取切入的点
   @Around("execution(* com.qf.service.UserServiceImpl.*(..))")
   public void around(ProceedingJoinPoint joinPoint) throws Throwable {
       System.out.println("*****环绕前****");
       Object proceed = joinPoint.proceed();
       System.out.println("*****环绕后****");
   }
}
在注解中开启注解支持
    <!-- 方式三 -->
   <bean id="annotationPointCut" class="com.qf.diy.AnnotationPointCut" />
   <!-- 开启注解支持 -->
   <aop:aspectj-autoproxy/>
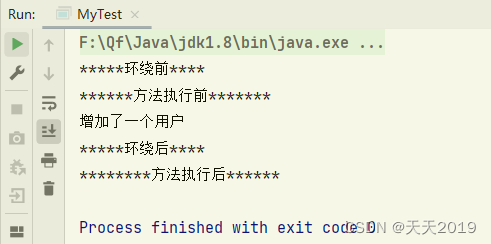
测试结果
七、三种方式对比
方式一使用较为困难,需要继承类、重写方法,但可以获取所有需要操作的数据。
方式二使用较为简单,只需自定切面类,即可进行配置。
方式三使用更加简单,添加注解后需要开启注解支持。


 被折叠的 条评论
为什么被折叠?
被折叠的 条评论
为什么被折叠?
 到【灌水乐园】发言


