


Taro小程序开发
系列文章的所有文章的目录
【Taro开发】-简易的checkBoxGroup组件(九)
【Taro开发】-宣传海报,实现canvas实现圆角画布/图片拼接二维码并保存(十一)
【Taro开发】-小程序自动打包上传并生成预览二维码(十三)
【Taro开发】-全局自定义导航栏适配消息通知框位置及其他问题(十四)
前言
基于Taro的微信小程序开发,主要组件库为Taro-ui
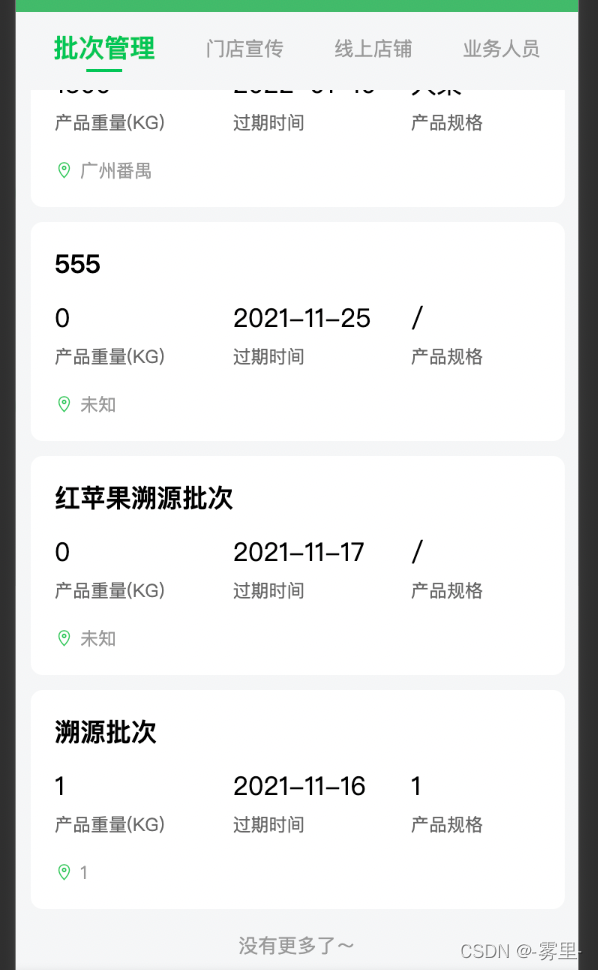
实现效果:
1.tab栏在滚动后吸顶
2.列表触底时能加载下一页内容,提示加载中,到底提示没有了
提示:以下是本篇文章正文内容,下面案例可供参考
一、tab栏吸顶效果
小程序的吸顶效果只需要设置position
.tabRow {
      position: sticky;
      top:0;
      z-index: 100;
 }
注意:当内外两层的posotion都为sticky可能出出现抖动,可在外层叠加一层view挡住抖动
二、标签页触底加载更多
1.tabs组件
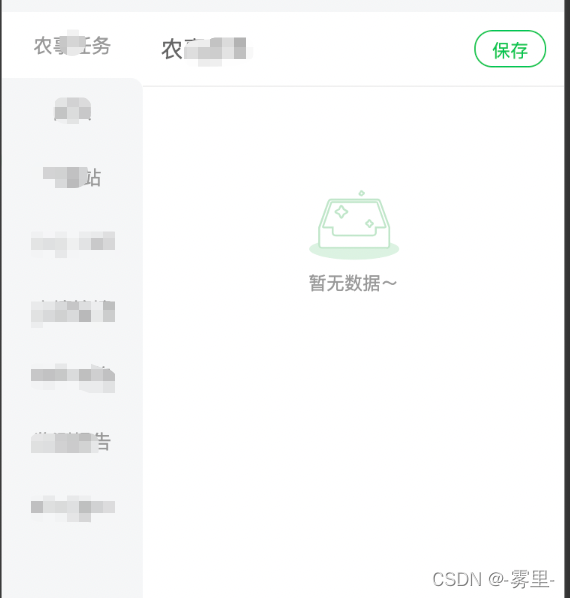
由于taro-ui的tabs标签页是在页面挂载后全部一次加载出来,且高度之间相互影响,不是独立的,同时我的每个便签页都是不同的一套逻辑,需是不同的子组件,因此自己简单封装了一个tabs组件。
后续兼容侧边标签页type:"vertical " | "horizontal "
// tabs.jsx
import { Component } from "react";
import { View, Text} from "@tarojs/components";
import "./index.scss";

class Tabs extends Component {
  constructor() {
    super();
    this.state = {
      current: 0
    };
  }

  componentWillMount() {
    if (this.props.current) this.setState({ current: this.props.current });
  }

  componentWillUpdate(nextProps, nextState) {
    if (nextProps.current !== this.props.current) {
      this.setState({ current: nextProps.current });
    }
  }
  border = index => {
    if (index === this.state.current || 0) {
      return "normal active";
    } else if (index === this.state.current - 1) {
      return "normal borderBtmRight ";
    } else if (index === this.state.current + 1) {
      return "normal borderTopRight";
    } else {
      return "normal";
    }
  };
  render() {
    const { tabList, onClick, type, className, style } = this.props;
    const { current } = this.state;
    return (
      <View
        className={
          (type === "vertical" ? "vertical " : "horizontal ") +
          (className || "")
        }
        style={style}
      >
        <View className={"tabs"}>
          {tabList &&
            tabList.map((item, index) => {
              return (
                <View className="tabsPack">
                  <View
                    key={index}
                    className={this.border(index)}
                    onClick={() => onClick && onClick(index)}
                  >
                    <Text>{item.title}</Text>
                    <View
                      className={
                        index === current || 0
                          ? "tabsLine tabsLineActive"
                          : "tabsLine"
                      }
                    ></View>
                  </View>
                </View>
              );
            })}
        </View>
        <View className="tabMes">{this.props.children}</View>
      </View>
    );
  }
}
export default Tabs;
// index.scss
@import "@/styles/variables.scss";

.vertical {
  flex: 1;
  margin-top: $spacing-base;
  display: flex;
  flex-direction: row;

  .tabs {
    width: 188px;
    background-color: $color-bg;

    .normal {
      height: 88px;
      display: flex;
      align-items: center;
      justify-content: center;
      color: $color-text-9;
    }

    .active {
      background-color: $color-white;
    }
  }

  .tabMes {
    flex: 1;
    background-color: $color-white;
  }
}

.horizontal {
  .tabs {
    display: flex;
    flex-direction: row;
    align-items: center;
    justify-content: space-between;
    padding: 26px 50px 26px;

    .normal {
      color: $color-text-9;
      display: flex;
      flex-direction: column;
      align-items: center;

      .tabsLine {
        background: $color-default-dark;
        width: 48px;
        height: 4px;
        margin-top: 4px;
        transform: scaleX(0);
        transition: all 0.15s;
      }

      .tabsLineActive {
        transform: scaleX(1) !important;
      }
    }

    .active {
      font-size: $font-size-xxl;
      color: $color-default-dark;
      font-weight: bold;
    }
  }
}
2.tabs组件的使用及页面子组件
由于我的tab栏需要吸顶,所以我将tab栏和标签页拆开,不丢在一起
//Page state
reachBottom: false,
hasMore: true
//render
		<Tabs
            className="tabRow"//其他样式,实现吸顶效果
            tabList={tabList}
            current={tabCurrent}
            onClick={i => this.setState({ tabCurrent: i, hasMore: true })}//hasMore为后续加载更多时的一个判断
          />
          {tabList[tabCurrent].key === "batch" && (
            <Batch
              ref={c => (this.batch = c)}//后续调用子组件实例
              ...//其他属性
            />
          )}
          ...//其他标签页子组件
          {reachBottom && (
            <AtActivityIndicator
              className="trace-bottom-text"
              isOpened={reachBottom}
              content="加载中..."
            />
          )}
          {!hasMore && <View className="trace-bottom-text">没有更多了~</View>}
页面子组件Batch
componentDidMount() {
    const { ref } = this.props;
    ref && ref(this);
}

//调用接口获取下一页数据
getList = async (ope) => {//ope为操作,'next'为获取下一页,否则为第一页,为初始化/刷新时使用
    const { page, list } = this.state;
    let size = 10;
    let params = {
      page: ope === "next" ? page + 1 : 1,
      size,
    };
    let res = await service.getPage( params);
    if (!res?.failed) {
      this.setState({
        page: ope === "next" ? page + 1 : 1,
        list: ope === "next" ? [...list, ...res?.content] : res?.content
      });
      if ((ope === "next" ? page + 1 : 1) * size < res?.totalElements)//判断是否还有数据,并返回
        return true;
      else return false;
    } else {
      Taro.atMessage({
        type: "error",
        message: `${res?.message}`
      });
      return true;
    }
  };
页面事件
async onReachBottom() {
    const { areaId, hasMore, tabCurrent, list, swiperCurrent } = this.state;
    if (hasMore) {
      this.setState({ reachBottom: true });
      let longList;
      //根据当前不同的标签页获得相对应子组件的实例
      longList = this[tabList[tabCurrent]?.key];
      let isHasMore = await longList.getList("next");
      this.setState({ reachBottom: false, hasMore: isHasMore });
    }
  }
目前还有一点不伤大雅的小问题,即标签页的列表长度过短时,无法触发到触底事件,所以显示不了没有更多的提示,如果有解决的方法,欢迎交流


 2万+
2万+

 被折叠的 条评论
为什么被折叠?
被折叠的 条评论
为什么被折叠?
 到【灌水乐园】发言


