


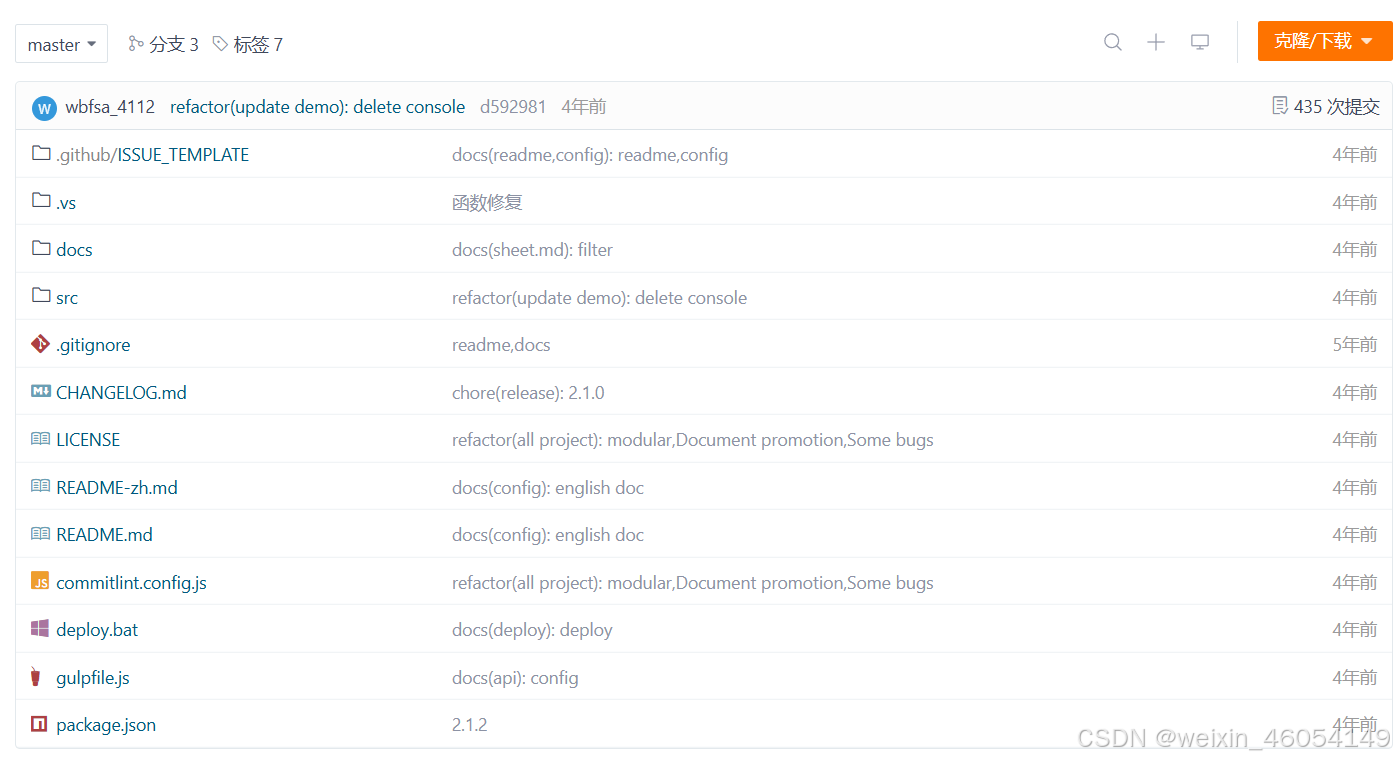
1.下载LuckySheet项目:git地址:luckysheet: Luckysheet ,一款纯前端类似excel的在线表格,功能强大、配置简单、完全开源
2.打开项目,按顺序执行下列命令:
npm install
npm install gulp -g
npm run dev
npm run build
3.打开打包后的dist文件夹,将除了index.html以外的文件全部复制到自己的vue项目的public包里面
4.在public目录下的index.html 引入上面复制过来的资源(前面加上绝对路径防止刷新页面报错找不到luckysheet.create方法)
<link rel='stylesheet' href="<%= BASE_URL %>luckysheet/pluginsCss.css" />
<link rel='stylesheet' href="<%= BASE_URL %>luckysheet/plugins.css" />
<link rel='stylesheet' href="<%= BASE_URL %>luckysheet/luckysheet.css" />
<link rel='stylesheet' href="<%= BASE_URL %>luckysheet/iconfont.css" />
<script src="<%= BASE_URL %>luckysheet/plugin.js"></script>
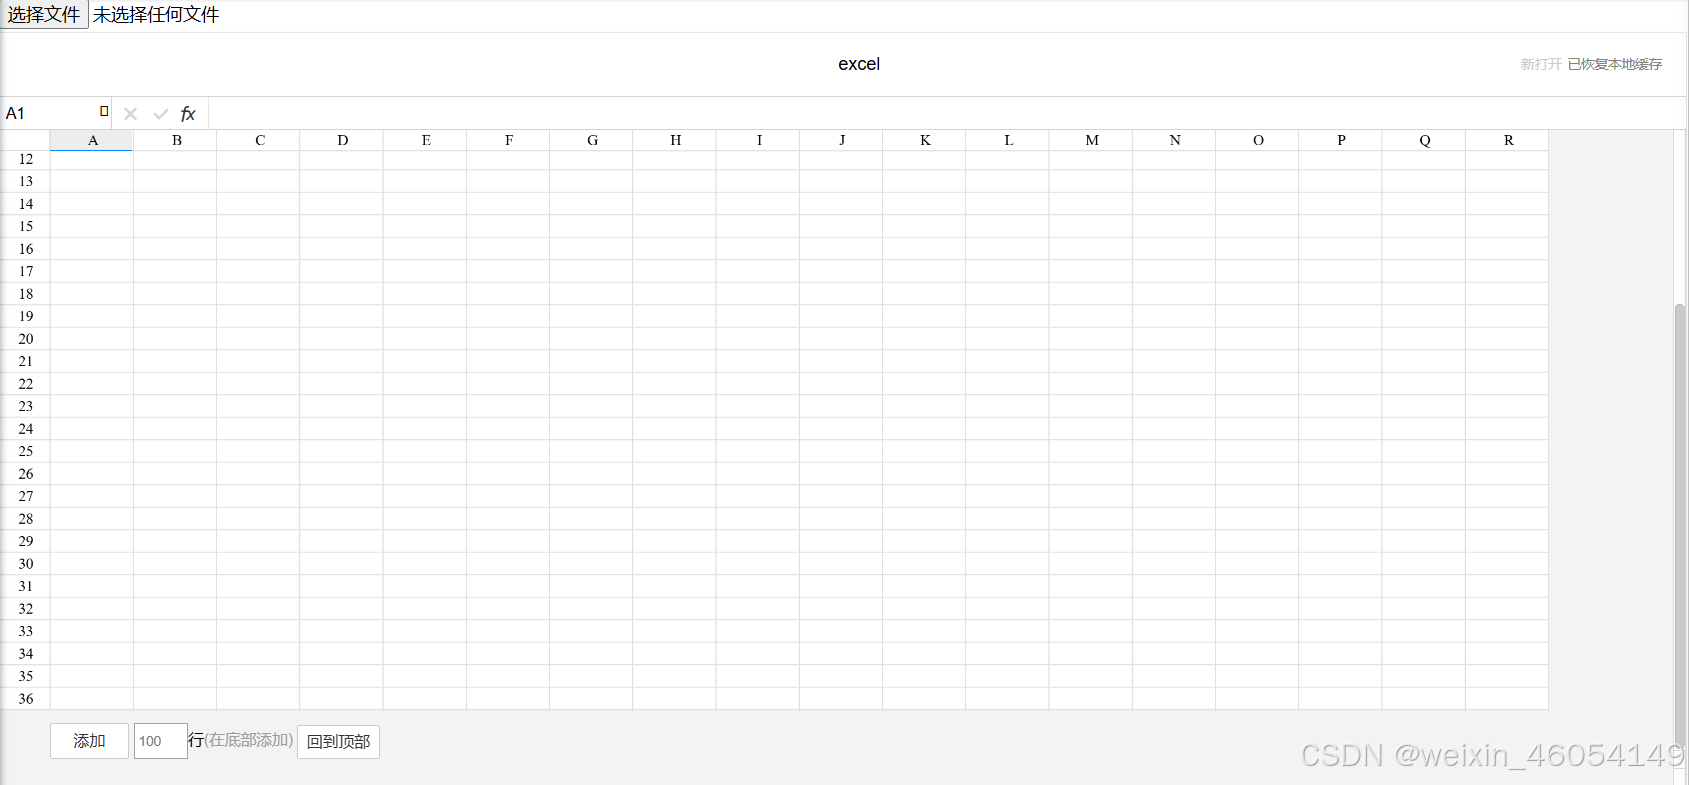
<script src="<%= BASE_URL %>luckysheet/luckysheet.umd.js"></script>5.使用LuckySheet(Vue2,代码没给全需要根据自己需求去调整)
<template>
  <div class="hello">
    <div style="position: absolute;top:0;">
      <input style="font-size:16px;" type="file" @change="uploadExcel">
    </div>
    <button  type="success" @click="handleSubmit">保 存</button>
    <div
      id="luckysheet"
      style="margin:0px;padding:0px;position:absolute;width:100%;left: 0px;top: 30px;bottom:0px;"
    />
  </div>
</template>

<script>
import LuckyExcel from 'luckyexcel'
export default {
  name: 'HelloWorld',
  props: {
    msg: String
  },
  data() {
    return {
      options: {
        data: [{}],
        container: 'luckysheet', //luckysheet为容器id
        lang: 'zh',
        showGridLines: true,
        allowEdit: false,
        showinfobar: false, // 是否显示顶部信息栏
        showsheetbar: false, // 是否显示底部sheet页按钮
        showstatisticBar: false, // 是否显示底部计数栏
        sheetBottomConfig: false, // sheet页下方的添加行按钮和回到顶部按钮配置
        userInfo: false, // 右上角的用户信息展示样式
        showstatisticBarConfig: {
          count: false,
          view: false,
          zoom: false,
        },
        showsheetbarConfig: {
          add: false, //新增sheet
          menu: false, //sheet管理菜单
          sheet: false, //sheet页显示
        },
        showtoolbar: false,  // 显示工具栏
        hook: {
          cellMousedown: this.cellMousedown,
        },
        enableAddBackTop: false,
        enableAddRow: false
      }
    }

  },
  methods: {
    uploadExcel(evt) {
      const files = evt.target.files;
      if (files == null || files.length == 0) {
        alert("No files wait for import");
        return;
      }
      let name = files[0].name;
      let suffixArr = name.split("."), suffix = suffixArr[suffixArr.length - 1];
      if (suffix != "xlsx") {
        alert("Currently only supports the import of xlsx files");
        return;
      }
      const options = this.options;
      LuckyExcel.transformExcelToLucky(this.form.file, function (exportJson, luckysheetfile) {
        if (exportJson.sheets == null || exportJson.sheets.length === 0) {
          return;
        }
        window.luckysheet.destroy();
        options.data = [exportJson.sheets[0]];
        window.luckysheet.create(options);
      });
    },
 handleSubmit() {
      const excelJson = luckysheet.getAllSheets()[0];
      add(excelJson).then((res) => {
        this.$modal.msgSuccess('保存成功');
      })
    },
/** 详情按钮操作,id是这个表格存到数据库的id */
    handleDetail(id) {
      if (id) {
        getCommandDetails(id).then(res => {
          this.options.data = [JSON.parse(res)]
          window.luckysheet.create(this.options)
        })
      }
    },
  }
}
</script>

<style scoped>
</style>
6.后端我是使用map接收,也可以前端转化为字符串然后后端直接用String去接收,然后可以压缩这个字符串存到自己的数据表,其它字段根据自己的需求去建,表格内容全部存在这一个字符串里面。查询的时候直接根据数据库这条记录的id直接去查,返回这个字符串就行。
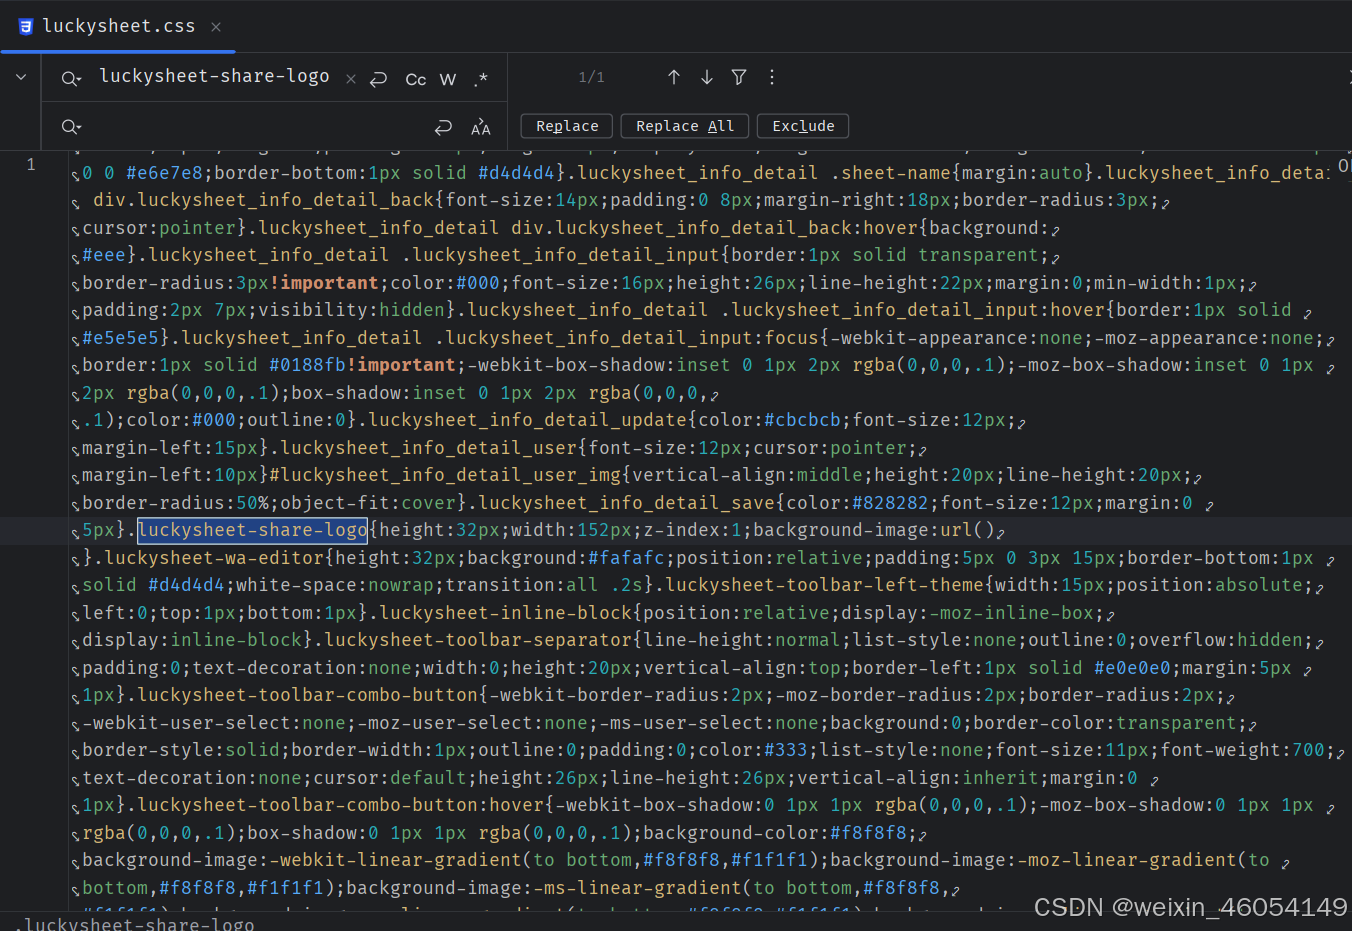
private Map<Object,Object> excelJson;7.可以去除luckySheet的图标。将luckysheet-share-logo里面的url()里面内容去除保存即可。


 被折叠的 条评论
为什么被折叠?
被折叠的 条评论
为什么被折叠?
 到【灌水乐园】发言


