


前序
主要是在工作中有需求需要使用到七牛云进行文件(图片、压缩包、文件都可以)的上传,所以就去了解了这个功能,不过整体用下来感觉还是挺简单,在这里跟兄弟们分享一下,如果感觉文章还可以的记得点赞收藏
使用的技术
SpringBoot+Vue+Element UI
开篇
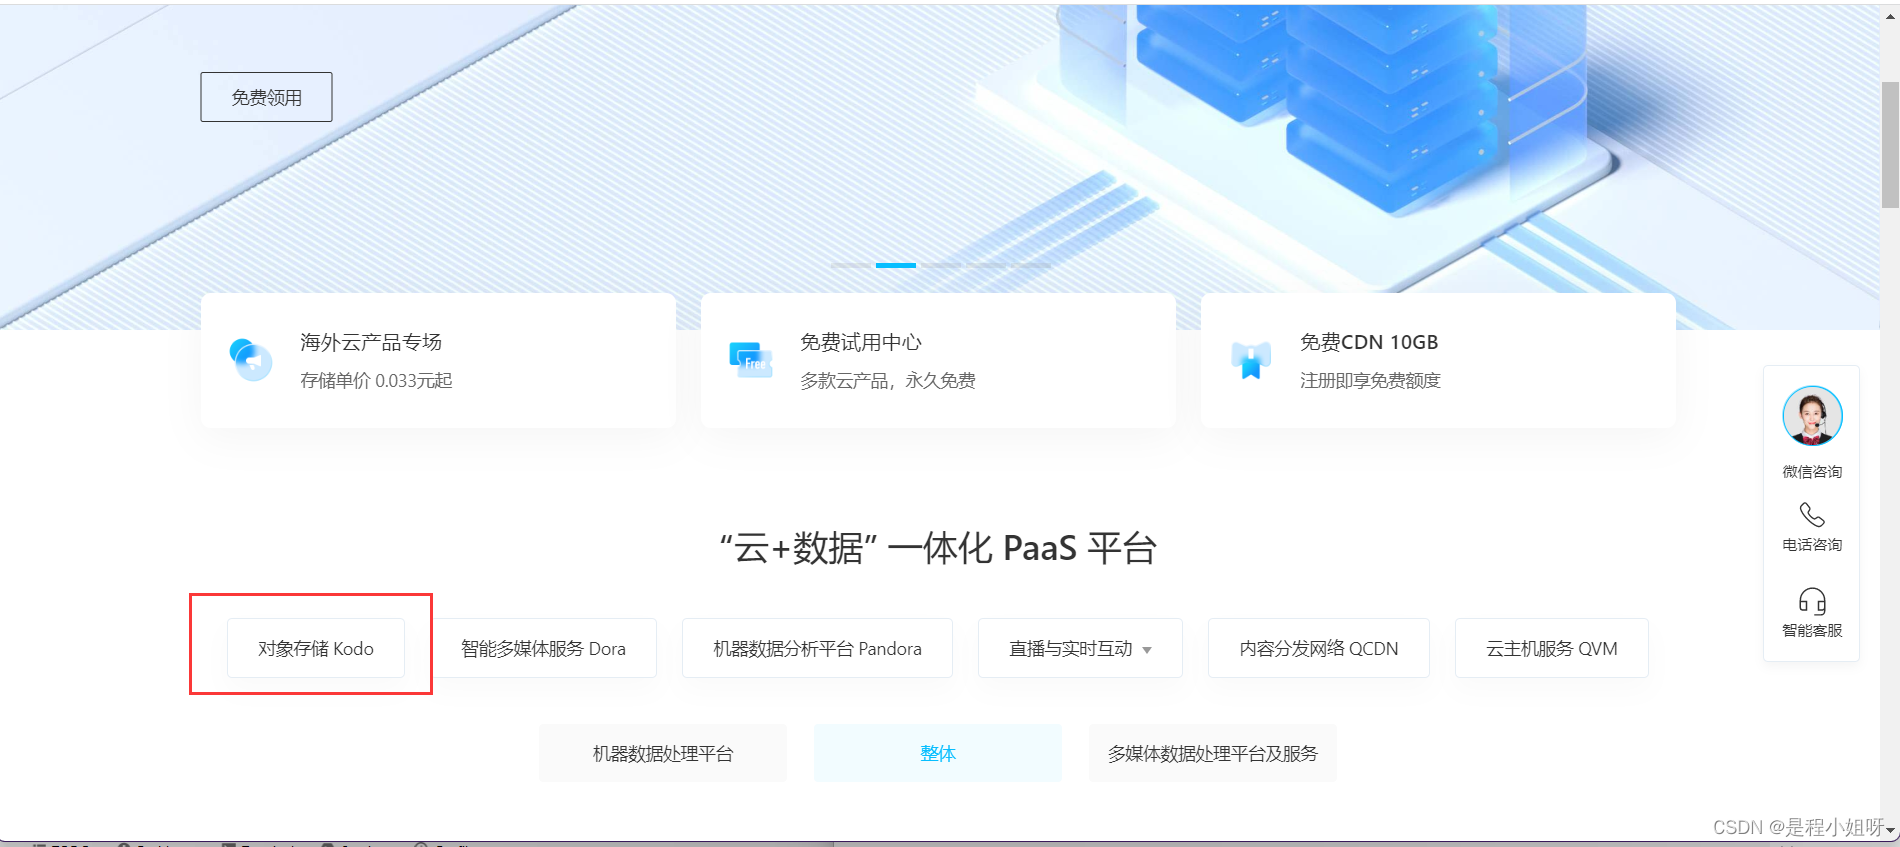
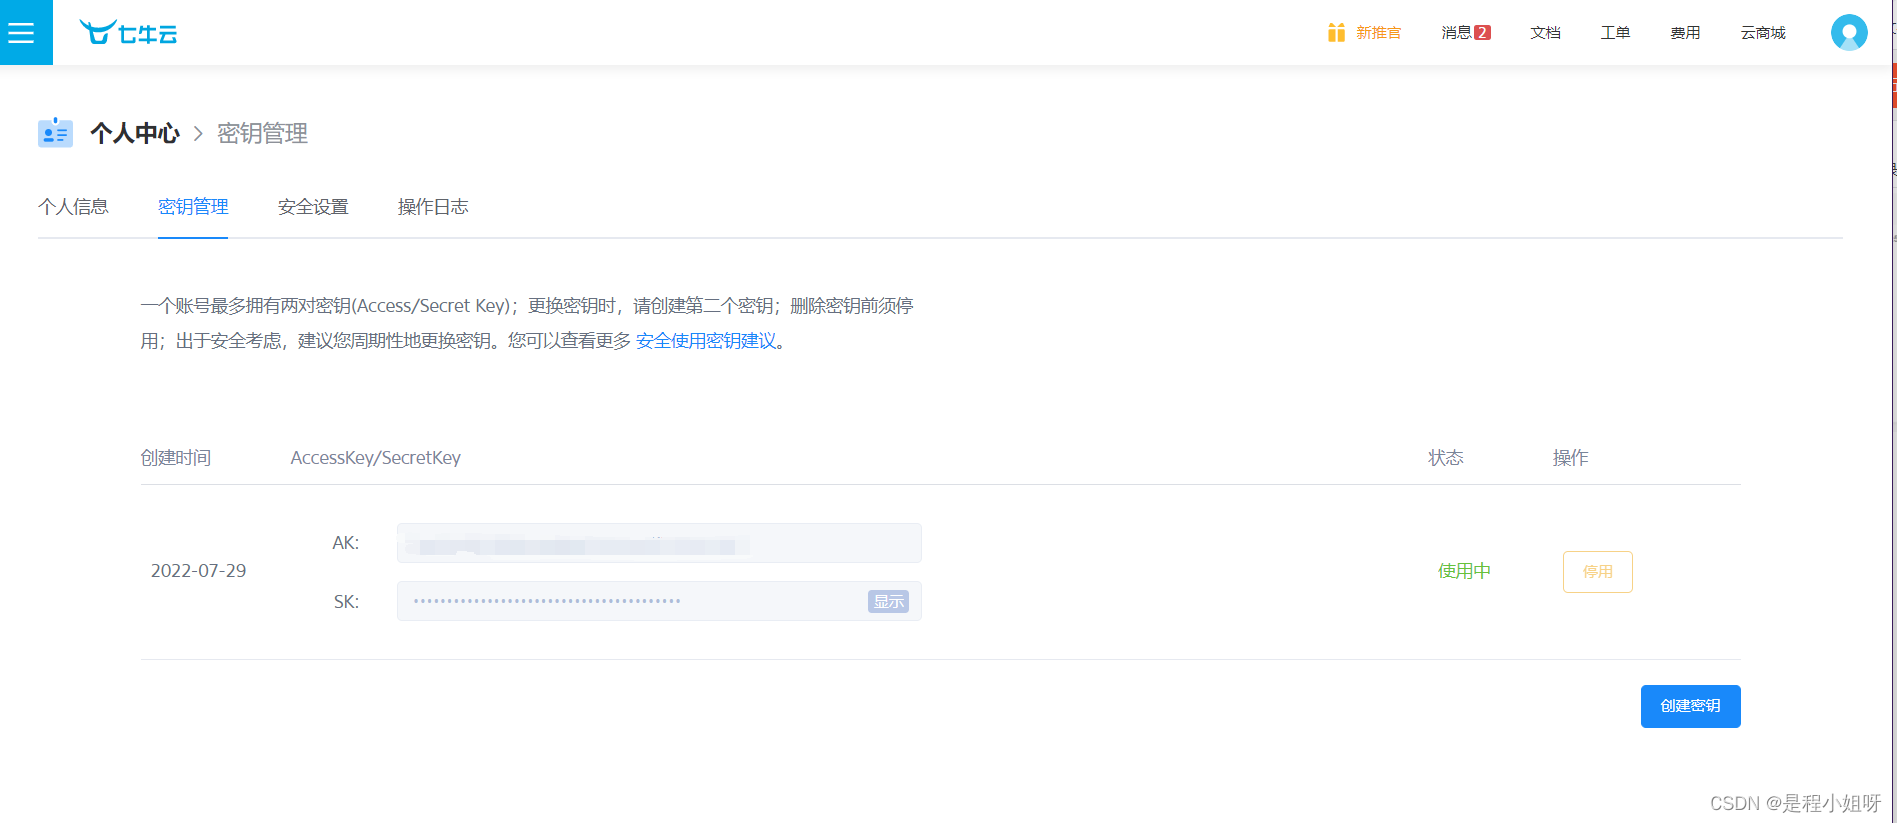
七牛云登录页面
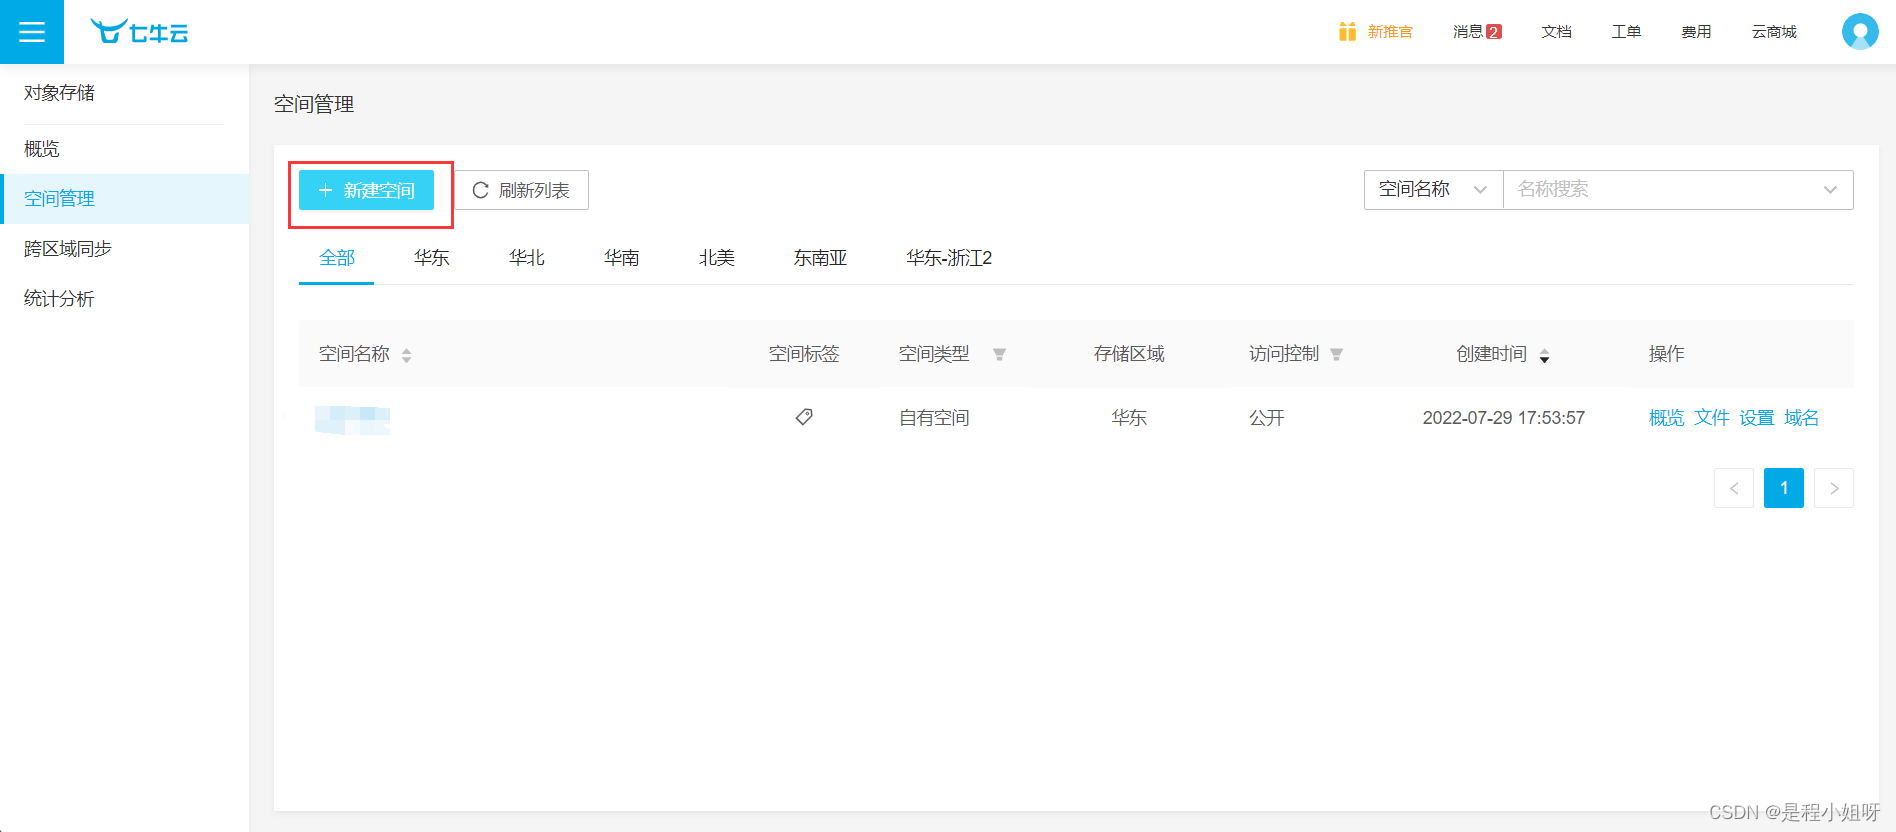
这一步创建一块空间用来存储将要上传数据的空间,这里没有什么需要特别关注的,到后面代码会使用到的就是域名还有空间名称
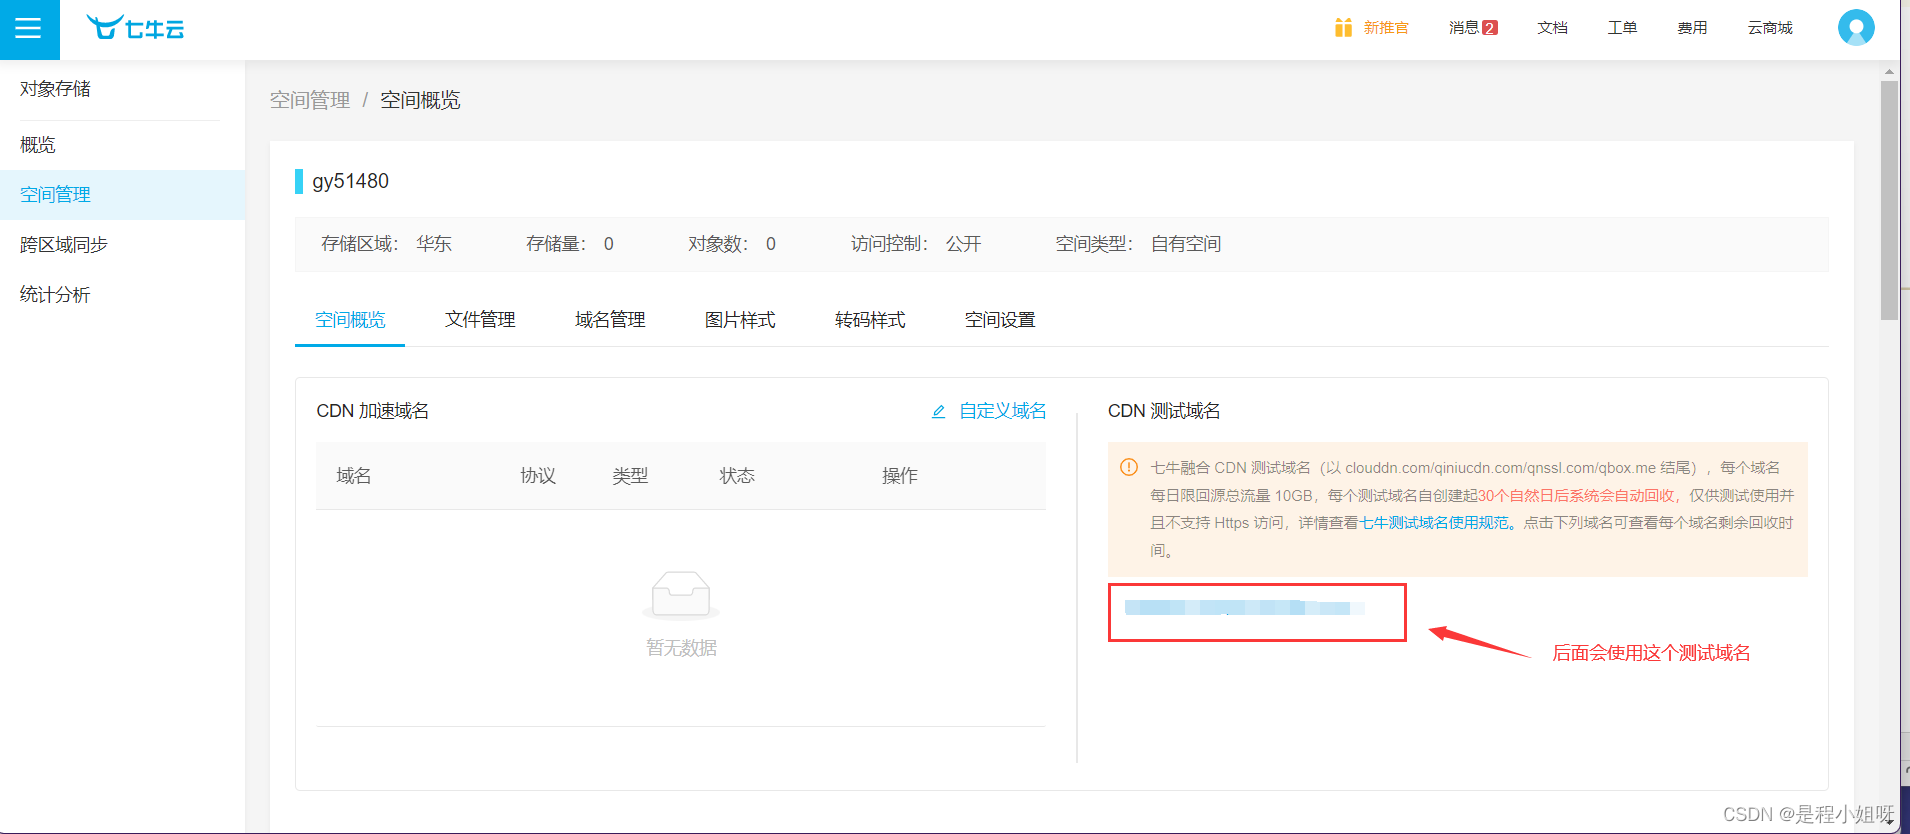
这里会有一个测试域名后面会使用到
这里的公钥和私钥都时候需要写进代码
接下来就可以进入编写代码的环节了
后端实现
pom依赖
<!--        七牛核心包-->
        <dependency>
            <groupId>com.qiniu</groupId>
            <artifactId>qiniu-java-sdk</artifactId>
            <version>[7.2.0,7.2.99]</version>
        </dependency>
<!--        传输协议-->
        <dependency>
            <groupId>com.squareup.okhttp3</groupId>
            <artifactId>okhttp</artifactId>
            <version>3.3.1</version>
            <scope>compile</scope>
        </dependency>
        <dependency>
            <groupId>com.qiniu</groupId>
            <artifactId>happy-dns-java</artifactId>
            <version>0.1.4</version>
            <scope>compile</scope>
        </dependency>
        <dependency>
            <groupId>com.google.code.gson</groupId>
            <artifactId>gson</artifactId>
            <version>2.6.2</version>
            <scope>compile</scope>
        </dependency>
配置文件
#公钥
qiniu.accessKey = “”
#私钥
qiniu.secretKey = “”
#创建的空间名称
qiniu.bucket = “”
#测试域名
qiniu.path = “”

设置文件传输的大小,因为默认的文件传输大小是比较小的
spring.servlet.multipart.max-file-size= 1024MB
配置项用yml或者配置类设置都可以
七牛云配置类
import com.google.gson.Gson;
import com.qiniu.storage.BucketManager;
import com.qiniu.storage.Region;
import com.qiniu.storage.UploadManager;
import com.qiniu.util.Auth;
import org.springframework.beans.factory.annotation.Value;
import org.springframework.context.annotation.Bean;
import org.springframework.context.annotation.Configuration;

@Configuration
public class QNconfig {

    @Bean
    public com.qiniu.storage.Configuration qiniuConfig(){
        //设置存储区域
        return new com.qiniu.storage.Configuration(Region.region0());
    }

    @Bean
    public UploadManager uploadManager(){
        return new UploadManager(qiniuConfig());
    }

    @Value("${qiniu.accessKey}")
    private String accessKey;

    @Value("${qiniu.secretKey}")
    private String secretKey;

    /**
     * 获取授权
     * @return
     */
    @Bean
    public Auth auth(){
        return Auth.create(accessKey,secretKey);
    }

    /**
     * 构建一个管理实例
     * @return
     */
    @Bean
    public BucketManager bucketManager(){
        return new BucketManager(auth(),qiniuConfig());
    }

    /**
     *
     * @return
     */
    @Bean
    public Gson gson(){
        return new Gson();
    }
}
这里需要注意 Configuration(Region.region0()); 这个Bean中的传的参数是更前面注册选择的区域有关系的
Service层接口
import com.qiniu.common.QiniuException;
import com.qiniu.http.Response;

import java.io.InputStream;

public interface QNService {

    //上传文件
    Response uploadFile(InputStream inputStream)throws QiniuException;

    void delectFile(String fileName);
}
Service层实现类
import com.qiniu.common.QiniuException;
import com.qiniu.http.Response;
import com.qiniu.storage.BucketManager;
import com.qiniu.storage.UploadManager;
import com.qiniu.util.Auth;
import com.qiniu.util.StringMap;
import org.springframework.beans.factory.InitializingBean;
import org.springframework.beans.factory.annotation.Autowired;
import org.springframework.beans.factory.annotation.Value;
import org.springframework.stereotype.Service;

import java.io.InputStream;

@Service
public class QNserviceImpl implements QNService, InitializingBean {

    @Autowired
    private UploadManager uploadManager;

    @Autowired
    private BucketManager bucketManager;

    @Autowired
    private Auth auth;

    @Value("${qiniu.bucket}")
    private String bucket;

    private StringMap putPolicy;

    }


    @Override
    public void afterPropertiesSet() throws Exception {
        this.putPolicy = new StringMap();
        putPolicy.put("returnBody", "{\"key\":\"$(key)\",\"hash\":\"$(etag)\",\"bucket\":\"$(bucket)\",\"fsize\":$(fsize)}");
    }
    @Override
    public Response uploadFile(InputStream inputStream) throws QiniuException{
        Response response = uploadManager.put(inputStream,null,getToken(),null,null);

        int trytimes = 0;
        while(response.needRetry() && trytimes <3) {
            response=uploadManager.put(inputStream,null,getToken(),null,null);
            trytimes++;
        }
        return response;
    }

     /**
     * http://rfs0tbaro.hd-bkt.clouddn.com/lsgJQIMLwhElG6_4rholb1tek6Em
     * @param fileName
     */
    @Override
    public void deleteFile(String fileName) {
        String key = fileName.substring(fileName.lastIndexOf("/") + 1,fileName.indexOf("}")-1);
        try{
            bucketManager.delete(bucket,key);
        }catch(QiniuException ex){
            //如果遇到异常,说明删除失败
            System.err.println(ex.code());
            System.err.println(ex.response.toString());
        }
    }

    private String getToken(){
        return this.auth.uploadToken(bucket,null,3600,putPolicy);
    }
}
其实代码大体就是这个模板,只是删除的时候需要注意截取字符串,因为前端传过来的肯定是一串地址值,但是想要删除只需要截取最后一段图片的编号
controller层代码
import com.google.gson.Gson;
import com.qiniu.http.Response;
import com.qiniu.storage.model.DefaultPutRet;
import org.springframework.beans.factory.annotation.Autowired;
import org.springframework.beans.factory.annotation.Value;
import org.springframework.web.bind.annotation.*;
import org.springframework.web.multipart.MultipartFile;

import java.util.ArrayList;
import java.util.List;

@RestController
@RequestMapping("/file")
public class QNcontroller {
    @Autowired
    private QNService qnService;

    @Value("${qiniu.path}")
    private String path;


    @PostMapping("/shangchuan")
    public String shangchuan(@RequestParam("file")MultipartFile file)throws  Exception{
        Response response =qnService.uploadFile(file.getInputStream());
        DefaultPutRet putRst = new Gson().fromJson(response.bodyString(), DefaultPutRet.class);
        String url =path+"/"+putRst.key;
        System.out.println(url);
        return url;
    }

    @PostMapping("/fileDelete")
    public void delectFile(@RequestParam("fileName")String fileName){
        qnService.delectFile(fileName);
        System.out.println("删除成功");
    }
}
前端实现
前端使用的是element UI的Upload组件,使用的是2.x版本的Vue
Upload组件示例
Vue代码我就不一一截取了,只截取核心代码
             <el-upload
                :http-request="HttpRequest"
                 action="http"
                :headers="headers"
                :on-exceed="handleExceed"
                :on-change="handleChange"
                :on-remove="onRemove"
                :on-error="onError"
                :file-list="fileList"
                :limit="3"
              >
                <el-button size="small" type="primary">点击上传</el-button>
              </el-upload>
JS部分
<script>
  export default {
    data() {
      return {
       //文件上传列表
       fileList: [],
       //存储上传了的文件,文件名、文件地址
       files: [],
       //存储上传文件的文件路径
       listCode: [],
       //设置请求头
       headers:{
        'Content-Type': 'multipart/form-data'
      },
      };
    },
    methods: {
    //自定义上传文件的请求
     HttpRequest(param){
      const forData =new FormData()
      forData.append("file",param.file);
      uploading(forData).then((res,rej)=>{
        var person={
          fileName: param.file.name,
          path: res.msg
        }
        //文件上传成功保存它的文件名和地址
        this.files.push(person)
      })
    },
    //文件超出个数限制时的钩子
    handleExceed(){
      this.$message.warning(`当前限制选择 3 个文件`);
    },
     // 删除文件触发的事件
    onRemove(file, fileList){
      this.files.forEach((e,index)=>{
        if (file.name === e.fileName){
          let i=index
          var filecode =e.path
          fileDelete({filecode:filecode}).then((res)=>{
            this.files.splice(i)
          })
        }
      })
    },
  }
</script>
这就是删除和保存的核心代码,如果需求有什么变化,就根据需求来进行修改就行,其实整体写下来还是挺简单的


 1784
1784


 被折叠的 条评论
为什么被折叠?
被折叠的 条评论
为什么被折叠?
 到【灌水乐园】发言


