


Springboot项目连接Druid,并登录监控后台
首先需要引入相关的maven依赖,
然后在配置文件中,增加相关的Druid配置,如下:
spring:
  datasource:
    type: com.alibaba.druid.pool.DruidDataSource
    url: jdbc:kingbase8://127.0.0.1:54321/XX
    username: XX
    password: 1234567890
    driver-class-name: com.kingbase8.Driver
    platform: kingbase8
    druid:
      # 配置初始化大小、最小、最大
      initial-size: 5
      minIdle: 10
      max-active: 20
      # 配置获取连接等待超时的时间(单位:毫秒)
      max-wait: 60000
      # 配置间隔多久才进行一次检测,检测需要关闭的空闲连接,单位是毫秒
      time-between-eviction-runs-millis: 2000
      # 配置一个连接在池中最小生存的时间,单位是毫秒
      min-evictable-idle-time-millis: 600000
      max-evictable-idle-time-millis: 900000
      # 用来测试连接是否可用的SQL语句,默认值每种数据库都不相同,这是mysql
      validationQuery: select 1 from dual
      # 应用向连接池申请连接,并且testOnBorrow为false时,连接池将会判断连接是否处于空闲状态,如果是,则验证这条连接是否可用
      testWhileIdle: true
      # 如果为true,默认是false,应用向连接池申请连接时,连接池会判断这条连接是否是可用的
      testOnBorrow: true
      # 如果为true(默认false),当应用使用完连接,连接池回收连接的时候会判断该连接是否还可用
      testOnReturn: false
      # 是否缓存preparedStatement,也就是PSCache。PSCache对支持游标的数据库性能提升巨大,比如说oracle
      poolPreparedStatements: true
      # 要启用PSCache,必须配置大于0,当大于0时, poolPreparedStatements自动触发修改为true,
      # 在Druid中,不会存在Oracle下PSCache占用内存过多的问题,
      # 可以把这个数值配置大一些,比如说100
      maxOpenPreparedStatements: 20
      # 连接池中的minIdle数量以内的连接,空闲时间超过minEvictableIdleTimeMillis,则会执行keepAlive操作
      keepAlive: true
      # Spring 监控,利用aop 对指定接口的执行时间,jdbc数进行记录
      aop-patterns: "com.springboot.template.dao.*"
      ########### 启用内置过滤器(第一个 stat必须,否则监控不到SQL)##########
      filters: stat,log4j2
      # 自己配置监控统计拦截的filter
      filter:
        # 开启druiddatasource的状态监控
        stat:
          enabled: true
          db-type: kingbase
          # 开启慢sql监控,超过2s 就认为是慢sql,记录到日志中
          log-slow-sql: true
          slow-sql-millis: 2000
        # 日志监控,使用slf4j 进行日志输出
        slf4j:
          enabled: true
          statement-log-error-enabled: true
          statement-create-after-log-enabled: false
          statement-close-after-log-enabled: false
          result-set-open-after-log-enabled: false
          result-set-close-after-log-enabled: false
      ########## 配置WebStatFilter,用于采集web关联监控的数据 ##########
      web-stat-filter:
        enabled: true                   # 启动 StatFilter
        url-pattern: /*                 # 过滤所有url
        exclusions: "*.js,*.gif,*.jpg,*.png,*.css,*.ico,/druid/*" # 排除一些不必要的url
        session-stat-enable: true       # 开启session统计功能
        session-stat-max-count: 1000    # session的最大个数,默认100
      ########## 配置StatViewServlet(监控页面),用于展示Druid的统计信息 ##########
      stat-view-servlet:
        enabled: true                   # 启用StatViewServlet
        url-pattern: /druid/*           # 访问内置监控页面的路径,内置监控页面的首页是/druid/index.html
        reset-enable: false              # 不允许清空统计数据,重新计算
        login-username: root            # 配置监控页面访问密码
        login-password: 123
        allow: 127.0.0.1           # 允许访问的地址,如果allow没有配置或者为空,则允许所有访问
        deny:                                        # 拒绝访问的地址,deny优先于allow,如果在deny列表中,就算在allow列表中,也会被拒绝
由于我这里使用的是金仓数据库,所以不能使用WALL filters。需要将注释掉!
由于登录页面 【http://127.0.0.1:8088/druid/login.html 】需要账号密码,所以增加一个自己的配置代码,如下:【用户:admin,密码:admin】
@Configuration
public class DruidConfig {

    @Bean
    public ServletRegistrationBean<StatViewServlet> druidServlet() {
        ServletRegistrationBean<StatViewServlet> servletRegistrationBean = new ServletRegistrationBean<>(new StatViewServlet(), "/druid/*");
        // 可以添加初始化参数来配置白名单、黑名单、登录用户名和密码等
        servletRegistrationBean.addInitParameter("loginUsername", "admin");
        servletRegistrationBean.addInitParameter("loginPassword", "admin");
        return servletRegistrationBean;
    }

    @Bean
    public FilterRegistrationBean<WebStatFilter> druidFilter() {
        FilterRegistrationBean<WebStatFilter> filterRegistrationBean = new FilterRegistrationBean<>(new WebStatFilter());
        filterRegistrationBean.addUrlPatterns("/*");
        filterRegistrationBean.addInitParameter("exclusions", "*.js,*.gif,*.jpg,*.png,*.css,*.ico,/druid/*");
        return filterRegistrationBean;
    }

}
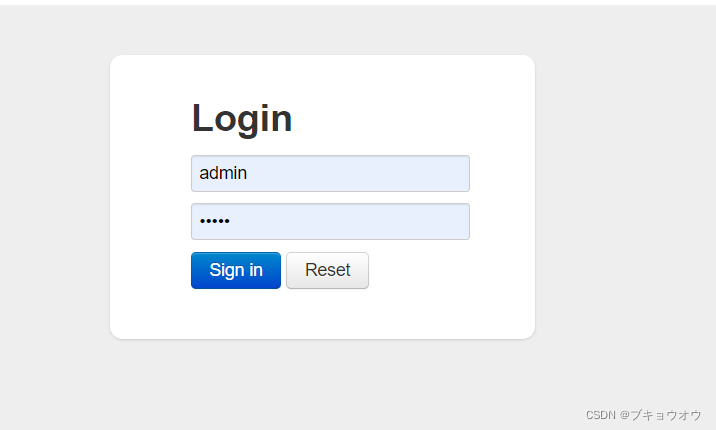
登录页面如下
监控后台如下:


 1720
1720

 被折叠的 条评论
为什么被折叠?
被折叠的 条评论
为什么被折叠?
 到【灌水乐园】发言


