


shiro简介:https://blog.csdn.net/weixin_44635198/article/details/107701061
一、创建 maven项目

二、在pom.xml文件中导入shiro核心包、 druid连接池、(log4j以及 junit)
<!--shiro核心包-->
<dependency>
<groupId>org.apache.shiro</groupId>
<artifactId>shiro-spring</artifactId>
<version>1.5.3</version>
</dependency>
<!-- druid连接池 -->
<dependency>
<groupId>com.alibaba</groupId>
<artifactId>druid</artifactId>
<version>1.1.22</version>
</dependency>
<dependency>
<groupId>log4j</groupId>
<artifactId>log4j</artifactId>
<version>1.2.17</version>
</dependency>
<dependency>
<groupId>junit</groupId>
<artifactId>junit</artifactId>
<scope>test</scope>
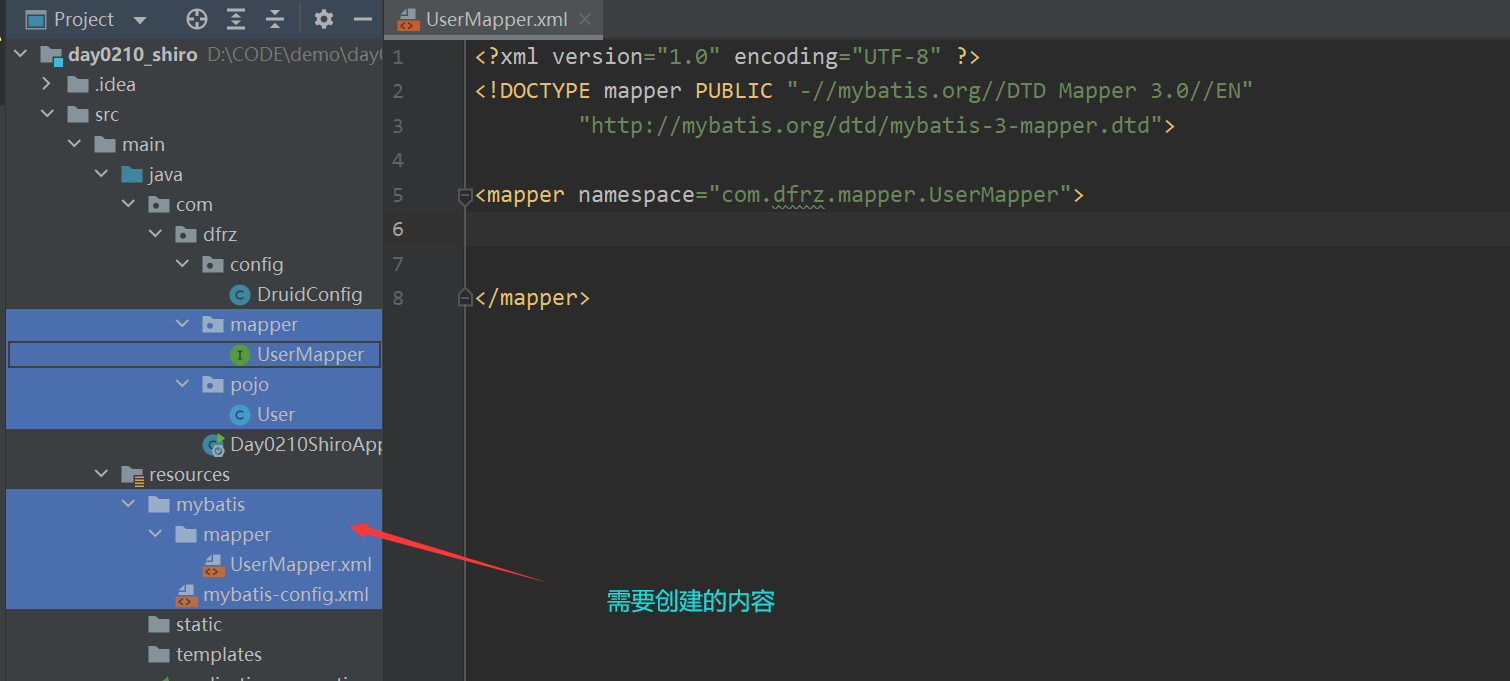
</dependency>三、创建初始化内容,导入mybatisConfig,创建mapper文件夹,创建实体类
mybatis-config文件
<?xml version="1.0" encoding="UTF-8" ?>
<!DOCTYPE configuration PUBLIC "-//mybatis.org//DTD Config 3.0//EN"
        "http://mybatis.org/dtd/mybatis-3-config.dtd">

<configuration>
    <settings>
        <setting name="logImpl" value="STDOUT_LOGGING"/>
        <setting name="mapUnderscoreToCamelCase" value="true"/>
    </settings>
    <typeAliases>
        <package name="com.dfrz.pojo"/>
    </typeAliases>
</configuration>
需要创建的包和类
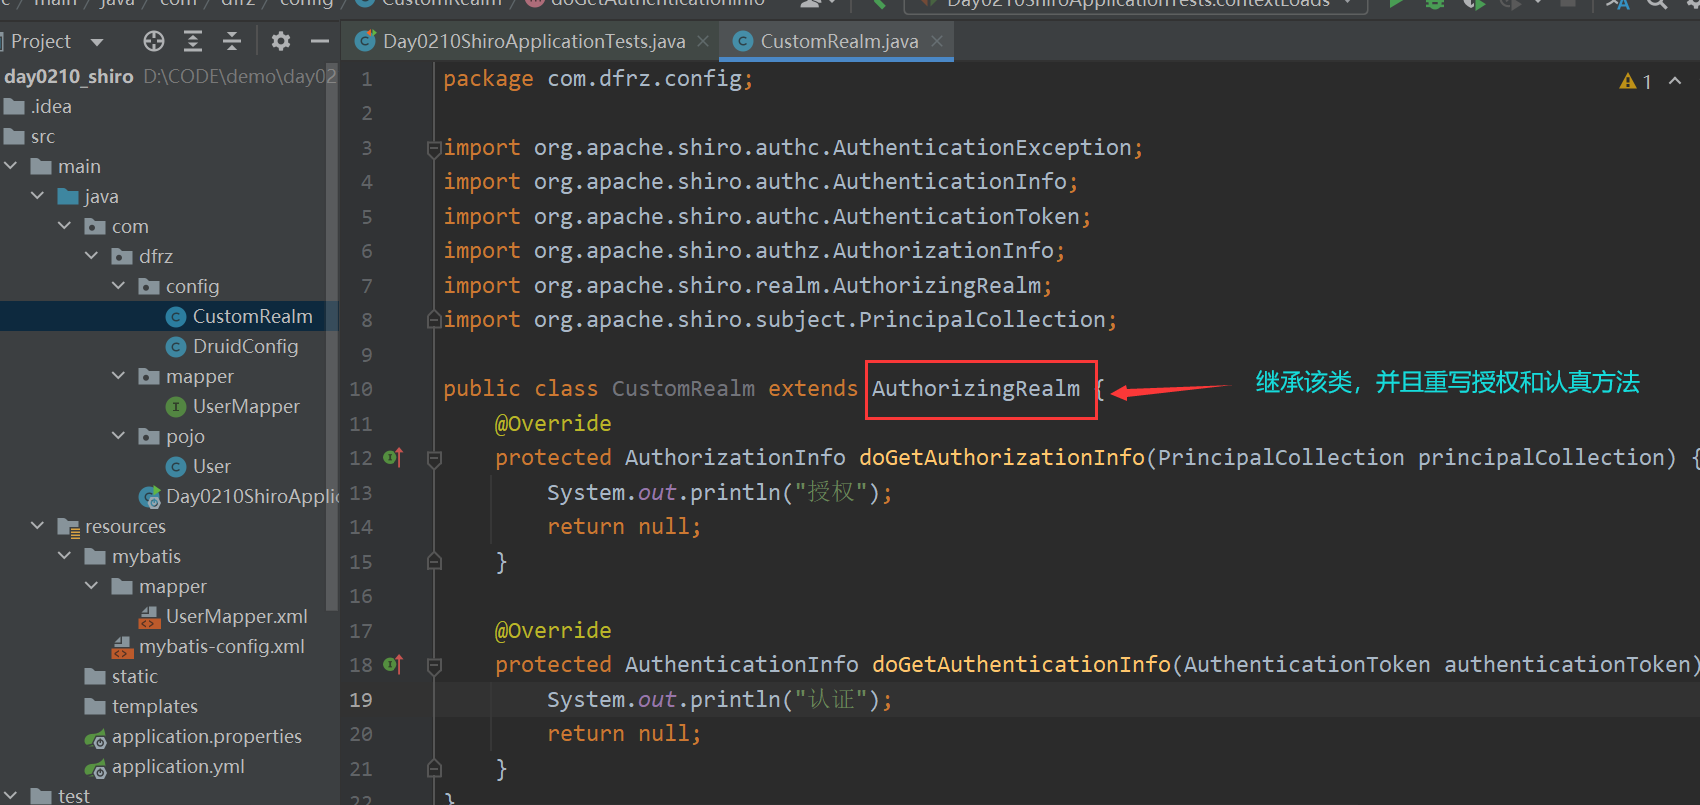
四、创建CustomRealm(方法暂时不写)
五、创建ShiroConfig类
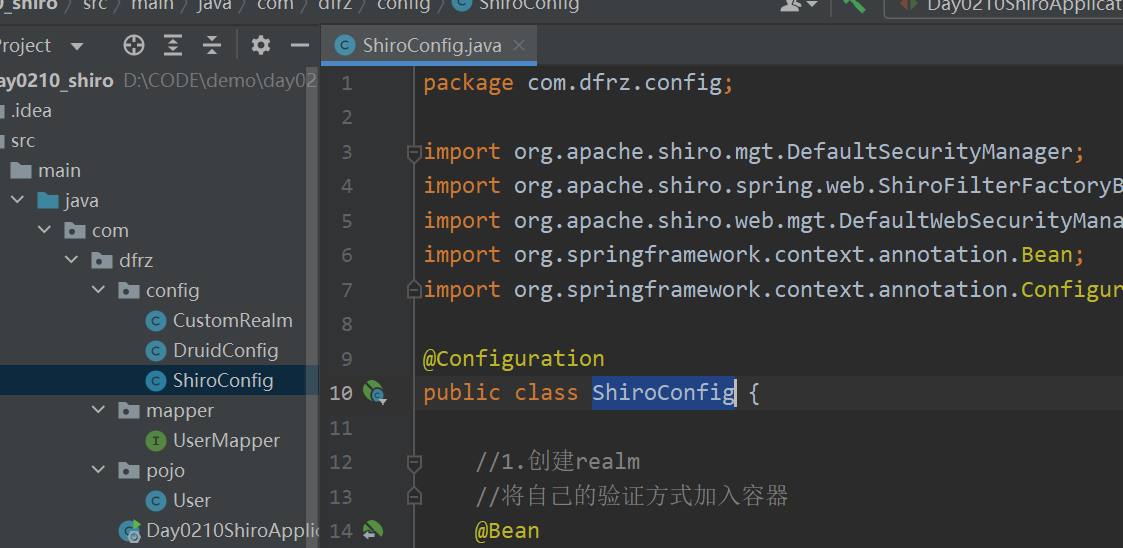
@Configuration
public class ShiroConfig {
//1.创建realm
//将自己的验证方式加入容器
@Bean
public CustomRealm myShiroRealm() {
CustomRealm customRealm = new CustomRealm();
return customRealm;
}
//2.创建SecurityManager
//权限管理,配置主要是Realm的管理认证--管理我的realm
@Bean
public DefaultSecurityManager securityManager() {
DefaultWebSecurityManager securityManager = new DefaultWebSecurityManager();
securityManager.setRealm(myShiroRealm());
return securityManager;
}
// 3.Filter工厂,过滤器
// 设置shiro对应的过滤条件和跳转条件--set securityManager
@Bean
public ShiroFilterFactoryBean shiroFilterFactoryBean(DefaultSecurityManager securityManager) {
ShiroFilterFactoryBean shiroFilterFactoryBean = new ShiroFilterFactoryBean();
shiroFilterFactoryBean.setSecurityManager(securityManager);
return shiroFilterFactoryBean;
}
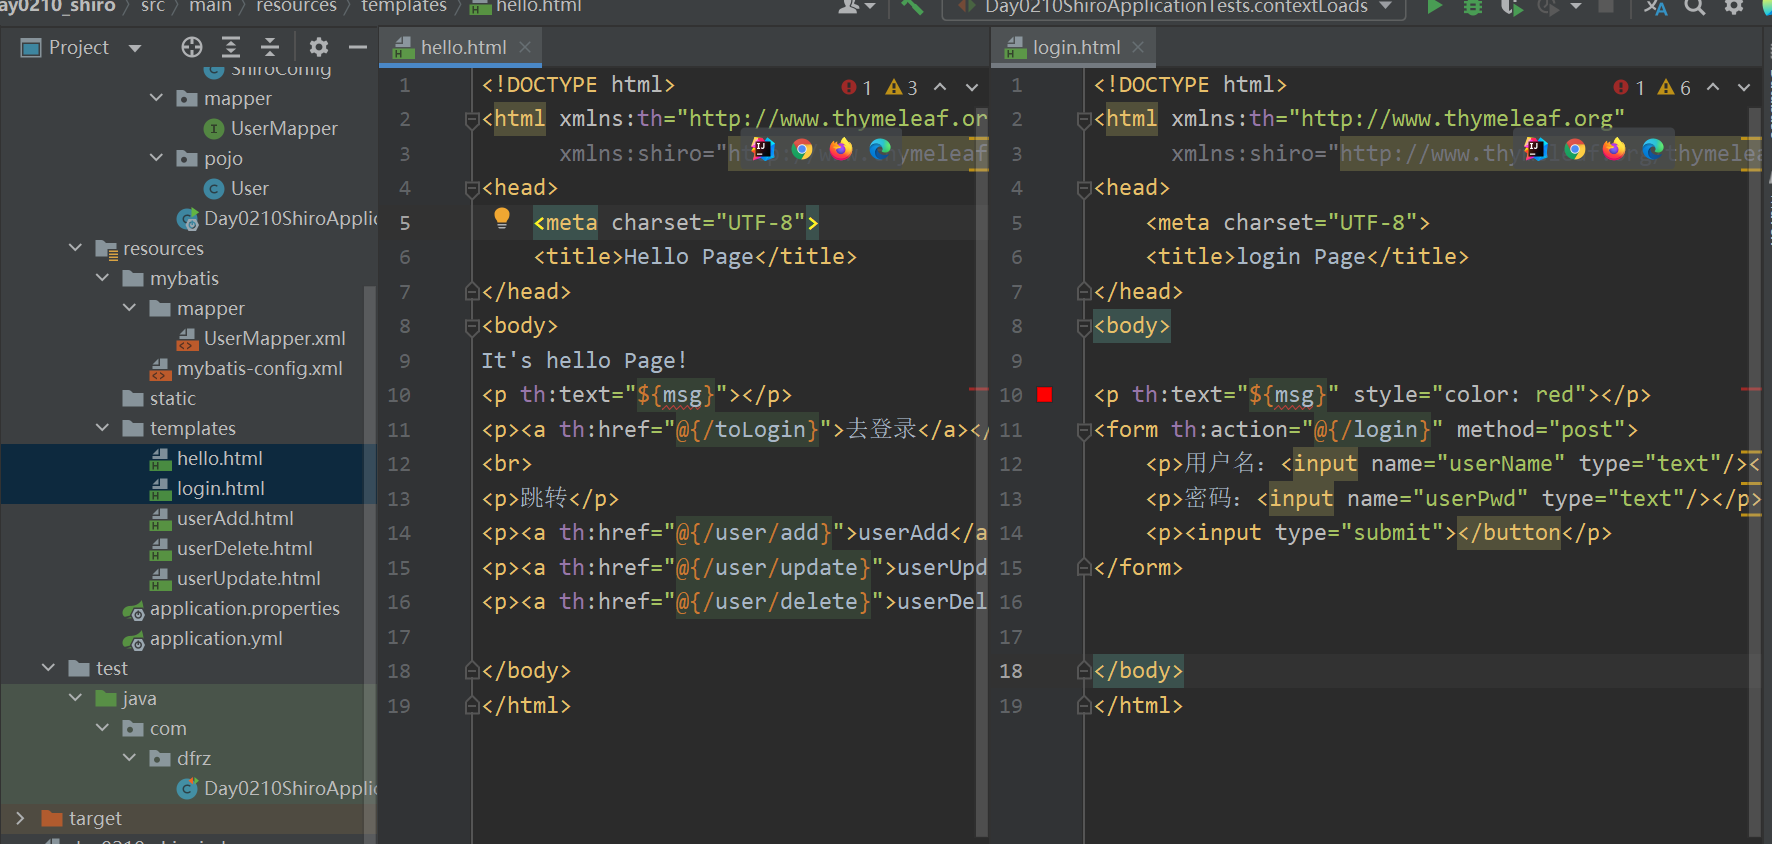
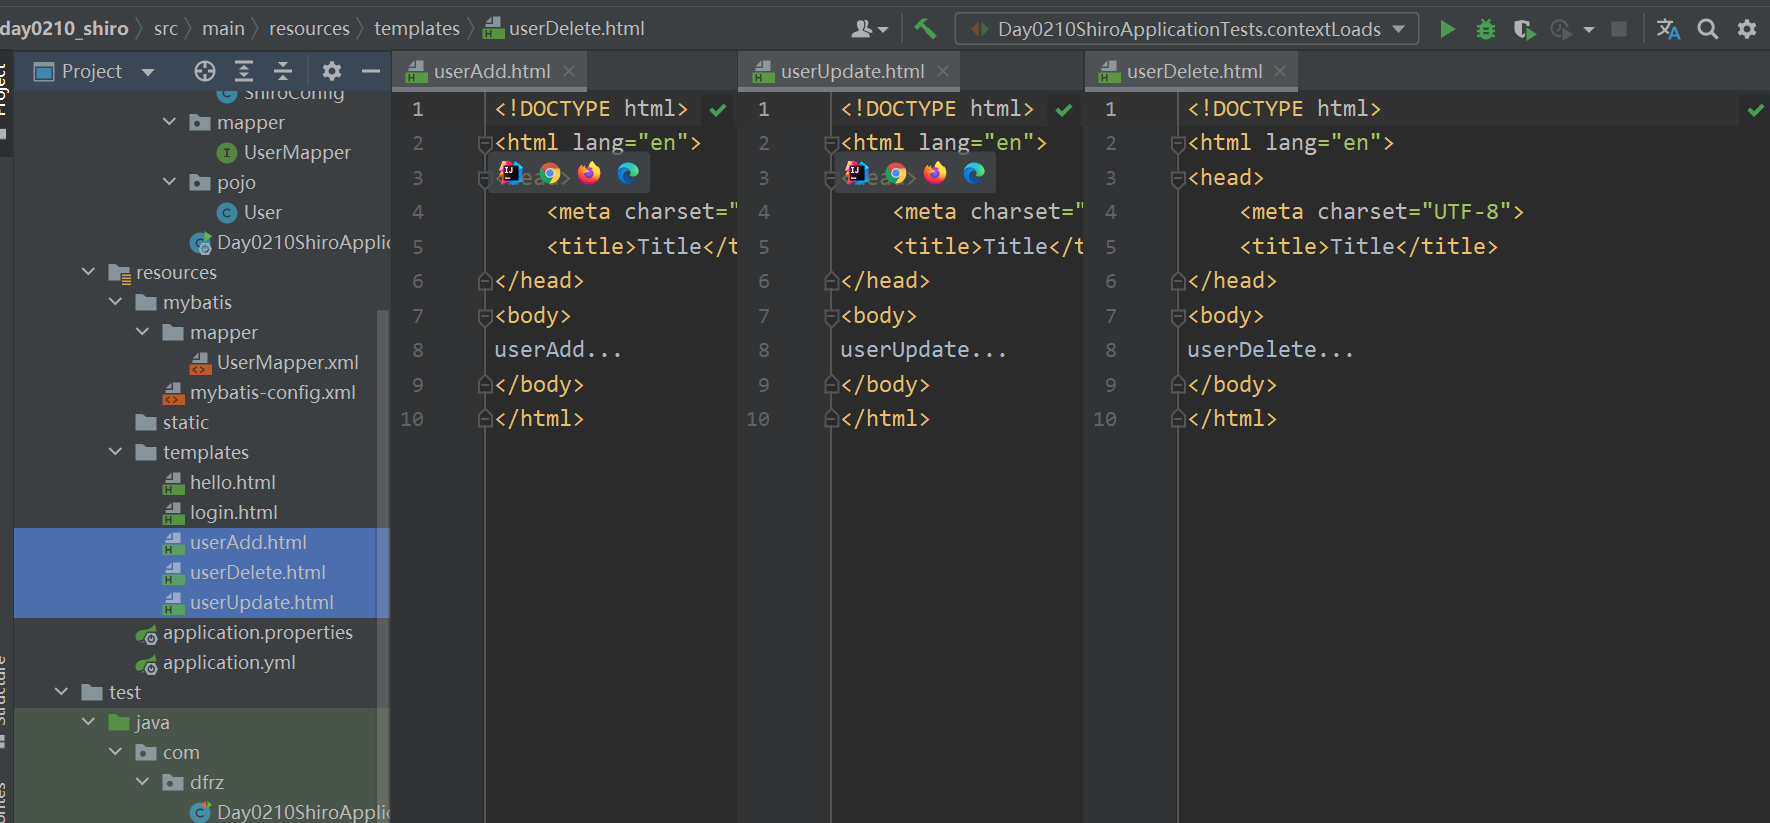
}五、创建htm文件
hello.html和login.html
其他html
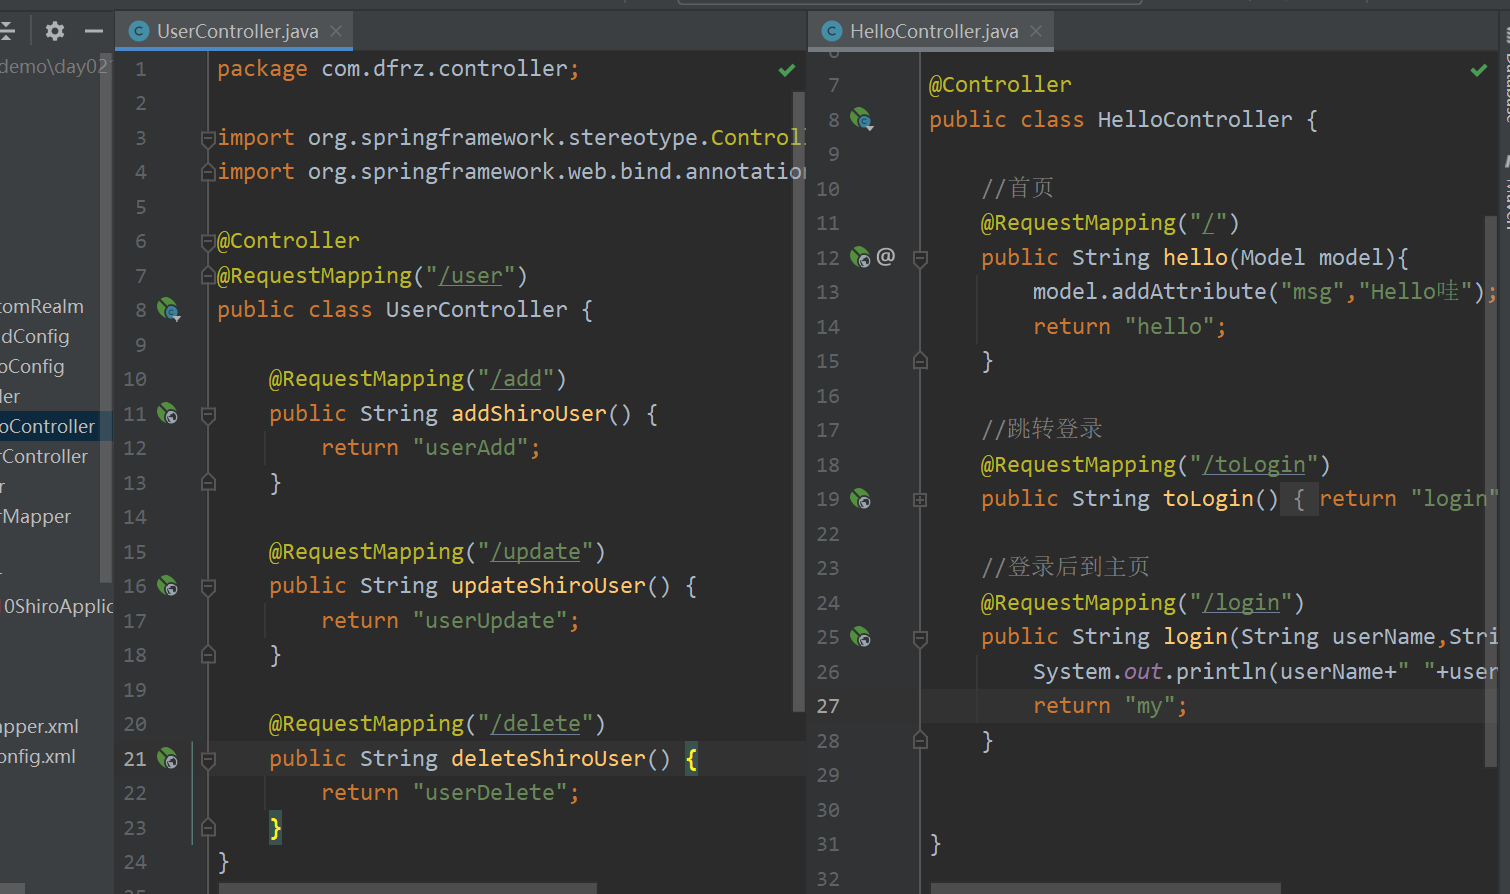
六、编写controller类
七、在SiroConfig中添加过滤
* shiro内置过滤器
* anon:匿名用户可访问
* authc:认证用户可访问
* user:使用rememberMe可访问
* perms:对应权限可访问
* role:对应角色权限可访问
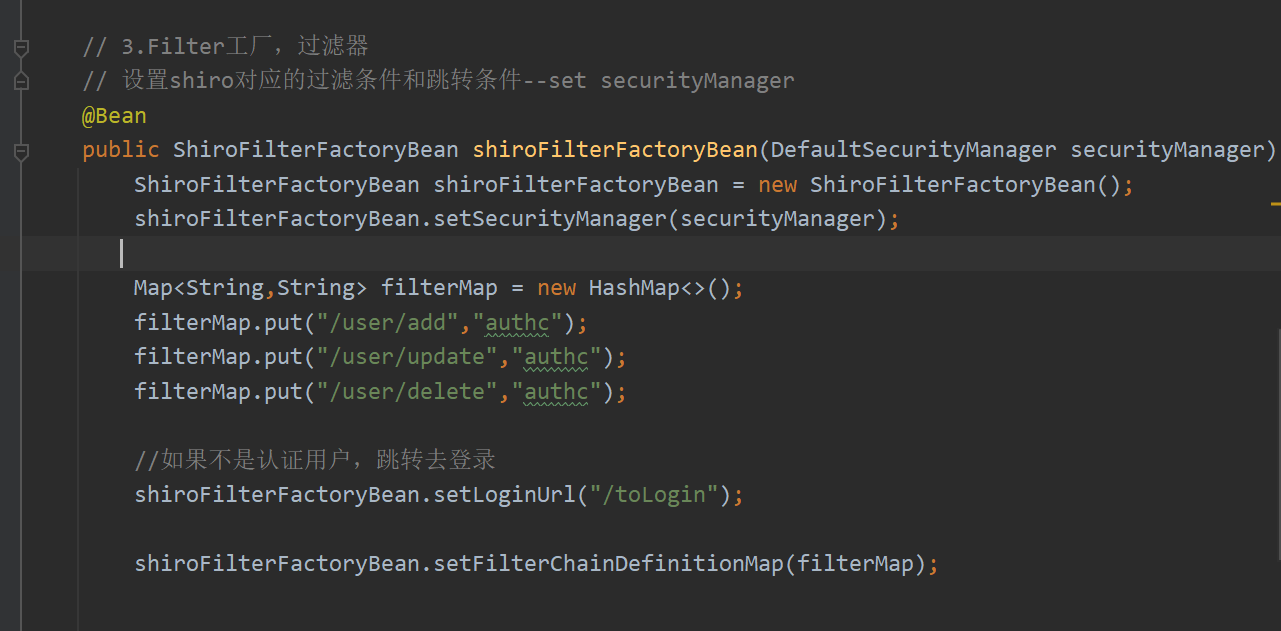
   @Bean
    public ShiroFilterFactoryBean shiroFilterFactoryBean(DefaultSecurityManager securityManager) {
        ShiroFilterFactoryBean shiroFilterFactoryBean = new ShiroFilterFactoryBean();
        shiroFilterFactoryBean.setSecurityManager(securityManager);

        Map<String,String> filterMap = new HashMap<>();
        filterMap.put("/user/add","authc");
        filterMap.put("/user/update","authc");
        filterMap.put("/user/delete","authc");

        //如果不是认证用户,跳转去登录
        shiroFilterFactoryBean.setLoginUrl("/toLogin");

        shiroFilterFactoryBean.setFilterChainDefinitionMap(filterMap);

        return shiroFilterFactoryBean;
    }
八、在helloController的登录方法中添加 用户认证
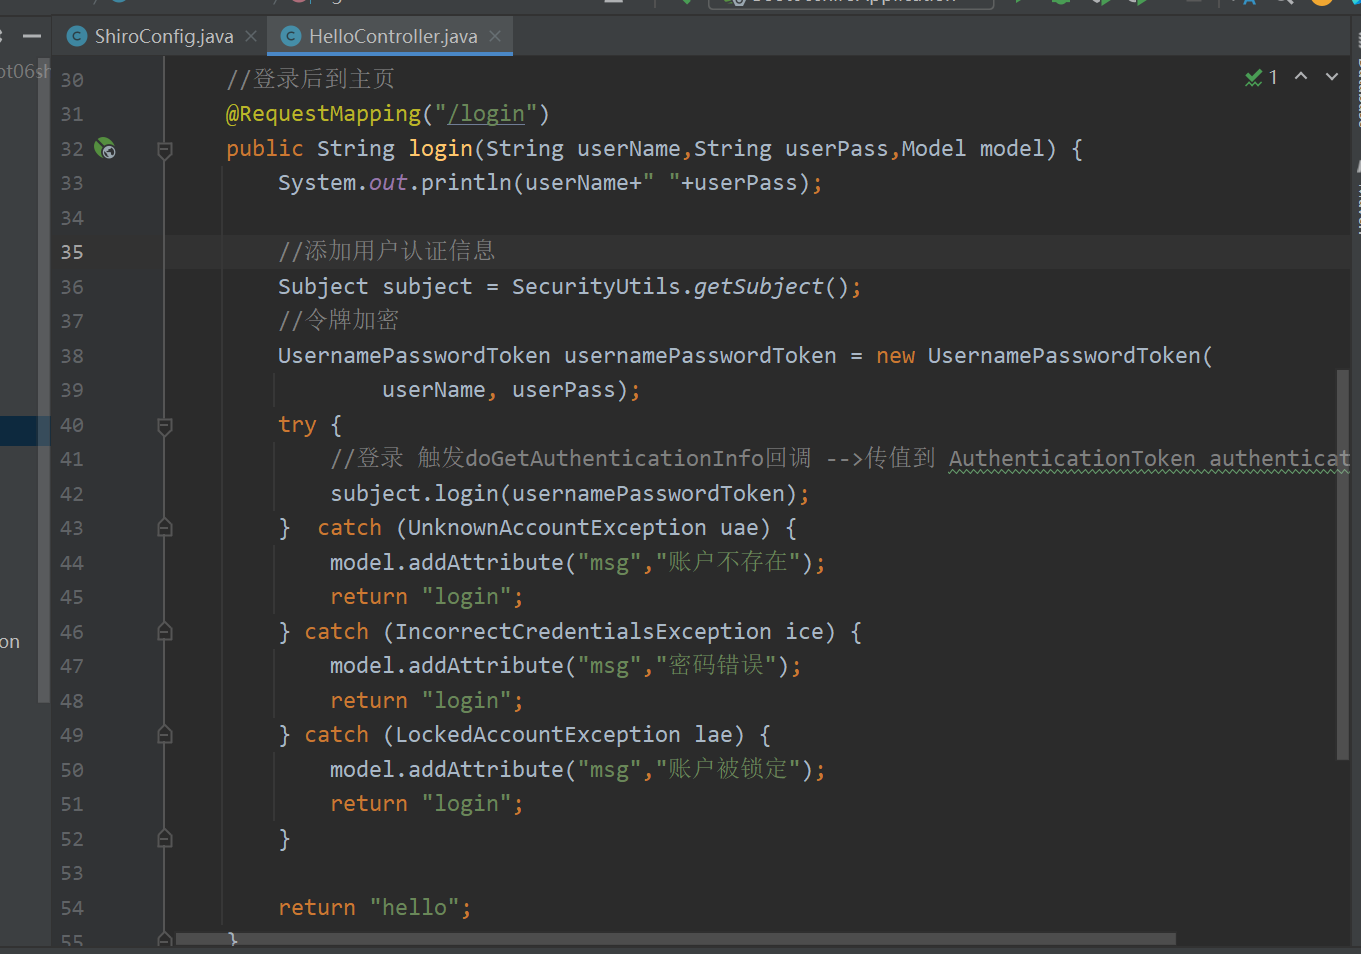
  //登录后到主页
    @RequestMapping("/login")
    public String login(String userName,String userPass,Model model) {
        System.out.println(userName+" "+userPass);

        //添加用户认证信息
        Subject subject = SecurityUtils.getSubject();
        //令牌加密
        UsernamePasswordToken usernamePasswordToken = new UsernamePasswordToken(
                userName, userPass);
        try {
            //登录 触发doGetAuthenticationInfo回调 -->传值到 AuthenticationToken authenticationToken
            subject.login(usernamePasswordToken);
        }  catch (UnknownAccountException uae) {
            model.addAttribute("msg","账户不存在");
            return "login";
        } catch (IncorrectCredentialsException ice) {
            model.addAttribute("msg","密码错误");
            return "login";
        } catch (LockedAccountException lae) {
            model.addAttribute("msg","账户被锁定");
            return "login";
        }

        return "hello";
    }
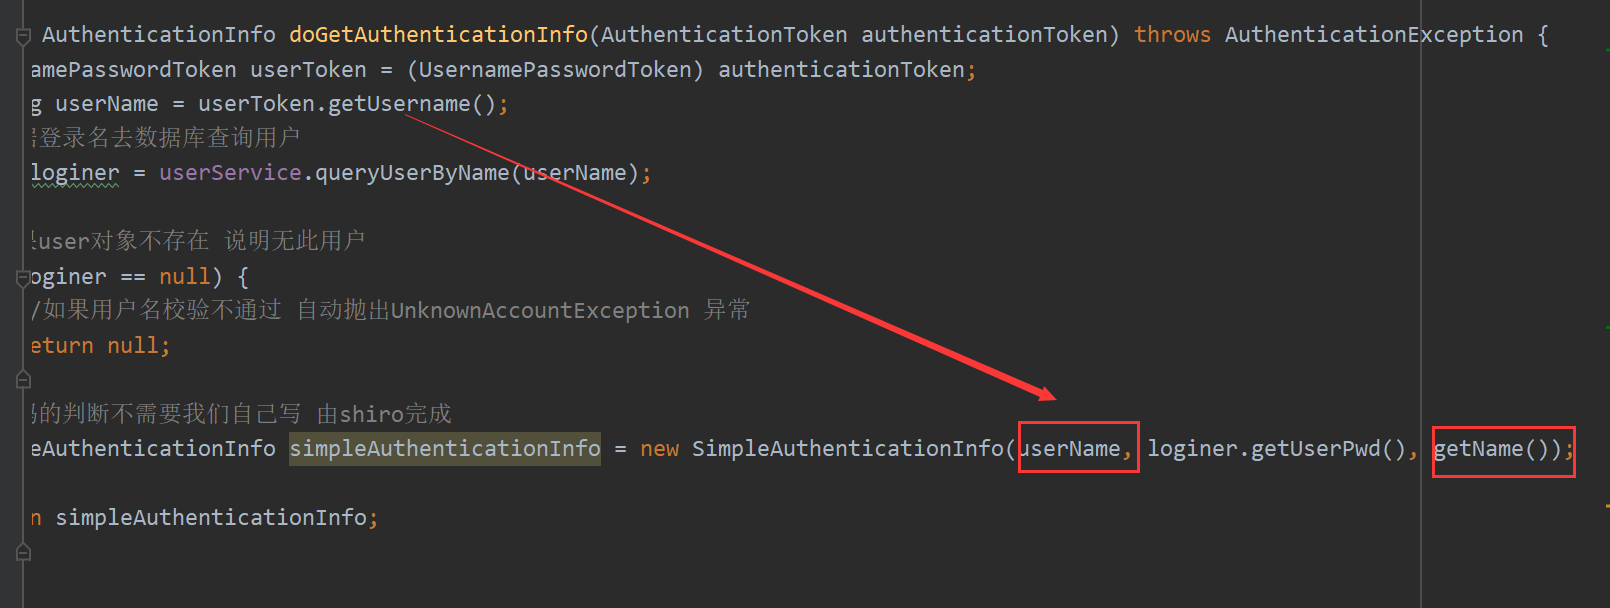
九、在CustomRealm编写认证方法
没有连接数据库的情况(单机模式)
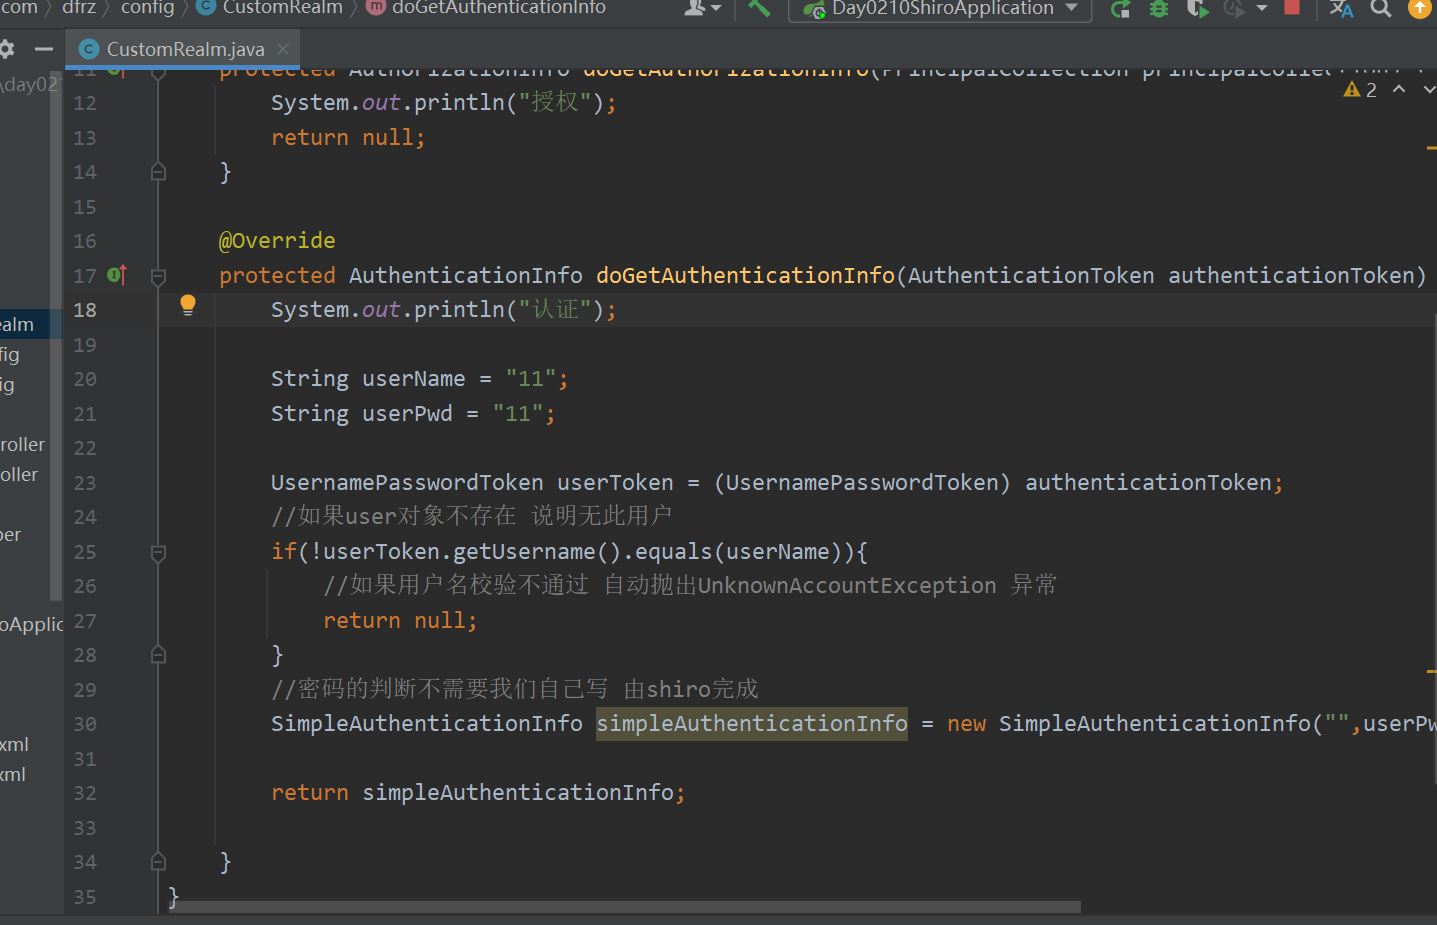
 String userName = "11";
        String userPwd = "11";

        UsernamePasswordToken userToken = (UsernamePasswordToken) authenticationToken;
        //如果user对象不存在 说明无此用户
        if(!userToken.getUsername().equals(userName)){
            //如果用户名校验不通过 自动抛出UnknownAccountException 异常
            return null;
        }
        //密码的判断不需要我们自己写 由shiro完成
        SimpleAuthenticationInfo simpleAuthenticationInfo = new SimpleAuthenticationInfo("",userPwd,"");

        return simpleAuthenticationInfo;
十、连接数据库进行权限认证
①编写userMapper
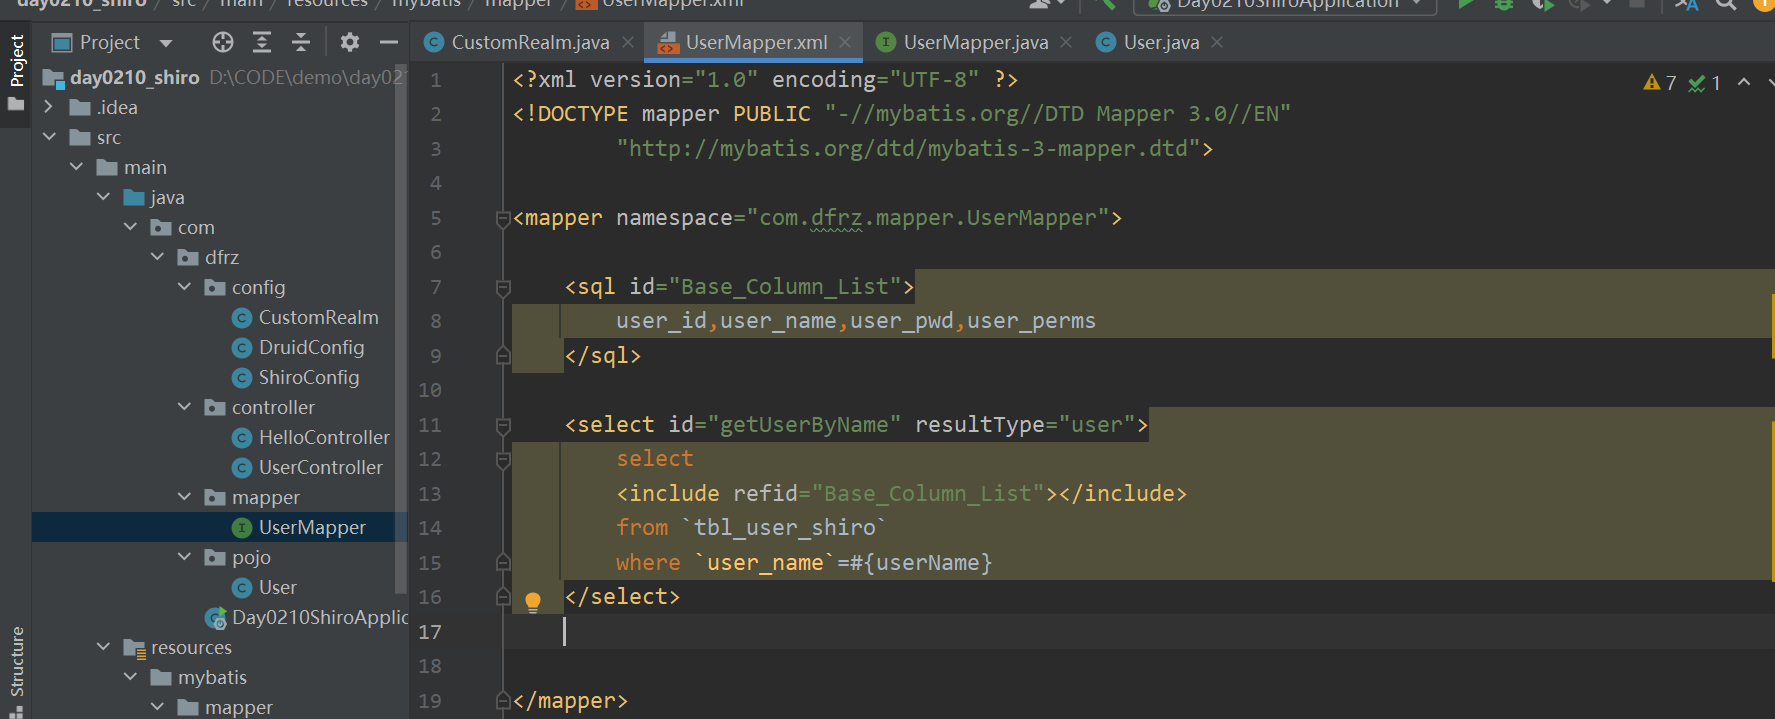
<mapper namespace="com.dfrz.mapper.UserMapper">
<sql id="Base_Column_List">
user_id,user_name,user_pwd,user_perms
</sql>
<select id="getUserByName" resultType="user">
select
<include refid="Base_Column_List"></include>
from `tbl_user_shiro`
where `user_name`=#{userName}
</select>
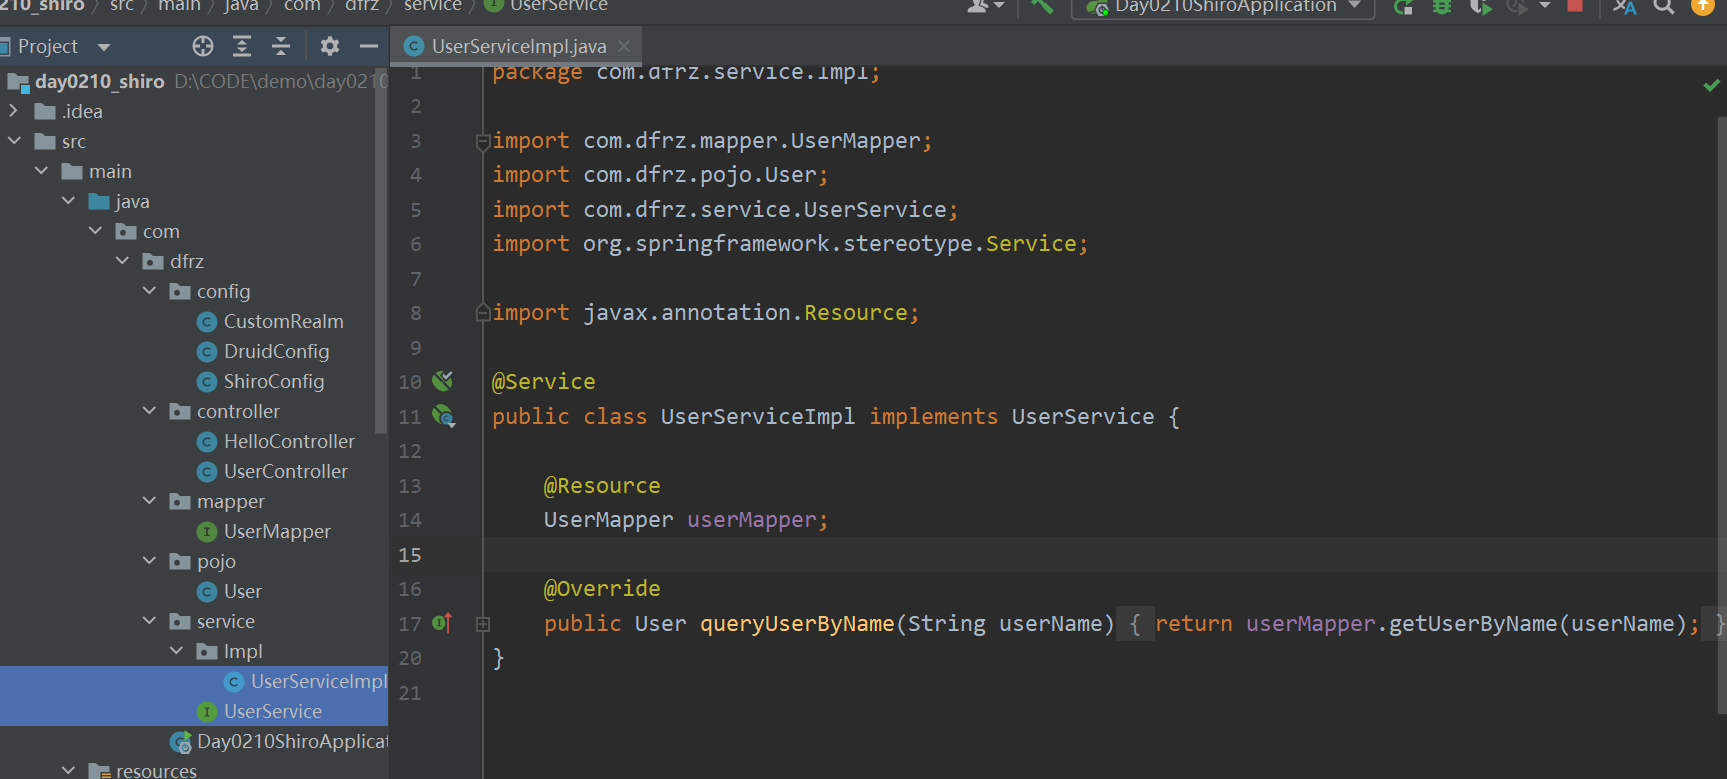
</mapper>②编写userService
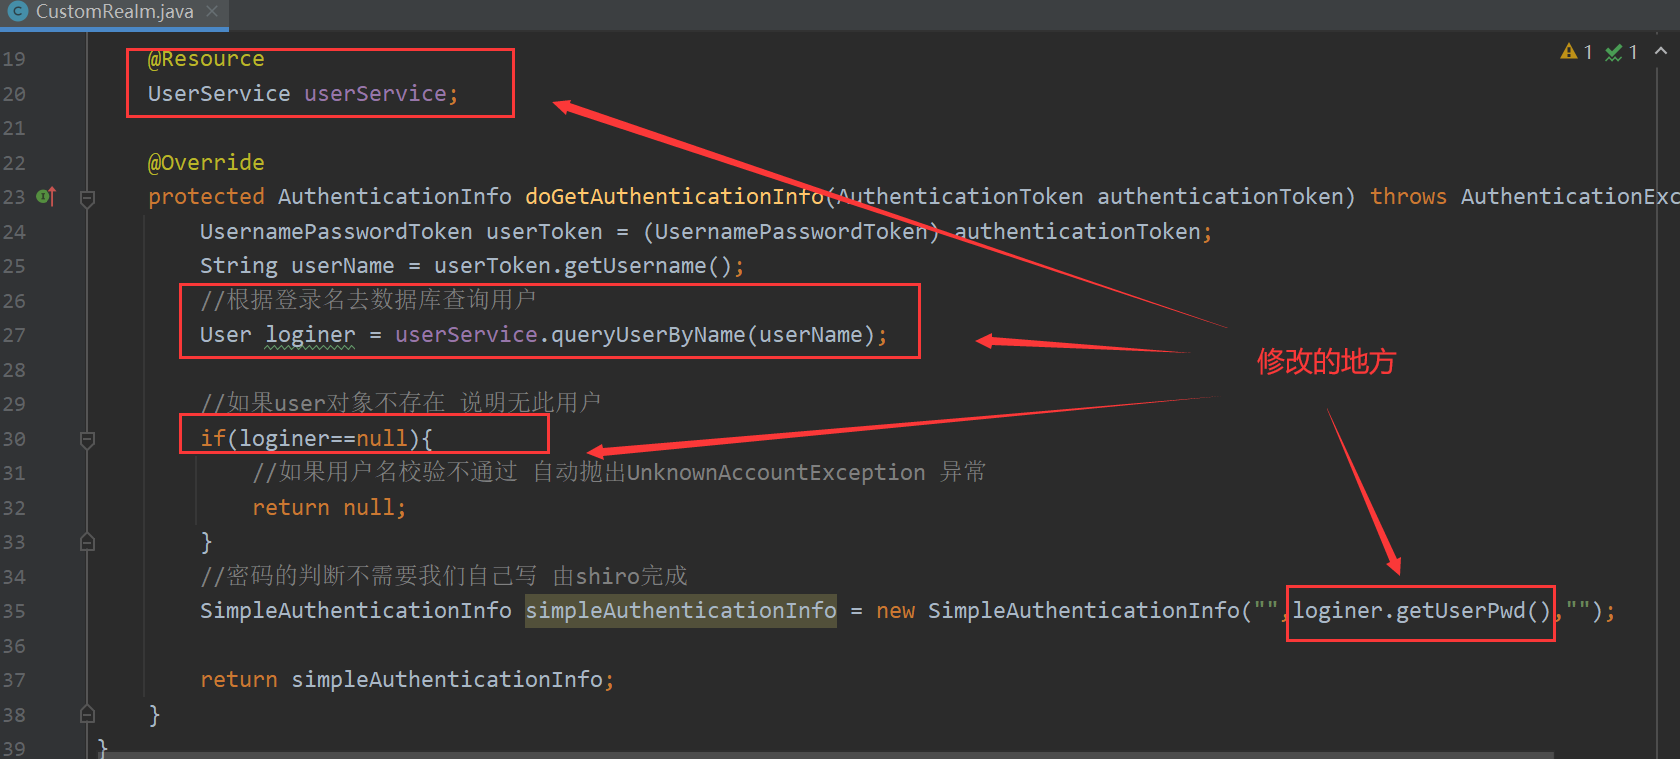
③修改CustomRealm的认证方法(相比较单机的认证方法)
十一、shiro授权
①CustomRealm的认证方法修改
②CustomRealm的授权方法编写
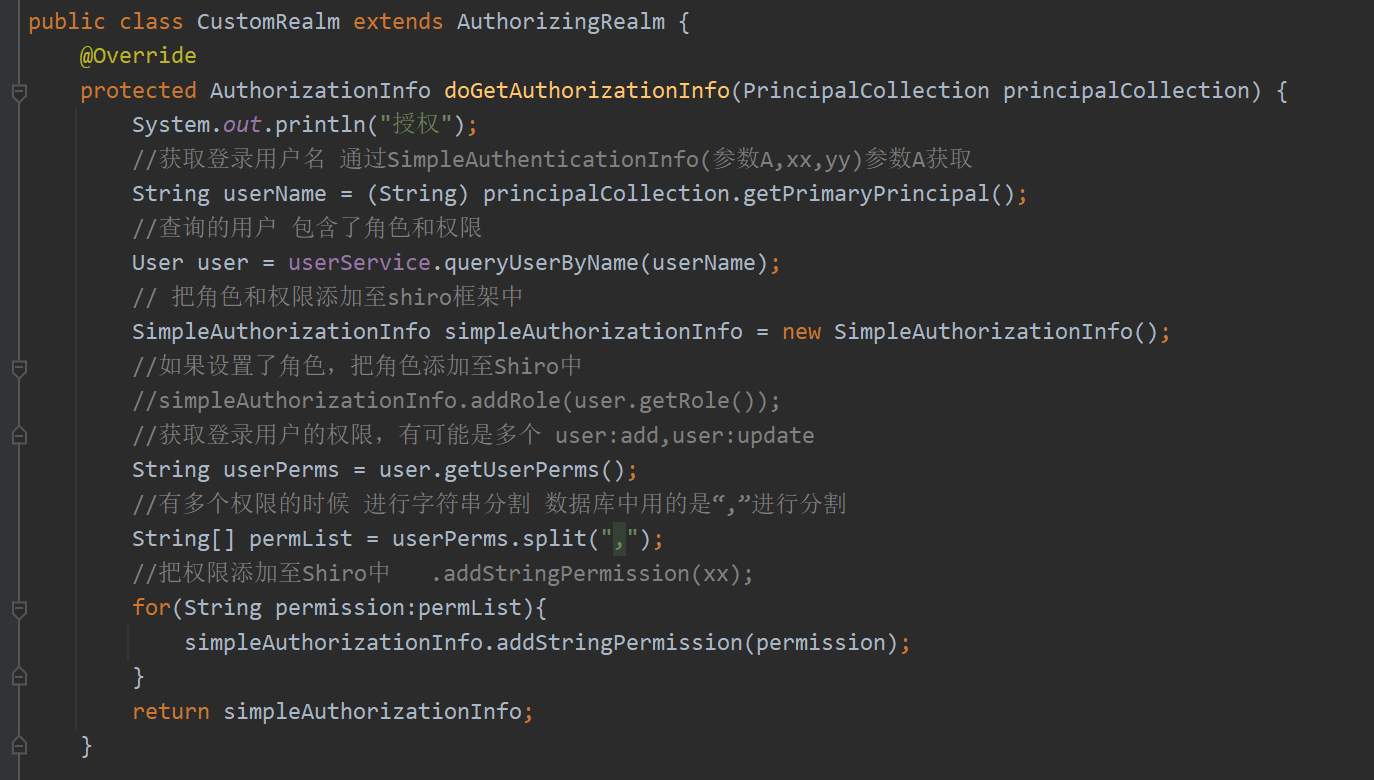
 @Override
    protected AuthorizationInfo doGetAuthorizationInfo(PrincipalCollection principalCollection) {
        System.out.println("授权");
        //获取登录用户名 通过SimpleAuthenticationInfo(参数A,xx,yy)参数A获取
        String userName = (String) principalCollection.getPrimaryPrincipal();
        //查询的用户 包含了角色和权限
        User user = userService.queryUserByName(userName);
        // 把角色和权限添加至shiro框架中
        SimpleAuthorizationInfo simpleAuthorizationInfo = new SimpleAuthorizationInfo();
        //如果设置了角色,把角色添加至Shiro中
        //simpleAuthorizationInfo.addRole(user.getRole());
        //获取登录用户的权限,有可能是多个 user:add,user:update
        String userPerms = user.getUserPerms();
        //有多个权限的时候 进行字符串分割 数据库中用的是“,”进行分割
        String[] permList = userPerms.split(",");
        //把权限添加至Shiro中   .addStringPermission(xx);
        for(String permission:permList){
            simpleAuthorizationInfo.addStringPermission(permission);
        }
        return simpleAuthorizationInfo;
    }
③ShiroConfig的shiroFilterFactoryBean方法修改
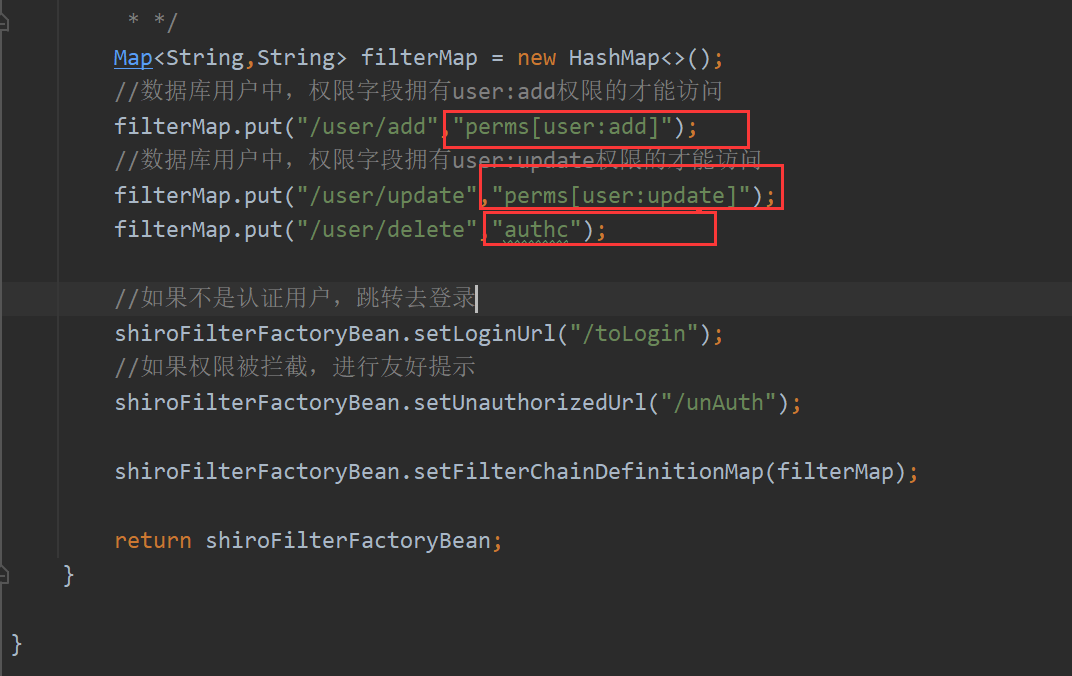
“/unAuth”提示界面内容

十二、界面屏蔽区
①在pom.xml中导包
<!--    隐藏无权访问的界面    -->
        <dependency>
            <groupId>com.github.theborakompanioni</groupId>
            <artifactId>thymeleaf-extras-shiro</artifactId>
            <version>2.0.0</version>
        </dependency>
②在ShiroConfig中添加getShiroDialect()方法
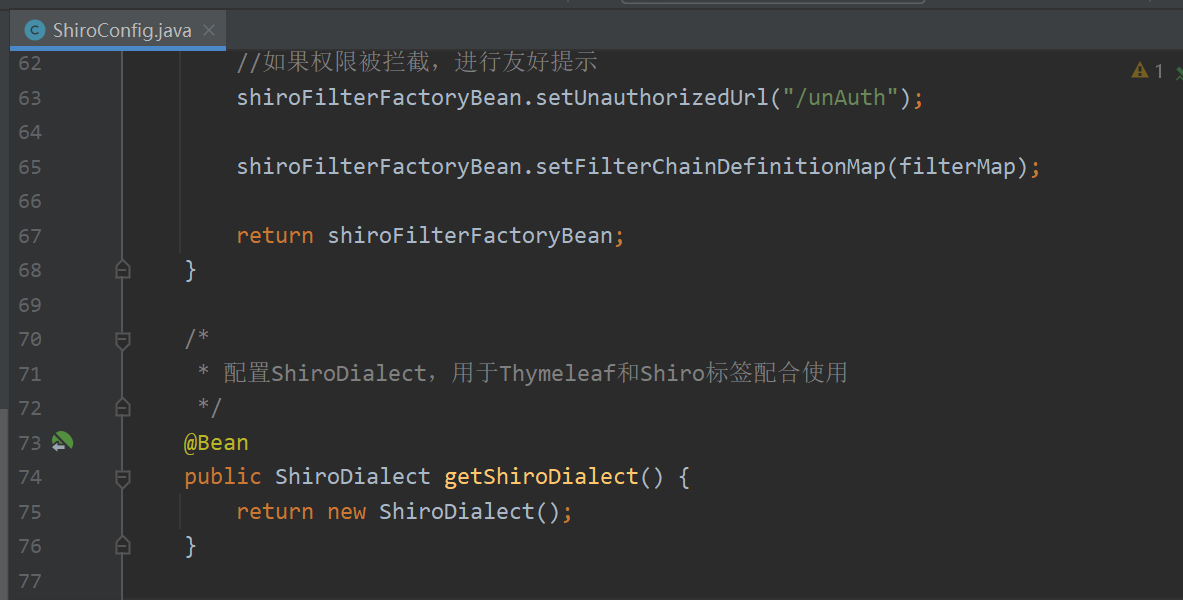
/*
* 配置ShiroDialect,用于Thymeleaf和Shiro标签配合使用
*/
@Bean
public ShiroDialect getShiroDialect() {
return new ShiroDialect();
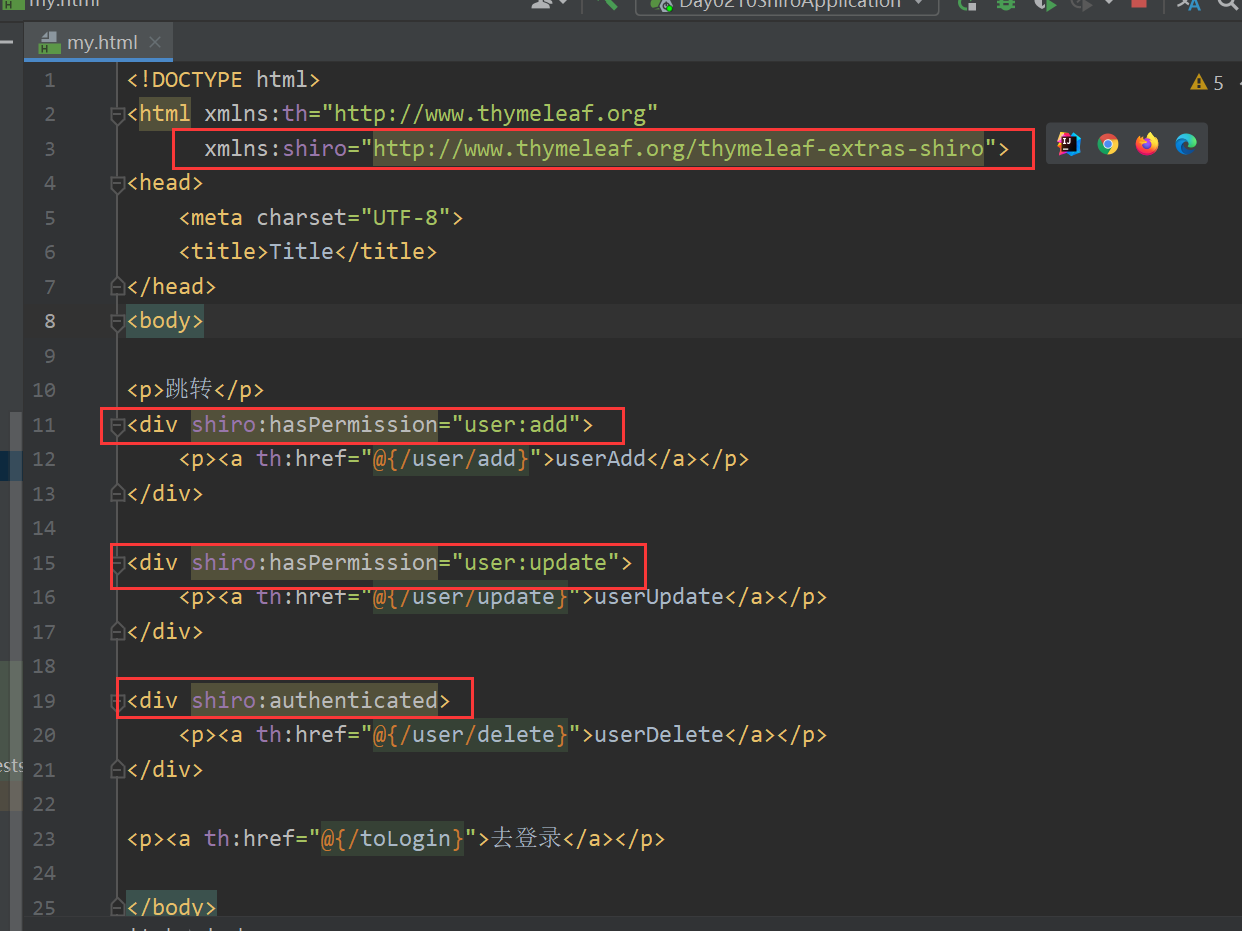
}③修改my.html 注意:需要加入Shiro


 1120
1120


 被折叠的 条评论
为什么被折叠?
被折叠的 条评论
为什么被折叠?
 到【灌水乐园】发言


