


前置:
gitee:swagger-bootstrap-ui-demo: knife4j 以及swagger-bootstrap-ui 集成框架示例项目 - Gitee.com
1.依赖引入:
ps:json处理需要引入相关包
        <dependency>
            <groupId>com.github.xiaoymin</groupId>
            <artifactId>knife4j-openapi3-jakarta-spring-boot-starter</artifactId>
            <version>4.4.0</version>
        </dependency>
#相关处理需要json解析,这个几个库必须加上
        <dependency>
            <groupId>com.fasterxml.jackson.core</groupId>
            <artifactId>jackson-databind</artifactId>
            <version>2.10.1</version>
        </dependency>
        <dependency>
            <groupId>com.fasterxml.jackson.core</groupId>
            <artifactId>jackson-core</artifactId>
            <version>2.10.1</version>
        </dependency>
        <dependency>
            <groupId>com.fasterxml.jackson.core</groupId>
            <artifactId>jackson-annotations</artifactId>
            <version>2.10.1</version>
        </dependency>
2.配置类:
@Configuration
public class SwaggerConfig {
    /**
     * 根据@Tag 上的排序,写入x-order
     *
     * @return the global open api customizer
     */
    @Bean
    public GlobalOpenApiCustomizer orderGlobalOpenApiCustomizer() {
        return openApi -> {
            if (openApi.getTags()!=null){
                openApi.getTags().forEach(tag -> {
                    Map<String,Object> map=new HashMap<>();
                    map.put("x-order", RandomUtil.randomInt(0,100));
                    tag.setExtensions(map);
                });
            }
            if(openApi.getPaths()!=null){
                openApi.addExtension("x-test123","333");
                openApi.getPaths().addExtension("x-abb",RandomUtil.randomInt(1,100));
            }

        };
    }
    @Bean
    public OpenAPI customOpenAPI() {
        return new OpenAPI()
                .info(new Info()
                        .title("XXX用户系统API")
                        .version("1.0")

                        .description( "Knife4j集成springdoc-openapi示例")
                        .termsOfService("http://doc.xiaominfo.com")
                        .license(new License().name("Apache 2.0")
                                .url("http://doc.xiaominfo.com")));
    }
}
3.yml中的配置
packages-to-scan: com.xiaominfo.knife4j.demo.web#需要改位置
# springdoc-openapi项目配置
springdoc:
swagger-ui:
path: /swagger-ui.html
tags-sorter: alpha
operations-sorter: alpha
api-docs:
path: /v3/api-docs
group-configs:
- group: 'default'
paths-to-match: '/**'
#包的扫描需要修改对应位置
packages-to-scan: com.xiaominfo.knife4j.demo.web#需要改位置
# knife4j的增强配置,不需要增强可以不配
knife4j:
enable: true
setting:
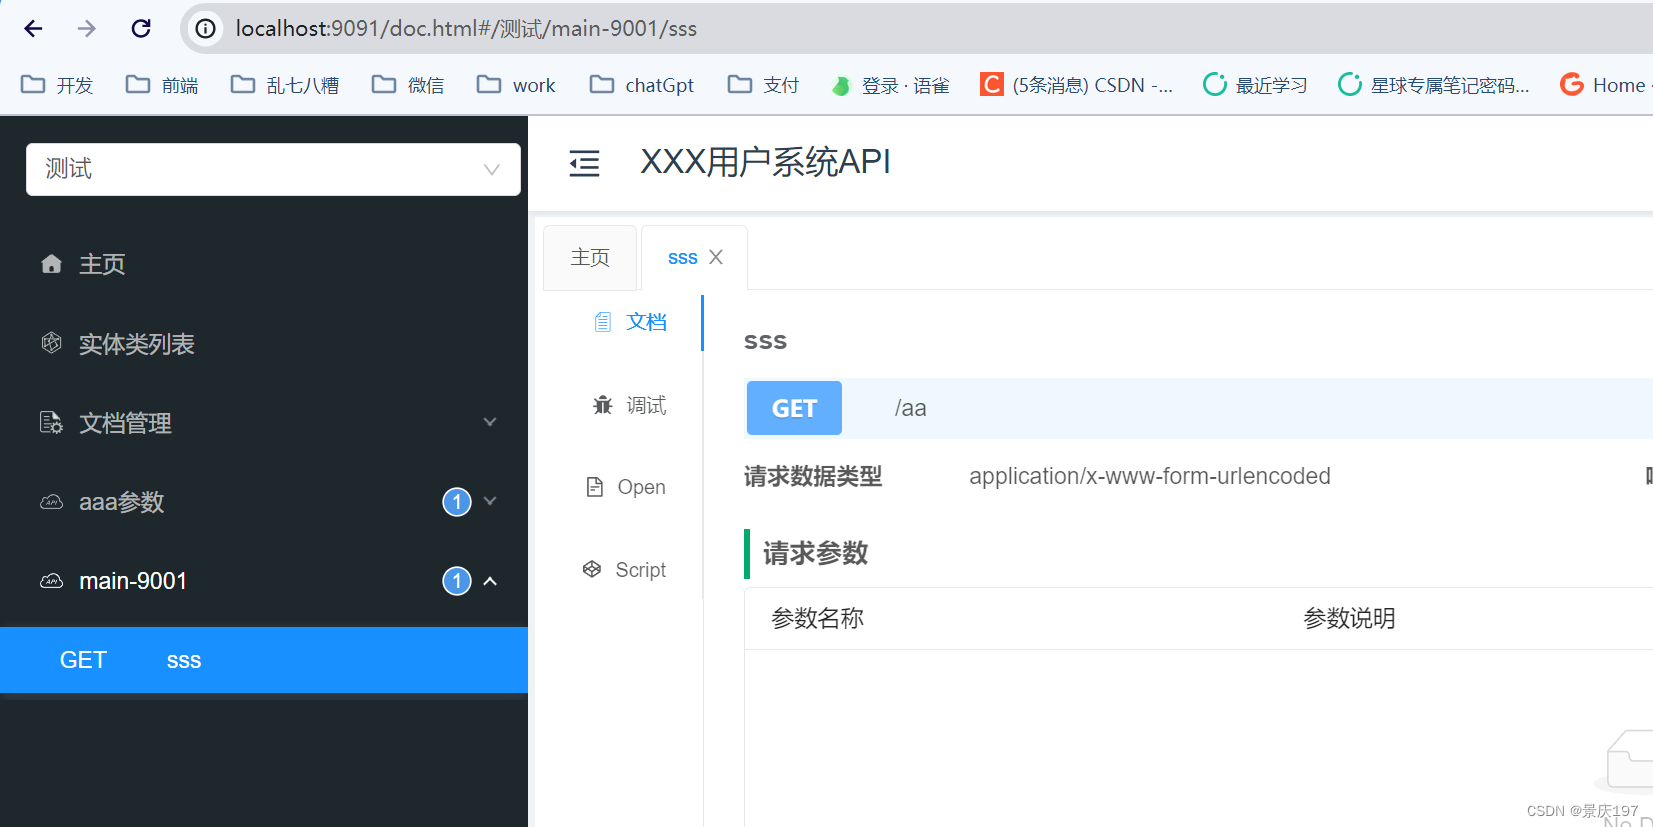
language: zh_cn4.启动:
地址/doc.html
5.补充
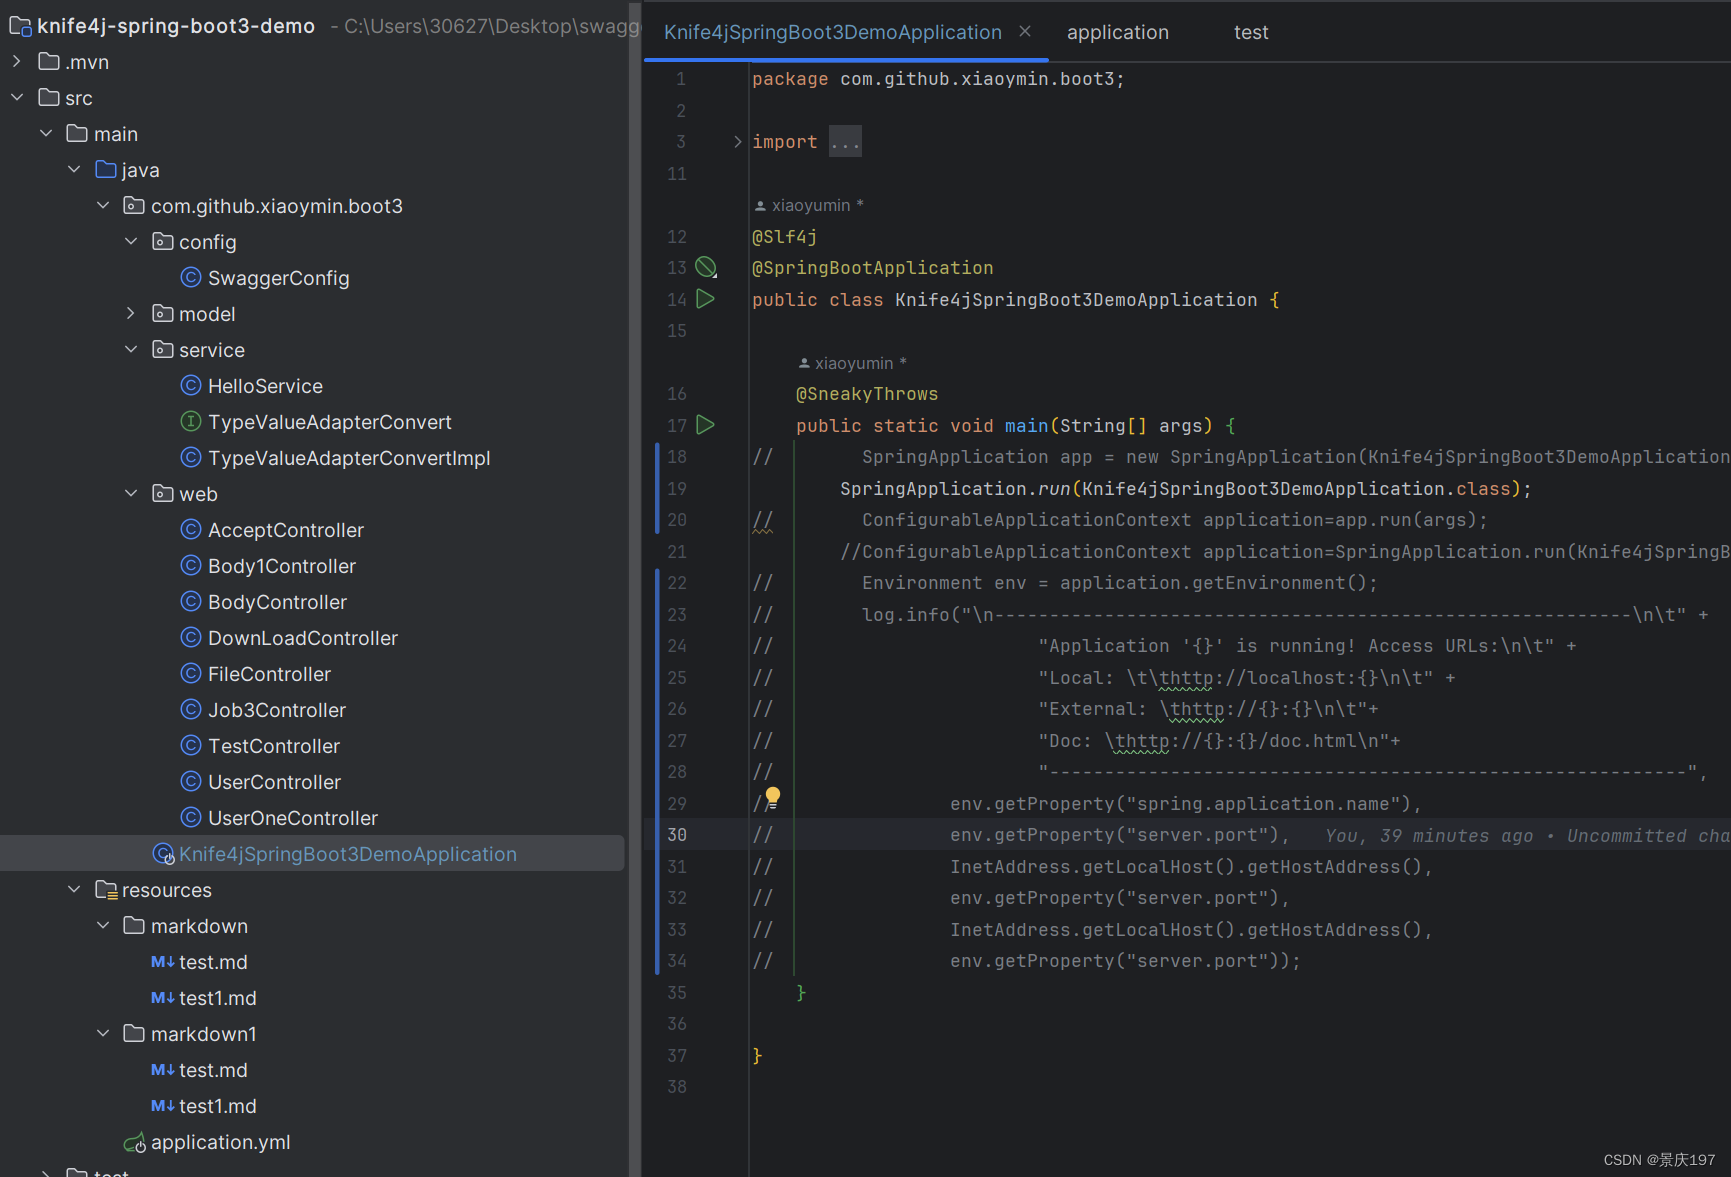
在源码下载,启动不成功swagger-bootstrap-ui-demo: knife4j 以及swagger-bootstrap-ui 集成框架示例项目 - Gitee.com
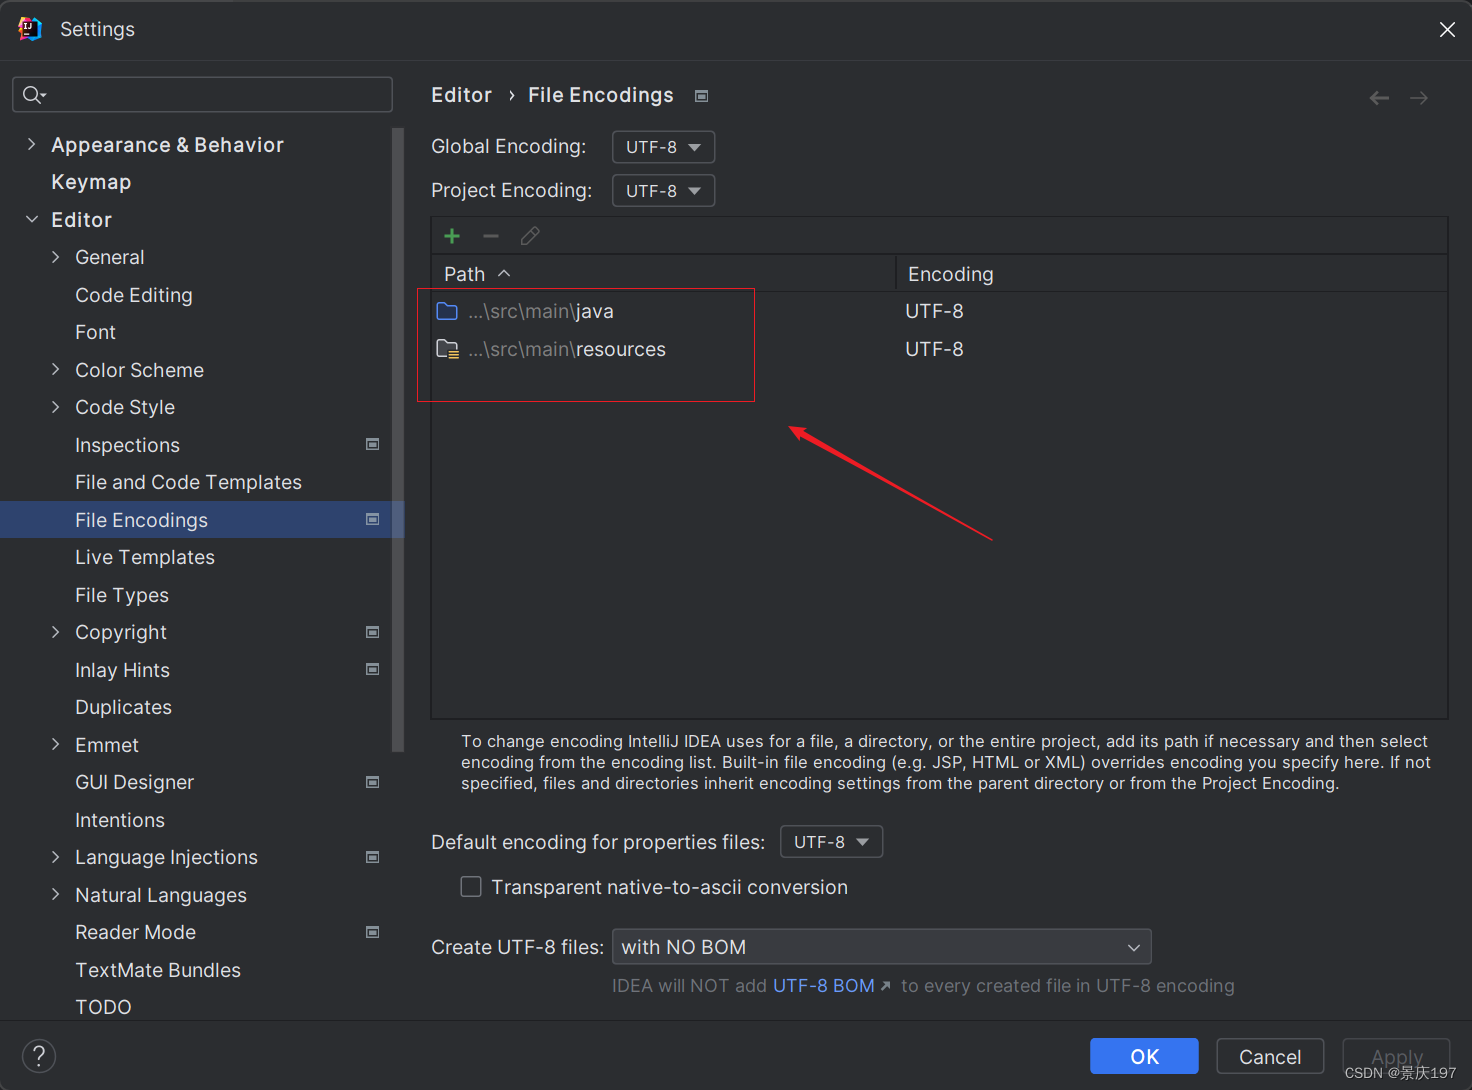
需要在
File Encoding中把java下的和resource下的都变成同意编码才能解决问题


 5126
5126


 被折叠的 条评论
为什么被折叠?
被折叠的 条评论
为什么被折叠?
 到【灌水乐园】发言


