


环境准备:
如果不熟悉redis和springboot简单整合的小伙伴可以先移步我之前的文章喔,里面有详细教学~
https://blog.csdn.net/weixin_47025166/article/details/125360523?spm=1001.2014.3001.5501
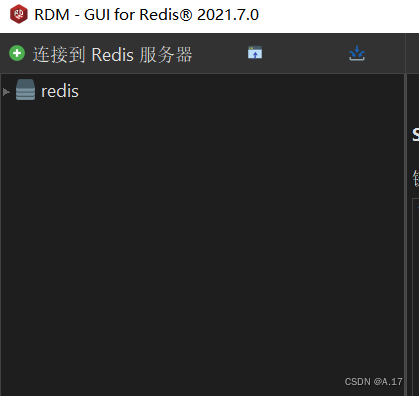
1.RDM已连接上redis(阿里云):
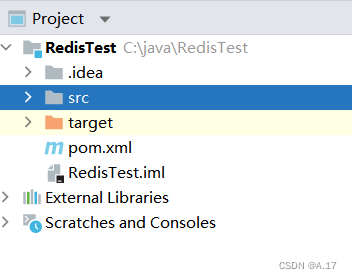
2.一个简单的springboot工程环境:
环境准备好了,就可以开始进入代码编写啦
引入redis依赖
pom.xml
        <!--redis-->
        <dependency>
            <groupId>org.springframework.boot</groupId>
            <artifactId>spring-boot-starter-data-redis</artifactId>
        </dependency>
在配置文件中对redis进行配置
spring:
  # 配置redis
  redis:
    host: r-7xvjv7f1wj63q186aypd.redis.rds.aliyuncs.com  #对应的公网地址
    port: 6379                                            #固定端口号6379
    password: *********************                        #密码 格式为:   账号:密码
然后我们来准备几个url以便接下来的测试
package com.example.redistest.Controller;

import org.springframework.web.bind.annotation.GetMapping;
import org.springframework.web.bind.annotation.RestController;

@RestController
public class RedisController {

    @GetMapping("/test1")
    public String test1(){
        return "test1";
    }

    @GetMapping("/test2")
    public String test2(){
        return "test2";
    }

}
编写RedisInterceptor用于对拦截请求进行操作
package com.example.redistest.interceptor;

import org.springframework.beans.factory.annotation.Autowired;
import org.springframework.data.redis.core.RedisTemplate;
import org.springframework.stereotype.Component;
import org.springframework.web.servlet.HandlerInterceptor;

import javax.annotation.Resource;
import javax.servlet.http.HttpServletRequest;
import javax.servlet.http.HttpServletResponse;

@Component  //此处将其注入到容器中
public class RedisInterceptor  implements HandlerInterceptor {

    @Resource
    RedisTemplate redisTemplate;

    @Override
    public boolean preHandle(HttpServletRequest request, HttpServletResponse response, Object handler) throws Exception {
        //拦截每一次请求并获取请求的URL作为Key
        String url = String.valueOf(request.getRequestURL());
        //默认访问一次请求都会对该请求进行计数+1
        redisTemplate.opsForValue().increment(url);
        //放行
        return true;
    }
}
在WebConfig对RedisInterceptor进行注册并设置需要拦截的请求
package com.example.redistest.confiig;

import com.example.redistest.interceptor.RedisInterceptor;
import org.springframework.beans.factory.annotation.Autowired;
import org.springframework.context.annotation.Configuration;
import org.springframework.web.servlet.config.annotation.InterceptorRegistry;
import org.springframework.web.servlet.config.annotation.WebMvcConfigurer;

//@Configuration告诉springboot这个类为配置类
@Configuration
public class WebConfig implements WebMvcConfigurer {

    //从容器中取出RedisInterceptor
    @Autowired
    RedisInterceptor redisInterceptor;

    @Override
    public void addInterceptors(InterceptorRegistry registry) {
       //注册拦截器
        registry.addInterceptor(redisInterceptor)
                .addPathPatterns("/**")  //设置拦截路径, “/**”表示对所有请求都进行拦截
                .excludePathPatterns("/static");   //设置不拦截的路径,一般可以设置静态资源的访问路径....
    }
}
最后,开启服务器!!
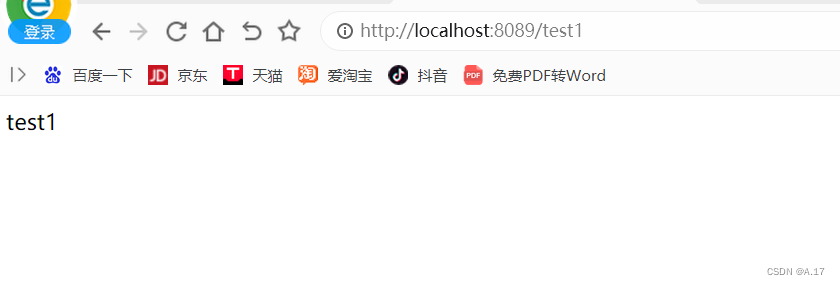
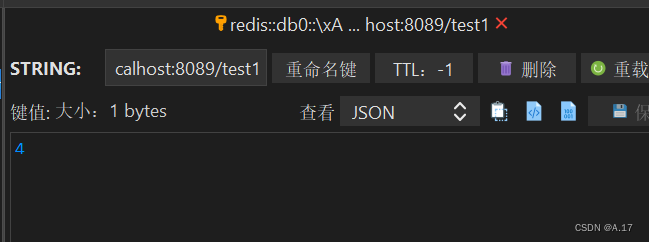
可以在RDM中看到http://localhost:8089/test1的值为1
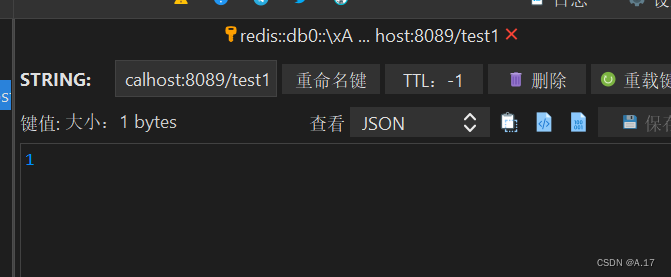
多访问几次:
http://localhost:8089/test2也是同样道理:
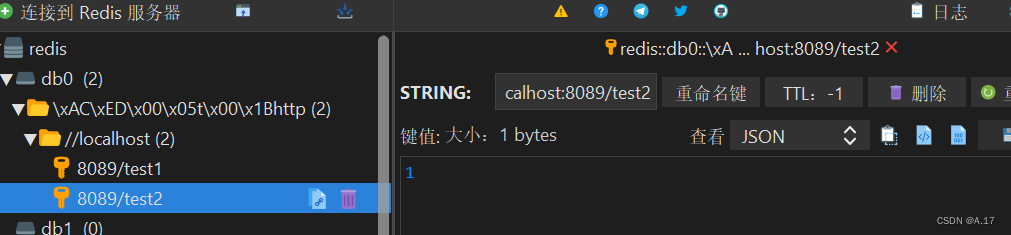
取出redis中的数据:
我们在用redis存储数据的时候,若默认使用JDK的序列化方式,在Redis桌面化的工具中查看就会使乱码的情况,所以我们需要自定义redis的序列化方式:
package com.example.redistest.Controller;
import org.springframework.beans.factory.annotation.Autowired;
import org.springframework.data.redis.core.RedisTemplate;
import org.springframework.data.redis.core.ValueOperations;
import org.springframework.data.redis.serializer.GenericJackson2JsonRedisSerializer;
import org.springframework.data.redis.serializer.RedisSerializer;
import org.springframework.data.redis.serializer.StringRedisSerializer;
import org.springframework.web.bind.annotation.GetMapping;
import org.springframework.web.bind.annotation.RestController;
import javax.annotation.Resource;
import java.util.HashMap;
import java.util.List;
import java.util.Map;
@RestController
public class RedisController {
@Resource
private RedisTemplate redisTemplate;
@GetMapping("/test1")
public String test1() {
return "test1";
}
@GetMapping("/test2")
public String test2() {
return "test2";
}
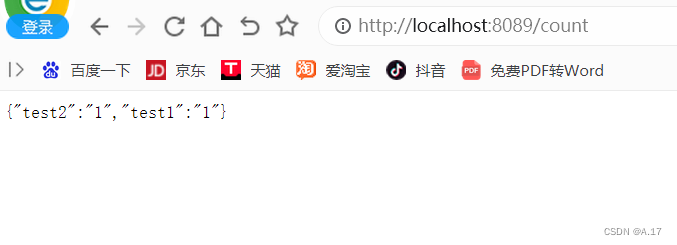
@GetMapping("/count")
public Map<String,String> count() {
ValueOperations value = redisTemplate.opsForValue();
String value1 = String.valueOf(value.get("http://localhost:8089/test1"));
String value2 = String.valueOf(value.get("http://localhost:8089/test2"));
Map<String, String> map = new HashMap<>();
map.put("test1",value1);
map.put("test2",value2);
return map;
}
@Autowired(required = false)
public void setRedisTemplate(RedisTemplate redisTemplate) {
RedisSerializer stringSerializer = new StringRedisSerializer();//序列化为String
//不能反序列化
GenericJackson2JsonRedisSerializer serializer = new GenericJackson2JsonRedisSerializer();
redisTemplate.setKeySerializer(stringSerializer);
redisTemplate.setValueSerializer(serializer);
redisTemplate.setHashKeySerializer(stringSerializer);
redisTemplate.setHashValueSerializer(serializer);
this.redisTemplate = redisTemplate;
}
}
访问Count请求:


 649
649


 被折叠的 条评论
为什么被折叠?
被折叠的 条评论
为什么被折叠?
 到【灌水乐园】发言


