


1.环境要求
java:1.8以上
maven:3.3及以上
2.Spring与Springboot
2.1目的
简化配置、接口默认实现。
2.2优点
1.简化配置
2.嵌入式服务器
3.简化依赖配置
4.简化整合
5.无代码生成、无需编写XML
SpringBoot是简化Spring技术栈的快速开发脚手架。
2.3缺点
迭代升级快
封装太深
3.微服务
一种架构风格。一个应用拆分成一组小型服务,去中心化,服务之间轻量级交互,围绕业务功能拆分。
4.分布式
与微服务挂钩。
5.SpringBoot官方文档
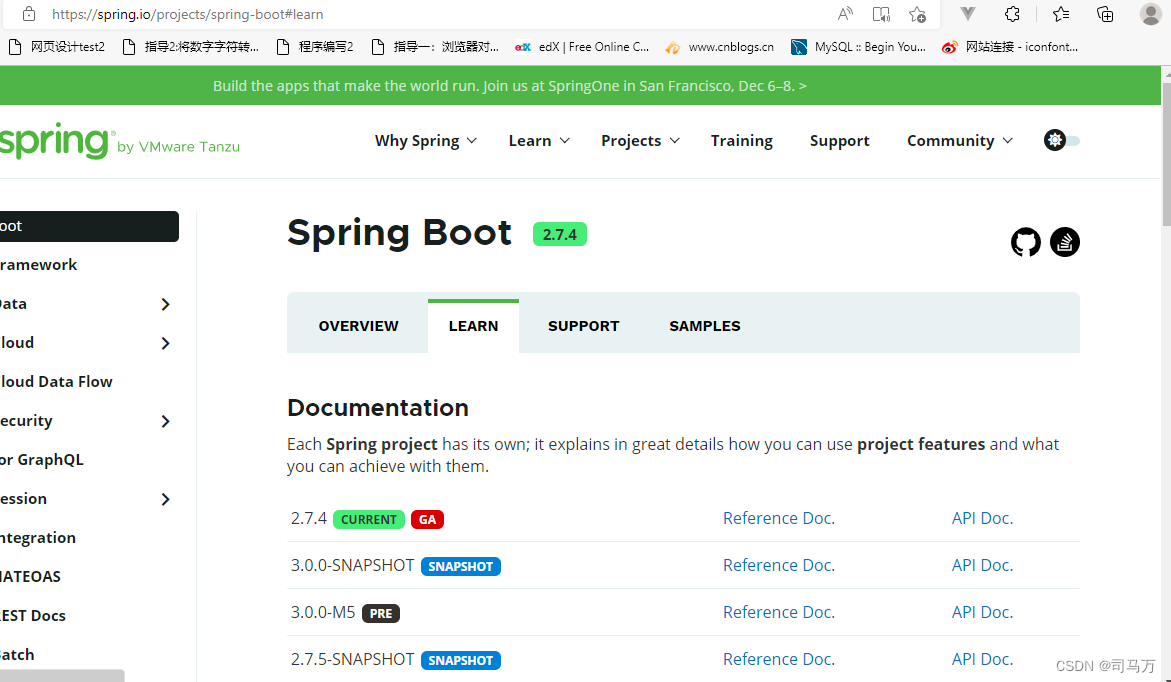
6.Getting Started
6.2系统要求

1.java版本:1.8以上
 2.maven版本3.3+
maven阿里云镜像配置:
<mirror>
      <id>nexus-aliyun</id>
      <mirrorOf>central</mirrorOf>
      <name>Nexus Maven</name>
      <url>http://maven.aliyun.com/nexus/content/groups/public</url>

    </mirror>
6.3Hello world!
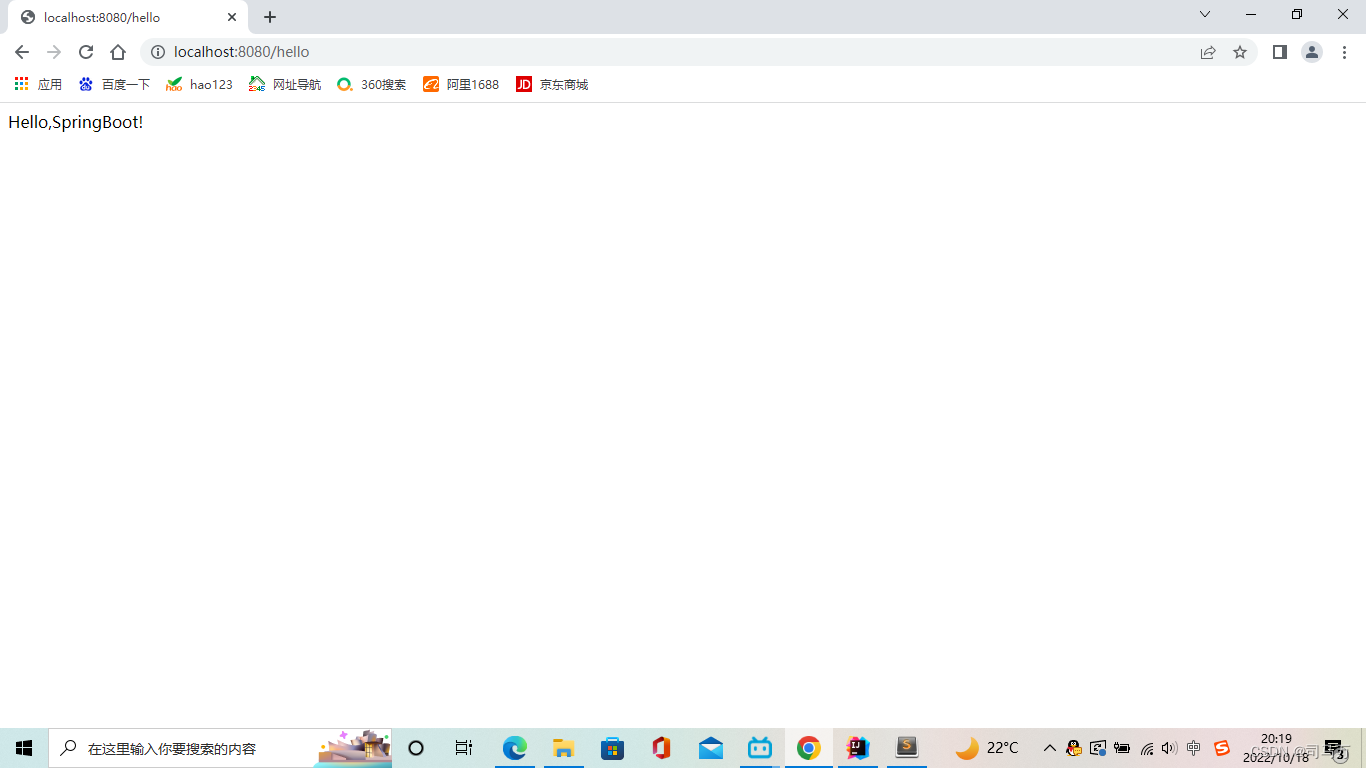
需求:服务器发送一个/hello请求,浏览器响应Hello,Spring Boot2
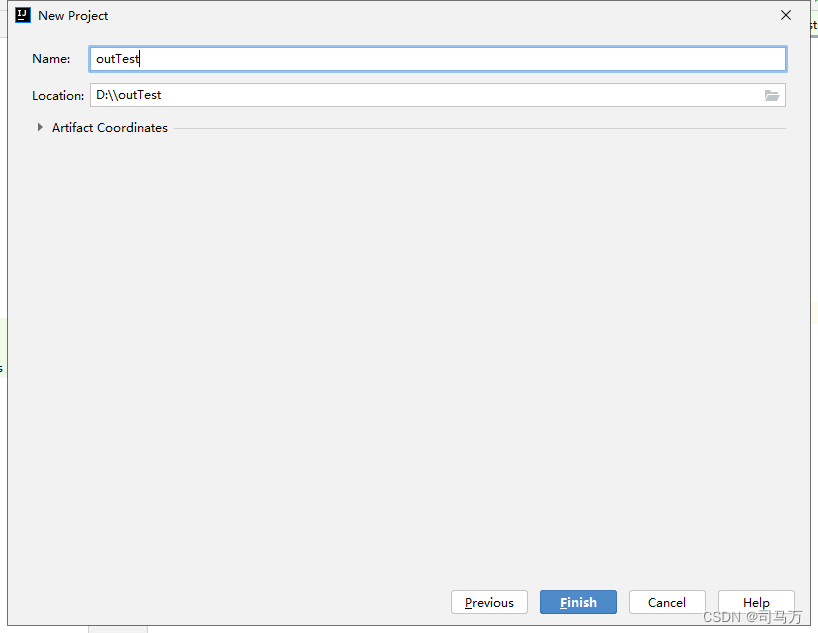
1.创建一个maven项目
2.pom.xml需要添加的配置(导入父工程)
<parent>
        <groupId>org.springframework.boot</groupId>
        <artifactId>spring-boot-starter-parent</artifactId>
        <version>2.7.4</version>
    </parent>
3.添加系统依赖(添加Sprintgboot Web场景器)
<dependency>
            <groupId>org.springframework.boot</groupId>
            <artifactId>spring-boot-starter-web</artifactId>
        </dependency>
导入依赖后的pom.xml文件
<?xml version="1.0" encoding="UTF-8"?>
<project xmlns="http://maven.apache.org/POM/4.0.0"
         xmlns:xsi="http://www.w3.org/2001/XMLSchema-instance"
         xsi:schemaLocation="http://maven.apache.org/POM/4.0.0 http://maven.apache.org/xsd/maven-4.0.0.xsd">
    <modelVersion>4.0.0</modelVersion>

    <groupId>org.example</groupId>
    <artifactId>outTest</artifactId>
    <version>1.0-SNAPSHOT</version>
    <parent>
        <groupId>org.springframework.boot</groupId>
        <artifactId>spring-boot-starter-parent</artifactId>
        <version>2.7.4</version>
    </parent>

    <properties>
        <maven.compiler.source>8</maven.compiler.source>
        <maven.compiler.target>8</maven.compiler.target>
    </properties>
    <dependencies>
        <dependency>
            <groupId>org.springframework.boot</groupId>
            <artifactId>spring-boot-starter-web</artifactId>
        </dependency>
    </dependencies>

4.编写代码
目录结构:
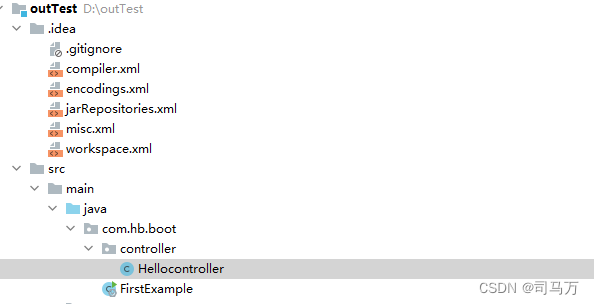
主程序类:
package com.hb.boot;

import org.springframework.boot.SpringApplication;
import org.springframework.boot.autoconfigure.SpringBootApplication;

/**
 * 主程序类:启动入口
 * @SpringBootApplication :告诉系统这是一个SpringBoot应用
 */
@SpringBootApplication
public class FirstExample {

    public static void main(String[] args){
        SpringApplication.run(FirstExample.class,args);
    }
}
业务逻辑类:
package com.hb.boot.controller;

import org.springframework.web.bind.annotation.RequestMapping;
import org.springframework.web.bind.annotation.RestController;

/*\
* 业务逻辑类
* @RestController是@ResponseBody和@Controller的合体
* */

@RestController
public class Hellocontroller {
    /*
    * @RequestMapping():用于映射请求
    * */

    @RequestMapping("/hello")
    public String handle(){
        return "Hello,SpringBoot!";
    }
}
运行结果:
6.4SpringBoot的配置文件
可配置服务器端口号这些
可用配置?

6.5打包插件(打成Jar包)
1.导入插件依赖
<build>
        <plugins>
            <plugin>
                <groupId>org.springframework.boot</groupId>
                <artifactId>spring-boot-maven-plugin</artifactId>
            </plugin>
        </plugins>
    </build>
2.打包
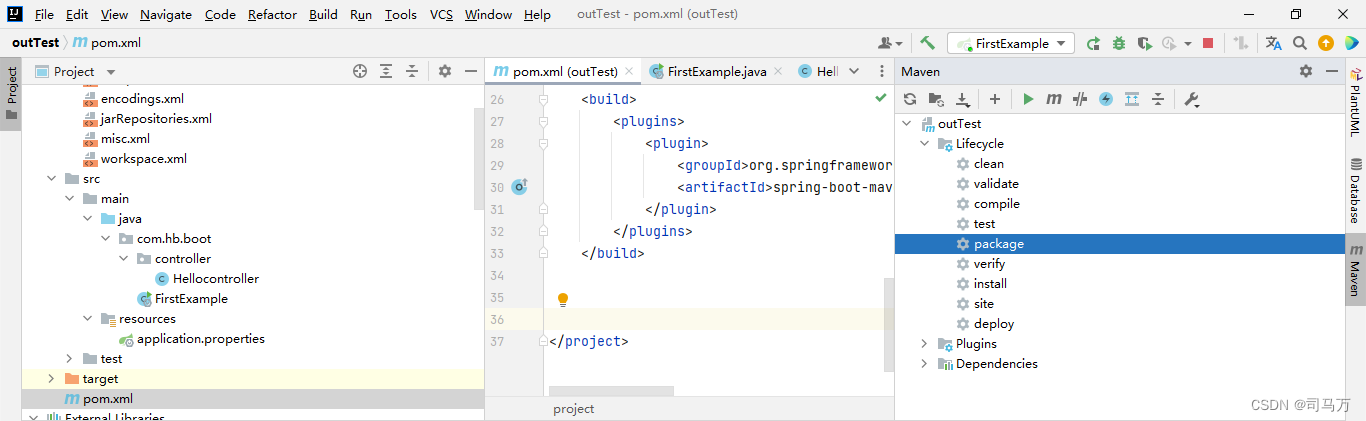
先点clean,后点package进行打包。
6.6SpringBoot的特点
6.6.1依赖管理
父项目做依赖管理,写依赖后不用写版本号,几乎声明了开发中常用的版本号。(按需加载)
<parent>
        <groupId>org.springframework.boot</groupId>
        <artifactId>spring-boot-starter-parent</artifactId>
        <version>2.7.4</version>
    </parent>
如何改版本号:示例:

6.6.2自动配置
1.tomcat
2.SpringMVC
3.web常用功能:如字符编码
4.默认的包结构(无需配置包扫描)
主程序所在的包及其子包都可以被扫描进来。
想要改变扫描路径,可以使用:
@SpringBootApplication(scanBasePackages = "")或者
@ComponentScan("")//包扫描注解注意:@SpringBootApplication是个合成注解。
@SpringBootApplication=@SpringBootApplication+@EnableAutoConfiguration+@SpringBootConfiguration.


 312
312


 被折叠的 条评论
为什么被折叠?
被折叠的 条评论
为什么被折叠?
 到【灌水乐园】发言


