


Vue学习笔记
将这篇文章当做我的学习笔记,之后会不断更新
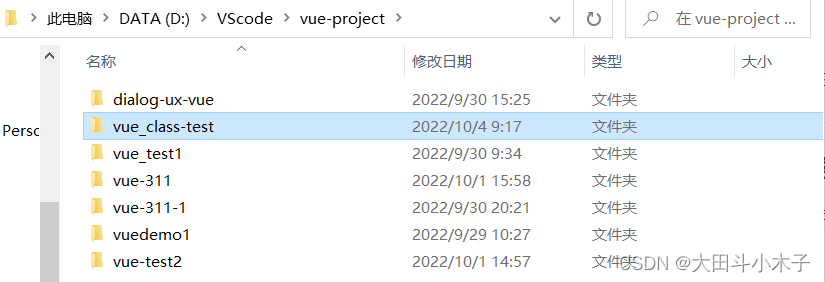
一、创建node项目
新建文件夹
- 新建空文件夹
- 进入文件夹,在上方输入
cmd进入命令提示符

初始化
- 输入
npm init
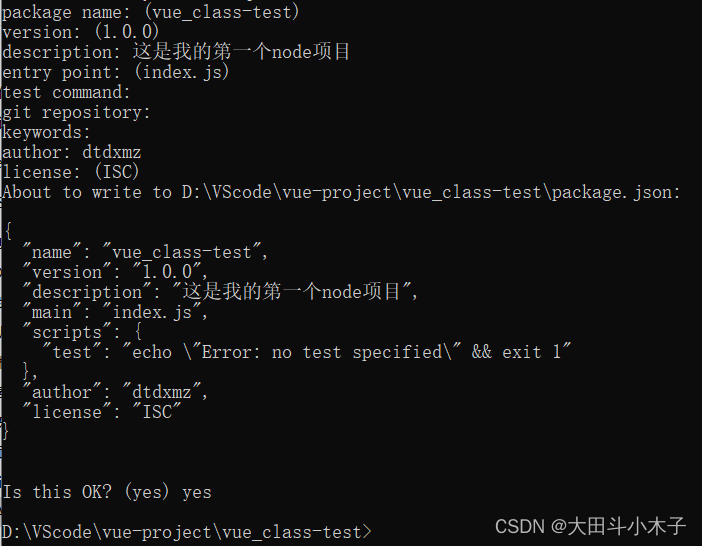
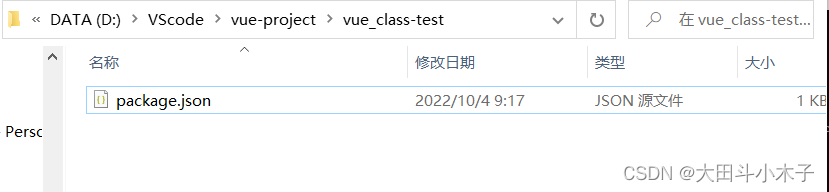
- 文件夹内部生成 package.json 文件
二、npm常用指令
1. 使用国内npm镜像源(2种方式)
- 使用配置
npm config set registry https://registry.npm.taobao.org
- 使用cnpm
//先安装cnpm工具
npm install -g cnpm --registry=https://registry.npm.taobao.org
//使用cnpm代替npm
cnpm install 模块名
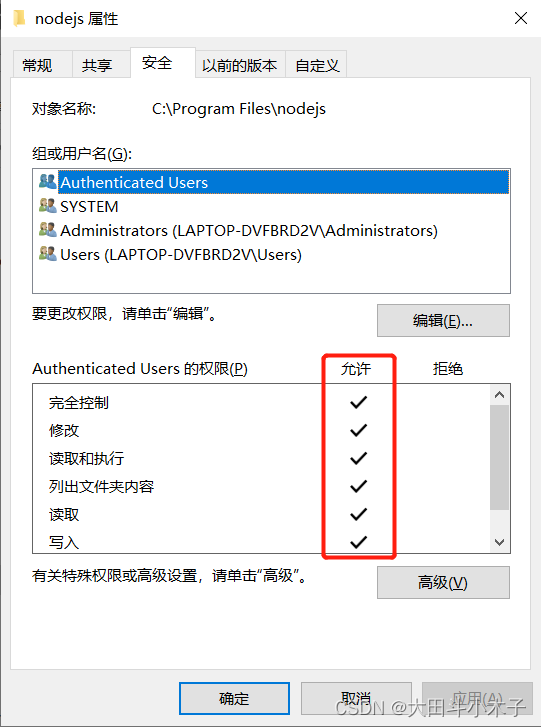
- 可能会出现报错
EPERM: operation not permitted, open 'C:\Program Files\nodejs\node_cache\_cacache\index-v5\87\99\8595daf39d5f9028d772a4353f43f1c74061cb73d298171efcc71ac6d269'
解决方法:打开nodejs文件夹的属性,放开它的权限即可。
2. 使用yarn
npm install -g yarn --registry=https://registry.npm.taobao.org
yarn的下载和体验速度相对较快,推荐使用yarn
3. 安装vue-router
出现报错"export ‘createRouter’ was not found in 'vue-router’ "export ‘createWebHashHistory’ was not found in 'vue-router’
是因为我们使用的vue-router包不对,安装了2.x版本
需要将之前安装的 vue-router包卸载,然后重新安装vue3的vue-router包
// 卸载 vue2.x 的vue-router
npm uninstall vue-router --save
// 安装 vue3 的vue-router
npm install vue-router@next --save
三、element-plus入门
vue2支持element-ui,而vue3支持element-plus
官方文档:https://element-plus.gitee.io/zh-CN/guide/design.html
1. npm安装
npm install element-plus --save
2. 引用
全局引用,在任何组件中都可以任意使用element-plus提供的组件
import ElementPlus from 'element-plus'
import 'element-plus/dist/index.css'
<el-button type="primary">Primary</el-button>
3. 导入icons
可以选择全局导入,也可以部分导入
//main.js 全局导入
import * as ElementPlusIconsVue from '@element-plus/icons-vue'

const app = createApp(App)
for (const [key, component] of Object.entries(ElementPlusIconsVue)) {
  app.component(key, component)
}
//部分导入
<script>
import {
  Check,
  Delete,
  Edit,
  Message,
  Search,
  Star,
} from '@element-plus/icons-vue'
</script>
在其中选择自己需要使用的组件导入
<el-button type="primary" :icon="Edit" circle />
需要添加
  data(){
    return{Edit}
  },
4. el-avatar使用本地照片
<el-avatar :src='post'></el-avatar>
<script>
import post from "../assets/img/post.jpg";
export default {
  data() {
    return {
      post
    };
  },
};
</script>
四、vuex入门
官网:https://vuex.vuejs.org/zh/installation.html
1. 安装
npm install vuex@next --save
2. 最简单的store
- “store”基本上就是一个容器,它包含着你的应用中大部分的状态 (state)
- 改变 store 中的状态的唯一途径就是显式地提交 (commit) mutation
其实,有state变量就可以做到全局共享变量,甚至可以通过state.count来修改对应的值。但是state是全局实行,是多个组件共享的属性,对这个属性的操作,就不应该放在具体的组件当中
- 提供一个初始 state 对象和一些 mutation:
import { createApp } from 'vue'
import { createStore } from 'vuex'

// 创建一个新的 store 实例
const store = createStore({
  state () {
    return {
      count: 0
    }
  },
  mutations: {
    increment (state) {
      state.count++
    }
  }
})

const app = createApp({ /* 根组件 */ })

// 将 store 实例作为插件安装
app.use(store)
- 在 Vue 组件中, 可以通过 this.$store 访问store实例
methods: {
  plus() {
  	//对共享变量的操作逻辑
    this.$store.commit('increment')
    console.log(this.$store.state.count)
  }
}
五、项目结构
- public当中有一个index.html 有一个div,id是app
浏览器只能识别html、js、css,存在编译过程,将项目打包为html、js、css
npm run build打包后只有一个html,也称为单页应用
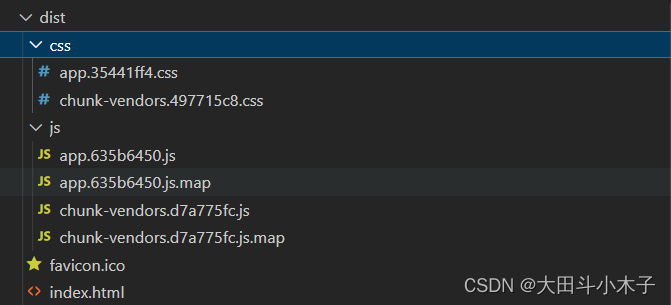
main.js是入口,会创建vue实例vmApp.vue根组件- 挂载到
index.html - 每一个组件都是一个独立的文件,通过import引入


 3189
3189


 被折叠的 条评论
为什么被折叠?
被折叠的 条评论
为什么被折叠?
 到【灌水乐园】发言


