


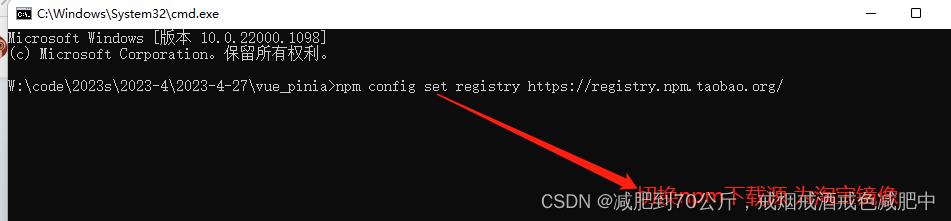
注意*** 创建项目之前一定要检查下载源

创建项目文件地址 vue_pinia 目录

使用命令行快速进入当前文件地址
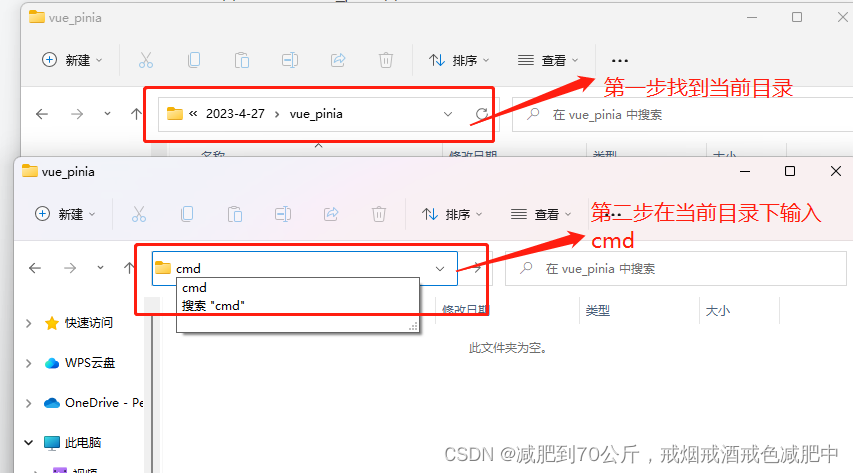
当前为命令行在当前文件夹中

开始检测当前是否为vue的4.5.15 版本以下,如果是高于需要降版本
检测当前vue脚手架版本
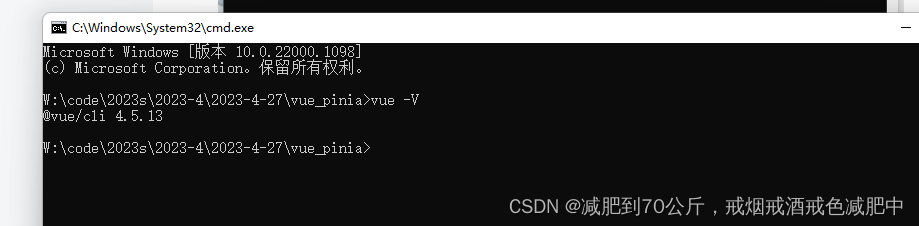
降低当前vue脚手架版本
npm install -g @vue/cli@4.5.15当前目录下创建项目
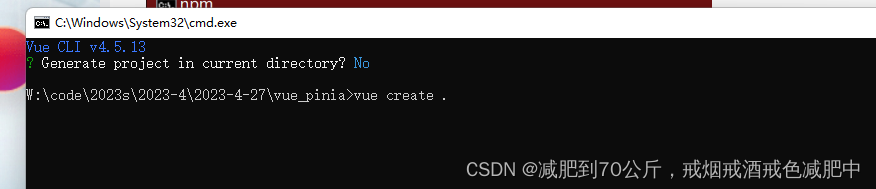
是否在当前目录下创建项目 选择y

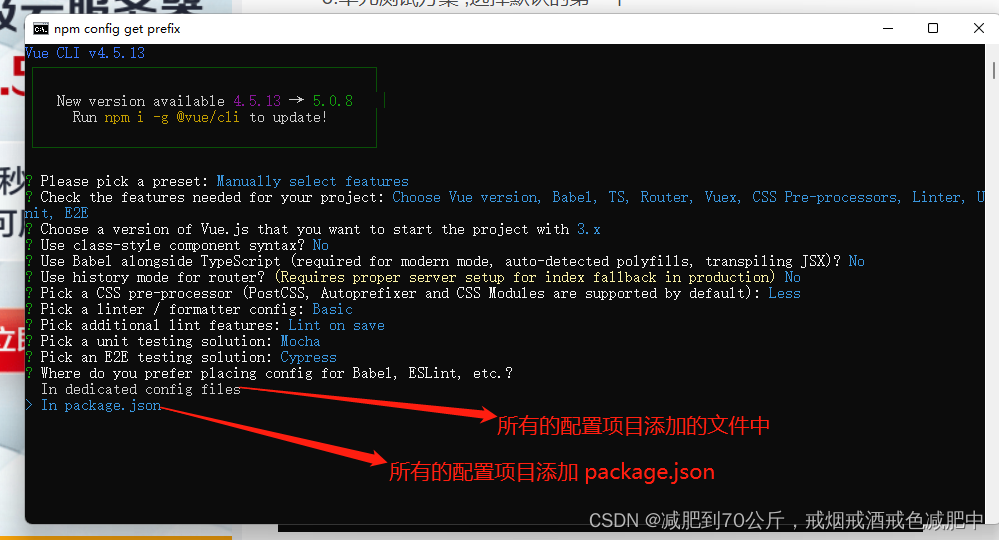
在当前项目中进行代码的配置,按下键来进行配置
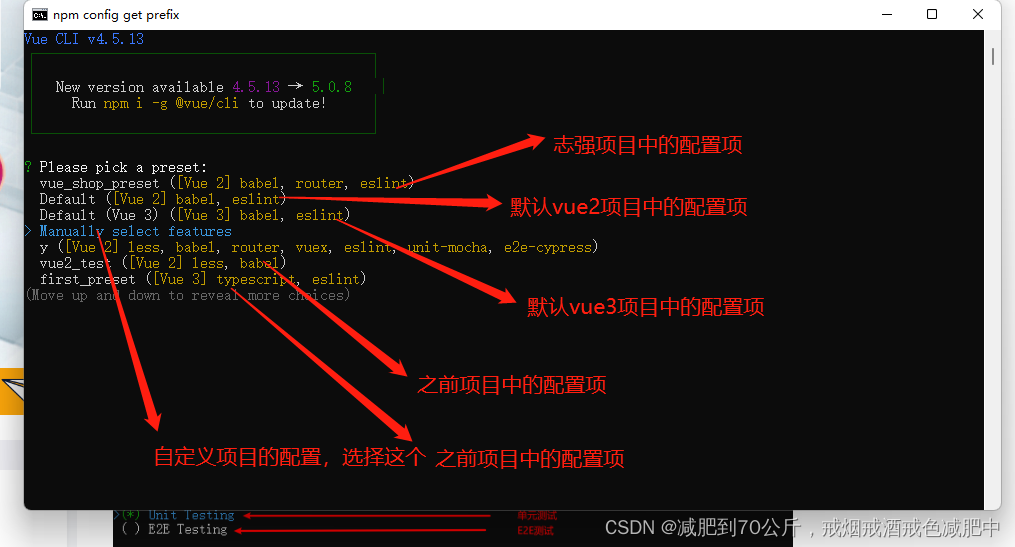
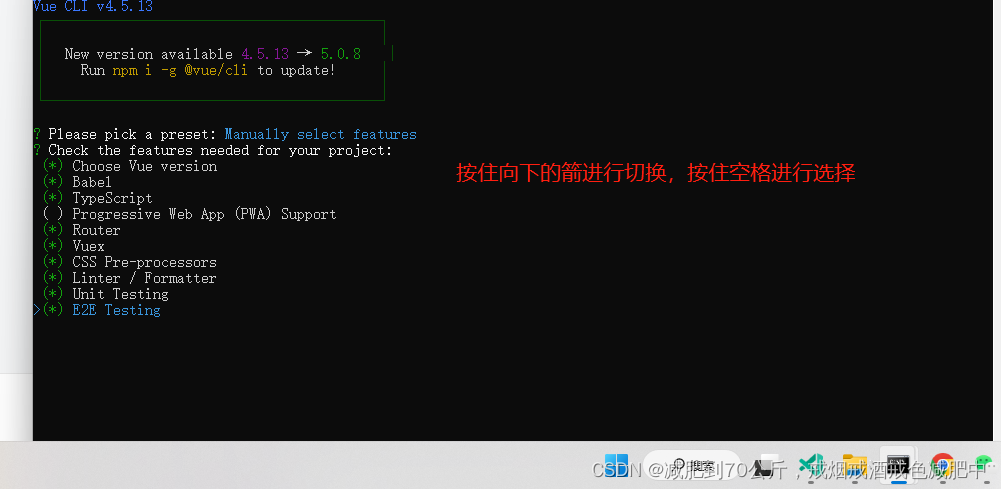
选择 Manually select features

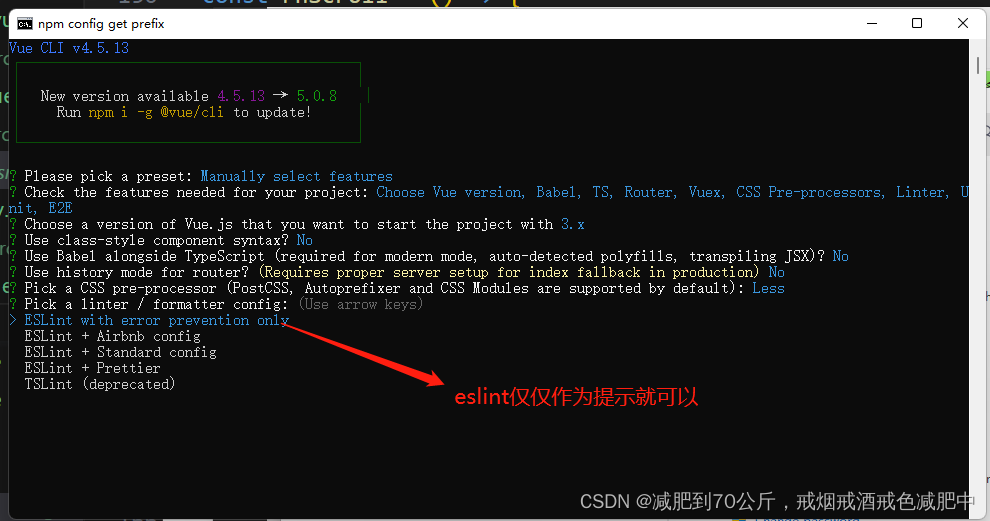
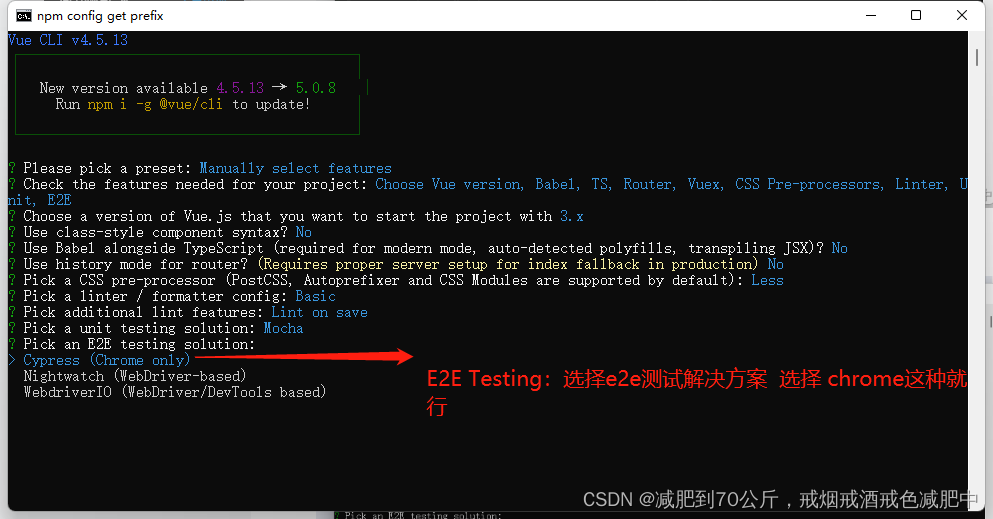
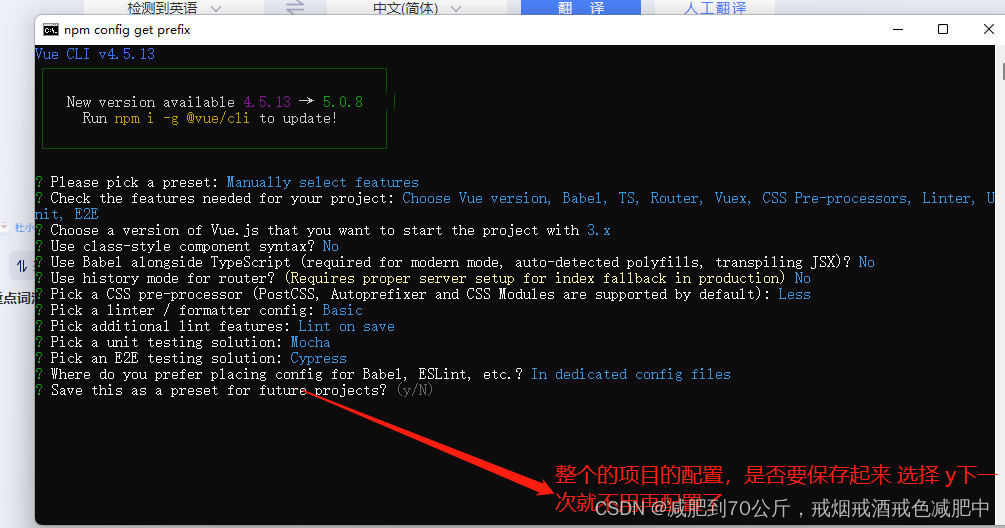
最终选择结果
选择vue的版本 vue3 3.x


less 的px 转rem的配置
移动端适配
1.项目启动后 在命令行中按ctrl + c 停止运行项目
2.命令行输入以下代码 下载'lib-flexible' 'postcss-px2rem-exclude' 两个插件
下载 两个插件
npm i lib-flexible postcss-px2rem-exclude -save下载完成后 用vscode打开项目 在入口文件 main.ts 中 引入 lib-flexible
import 'lib-flexible'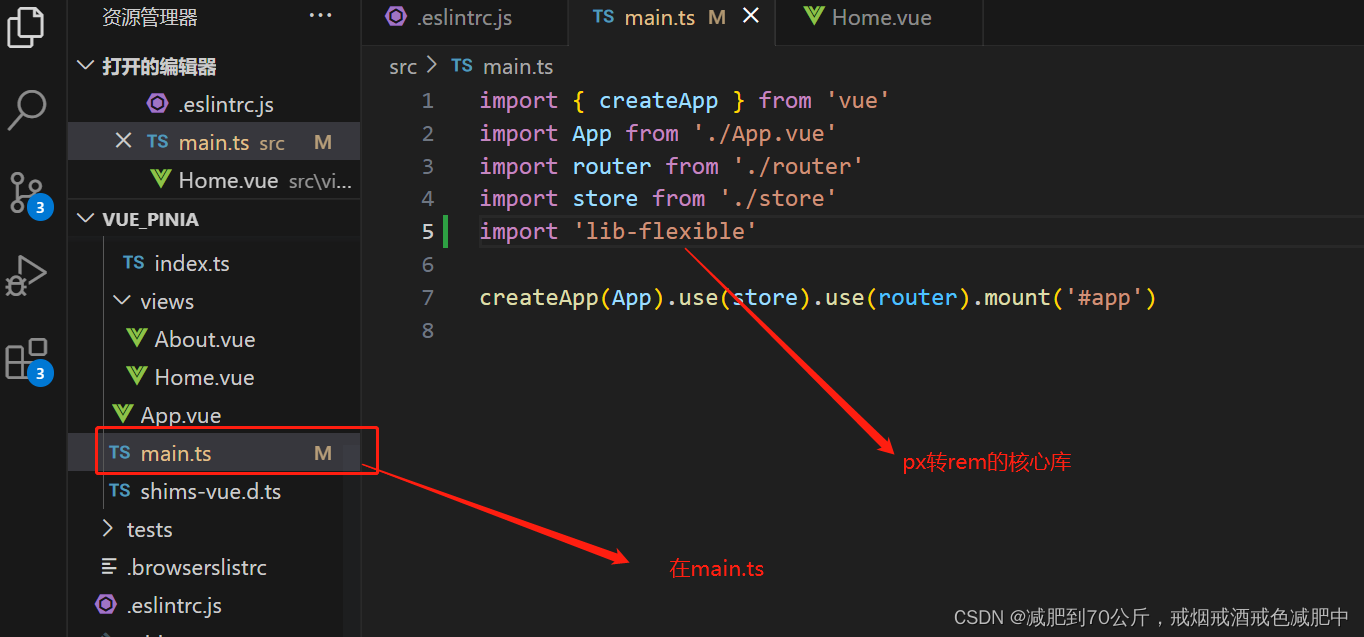
1.在项目根目录下创建 vue.config.js 并在里面配置
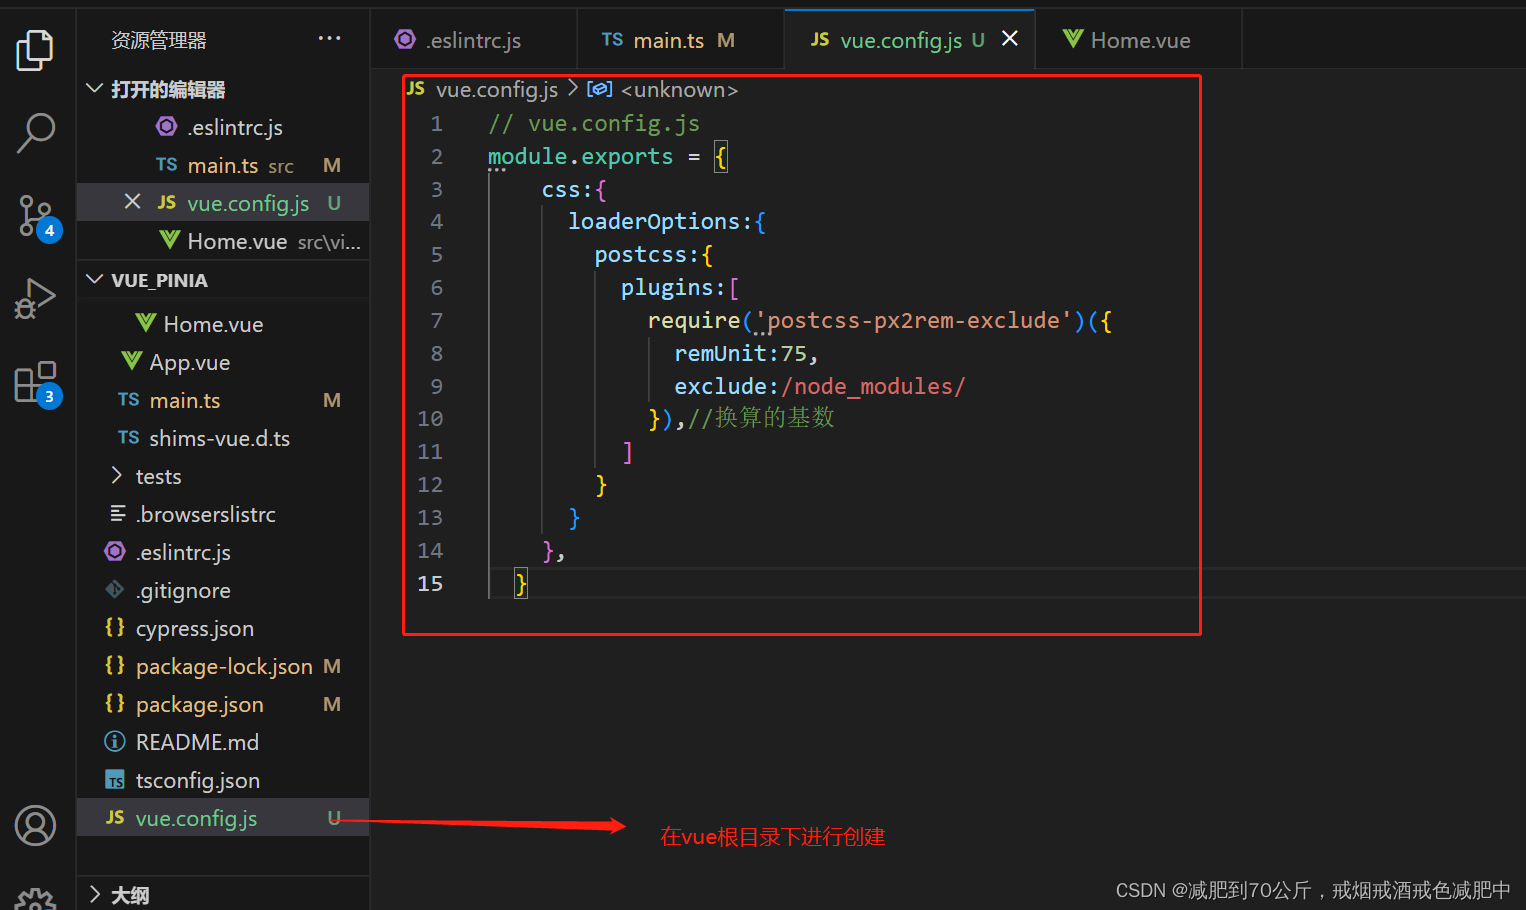
// vue.config.js
module.exports = {
css:{
loaderOptions:{
postcss:{
plugins:[
require('postcss-px2rem-exclude')({
remUnit:75,
exclude:/node_modules/
}),//换算的基数
]
}
}
},
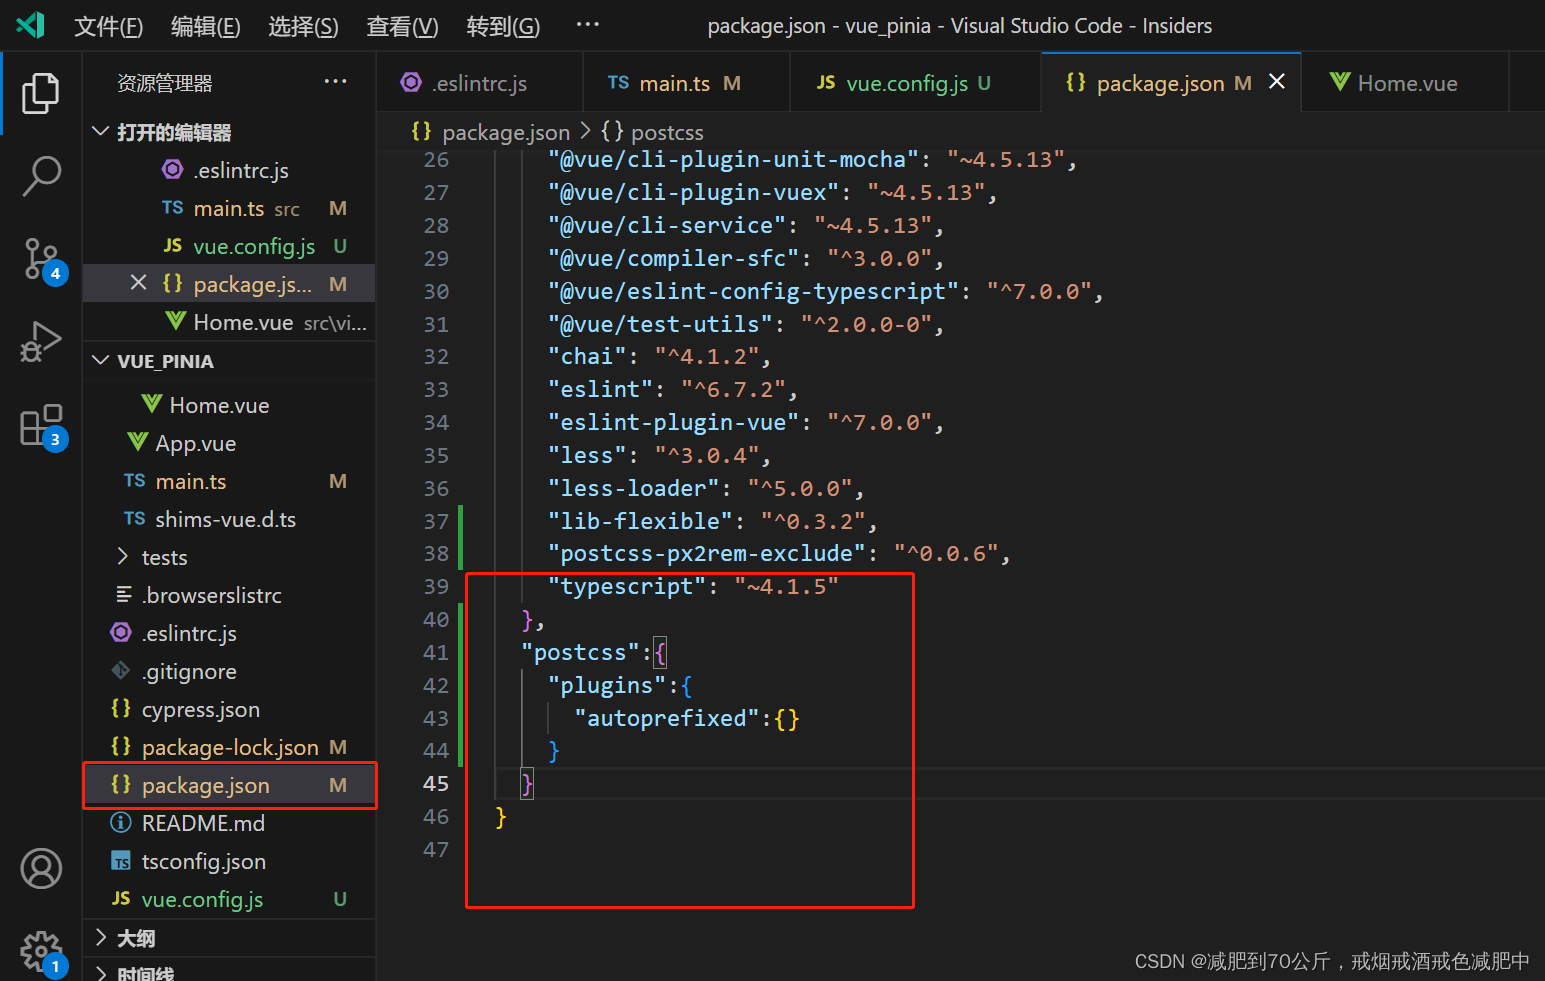
}2.打开package.json文件 ,添加:
"postcss":{
    "plugins":{
      "autoprefixed":{}
    }
  }
三、配置反向代理 + axios
1.反向代理
打开vue.config.js配置文件,在module.exports 中添加以下代码
devServer: {
    proxy: {
        //    配置跨域
        '/api': {
            target: 'http://www.ibugthree.com',      //这里是后端接口地址
                changeOrigin: true,
                pathRewrite: {
                '^/api': ''
            }
        }
    },
    open: true   //启动项目自动打开浏览器
}
2.配置axios
1.下载axios:
npm install axios --save
npm install axios --save2.在src目录下创建api文件夹 , 文件夹内创建 index.ts 和 request.ts 两个文件
request.ts中:
import axios from "axios";
export const Service = axios.create({
    timeout: 8000, //延迟时间
    method: 'POST',
    headers: {
        "content-Type": "application/x-www-form-urlencoded",
        "pc-token": "4a82b23dbbf3b23fd8aa291076e660ec", //后端提供
    }
})
// 请求拦截
Service.interceptors.request.use(config => {
    return config
})
// 响应拦截
Service.interceptors.response.use(response => {
    return response.data
}, err => {
    console.log(err)
})
index.ts
import { Service } from "./request";
interface searchConfig {
page: number | string
mod: string
}
interface getConfig {
page: number | string
}
// 搜索接口
export function searchCar(config: searchConfig) {
const params = new URLSearchParams()
params.append('page', config.page as string);
params.append('mod', config.mod);
return Service({
url: "./api/oldcar/searchCar",
data: params
})
}
// 列表接口
export function getCarList(config: getConfig) {
const params = new URLSearchParams()
params.append('page', config.page as string)
return Service({
url: "/api/oldcar/getCarList",
data: params
})
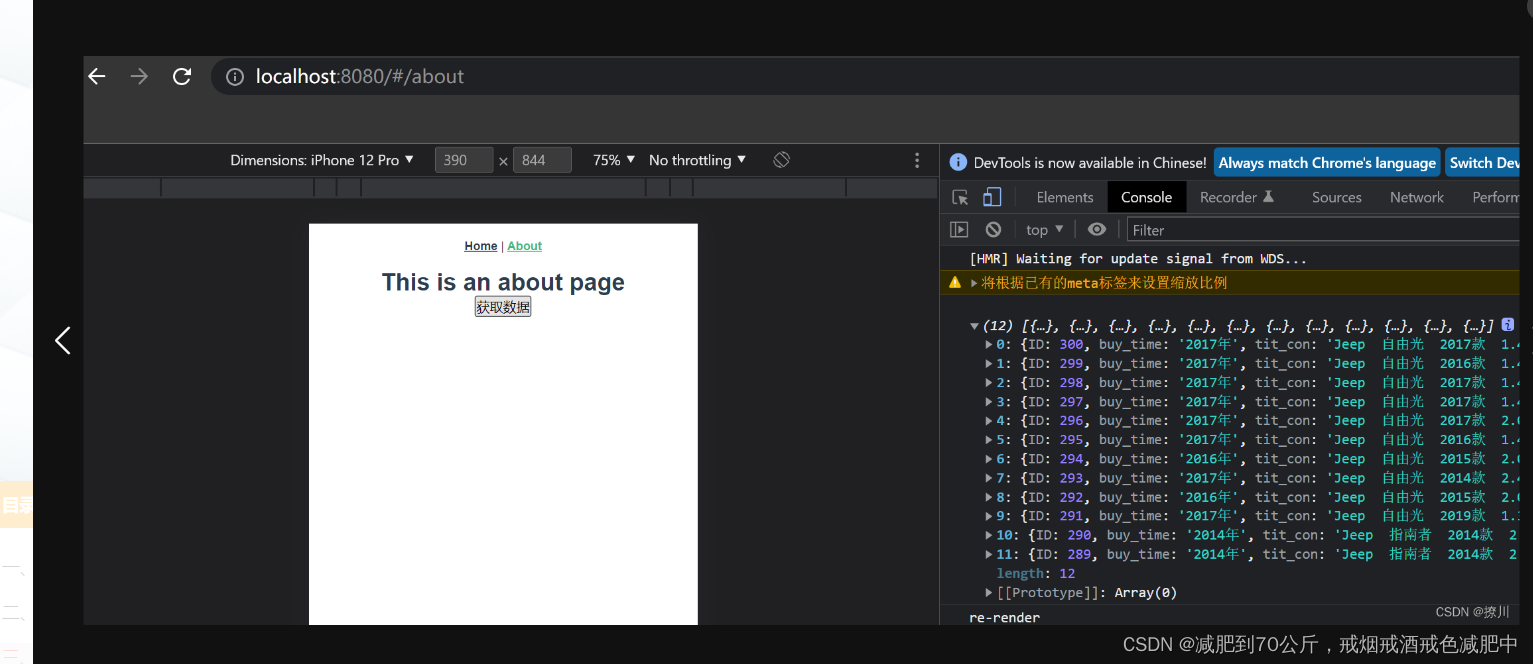
}在view/about中测试:
<template>
  <div class="about">
    <h1>This is an about page</h1>
    <button @click="getData">获取数据</button>
  </div>
</template>
<script lang="ts">
import { getCarList } from "../api"; //引用
import { defineComponent, onMounted } from "vue";

export default defineComponent({
  setup() {
    const getData = async function () {
      console.log(await getCarList({ page: 1 }));
    };
    onMounted(async() => {
      console.log(await getCarList({ page: 1 }));
    });
    return {
      getData,
    };
  },
});
</script>
点击按钮获取数据
四、vuex传值测试
1.store/index.ts
import { createStore } from 'vuex'
export default createStore({
  state: {
    name: '默认值'
  },
  mutations: {
    setState(state, args) {
      state.name = args
    }
  },
  actions: {
    setStateName({ commit }, args) {
      commit('setState', args)
    }
  },
  getters: {
    getState(state) {
      return state.name
    }
  },
  modules: {
  }
})
home
<template>
  <div class="home">
    <div><button @click="FnSetStateName">给about传值</button></div>
  </div>
</template>

<script lang="ts">
import { defineComponent } from "vue";
import { useStore } from "vuex";
export default defineComponent({
  name: "Home",
  setup() {
    const store = useStore();
    const FnSetStateName = function () {
      //Action 通过 store.dispatch 方法触发
      store.dispatch("setStateName", "这是home传的值");
    };
    return {
      FnSetStateName,
    };
  },
});
</script>
about.vue
<template>
  <div class="about">
    <h1>This is an about page</h1>
    <button @click="getData">获取数据</button>
    <p>{{ getState }}</p>
  </div>
</template>
<script lang="ts">
import { getCarList } from "../api"; //引用
import { computed, defineComponent, onMounted } from "vue";
import { useStore } from "vuex";
export default defineComponent({
  setup() {
    const getData = async function () {
      console.log(await getCarList({ page: 1 }));
    };
    onMounted(async() => {
      console.log(await getCarList({ page: 1 }));
    });

    const store = useStore();
    const getState = computed(() => store.getters.getState);
    return {
      getData,
      getState
    };
  },
});
</script>


 1554
1554


 被折叠的 条评论
为什么被折叠?
被折叠的 条评论
为什么被折叠?
 到【灌水乐园】发言


