


最近学习GEM5,发现现有的教程有些问题,就自己探索,最终完成了编译和仿真。在这里记录一下心得,供各位参考。
当前的问题
由于gem5和DRAMsim2/3均开源,随着不断升级,函数接口变动较大,python代码也有部分与最新的编译器不兼容,需改动。比较麻烦!
编译要点
- OS:Ubuntu 22.04.5 WSL (Windows子系统,非虚拟机),网上有方法
- gcc & g++ 11
- python 3.10
- 建议使用 gem5 22.1(最新稳定版) + DRAMsim3(最新版,2023年3月24日
主要步骤
编译环境准备
sudo apt install gcc -y
sudo apt install g++ -y
sudo apt install libprotobuf-dev -y
sudo apt install protobuf-compiler -y
sudo apt-get install autoconf automake libtool curl make g++ unzip libffi-dev -y
sudo apt install python-is-python3 -y
sudo apt install libgoogle-perftools-dev -y
sudo apt install scons m4 -y
sudo apt install zlib1g zlib1g-dev -y
sudo apt install python3-pip -y
pip install graphvizy
pip install pydot
sudo apt install pkg-config -y
sudo apt-get install libpng-dev -y
sudo apt-get install libhdf5-dev -y
sudo apt-get install python3-pydot -y
GEM5 & DRAMsim3 下载
git clone https://github.com/umd-memsys/DRAMsim3.git
DRAMsim3需要将整个目录(含DRAMsim3)放到 GEM5 的 ext/dramsim3 下。
编译
DRAMsim3编译
DRAMsim3可选编译,实际并不需要。在DRAMsim3目录下执行,编译命令如下。
mkdir build
cd build/
cmake ..
make
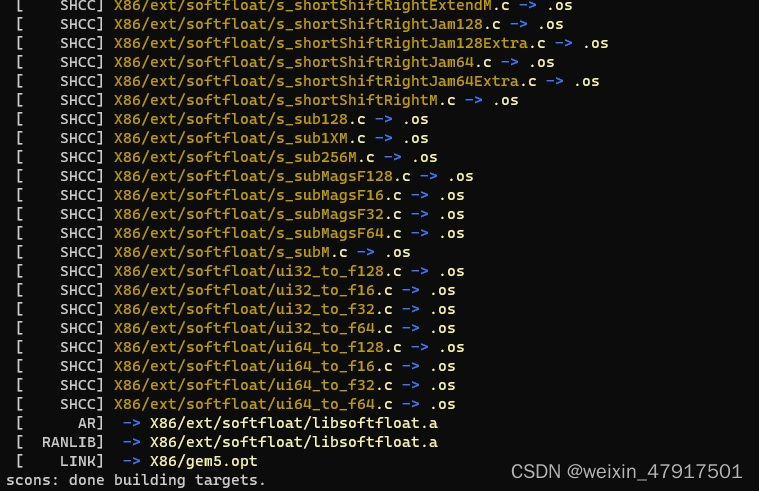
GEM5编译
在GEM5目录下执行以下命令。
scons build/X86/gem5.opt -j8GEM5编译结果如下
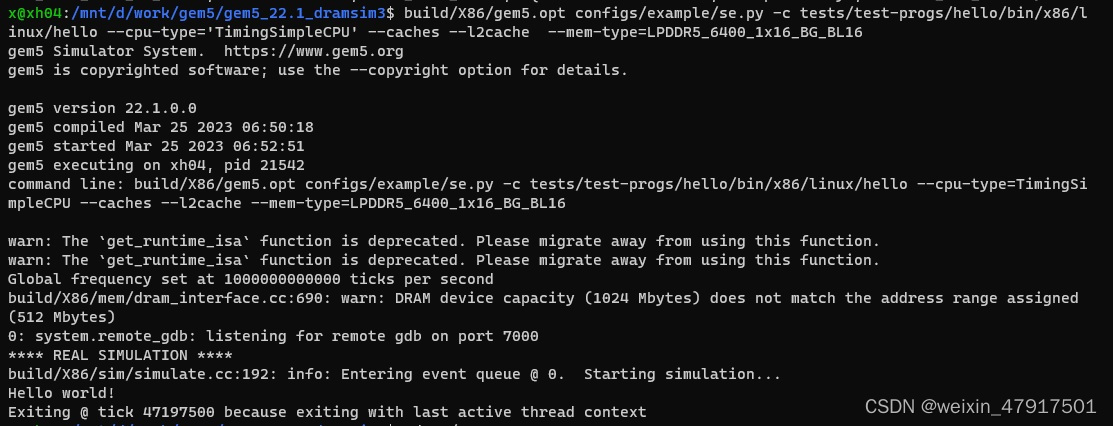
仿真运行
build/X86/gem5.opt configs/example/se.py -c tests/test-progs/hello/bin/x86/linux/hello --cpu-type='TimingSimpleCPU' --caches --l2cache --mem-type=LPDDR5_6400_1x16_BG_BL16运行结果如下
欢迎各位留言,共同讨论。


 2377
2377


 被折叠的 条评论
为什么被折叠?
被折叠的 条评论
为什么被折叠?
 到【灌水乐园】发言


