


今天来总结下Thread类的用法,包括Thread的创建、中断、等待、休眠以及获取线程实例的用法。
目录
一、线程的创建
线程的创建有三种方式:分别是继承Thread、实现Runnable接口 、实现Callable接口。
1.1 继承Thread
1.1.1通过继承Thread类来创建线程
/**
* 继承Thread创建线程
*/
public class ThreadDemo3 {
public static void main(String[] args) {
//获得当前线程
Thread mainThread=Thread.currentThread();
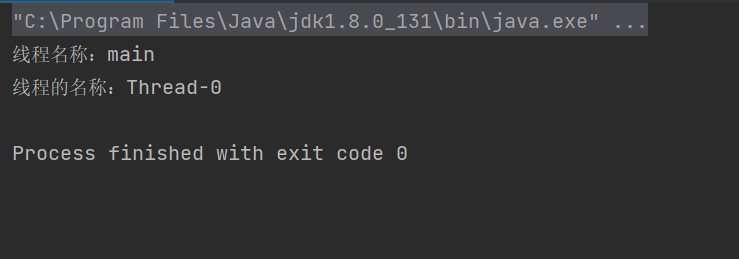
System.out.println("线程名称:"+mainThread.getName());
MyThread myThread=new MyThread();
//开启线程
myThread.start();
}
}
class MyThread extends Thread{
@Override
public void run(){
//具体的业务代码
Thread thread=Thread.currentThread();
System.out.println("线程的名称:"+thread.getName());
}
}
1.1.2 变种方法1
通过匿名内部类来实现继承Thread类的过程。
public class ThreadDemo7 {
    public static void main(String[] args) {
        Thread thread=new Thread(){
            //匿名内部类
            @Override
            public void run() {
               Thread thread1=Thread.currentThread();
                System.out.println("线程执行:"+thread1.getName());
            }
        };
        thread.start();
    }
}
1.1.3 启动线程——start()方法
由上面的创建线程可以看到我们通过覆写run()方法来创建了一个线程,但是创建了线程不代表线程开始运行,我们还需要用到start()方法来启动线程,线程才能开始运行。
那么我们可以看到用run()方法,线程也能开始运行,那么run()方法也可以启动线程吗?
/**
 * 继承Thread创建线程
 */
public class ThreadDemo3 {
    public static void main(String[] args) {
        //获得当前线程
        Thread mainThread=Thread.currentThread();
        System.out.println("线程名称:"+mainThread.getName());
        MyThread myThread=new MyThread();//新建状态
        //开启线程
//        myThread.start();//Runnable
        myThread.run();
//        myThread.run();
    }
}
class MyThread extends Thread{
    @Override
    public void run(){
        //具体的业务代码
        Thread thread=Thread.currentThread();
        System.out.println("线程的名称:"+thread.getName());
    }
}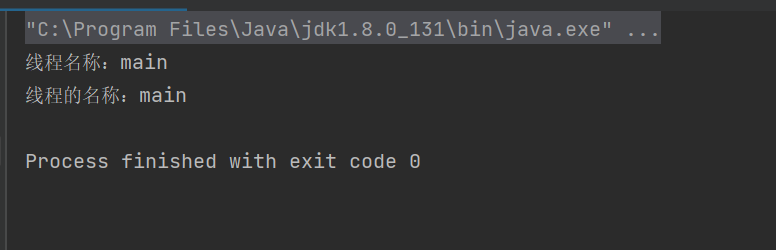
虽然都能成功运行,但是与上面两种方法的运行结果有所不同,那就是线程的名称不相同。
我们可以发现调用run()方法,其实是用当前程序的主线程main来执行方法体的;而start()方法则是真正创建一个新线程来执任务。
1.1.3 start()和run()的区别
区别一:调用run()方法是主线程执行一个普通的run()方法,并不是开启新线程;调用start()方法是真正开启一个新线程来执行任务。
区别二:run 方法也叫做线程体,它里面包含了具体要执行的业务代码,当调用 run 方法时,会立即执行 run 方法中的代码(如果当前线程时间片未用完);而调用 start 方法时,是启动一个线程并将线程的状态设置为就绪状态。也就是说调用 start 方法,并不会立即执行。
区别三:run()是普通方法,因此可以调用多次,而start()方法是用来创建新线程执行任务的 ,在调用start()方法之前,线程的状态是新建状态,在调用start()方法之后,线程就变为就绪状态,线程的状态是不可逆的,因此start()方法只能调用一次。
/**
 * 继承Thread创建线程
 */
public class ThreadDemo3 {
    public static void main(String[] args) {
        //获得当前线程
        Thread mainThread=Thread.currentThread();
        System.out.println("线程名称:"+mainThread.getName());
        MyThread myThread=new MyThread();//新建状态
        //开启线程
//        myThread.start();//Runnable
        myThread.run();
        myThread.run();
    }
}
class MyThread extends Thread{
    @Override
    public void run(){
        //具体的业务代码
        System.out.println("线程的名称:"+thread.getName());
    }
}
1.2 实现Runnable接口
1.2.1 基础实现Runnable接口
public class ThreadDemo4 {
    public static void main(String[] args) {
        MyThread1 myThread1=new MyThread1();
        Thread thread=new Thread(myThread1);
        thread.start();
    }

}
class MyThread1 implements Runnable{
    @Override
    public void run() {
        //具体的业务代码
        Thread thread=Thread.currentThread();
        System.out.println("线程执行:"+thread.getName());
    }
}
1.2.2 变种方法1:匿名实现Runnable接口
public class ThreadDemo5 {
    public static void main(String[] args) {
        Thread thread=new Thread(new Runnable() {
            //匿名内部类
            @Override
            public void run() {
                Thread thread1=Thread.currentThread();
                System.out.println("线程执行:"+thread1.getName());
            }
        });
        thread.start();
    }
}
1.2.3 变种方法2:使用Lambda表达式
public class ThreadDemo6 {
    public static void main(String[] args) {
        Thread thread = new Thread(() -> {
            Thread thread1 = Thread.currentThread();
            System.out.println("线程执行:" + thread1.getName());
        });
        thread.start();
    }
}
1.3 实现带返回值的Callable接口
1.3.1 基础实现Callable接口
import java.util.Random;
import java.util.concurrent.Callable;
import java.util.concurrent.ExecutionException;
import java.util.concurrent.FutureTask;
/**
* 实现Callable接口 新建线程
*/
public class ThreadDemo8 {
public static void main(String[] args) throws ExecutionException, InterruptedException {
//创建Callable实例
MyCallable myCallable=new MyCallable();
//用于接收Callable结果的对象
FutureTask<Integer> futureTask=new FutureTask<Integer>(myCallable);
//创建新线程
Thread thread=new Thread(futureTask);
//启动线程
thread.start();
//接收新线程执行后的结果
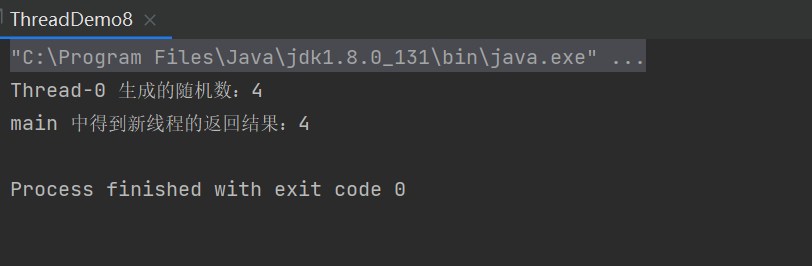
int result=futureTask.get();
System.out.println(Thread.currentThread().getName()+"新线程返回的结果为:"+result);
}
}
/**
* Callable<V>泛型里面可以是任意数据类型
*/
class MyCallable implements Callable<Integer>{
@Override
public Integer call() throws Exception {
//随机数范围:0-9
int num=new Random().nextInt(10);
System.out.println(Thread.currentThread().getName()+" "+"随机数:"+num);
return num;
}
}
1.3.2 Lambda表达式实现Callable接口
import java.util.Random;
import java.util.concurrent.ExecutionException;
import java.util.concurrent.FutureTask;
public class ThreadDemo9 {
public static void main(String[] args) throws ExecutionException, InterruptedException {
FutureTask<Integer> futureTask=new FutureTask<Integer>(()->{
int num=new Random().nextInt(10);
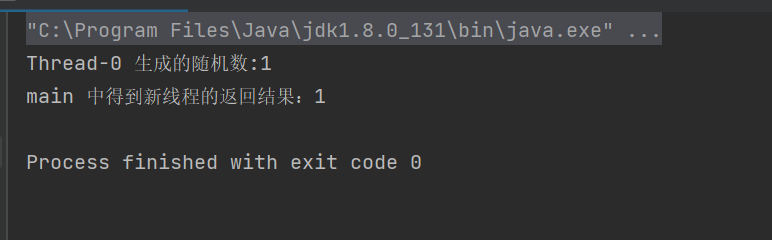
System.out.println(Thread.currentThread().getName()+" "+"生成的随机数:"+num);
return num;
});
Thread thread=new Thread(futureTask);
thread.start();
int result=futureTask.get();
System.out.println(Thread.currentThread().getName()+" "+"中得到新线程的返回结果:"+result);
}
}
1.4 线程创建总结
创建线程共有3大类实现方式,7种实现方法,以上方法支持JDK1.8及以上版本,如果不需要得到线程的执行结果,可以使用Lambda表达式实现Runnable接口的方式创建线程,若需要得到线程的执行结果,可以使用FutureTask+Callable的方式创建线程。
二、线程中断
2.1 自定义标识符中断线程
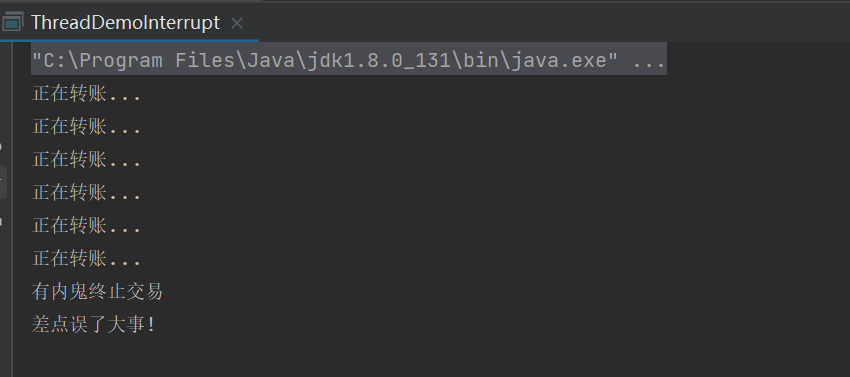
/**
 * 中断线程1.自定义标识符
 */
public class ThreadDemoInterrupt {
    public static  volatile boolean flag=false;
    public static void main(String[] args) throws InterruptedException {
        Thread t=new Thread(()->{
            while (!flag){
                System.out.println("正在转账...");
                try {
                    Thread.sleep(500);
                } catch (InterruptedException e) {
                    e.printStackTrace();
                }
            }
            System.out.println("差点误了大事!");
        });
        t.start();
        Thread.sleep(3000);
        //终止线程
        System.out.println("有内鬼终止交易");
        flag=true;

    }
}
2.2 使用interrupt()方法中断
使用Thread.interrupted()或者Thread.currentThread.isInterrupted()来代替自定义标志位,来判断当前线程的中断标志位是否被设置,若被设置返回true,否则返回false。
Thread 内部包含了⼀个 boolean 类型的变量作为线程是否被中断的标记.
| ⽅法 | 说明 |
| public void interrupt() | 中断对象关联的线程,如果线程正在阻塞,则以 异常⽅式通知,否则设置标志位 |
| public static boolean interrupted() | 判断当前线程的中断标志位是否设置,调⽤后清 除标志位 |
| public boolean isInterrupted() | 判断对象关联的线程的标志位是否设置,调⽤后 不清除标志位 |
isInterrupted():调用后不清除标志位;
interrupt(): 调用后清除标志位。
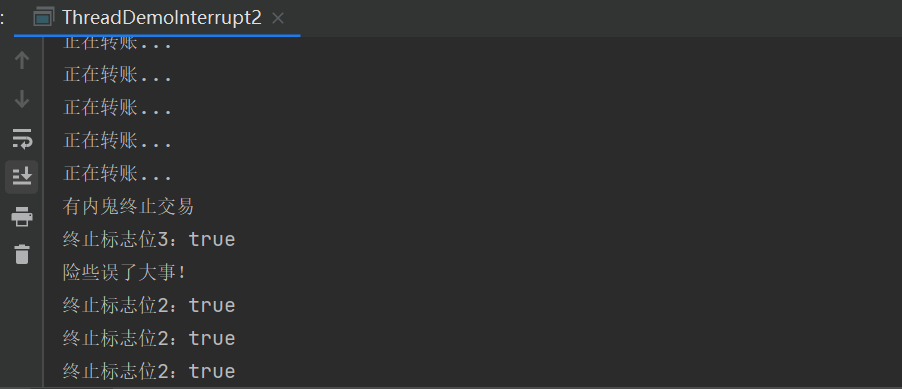
/**
 * 使用interrup方法终止线程
 */
public class ThreadDemoInterrupt2 {
    public static void main(String[] args) throws InterruptedException {
        Thread t=new Thread(()->{
            System.out.println("终止标志位:"+Thread.currentThread().isInterrupted());
            while (!Thread.currentThread().isInterrupted()){
                System.out.println("正在转账...");
            }
            System.out.println("险些误了大事!");
            System.out.println("终止标志位2:"+Thread.currentThread().isInterrupted());
            System.out.println("终止标志位2:"+Thread.currentThread().isInterrupted());
            System.out.println("终止标志位2:"+Thread.currentThread().isInterrupted());
            System.out.println("终止标志位2:"+Thread.currentThread().isInterrupted());
            System.out.println();
            System.out.println("终止标志位4:"+Thread.interrupted());
            System.out.println("终止标志位4:"+Thread.interrupted());
            System.out.println("终止标志位4:"+Thread.interrupted());
            System.out.println("终止标志位4:"+Thread.interrupted());

        });
        t.start();
        Thread.sleep(100);
        //终止线程
        t.interrupt();
        System.out.println("有内鬼终止交易");
        System.out.println("终止标志位3:"+t.isInterrupted());

    }
}

isInterrupted()和interrupted()区别:
1.interrupted()属于静态方法,所有程序都可以直接使用的全局方法;而 isInterrupted()属 于某个实例的方法。
2.interrupted()在使用完之后会重置中断标志符,而 isInterrupted()不会重置中断标志符。
thread收到通知的方法有两种:
1.如果线程因为调用sleep/wait/join等方法而挂起,则以InterruptrdException异常的形式通知,清除中断标志。
· 当出现InterruptrdException异常时,要不要结束线程取决于catch中代码的写法,可以选择忽 略这个异常,也可以跳出循环结束线程。
public class ThreadSleep {
    public static void main(String[] args) throws InterruptedException {
        Thread thread=new Thread(()->{
            try {
                Thread.sleep(60*60*1000);
            } catch (InterruptedException e) {
                System.out.println("我收到终止线程的通知");
//                e.printStackTrace();
            }
        });
        thread.start();
        Thread.sleep(1000);
        System.out.println("终止子线程thread");
        thread.interrupt();

    }
}

2.否则只是内部的一个中断标志被设置,可以通过Thread.interrupted()或者 Thread.currentThread.isInterrupted()来判断。
三、线程等待
有时我们需要等待一个线程执行完之后再进行下一个线程的执行,这是就要用到join()方法来等待线程执行结束 。
| 方法 | 说明 |
| public void join() | 等待线程结束 |
| public void join(long millis) | 等待线程结束,最多等 millis 毫秒 |
| public void join(long millis, int nanos) | 同理,但可以更高精度 |
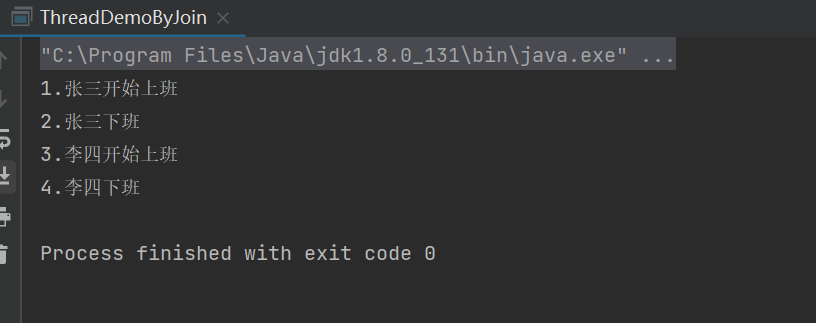
3.1 join()无限等待
import java.time.LocalDateTime;

/**
 * join方法示例
 */
public class ThreadDemoByJoin {
    public static void main(String[] args) throws InterruptedException {
        Thread t=new Thread(()->{
            System.out.println("1.张三开始上班");
            try {
                Thread.sleep(1000);
            } catch (InterruptedException e) {
                e.printStackTrace();
            }
            System.out.println("2.张三下班");
        });
        t.start();

        //等待线程t执行完之后,再执行后面的代码
        t.join();
        Thread t1=new Thread(()->{
            System.out.println("3.李四开始上班");
            try {
                Thread.sleep(1000);
            } catch (InterruptedException e) {
                e.printStackTrace();
            }
            System.out.println("4.李四下班");
        });
        t1.start();
    }
}
3.2 join(long millions)有限等待
当超过join的等待时间时,就不再继续这个线程执行结束,而是继续向下执行下一个线程的任务。
import java.time.LocalDateTime;

/**
 * join方法示例
 */
public class ThreadDemoByJoin {
    public static void main(String[] args) throws InterruptedException {
        Thread t=new Thread(()->{
            System.out.println("1.张三开始上班"+LocalDateTime.now());
            try {
                Thread.sleep(1000);
            } catch (InterruptedException e) {
                e.printStackTrace();
            }
            System.out.println("2.张三下班"+LocalDateTime.now());
        });
        t.start();
        t.join(500);
        Thread t1=new Thread(()->{
            System.out.println("3.李四开始上班"+LocalDateTime.now());
            try {
                Thread.sleep(1000);
            } catch (InterruptedException e) {
                e.printStackTrace();
            }
            System.out.println("4.李四下班"+LocalDateTime.now());
        });
        t1.start();
    }
}

四、线程休眠
线程的休眠有两种方式:
1.使用sleep()进行休眠
2.使用TimeUnit进行休眠
3.使用wait()也可以进行休眠。
wait与sleep的区别:https://blog.csdn.net/weixin_48271092/article/details/124128061
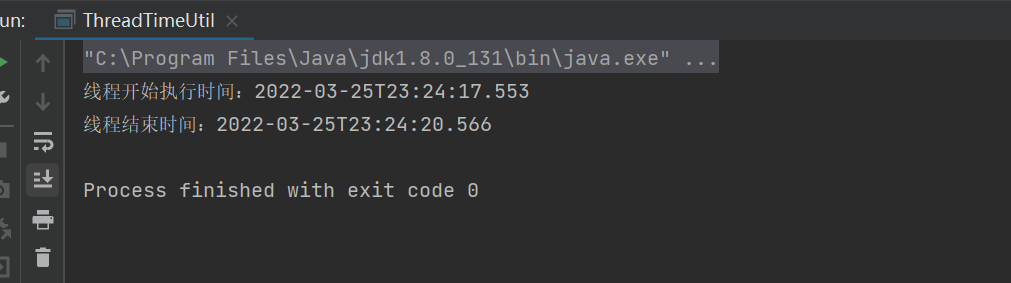
4.1 使用sleep()休眠
| 方法 | 说明 |
| public static void sleep(long millis) throws InterruptedException | 休眠当前线程 millis 毫秒 |
| public static void sleep(long millis, int nanos) throws InterruptedException | 可以更高精度的休眠 |
import java.time.LocalDateTime;


public class ThreadTimeUtil {
    public static void main(String[] args) throws InterruptedException {
        System.out.println("线程开始执行时间:"+LocalDateTime.now());
        Thread.sleep(1000*3);
        System.out.println("线程结束时间:"+LocalDateTime.now());
    }
}
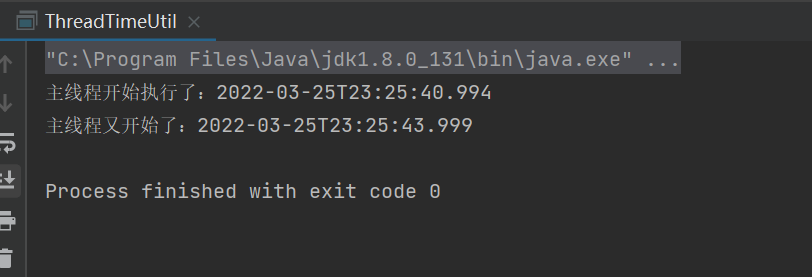
4.2 使用TimeUnit休眠
import java.time.LocalDateTime;
import java.util.concurrent.TimeUnit;

public class ThreadTimeUtil {
    public static void main(String[] args) throws InterruptedException {
        System.out.println("主线程开始执行了:"+ LocalDateTime.now());
        TimeUnit.SECONDS.sleep(3);
        System.out.println("主线程又开始了:"+LocalDateTime.now());
    }
}
五、获取线程实例
| 方法 | 说明 |
| public static Thread currentThread(); | 返回当前线程对象的引⽤ |
public class ThreadDemo {
    public static void main(String[] args) {
         Thread thread=Thread.currentThread();
         System.out.println("线程执行:"+thread.getName());
    }
}

线程的常见几种用法就总结到这里了~


 4352
4352


 被折叠的 条评论
为什么被折叠?
被折叠的 条评论
为什么被折叠?
 到【灌水乐园】发言


