


一、传统步骤
1、添加框架的步骤
(1)添加依赖
(2)添加配置文件
1、新建库建表
2、新建maven项目,选quickstart模板
3、修改目录,添加缺失目录,修改目录属性
4、修改pom.xml文件,添加MyBatis的依赖,添加Mysql的依赖
5、修改pom.xml文件,在<build>添加资源文件指定
<resource>
  <directory>src/main/java</directory>
  <includes>
    <include>**/*.xml</include>
    <include>**/*.properties</include>
  </includes>
</resource>

<resource>
  <directory>src/main/resources</directory>
  <includes>
    <include>**/*.xml</include>
    <include>**/*.properties</include>
  </includes>
</resource>
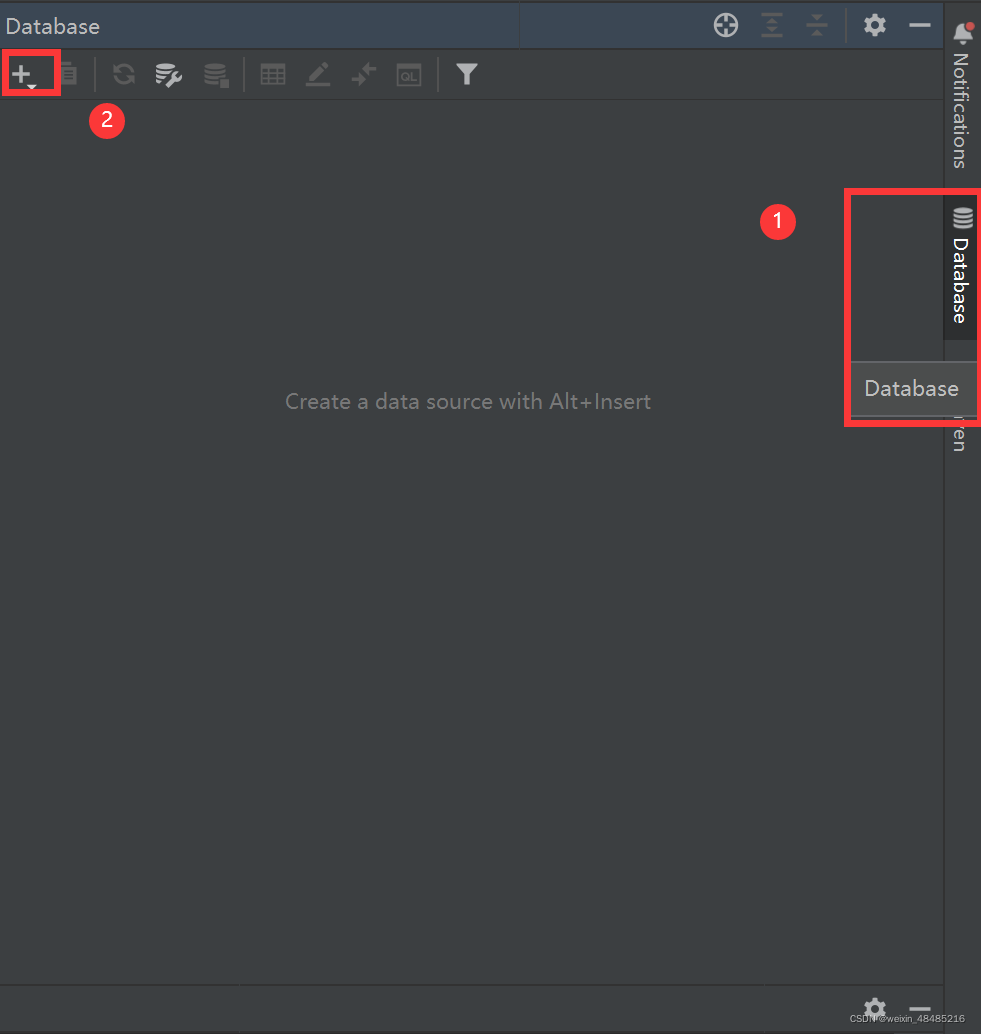
6、在idea中添加数据库的可视化,选择Data source->MySql,输入数据用户名和密码。
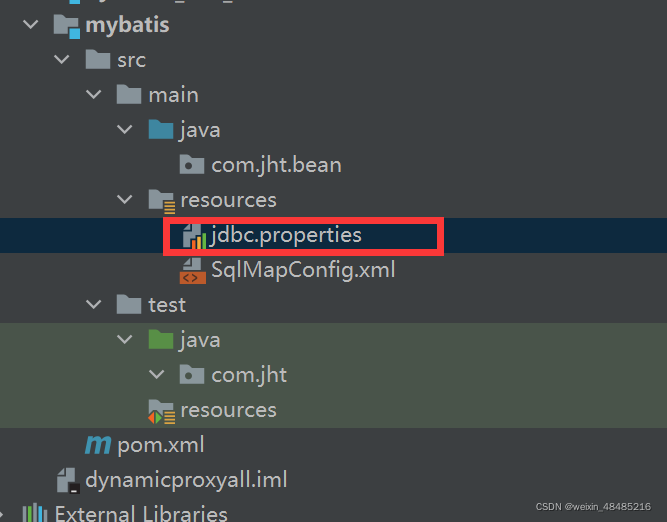
7、添加jdbc.properties属性文件(数据库的配置)
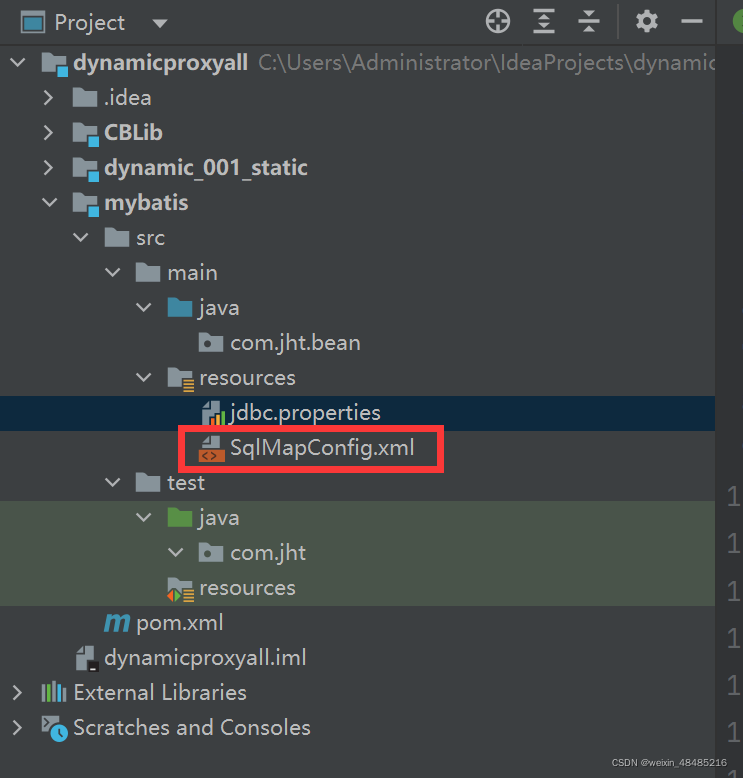
8、添加SqlMapConfig.xml文件(MyBatis的核心配置文件)
<?xml version="1.0" encoding="UTF-8" ?>
<!DOCTYPE configuration PUBLIC "-//mybatis.org//DTD Config 3.0//EN"
        "http://mybatis.org/dtd/mybatis-3-config.dtd">
<configuration>
    <!-- 读取属性文件(jdbc.properties)
        属性:
            resource:从resources目录下找指定名称的文件加载
            url:使用绝对路径加载属性文件
    -->
    <properties resource="jdbc.properties"></properties>
    <!-- 配置数据库的环境变量 -->
    <environments default="development">

        <!-- 开发时在公司使用的数据库配置
            id:提供给environments的default使用
         -->
        <environment id="development">
            <!-- 配置事务管理器
                type:指定事务的管理方式
                    JDBC:事务的控制交给程序员处理
                    MANAGER:由容器(Spring)来管理事务
            -->
            <transactionManager type="JDBC"></transactionManager>
            <!-- 配置数据源
                type:指定不同的配置方式
                    JNDI:java命名目录接口,在服务器端进行数据库连接池的管理
                    POOLED:使用数据库连接池
                    UNPOLLED:不使用数据库连接池
            -->
            <dataSource type="POOLED">
                <!-- 配置数据库连接的基本参数(driver、url、username、password) -->
                <property name="driver" value="${jdbc.driverClassName}"/>
                <property name="url" value="${jdbc.url}"/>
                <property name="username" value="${jdbc.username}"/>
                <property name="password" value="${jdbc.password}"/>
            </dataSource>
        </environment>

        <!-- 在家的数据库配置
        <environment id="development">
            <transactionManager type=""></transactionManager>
            <dataSource type=""></dataSource>
        </environment>-->

        <!-- 上线后的数据库配置
        <environment id="development">
            <transactionManager type=""></transactionManager>
            <dataSource type=""></dataSource>
        </environment>-->
    </environments>
</configuration>
9、创建实体类,用来封装数据
需要提供三个构造方法,一个无参,一个全参,一个不带主键的参数
10、添加完成学生表的增删改查的功能的StudentMapper.xml文件
<?xml version="1.0" encoding="UTF-8" ?>
<!DOCTYPE mapper PUBLIC "-//mybatis.org//DTD Mapper 3.0//EN"
        "http://mybatis.org/dtd/mybatis-3-mapper.dtd">
<!-- mapper:是整个文件的大标签,用来开始和结束xml文件
    属性:
        namespace:指定命名空间(相当于包名),用于区分不同mapper
        .xml文件中相同的id属性
-->
<mapper namespace="jht">
    <!-- 完成查询全部学生的功能
        resultType:指定查询返回结果集的类型,如果是集合,则必须是泛型的类型
        parameterType:如果有参数,则通过它来指定参数的类型
     -->
    <select id="getAll" resultType="com.jht.bean.Student">
        select id,name,email,age
        from student
    </select>

    <!-- 按主键id查询学生信息 -->
    <select id="getById" parameterType="int" resultType="com.jht.bean.Student">
        select id,name,email,age
        from student
        where id=#{id}
    </select>

    <!-- 按学生名称模糊查询
        List<Student> getByName(String name);
     -->
    <select id="getLike" parameterType="string" resultType="com.jht.bean.Student">
        select id,name,email,age
        from student
        where name like '%${name}%'
    </select>

    <!-- 增加学生,values的#{}中的标识,必须是与实体类创建的成员变量名相同 -->
    <insert id="set" parameterType="com.jht.bean.Student">
        insert into student(name, email, age) values(#{name}, #{email}, #{age})
    </insert>

    <!-- 删除学生 -->
    <delete id="delete" parameterType="int">
        delete from student where id = #{id}
    </delete>

    <!-- 更新学生 -->
    <update id="update" parameterType="string">
        update student set age = 30 where name = #{name}
    </update>
</mapper>
11、创建测试类,进行功能测试
(1)查询操作
@Test
    public void testA() throws IOException {
        // 使用文件流读取核心配置文件SqlMapConfig.xml
        InputStream in = Resources.getResourceAsStream("SqlMapConfig.xml");
        // 创建SqlSessionFactory工厂
        SqlSessionFactory factory = new SqlSessionFactoryBuilder().build(in);
        // 取出SqlSession的对象
        SqlSession sqlSession = factory.openSession();
        // 完成查询操作
        List<Student> list = sqlSession.selectList("jht.getAll");
        list.forEach(student -> System.out.println(student));
        // 关闭SqlSession
        sqlSession.close();
    }
(2)增删改操作,基本类似
    @Test
    public void testInsert() throws IOException{
        // 读取核心配置文件
        InputStream in = Resources.getResourceAsStream("SqlMapConfig.xml");
        // 创建SqlSessionFactory对象
        SqlSessionFactory factory = new SqlSessionFactoryBuilder().build(in);
        // 取出SqlSession对象
        SqlSession sqlSession = factory.openSession();
        // 插入
        int count = sqlSession.insert("jht.set", new Student("赵八", "123456@qq.com", 20));
        // 在所有增删改后必须手工提交事务,因为在SqlMapConfig中配置的是<transactionManager type="JDBC"></transactionManager>
        sqlSession.commit();
        // 关闭SqlSession
        sqlSession.close();
    }
二、步骤优化
1、添加@Before和@After注解
在Test程序中添加
(1)@Before
// 在所有@Test方法执行之前先执行的代码
@Before
public void openSqlSession() throws IOException {
    // 使用文件流读取核心配置文件SqlMapConfig.xml
    InputStream in = Resources.getResourceAsStream("SqlMapConfig.xml");
    // 创建SqlSessionFactory工厂
    SqlSessionFactory factory = new SqlSessionFactoryBuilder().build(in);
    // 取出SqlSession的对象
    sqlSession = factory.openSession();
}
(2)@After
// 在所有@Test方法执行之后先执行的代码
@After
public void SessionClose(){
    // 关闭SqlSession
    sqlSession.close();
}
2、注册实体类的别名
在SqlMapConfig.xml中配置
(1)单个实体类别名注册
parameterType和resultType可以使用别名
    <typeAliases>
        <!-- 单个实体类别名注册 -->
        <typeAlias type="com.jht.bean.Student" alias="student"></typeAlias>
    </typeAliases>
(2)批量别名注册
    <typeAliases>
        <!-- 批量注册别名
            别名就是类名的驼峰命名法(规范)
         -->
        <package name="com.jht.bean"/>
    </typeAliases>
3、设置日志输出
(1)在SqlMapConfig.xml中配置
    <!-- 设置日志输出底层执行的代码 -->
    <settings>
        <setting name="logImpl" value="STDOUT_LOGGING"/>
    </settings>


 540
540


 被折叠的 条评论
为什么被折叠?
被折叠的 条评论
为什么被折叠?
 到【灌水乐园】发言


