


- 使用conda创建pytorch环境
conda create -n pytorch1.2.0 python=3.6
其中pytorch1.2.0是要创建的环境名称,可随意设置,python=3.6代表要使用的python版本。示意如下,输入y进行创建。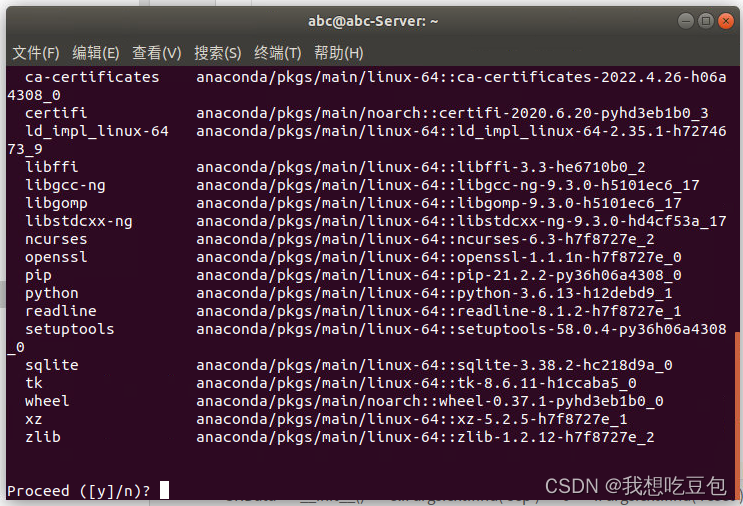
创建完成。

- 激活pytorch环境,进行环境配置。
conda activate pytorch1.2.0
括号内环境变为pytorch代表激活成功。

- 安装pytorch。
进入pytorch官网https://pytorch.org,找到对应版本的pytorch和gpu进行安装。这里选择安装cuda9.2版本。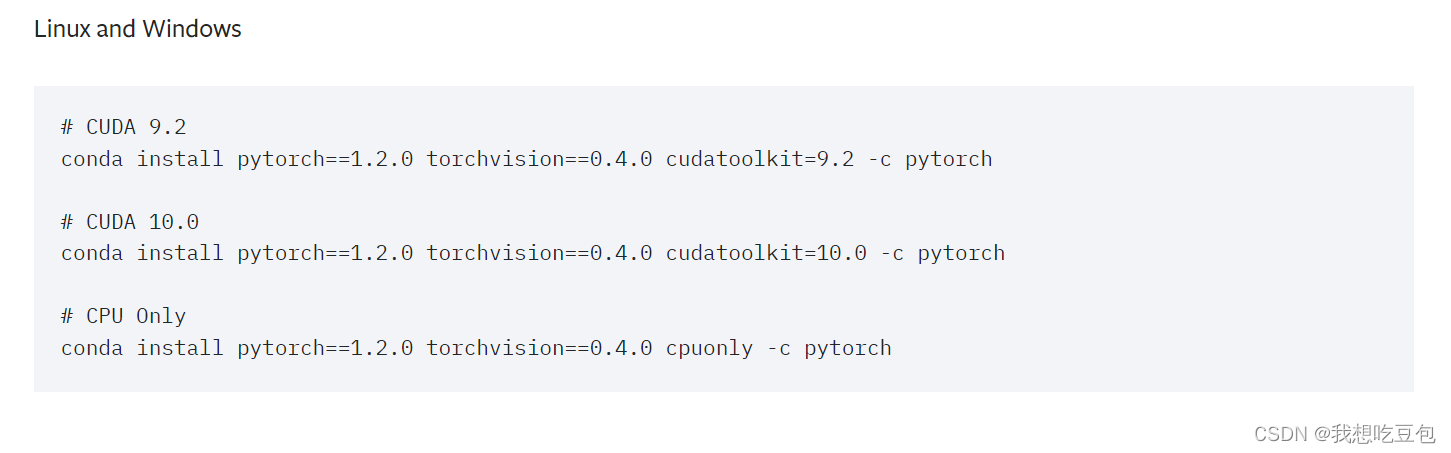
conda install pytorch==1.2.0 torchvision==0.4.0 cudatoolkit=9.2 -c pytorch
如嫌安装速度太慢可用清华镜像源进行安装。
添加清华镜像源。
conda config --add channels https://mirrors.tuna.tsinghua.edu.cn/anaconda/pkgs/free/
conda config --add channels https://mirrors.tuna.tsinghua.edu.cn/anaconda/pkgs/main/
conda config --add channels https://mirrors.tuna.tsinghua.edu.cn/anaconda/cloud/pytorch/
查看添加的镜像源。
conda config --set show_channel_urls yes | cat ~/.condarc
然后再进入pytorch官网找到对应版本进行下载,需去掉指令中的-c pytorch,如下。
conda install pytorch==1.2.0 torchvision==0.4.0 cudatoolkit=9.2
- 安装完成检查是否安装成功。
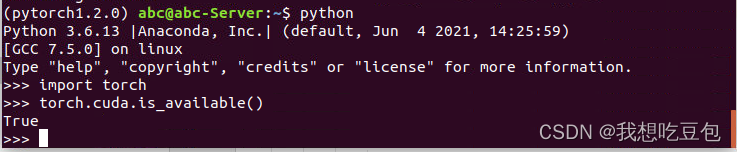
先在环境中输入python,然后输入如下代码。
import torch
显示如下图说明安装成功。

- 检测是否可在GPU进行使用。
torch.cuda.is_available()
出现True说明可以在GPU上使用。
安装完成!
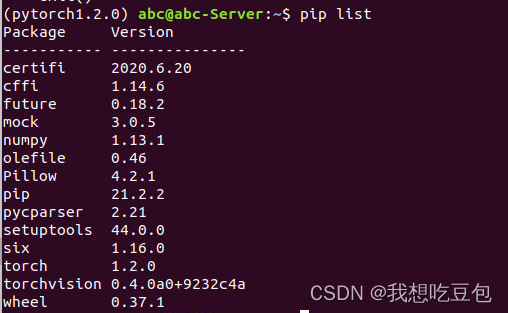
可用pip list指令检查安装的包。
如下载需要的包可用清华源进行加速下载。
pip install XXX -i https://pypi.tuna.tsinghua.edu.cn/simple


 1万+
1万+


 被折叠的 条评论
为什么被折叠?
被折叠的 条评论
为什么被折叠?
 到【灌水乐园】发言


