


目录
1.4 为 Zabbix server/proxy 配置数据库
| IP | 主机 |
| 192.168.136.55 | zabbix监控端/服务端 |
| 192.168.136.56 | zabbix被监控端/客服端 |
一、zabbixx监控端
1.1 安装mysql、php环境
#关闭防火墙以及SELINUX
systemctl disable firewalld
systemctl stop firewalld
sed -i 's/SELINUX=enforcing$/SELINUX=disabled/g' /etc/selinux/config
setenforce 0

设置yum源
yum install epel-release -y
若失败,使用
wget -O /etc/yum.repos.d/epel.repo http://mirrors.aliyun.com/repo/epel-7.repo

设置mysql源
vi /etc/yum.repos.d/mysql.repo
[mysql]
name=mysql5.7
baseurl=https://mirrors.tuna.tsinghua.edu.cn/mysql/yum/mysql-5.7-community-el7-x86_64/
gpgcheck=0

yum -y install httpd php php-mysqlnd php-gd

#安装mysql最好单独yum,有报错信息可以及时查询,且不建议-y
yum install mysql-community-server
1.2 安装zabbinx3.4
当前所有版本
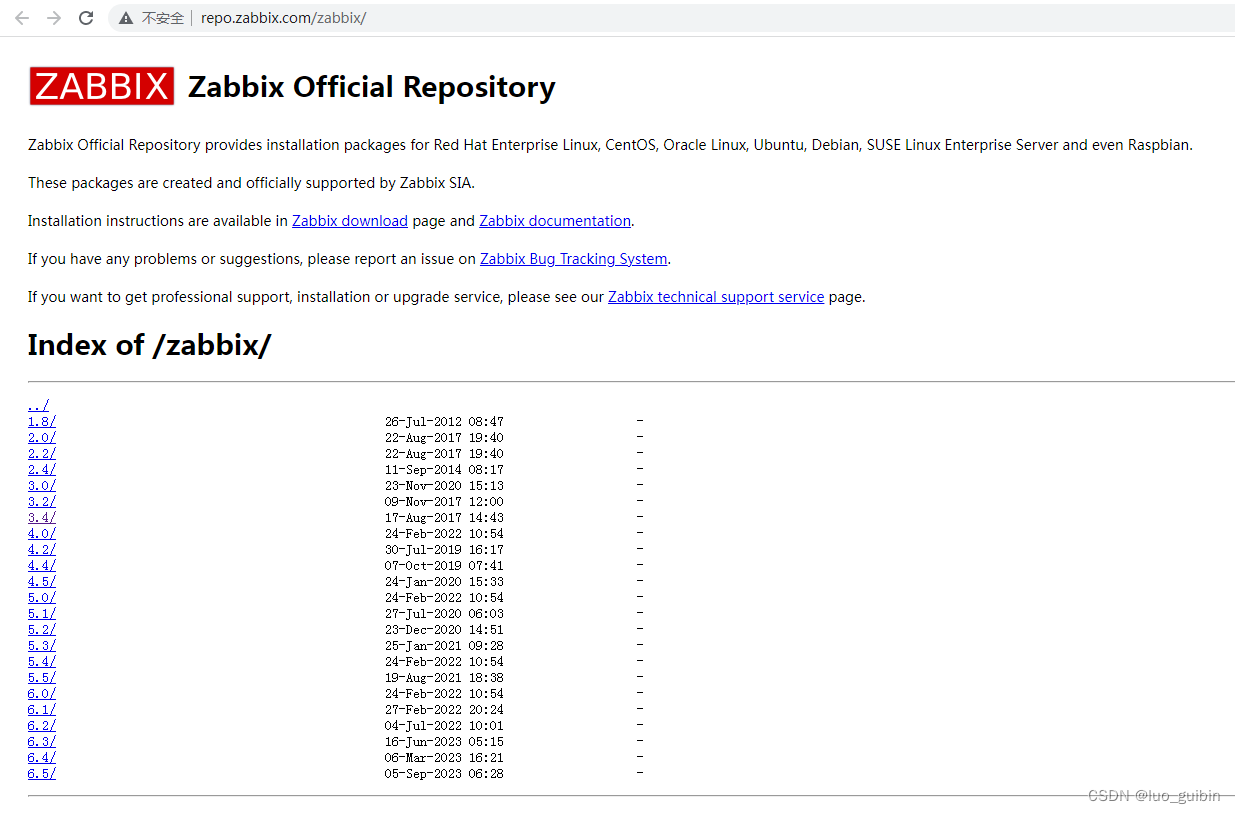
如果源失效了请自行更换,zabbix官方的源比较慢,建议用国内的,更换版本只需要改一下“3.4”的路径,其它不变。
#下载repo文件,这里会比较慢,一分钟左右,不要中断
rpm -Uvh https://repo.zabbix.com/zabbix/4.0/rhel/7/x86_64/zabbix-release-4.0-2.el7.noarch.rpm
#如果太慢或者不成功,使用
rpm -Uvh https://mirrors.aliyun.com/zabbix/zabbix/3.4/rhel/7/x86_64/zabbix-release-3.4-2.el7.noarch.rpm

#注释原生的源,添加阿里云源baseurl属性,需要添加三处,此处可以自定义版本,此处是4.0版本,我改成3.4版本,需要其它版本自行更改版本号即可。
vi /etc/yum.repos.d/zabbix.repo
[zabbix]
name=Zabbix Official Repository - $basearch
#baseurl=http://repo.zabbix.com/zabbix/4.0/rhel/7/$basearch/
baseurl=https://mirrors.aliyun.com/zabbix/zabbix/3.4/rhel/7/$basearch/
enabled=1
gpgcheck=1
gpgkey=file:///etc/pki/rpm-gpg/RPM-GPG-KEY-ZABBIX-A14FE591

yum clean all

#由于缺少iksemel报错,如没有报错请跳过
yum install http://springdale.math.ias.edu/data/puias/unsupported/7/x86_64/iksemel-1.4-6.sdl7.x86_64.rpm

yum install zabbix-server-mysql
yum install zabbix-proxy-mysql
yum install zabbix-web-mysql

查看zabbix版本
zabbix_server -V
1.3 配置数据库
systemctl start mysqld
systemctl enable mysqld

mysql #进入SQL命令行

如果进入失败,则是mysql给了一个初始密码,此处初始密码:D(TGyn9up_xu
grep password /var/log/mysqld.log
2023-04-24T15:27:23.624968Z 1 [Note] A temporary password is generated for root@localhost: D(TGyn9up_xu
2023-04-24T15:28:20.088182Z 2 [Note] Access denied for user 'root'@'localhost' (using password: NO)

更改root初始密码,否则无法操作
set global validate_password_policy=LOW;
ALTER USER USER() IDENTIFIED BY 'zabbix1234';

create database zabbix character set utf8 collate utf8_bin;
create user zabbix@localhost identified by 'zabbix1234';
create user zabbix@'%' identified by 'zabbix1234';
grant all privileges on zabbix.* to zabbix@localhost;
grant all privileges on zabbix.* to zabbix@'%';
quit;

mysql -u zabbix -p'zabbix1234'   测试账户是否创建成功

用zabbix自带的SQL文件导入到数据库
zcat /usr/share/doc/zabbix-server-mysql-3.4.15/create.sql.gz |mysql -uzabbix -p'zabbix1234' zabbix

不同版本zabbix的create.sql.gz路径可能不同,使用find命令查询create.sql.gz位置
find / -name create.sql.gz
进入数据库查看是否导入成功
[root@zabbix-s]# mysql -uzabbix -p'zabbix1234'

mysql> show databases;
+--------------------+
| Database           |
+--------------------+
| information_schema |
| zabbix             |
+--------------------+
2 rows in set (0.00 sec)

mysql> use zabbix
Reading table information for completion of table and column names
You can turn off this feature to get a quicker startup with -A

Database changed
mysql> use zabbix;
Database changed
mysql> show tables;
+----------------------------+
| Tables_in_zabbix           |
+----------------------------+
| acknowledges               |
| actions                    |
| alerts                     |
| application_discovery      |
| application_prototype      |
| application_template       |
...
1.4 为 Zabbix server/proxy 配置数据库
# vi /etc/zabbix/zabbix_server.conf
       DBHost=localhost
       DBName=zabbix
       DBUser=zabbix
       DBPassword=zabbix1234  #与设置的数据库密码一致
1.5 启动 Zabbix server 进程
systemctl start zabbix-server
systemctl enable zabbix-server
systemctl status zabbix-server
1.6 配置php
添加末行同步时间
vi /etc/httpd/conf.d/zabbix.conf

php_value max_execution_time 300
       php_value memory_limit 128M
       php_value post_max_size 16M
       php_value upload_max_filesize 2M
       php_value max_input_time 300
       php_value always_populate_raw_post_data -1
       php_value date.timezone Asia/Shanghai
1.7 安装Zabbix-Agent
yum install -y zabbix-agent
systemctl start zabbix-agent
systemctl status zabbix-agent
systemctl start httpd
systemctl status httpd

systemctl enable zabbix-server zabbix-agent httpd
1.8 访问测试
curl或者浏览器打开,访问成功

二、zabbix-agent被监控端
2.1 安装插件zabbix-agent
#这里会比较慢,一分钟左右,不要中断
rpm -Uvh https://repo.zabbix.com/zabbix/4.0/rhel/7/x86_64/zabbix-release-4.0-2.el7.noarch.rpm
#如果太慢或者不成功,使用
rpm -Uvh https://mirrors.aliyun.com/zabbix/zabbix/3.4/rhel/7/x86_64/zabbix-release-3.4-2.el7.noarch.rpm

#注释原生的源,添加阿里云源baseurl属性,需要添加三处,此处可以自定义版本,此处是4.0版本,我改成3.4版本了
vi /etc/yum.repos.d/zabbix.repo
[zabbix]
name=Zabbix Official Repository - $basearch
#baseurl=http://repo.zabbix.com/zabbix/4.0/rhel/7/$basearch/
baseurl=https://mirrors.aliyun.com/zabbix/zabbix/3.4/rhel/7/$basearch/
enabled=1
gpgcheck=1
gpgkey=file:///etc/pki/rpm-gpg/RPM-GPG-KEY-ZABBIX-A14FE591

yum clean all

#由于缺少iksemel报错,如没有报错请跳过
yum install http://springdale.math.ias.edu/data/puias/unsupported/7/x86_64/iksemel-1.4-6.sdl7.x86_64.rpm

yum install zabbix-agent更改服务端、客户端zabbix_agentd.conf,注意两台服务器都要更改。
vi /etc/zabbix/zabbix_agentd.conf服务端(192.18.136.56)配置文件
Server=127.0.0.1
ServerActive=127.0.0.1
Hostname=Zabbix server
客户端(192.168.136.55)配置文件
Server=192.168.136.55
ServerActive=192.168.136.55
Hostname=192.168.136.56
2.2 测试是否监控到被控端
zabbix-get可以用来测试连接
服务端重启zabbix
systemctl restart zabbix-server
systemctl enable zabbix-server

服务端安装zabbix-get
yum install -y zabbix-get.x86_64
服务端测试连接,报错说明agent.conf配置错误,请仔细检查zabbix_agentd.conf
获取目标主机的cpu数量
[root@zabbix-s ~]# zabbix_get -s 192.168.136.56 -k system.cpu.num
1
查看进程
[root@zabbix-c ~]# ps -aux|grep agent
zabbix     1008  0.0  0.0  80856  1232 ?        S    00:56   0:00 /usr/sbin/zabbix_agentd -c /etc/zabbix/zabbix_agentd.conf
zabbix     1009  0.0  0.0  80856  1384 ?        S    00:56   0:08 /usr/sbin/zabbix_agentd: collector [idle 1 sec]
zabbix     1010  0.0  0.1  80856  2240 ?        S    00:56   0:03 /usr/sbin/zabbix_agentd: listener #1 [waiting for connection]
zabbix     1011  0.0  0.1  80856  2200 ?        S    00:56   0:00 /usr/sbin/zabbix_agentd: listener #2 [waiting for connection]
zabbix     1012  0.0  0.1  80856  2200 ?        S    00:56   0:00 /usr/sbin/zabbix_agentd: listener #3 [waiting for connection]
zabbix     1013  0.0  0.1  80988  2232 ?        R    00:56   0:02 /usr/sbin/zabbix_agentd: active checks #1 [idle 1 sec]
root       1683  0.0  0.0 112808   964 pts/0    R+   06:55   0:00 grep --color=auto agent
三、zabbix终端初始化
web终端:192.168.136.55/zabbix/setup.php
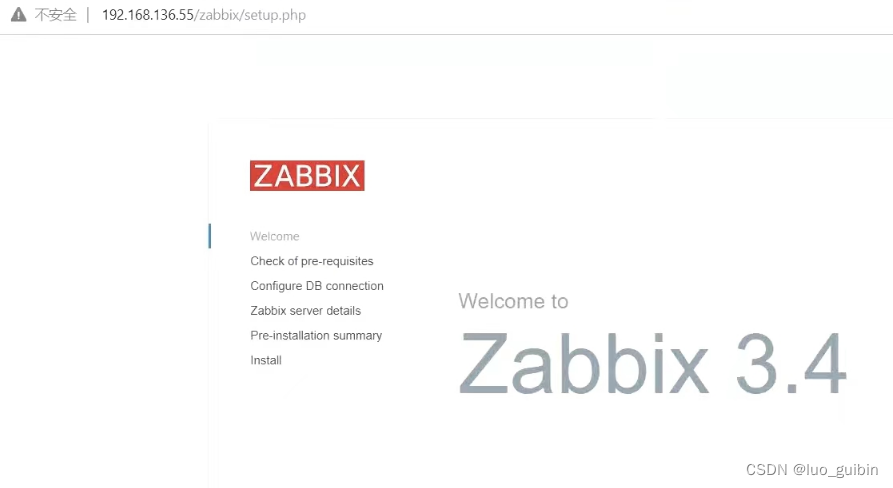
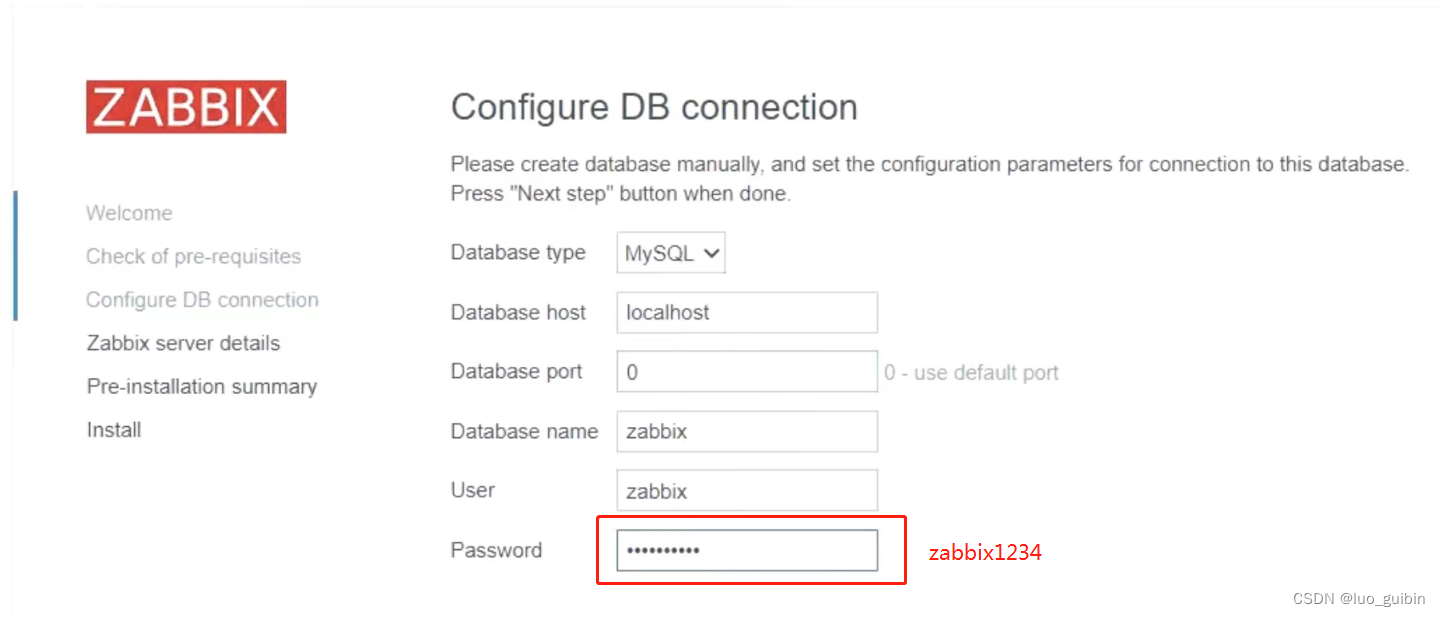
端口不用改,会自动帮你选3306
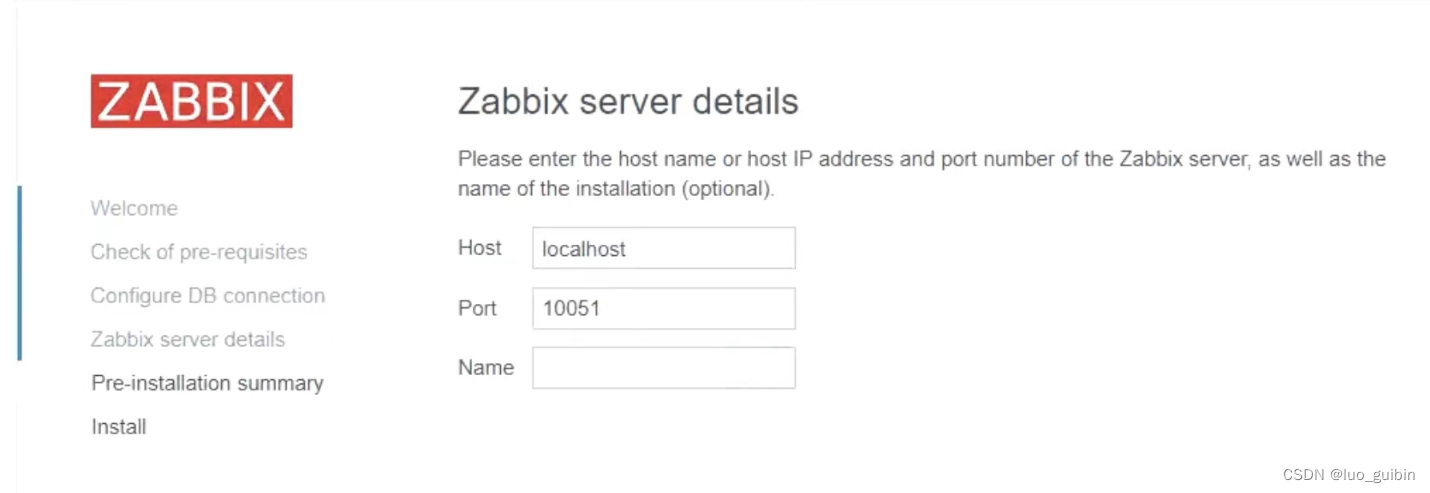
此步骤忽略,直接next
数据库密码是先前设置的“zabbix1234”

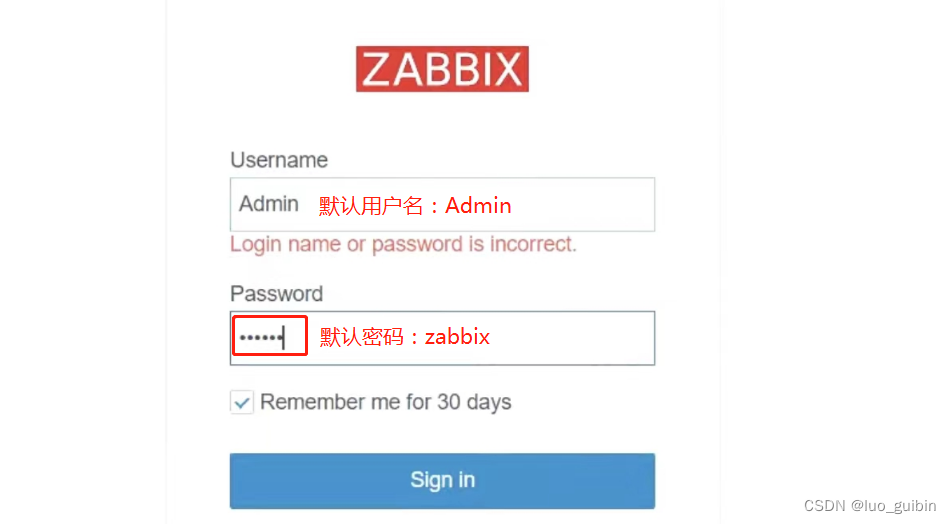
登录,默认用户名Admin,默认密码zabbix
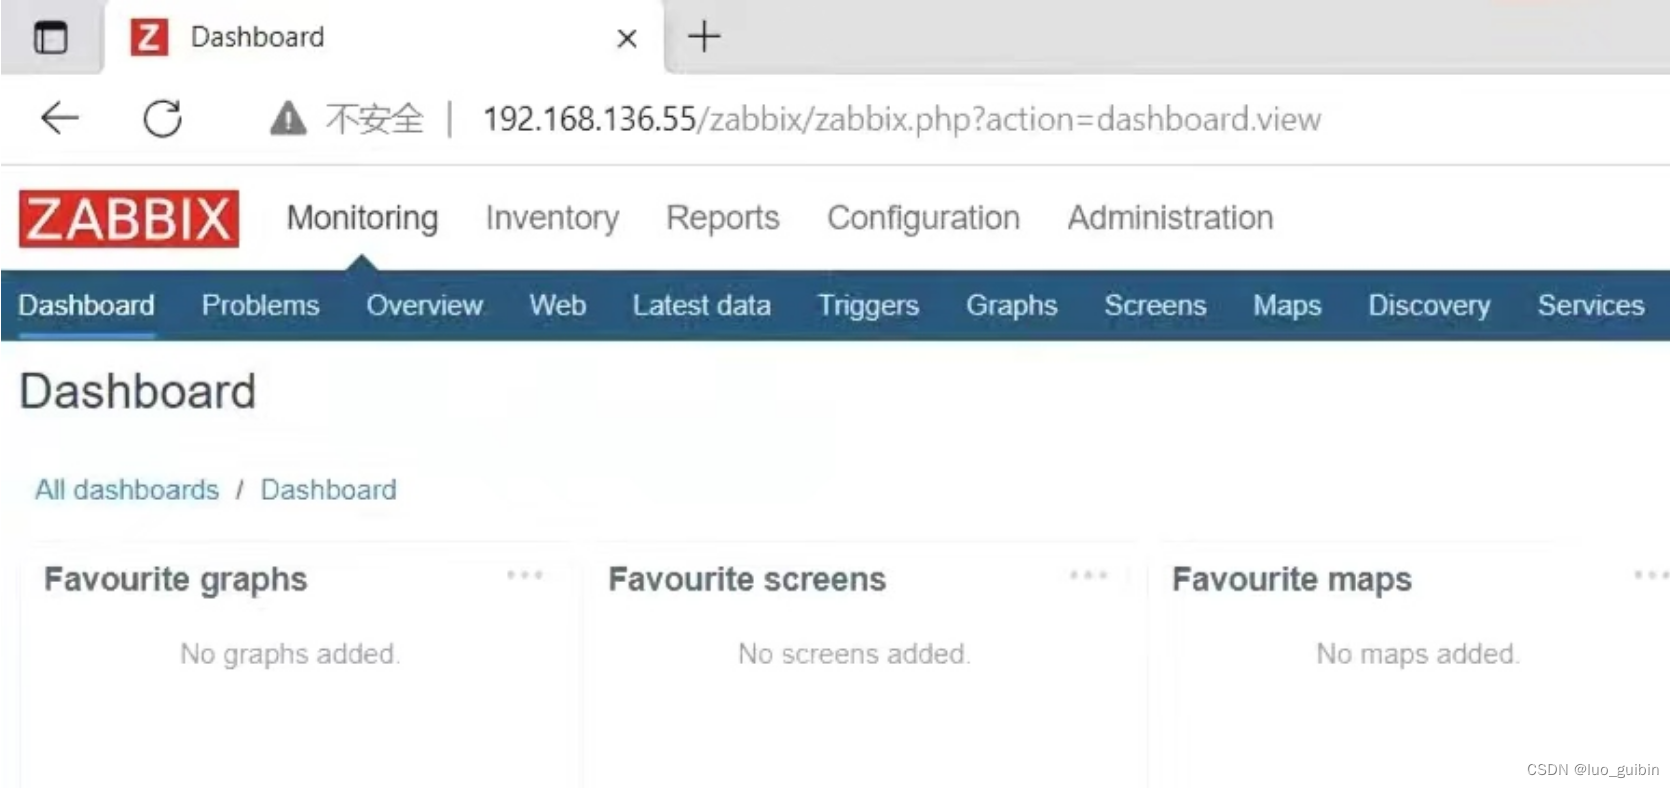
进入主页
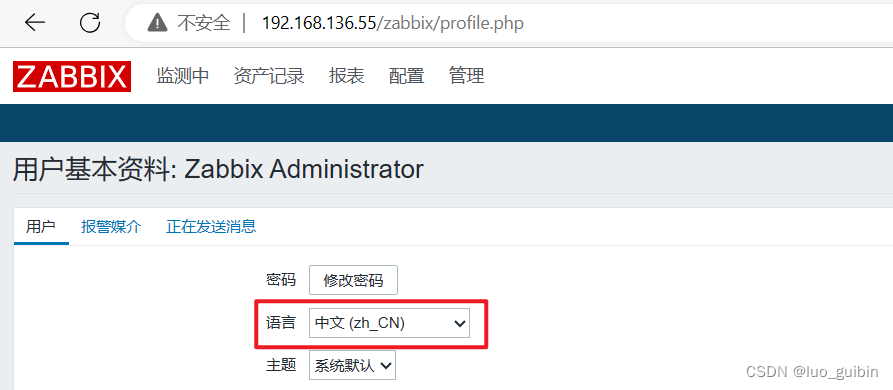
在右上角的设置中可更改语言
参考文档:


 1327
1327


 被折叠的 条评论
为什么被折叠?
被折叠的 条评论
为什么被折叠?
 到【灌水乐园】发言


