


我使用的HCL版本是2.1.1
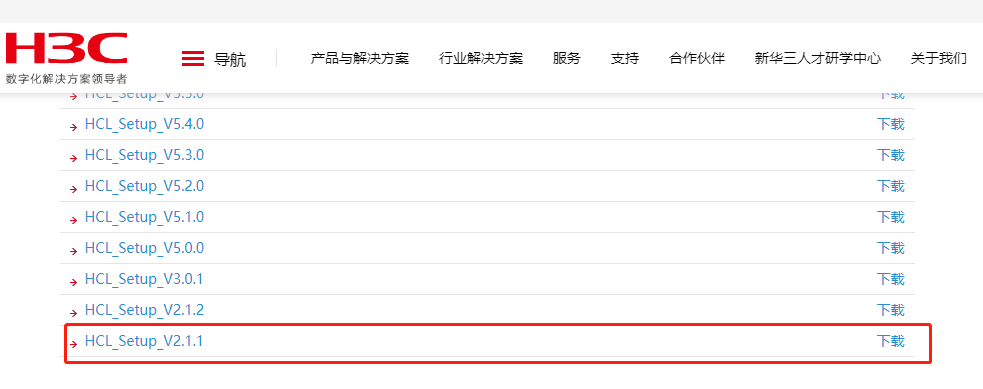
官网下载连接:https://www.h3c.com/cn/Service/Document_Software/Software_Download/Other_Product/H3C_Cloud_Lab/Catalog/HCL/,一键直达下载官网
这个版本可以适配virtualbox的5.2.44的版本,同时支持华为的ensp模拟器和新华三的HCL模拟器
那么如何将HCL的模拟器连接到crt上呢?
首先,我们打开HCL模拟器,随便拖出两个设备
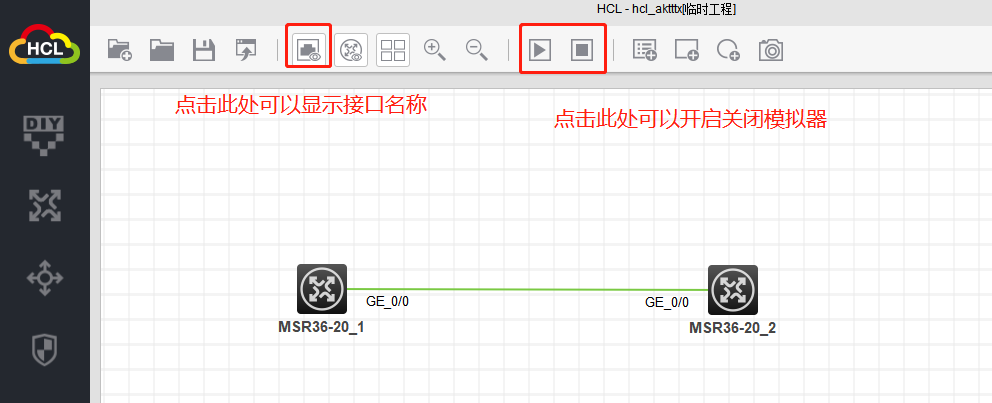
注意刚开始要将模拟器里的设备处于关闭的状态
然后打开virtualbox
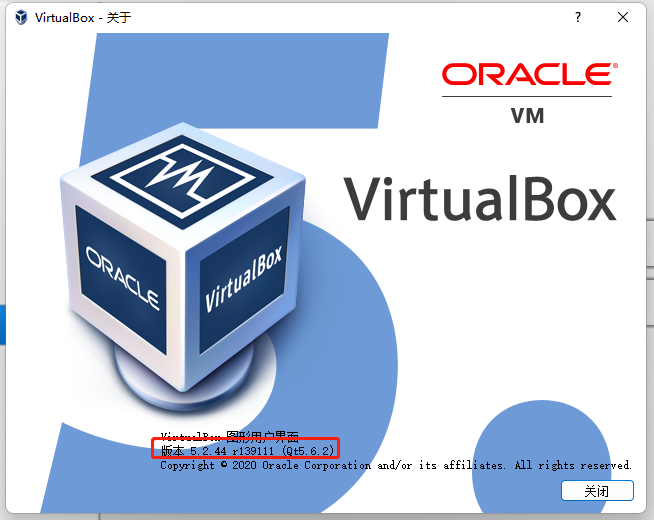
若提示更新,一定不要更新,直接忽略即可
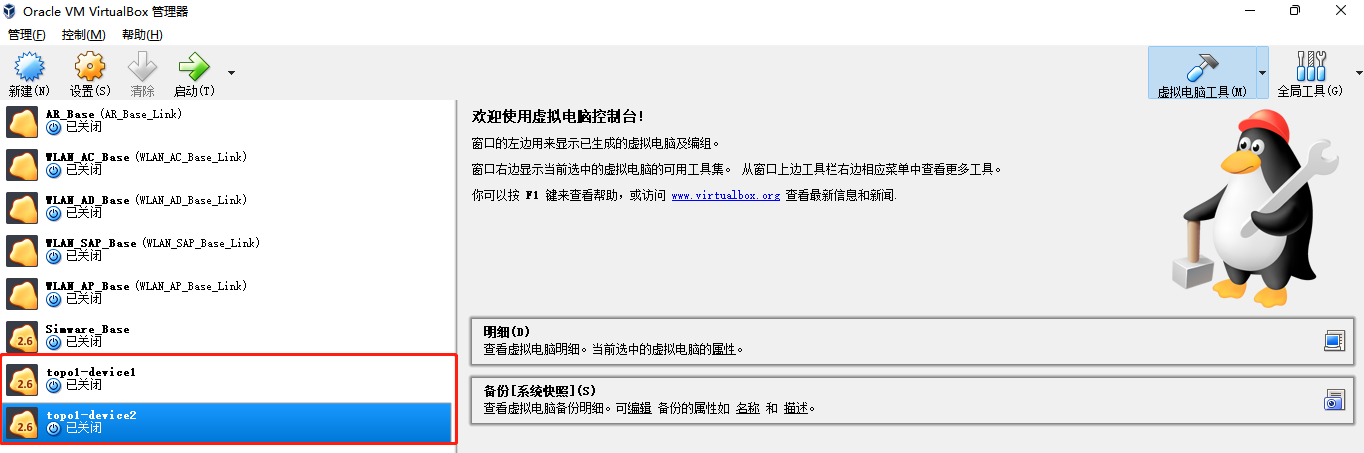
此处的两个设备就是我们刚才放在模拟器中的两个设备了
我们点击设置
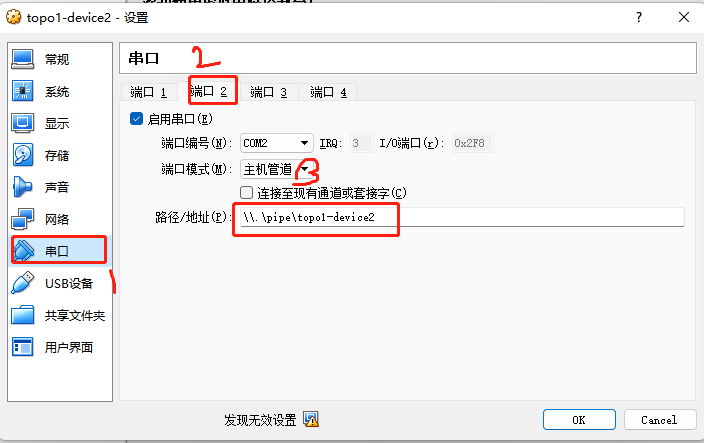
选择串口-端口2-复制这里的路径地址
打开crt
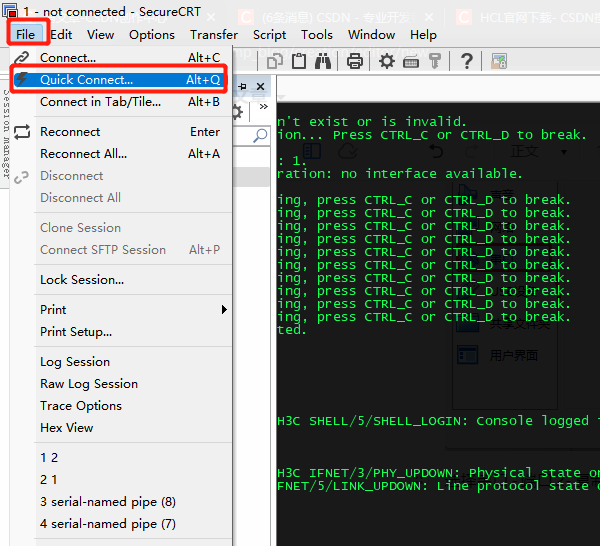
点击File-Quick Connect

Protocol选择:serial
port选择Named pipe
Name of pipe:粘贴刚才复制的内容
而后点击Connect即可
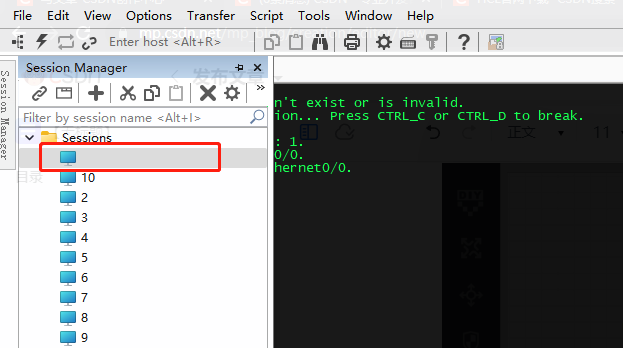
可一下设置10个设备,在模拟器中是根据你拖放的前后自动排序的
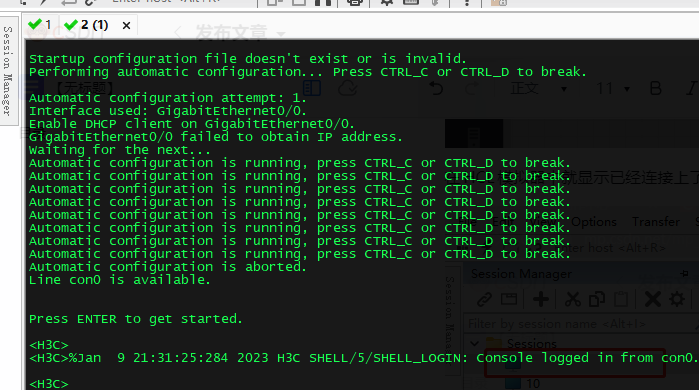
而后回到HCL模拟器的界面,开启设备

在HCL模拟器中就显示已经连接上了
刚开始没反应可以双击设备
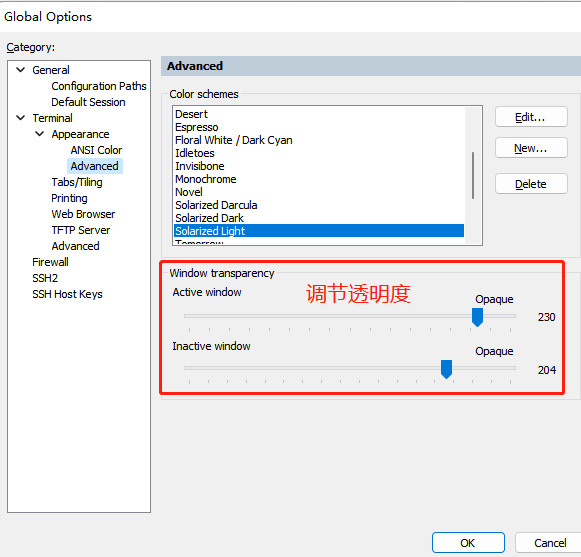
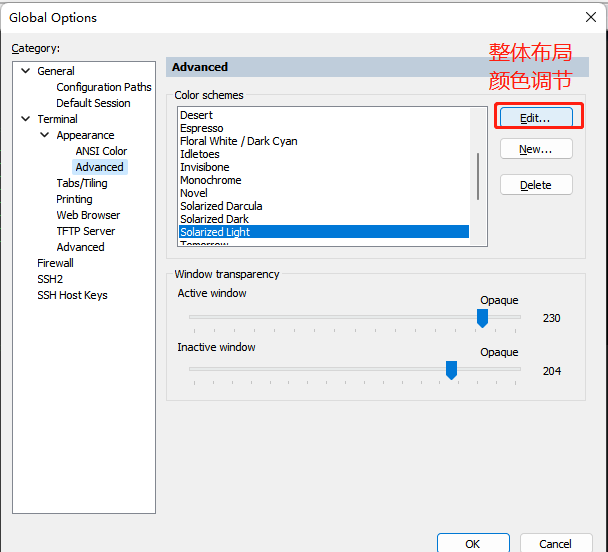
设置HCL界面颜色
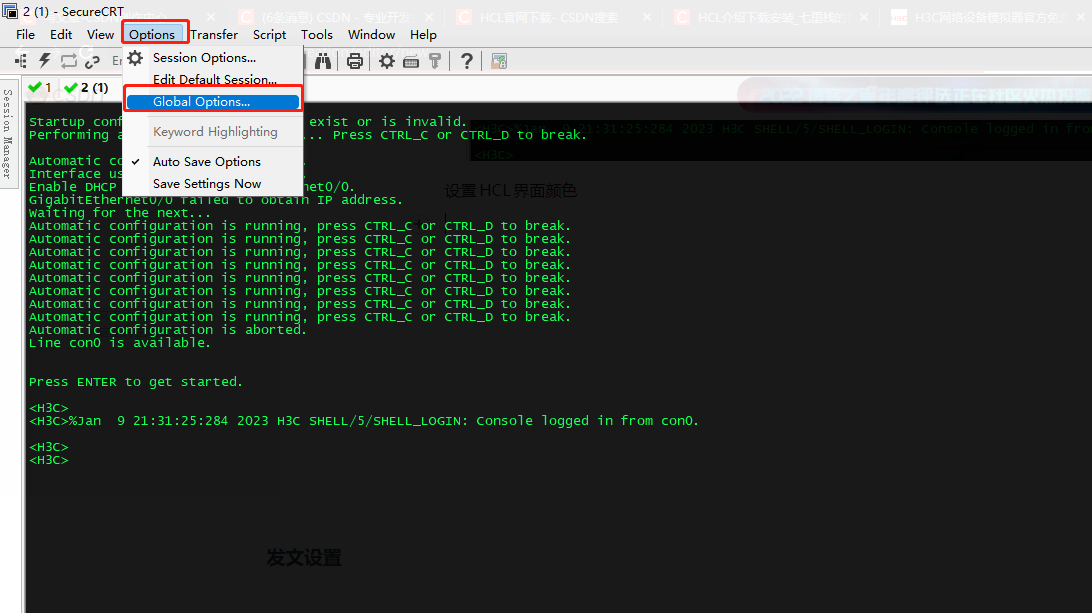
选择Option-Global options


 5695
5695


 被折叠的 条评论
为什么被折叠?
被折叠的 条评论
为什么被折叠?
 到【灌水乐园】发言


