


目录
一、相关概念
1、网关概念
Gateway是在spring生态系统之上构建的API网关服务,网关是外网进入内网的入口,对内网服务起保护作用。
2、网关作用
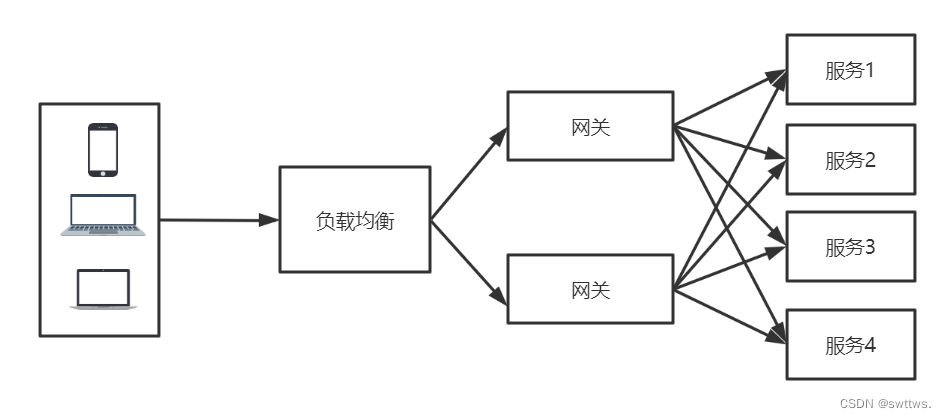
(1)反向代理:为保护内网服务的安全,通常不会暴露内网服务ip,而是通过暴露网关ip,通过网关ip代理内网服务ip。
(2)流量控制:当系统处于高峰期时,为防止系统应访问量过大而崩溃,网关可以限制访问数量。
(3)熔断:当系统中的服务出现故障,网关可以将服务降级,有请求访问时,直接访问事先准备好的降级方法,等到服务修复后,用户即可继续访问;
(4)负载均衡:可以按照不同负载均衡策略,将请求分发到不同服务上。
3、网关架构图
4、网关三大核心
(1)路由:路由是构建网关的基本模块,它由Id,目标url,一系列断言和过滤器组成,如果断言为true,则可以匹配该路由。
(2)断言:指定路径url,只有请求路径与这个指定的url匹配,才可以进行路由。
(3)过滤器:使用过滤器,可以在请求被路由前或者之后对请求进行修改。
二、案例
1、案例说明
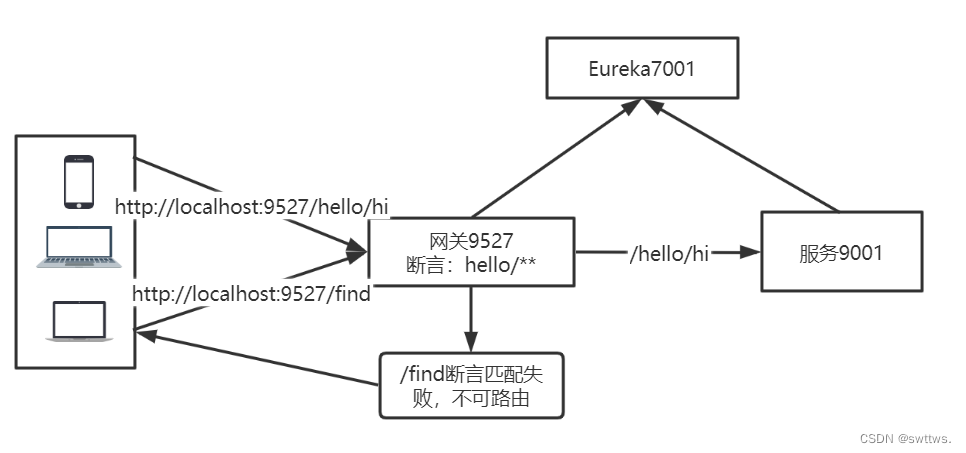
(1)一个Gateway网关9527,一个服务提供者9001,一个注册中心Eureka7001;
(2)网关设置断言url为:hello/**,即请求url只有为hello开头才可以进行访问;
(3)客户端请求访问网关IP,访问到服务提供者9001。
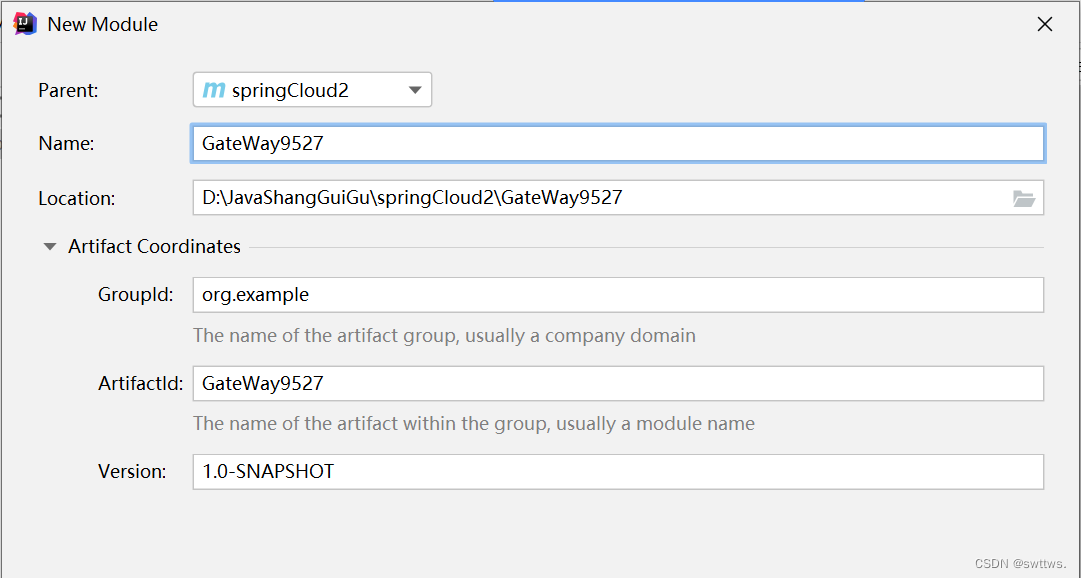
2、搭建GateWay网关9527服务
(1)创建maven工程
(2)导入依赖
导入网关、熔断器,Eureka依赖
    <dependencies>
        <dependency>
            <groupId>org.springframework.cloud</groupId>
            <artifactId>spring-cloud-starter-gateway</artifactId>
        </dependency>
        <dependency>
            <groupId>org.springframework.cloud</groupId>
            <artifactId>spring-cloud-starter-netflix-hystrix</artifactId>
        </dependency>
        <dependency>
            <groupId>org.springframework.cloud</groupId>
            <artifactId>spring-cloud-starter-netflix-eureka-client</artifactId>
        </dependency>
    </dependencies>
(3)配置application.yml文件
①配置网关端口号为9527;
②配置网关断言,只有请求url为/hello开头的请求才可以访问,断言id必须唯一,url为提供服务的路由地址
③配置Eureka注册中心
server:
  port: 9527
spring:
  application:
    name: gate9527
  cloud:
    gateway:
      routes:
        - id: provider9001 #路由的ID,没有固定规则但要求唯一,建议配合服务名
          uri: http://localhost:9001   #匹配后提供服务的路由地址
          predicates:
            - Path=/hello/**   #断言,路径相匹配的进行路由

eureka:
  instance:
    hostname: cloud-gate9527
  client:
    register-with-eureka: true
    fetch-registry: true
    service-url:
      defaultZone: http://localhost:7001/eureka
(4)创建主启动类
开启注册中心客户端
@SpringBootApplication
@EnableEurekaClient
public class GateWay9527{
public static void main(String[] args) {
SpringApplication.run(GateWay9527.class,args);
}
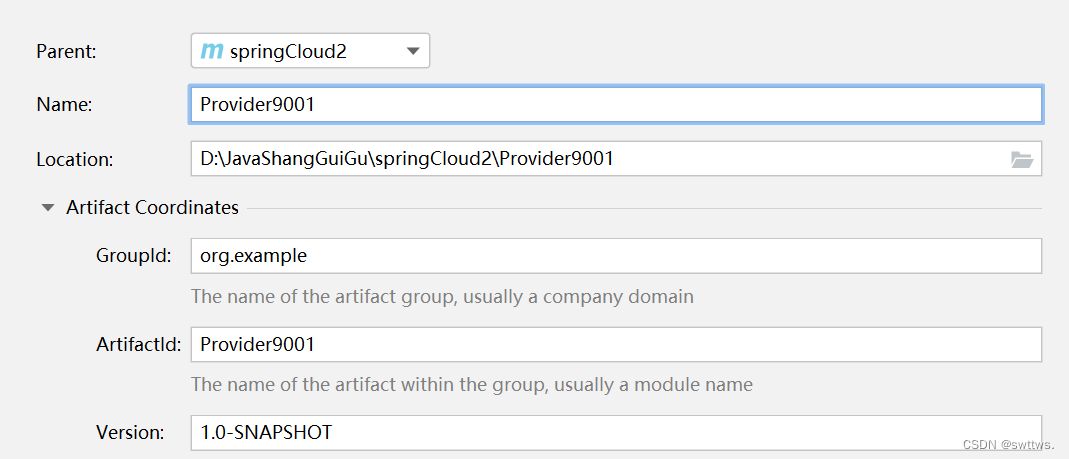
}3、搭建服务提供者Provider9001
(1)创建maven工程
(2)导入依赖
导入eureka、web、服务监控依赖
    <dependencies>
        <dependency>
            <groupId>org.springframework.cloud</groupId>
            <artifactId>spring-cloud-starter-netflix-eureka-client</artifactId>
        </dependency>
        <dependency>
            <groupId>org.springframework.boot</groupId>
            <artifactId>spring-boot-starter-web</artifactId>
        </dependency>
        <dependency>
            <groupId>org.springframework.boot</groupId>
            <artifactId>spring-boot-starter-actuator</artifactId>
        </dependency>
    </dependencies>
(3)配置application.yml文件
①配置端口号为9001;
②配置服务注册中心地址。
server:
  port: 9001

spring:
  application:
    name: Provider9001

eureka:
  client:
    register-with-eureka: true
    fetchRegistry: true
    service-url:
      defaultZone: http://localhost:7001/eureka
(4)创建主启动类
开启Eureka注册中心
@SpringBootApplication
@EnableEurekaClient
public class Provider9001 {
    public static void main(String[] args) {
        SpringApplication.run(Provider9001.class,args);
    }
}
(5)创建controller
创建测试请求,/hello/hi和/find
@RestController
public class HelloController {

    @RequestMapping("/hello/hi")
    public String hello(){
        return "路由/hello/hi";
    }

    @RequestMapping("/find")
    public String find(){
        return "路由/find";
    }
}
4、搭建Eureka7001
(1)创建maven工程
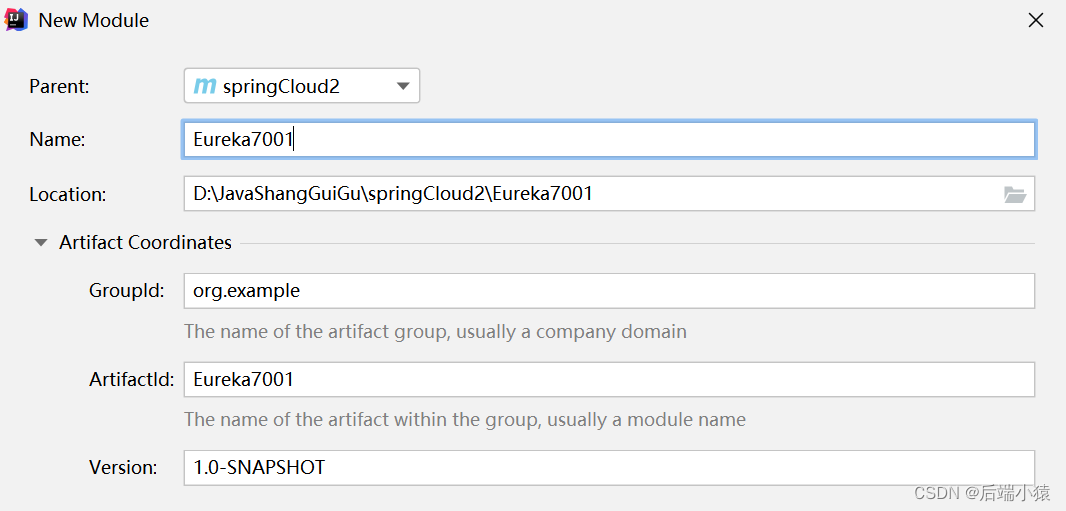
(2)导入依赖
导入Eureka服务端、web模块依赖
    <dependencies>
        <dependency>
            <groupId>org.springframework.cloud</groupId>
            <artifactId>spring-cloud-starter-netflix-eureka-server</artifactId>
        </dependency>
        <dependency>
            <groupId>org.springframework.boot</groupId>
            <artifactId>spring-boot-starter-web</artifactId>
        </dependency>
        <dependency>
            <groupId>org.springframework.boot</groupId>
            <artifactId>spring-boot-starter-actuator</artifactId>
        </dependency>
    </dependencies>
(3)配置application.yml
①服务端口为7001;
②Eureka服务端主机名;
③Eureka客户端:
register-with-eureka:是否在服务中心注册
fetchRegistry:是否可以在注册中心被发现
service-url:服务中心url地址
server:
  port: 7001

eureka:
  instance:
    hostname: localhost

  client:
    register-with-eureka: false
    fetchRegistry: false
    service-url:
      defaultZone: http://localhost:7001/eureka
(4)创建主启动类
@EnableEurekaServer:Eureka服务端注解
@SpringBootApplication
@EnableEurekaServer
public class Eureka7001 {
public static void main(String[] args) {
SpringApplication.run(Eureka7001.class,args);
}
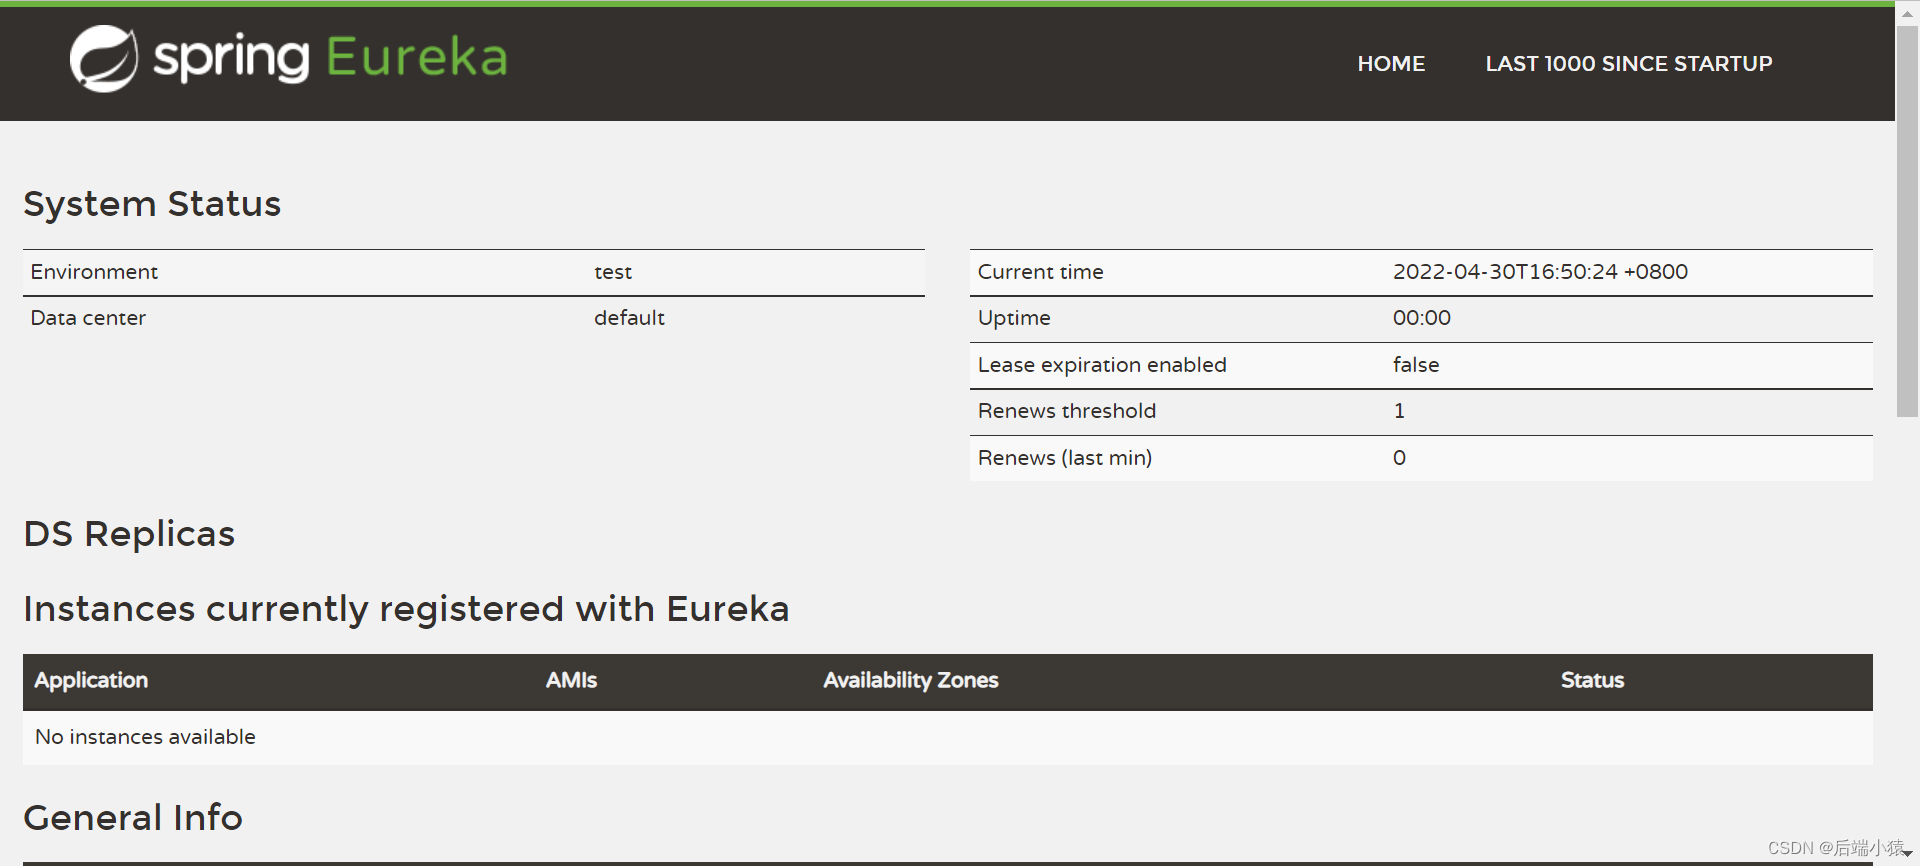
}(5)启动Eureka注册中心
访问http://localhost:7001
5、测试
(1)依次启动Eureka7001,Provider9001,GateWay9527
(2)访问:http://localhost:9527/hello/hi
(3)访问:http://localhost:9527/find

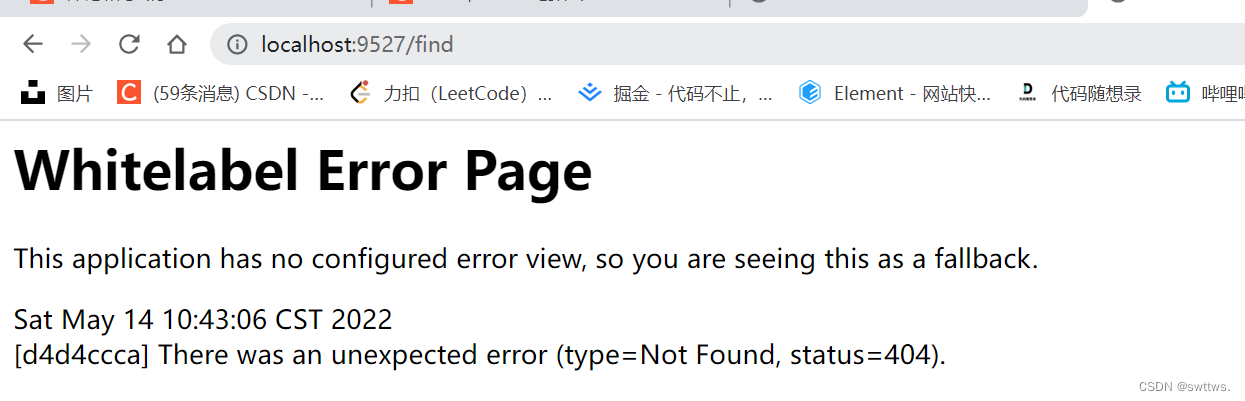
路由/hello/hi可以正常访问,而路由/find无法访问,测试成功。
三、欢迎回访我的springCloud专栏
https://blog.csdn.net/weixin_50616848/category_11793085.html


 454
454


 被折叠的 条评论
为什么被折叠?
被折叠的 条评论
为什么被折叠?
 到【灌水乐园】发言


