


上次说了RestTemplate的基本用法,包括简单的GET和POST请求,但都是普通类型的字段。这次说说参数是文件类型的POST请求发送方法。
1. 服务端
首先写一个接收文件的服务端,这里选用Flask:
import base64
from flask import request, jsonify
from flask import Flask
import os, time

app=Flask(__name__)
#app.config["JSON_AS_ASCII"] = False # jsonify返回的中文正常显示

# 定义路由
@app.route("/upload", methods=['POST'])
def get_frame():
    # 接收图片
    upload_file = request.files['file']
    print("666", upload_file)
    # 获取图片名
    #file_name = upload_file.filename
    #用时间命名文件
    uuid_str = time.strftime("%Y-%m-%d-%H_%M_%S",time.localtime())
    file_name ='%s.png' % uuid_str
    print(file_name)
    # 文件保存目录(保存到静态访问)
    file_path=r'/home/baihui/StudyProject/pythonDemo/demo01/pic_output'
    if upload_file:
        # 地址拼接
        file_paths = os.path.join(file_path, file_name)
        print(file_paths)
        # 保存接收的图片到pic_output文件夹
        upload_file.save(file_paths)
        print("上传成功")
        # 返回文件名
        return jsonify({"code": 200, "file_name": f"{file_name}", "msg": "上传成功!"})
    else:
        return jsonify({"code": 400, "msg": "您上传的文件为空!请重新上传!"})

if __name__ == "__main__":
    app.run(host='0.0.0.0',port=5055,debug=True)
2. 客户端
接下来用Spring Boot写客户端,上传一张图片。
- ResTemplateConfig配置类:
package org.jacob.config;

import org.springframework.context.annotation.Bean;
import org.springframework.context.annotation.Configuration;
import org.springframework.http.client.ClientHttpRequestFactory;
import org.springframework.http.client.SimpleClientHttpRequestFactory;
import org.springframework.web.client.RestTemplate;

@Configuration
public class ResTemplateConfig {
    @Bean
    public RestTemplate restTemplate(ClientHttpRequestFactory factory) {
        return new RestTemplate(factory);
    }

    @Bean
    public ClientHttpRequestFactory simpleClientHttpRequestFactory() {
        SimpleClientHttpRequestFactory factory = new SimpleClientHttpRequestFactory();
        //        超时设置
        factory.setReadTimeout(5000);//ms
        factory.setConnectTimeout(15000);//ms
        return factory;
    }
}
- UploadTest测试类:
package org.jacob.mapper;

import org.junit.Test;
import org.junit.runner.RunWith;
import org.springframework.beans.factory.annotation.Autowired;
import org.springframework.boot.test.context.SpringBootTest;
import org.springframework.core.io.FileSystemResource;
import org.springframework.http.HttpEntity;
import org.springframework.http.HttpHeaders;
import org.springframework.http.MediaType;
import org.springframework.test.context.junit4.SpringRunner;
import org.springframework.util.LinkedMultiValueMap;
import org.springframework.util.MultiValueMap;
import org.springframework.web.client.RestTemplate;

@RunWith(SpringRunner.class)
@SpringBootTest
public class UploadTest {
    @Autowired
    public RestTemplate restTemplate;

    @Test
    public void UploadTest01() {
        //文件地址和请求url
        String filePath = "D:\\WorkProject\\static\\MyPic\\215成员\\";
        String fileName = "201902010223.png";
        String url = "http://localhost:5055/upload";

        //构造请求头
        HttpHeaders headers = new HttpHeaders();
        MediaType type = MediaType.parseMediaType("multipart/form-data");
        headers.setContentType(type);

        //FileSystemResource将文件变成流以发送
        FileSystemResource fileSystemResource = new FileSystemResource(filePath+"/"+fileName);

        //构造请求体,使用LinkedMultiValueMap
        MultiValueMap<String, Object> resultMap = new LinkedMultiValueMap<>();
        resultMap.add("file", fileSystemResource);
        resultMap.add("filename", fileName);

        //HttpEntity封装整个请求报文
        HttpEntity<MultiValueMap<String, Object>> httpEntity = new HttpEntity<>(resultMap, headers);

        //postForObject发送请求体
        String result = restTemplate.postForObject(url, httpEntity, String.class);
        System.out.println("result = " + result);
    }
}
3. 运行结果
客户端打印如下:

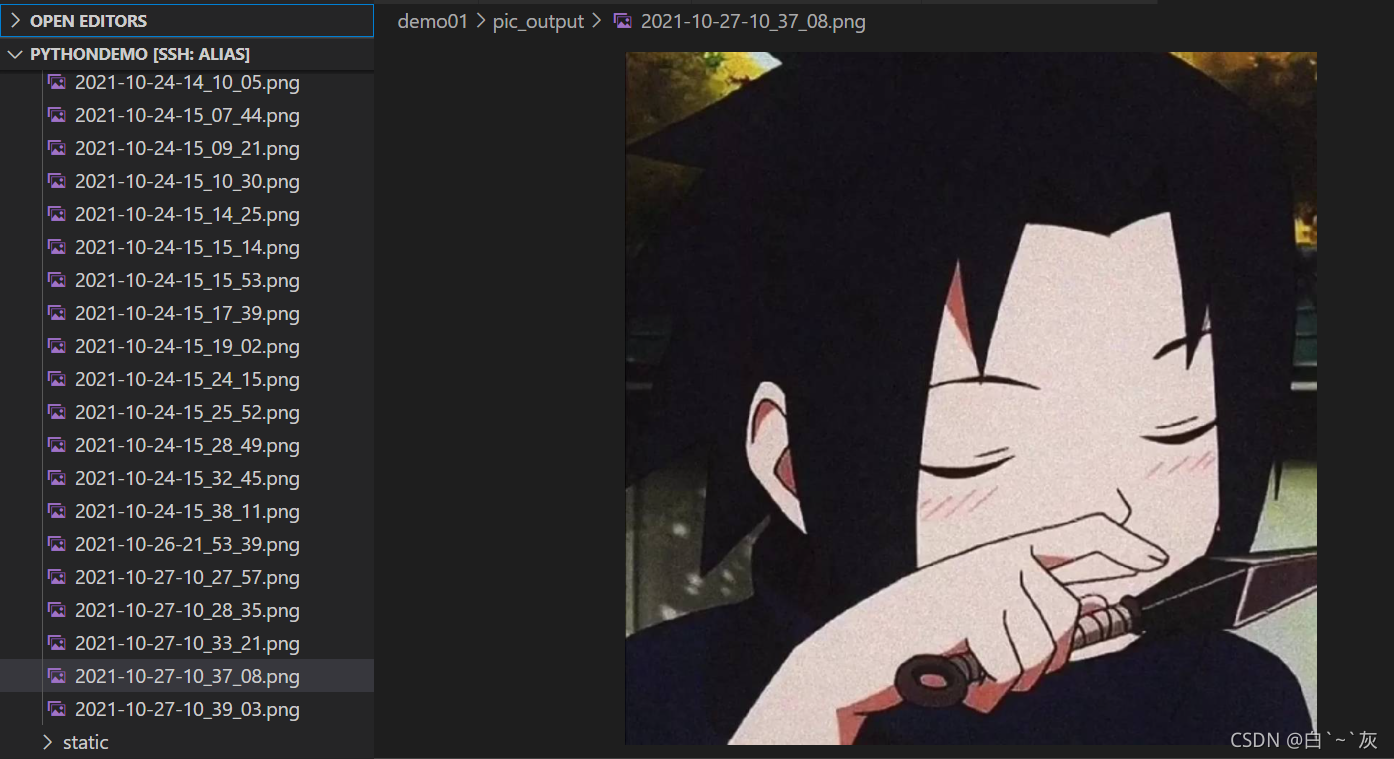
服务端收到图片:


 1万+
1万+


 被折叠的 条评论
为什么被折叠?
被折叠的 条评论
为什么被折叠?
 到【灌水乐园】发言


