


最近做项目遇见数据集背景非常单一,为了增加模型的返回能里,只能自己做一些数据增强来增加背景的多样性。代码如下:
线程数没必要太大,太大反而会因为线程的切换频繁导致速度变慢。
进程数可以根据自己的设备设置,数据量超多的时候进程数设置的越多处理的越快。
20240320-v1.1
使用多进程调用多线程的方式处理数据,速度飞快。
# -*- coding: UTF-8 -*-
"""
@Project :yolov5_relu_fire_smoke_v1.3
@IDE     :PyCharm
@Author  :
@Date    :2024/2/29 17:31

因为数据集中背景太单一了,为了提高数据的泛化能里,使用别的图片来提高数据的泛化能力
"""
import os
import random
import multiprocessing
from concurrent import futures
from copy import deepcopy

import cv2
import numpy as np
import xml.etree.ElementTree as ET
import xml.dom.minidom as minidom


def decodeVocAnnotation(voc_xml_path, class_index_dict):
    """
    voc数据集格式的文件解析,将一个文件解析成一个list,
    使用空格间隔不同对象
    注意:返回的类别不是整型,而是字符串的类别名称
    注意判断返回值是否为 空,如果是空说明没有目标,是一张背景图
    :param voc_xml_path: xml路径
    :param class_index_dict: 类别字典
    :return: [(cls_index, x1, y1, x2, y2), ...]
    """
    assert voc_xml_path.endswith(".xml"), "voc_xml_path must endswith .xml"

    xml_file = open(voc_xml_path, 'r', encoding='utf-8')
    # 打开xml文件,并返回根节点
    root = ET.ElementTree().parse(xml_file)

    # 定义一个列表,专门保存目标
    information = []

    # 查找root节点下所有目标信息
    for obj in root.iter('object'):
        # 目标的名称
        name = obj.find('name').text
        # 目标的bbox坐标,一般voc是保存的corner格式的bbox
        box = obj.find('bndbox')
        xmin = box.find('xmin').text
        ymin = box.find('ymin').text
        xmax = box.find('xmax').text
        ymax = box.find('ymax').text

        # 添加一个目标的信息
        # NOTE:返回值的list
        information.append((class_index_dict[name], int(xmin), int(ymin), int(xmax), int(ymax)))

    xml_file.close()
    return information


def create_voc_xml(image_folder, image_filename, width: int, height: int, labels,
                   save_root, class_name_dict, conf_thresh_dict=None):
    """

    :param image_folder: 图片的相对路径
    :param image_filename: 000001.jpg
    :param width: 图片宽
    :param height: 图片高
    :param labels: 目标框:[[class_index, xmin, ymin, xmax, ymax], ...]
    :param save_root: 保存xml的根目录
    :param class_name_dict: cls_index:cls_name,根据index获取正确的类别name
    :param conf_thresh_dict: cls_index:conf_thresh,根据不同类别设置的阈值获取对应的目标,如果设置为None,则表示保存的txt没有置信度
    :return:
    """
    # 创建 XML 文件的根元素
    root = ET.Element("annotation")

    # 添加图片信息
    folder = ET.SubElement(root, "folder")
    folder.text = str(image_folder)
    # 图片名字
    filename = ET.SubElement(root, "filename")
    filename.text = os.path.join(image_filename)
    # 图片大小
    size = ET.SubElement(root, "size")
    width_element = ET.SubElement(size, "width")
    width_element.text = str(width)
    height_element = ET.SubElement(size, "height")
    height_element.text = str(height)
    depth = ET.SubElement(size, "depth")  # 通道数
    depth.text = "3"

    # 添加目标框信息
    for label in labels:
        # 如果该参数设置为None,表示保存的txt没有None
        if conf_thresh_dict is None:
            # 保证这几项是整数
            class_index, x1, y1, x2, y2 = label.astype(dtype=np.int32)
        else:
            class_index, x1, y1, x2, y2, conf = label
            # 保证这几项是整数
            class_index, x1, y1, x2, y2 = np.array([class_index, x1, y1, x2, y2], dtype=np.int32)

            # 根据置信度过滤是否保存项
            if conf < conf_thresh_dict[class_index]:
                continue

        obj = ET.SubElement(root, "object")

        name = ET.SubElement(obj, "name")
        name.text = class_name_dict[int(class_index)]

        pose = ET.SubElement(obj, "pose")
        pose.text = "Unspecified"

        truncated = ET.SubElement(obj, "truncated")
        truncated.text = "0"

        difficult = ET.SubElement(obj, "difficult")
        difficult.text = "0"

        bndbox = ET.SubElement(obj, "bndbox")
        xmin = ET.SubElement(bndbox, "xmin")
        xmin.text = str(x1)

        ymin = ET.SubElement(bndbox, "ymin")
        ymin.text = str(y1)

        xmax = ET.SubElement(bndbox, "xmax")
        xmax.text = str(x2)

        ymax = ET.SubElement(bndbox, "ymax")
        ymax.text = str(y2)

    # 创建 XML 文件并保存
    xml_str = ET.tostring(root, encoding="utf-8")
    xml_str = minidom.parseString(xml_str)
    # 设置缩进为4个空格,xml可读性提高
    pretty_xml = xml_str.toprettyxml(indent=" " * 4)

    save_path = os.path.join(save_root, f"{os.path.splitext(image_filename)[0]}.xml")
    os.makedirs((os.path.dirname(save_path)), exist_ok=True)
    with open(save_path, "w") as xmlFile:
        xmlFile.write(pretty_xml)


def create_mask(box, height, width):
    """
    创建一个全零的掩码图像,目标区域是255(白色),北京是0(黑色)
    :param box: 坐标框
    :param height: 图片高
    :param width: 图片宽
    :return:
    """
    mask = np.zeros((height, width), dtype=np.uint8)

    # 在掩码图像上标记目标位置
    for b in box:
        x_min, y_min, x_max, y_max = b

		# 防止超出图片区域
        if x_min < 0:
            x_min = 0
        elif x_min > width:
            x_min = width

        if x_max > width:
            x_max = width
        elif x_max < 0:
            x_max = 0

        if y_min < 0:
            y_min = 0
        elif y_min > height:
            y_min = height

        if y_max > height:
            y_max = height
        elif y_max < 0:
            y_max = 0

        mask[y_min:y_max, x_min:x_max] = 255

    return mask


def blend_images_with_mask(src_image, background_image, mask, alpha=0.3, beta=0.7):
    """

    :param src_image:
    :param background_image:
    :param mask:
    :param alpha: src_image权重
    :param beta: background_image权重
    :return:
    """
    # 根据mask将目标从其中抠出来,除了目标区域其余都是0
    obj_masked = cv2.bitwise_or(src_image, src_image, mask=mask)
    # 根据mask将image1和image2中目标位置删除置为0(目标区域是黑色)
    image1_masked = cv2.bitwise_and(src_image, src_image, mask=cv2.bitwise_not(mask))
    image2_masked = cv2.bitwise_and(background_image, background_image, mask=cv2.bitwise_not(mask))

    # image1和image2融合
    blended = cv2.addWeighted(image1_masked, alpha, image2_masked, beta, 0)

    # 将目标放回融合后图像对应位置
    result = cv2.bitwise_or(blended, obj_masked)

    return result


def run(image_path: str, image_file: str, background_path: str,
        image_root: str, xml_root: str, save_img_root: str, save_xml_root: str,
        class_index_dict, class_name_dict):
    try:
        file_name, suffix = os.path.splitext(image_file)
        # 原图对应的xml文件路径
        xml_path = image_path.replace(image_root, xml_root).replace(suffix, ".xml")

        # 保存图片的路径,与原图文件名区别就是在文件名的开始添加了一个aug
        save_img_path = image_path.replace(image_root, save_img_root).replace(file_name, f"aug_{file_name}")
        # 保存xml的路径
        save_xml_path = xml_path.replace(xml_root, save_xml_root).replace(file_name, f"aug_{file_name}")

        # 读原图
        src_image = cv2.imread(image_path)
        if src_image is None:
            print(f"\n{save_img_path} is None")
            return

        # 原图的宽高
        img_h, img_w = src_image.shape[:2]
        # 读背景图
        background_image = cv2.imread(background_path)
        if background_image is None:
            print(f"\n{background_path} is None")
            return

        # 保证背景和原图shape一致
        background_image = cv2.resize(background_image, (img_w, img_h))

        # 读xml: [(cls_id, x1, y1, x2, y2), ...]
        labels = decodeVocAnnotation(xml_path, class_index_dict)
                if len(labels) == 0:
            print(f"\n{image_path} no label")
            # os.remove(image_path)
            # os.remove(xml_path)
            return

        # list转成np矩阵,并包拯矩阵是二维矩阵
        labels = np.array(labels)
        if labels.ndim < 2:
            labels = np.array([labels])

        # 只取出所有的目标的box
        roi_box = labels[..., 1:].copy()
        # TODO:对roi_box向外扩
        # box的宽高
        w = labels[..., 3] - labels[..., 1]
        h = labels[..., 4] - labels[..., 2]
        roi_box[..., 0] = labels[..., 1] - w  # left
        roi_box[..., 1] = labels[..., 2] - h  # top
        roi_box[..., 2] = labels[..., 3] + w  # right
        roi_box[..., 3] = labels[..., 4] + h  # bottom
        # 添加限制将roi区域限制在图片内
        roi_box[..., 0] = np.clip(roi_box[..., 0], a_min=0, a_max=img_w)  # left
        roi_box[..., 1] = np.clip(roi_box[..., 1], a_min=0, a_max=img_h)  # top
        roi_box[..., 2] = np.clip(roi_box[..., 2], a_min=0, a_max=img_w)  # right
        roi_box[..., 3] = np.clip(roi_box[..., 3], a_min=0, a_max=img_h)  # bottom

        mask = create_mask(roi_box, width=img_w, height=img_h)

        # 随机生成原图所占的比例
        alpha = random.uniform(0.6, 0.9)
        beta = 1. - alpha
        dst_img = blend_images_with_mask(src_image, background_image, mask, alpha=alpha, beta=beta)

        # 开始保存
        os.makedirs(os.path.dirname(save_img_path), exist_ok=True)
        cv2.imwrite(save_img_path, dst_img)

        create_voc_xml(image_folder=image_path.replace(image_root + os.sep, ""),
                       image_filename=os.path.basename(save_img_path),
                       width=img_w,
                       height=img_h,
                       labels=labels,
                       save_root=os.path.dirname(save_xml_path),
                       class_name_dict=class_name_dict)
        print(f"\r{save_img_path}", end='')

    except Exception as e:
        print(f"\n{image_path}  {e}")


def run_process(root_file_list, image_root, xml_root, save_img_root, save_xml_root,
                class_index_dict, class_name_dict):
    # 使用线程池控制程序执行
    with futures.ThreadPoolExecutor(max_workers=5) as executor:
        for image_path, file, background_path in root_file_list:
            # 向线程池中提交任务,向线程池中提交任务的时候是一个一个提交的
            executor.submit(run,
                            *(image_path, file, background_path,
                              image_root, xml_root, save_img_root, save_xml_root,
                              class_index_dict, class_name_dict))


if __name__ == '__main__':
    # 进行数据增强,数据目录的结构是
    # data_root
    #   |----annotations : xml文件
    #   |----images : 图片
    #   |----labels : 训练yolo使用的txt文件
    data_root = r"E:\CodeFiles\pycharm\YOLO\yolov5\my_test\data"
    background_root = r"E:\Datasets\indoor\indoorCVPR_09\Images\airport_inside"  # 背景图根目录,随便啥目录结构都行

    data_root = os.path.abspath(data_root)
    background_root = os.path.abspath(background_root)

    # 数据的原图根目录
    image_root = os.path.join(data_root, "images")
    # xml标注文件根目录
    xml_root = os.path.join(data_root, "annotations")
    # 保存根目录
    save_img_root = os.path.join(image_root, "aug-merge")
    save_xml_root = os.path.join(xml_root, "aug-merge")

    # 指定要做数据增强的目录
    walk_dir = os.path.join(image_root, "candle_fire")

    class_index_dict = {
        "fire": 0,
        "smoke": 1,
    }

    class_name_dict = {
        0: "fire",
        1: "smoke",
    }

    # 背景图片统计
    background_path_list = list()
    for root, _, files in os.walk(background_root):
        for file in files:
            _, suffix = os.path.splitext(file)

            if suffix.lower() not in (".jpg", ".jpeg", ".bmp", ".png"):
                continue
            background_path_list.append(os.path.join(root, file))

    print(f"background images:{len(background_path_list)}")

    # NOTE:多线程/多进程 程序不好调试,将线程池/进程池 中的数量改为1,可以调试程序
    max_workers = 6  # 线程/进程 数
    print(f"max_workers:{max_workers}")

    # 一个进程处理多少图片
    max_file_num = 2000
    # 保存root和file的list
    root_file_list = list()

    # 创建进程池,根据自己的设备自行调整,别太多,否则会变慢
    pool = multiprocessing.Pool(processes=max_workers)
    for root, _, files in os.walk(walk_dir):
        for file in files:
            file_name, suffix = os.path.splitext(file)

            if suffix.lower() not in (".jpg", ".jpeg", ".bmp", ".png"):
                continue

            # 图片路径
            image_path = os.path.join(root, file)
            # 背景路径
            background_path = random.choice(background_path_list)

            root_file_list.append((image_path, file, background_path))
            if len(root_file_list) > max_file_num:
                pool.apply_async(run_process,
                                 (deepcopy(root_file_list),
                                  image_root, xml_root, save_img_root, save_xml_root,
                                  class_index_dict, class_name_dict))
                # 清除列表中的存储
                root_file_list.clear()
    else:
        # for循环正常结束的话,如果剩下的文件数量不足max_file_num,上面不会启动新的进程,
        # 所以为了防止丢掉信息,在for循环正常结束之后,丢掉信息,就将root_file_list中的信息处理掉
        # 启动一个进程,开始处理当前list中的信息
        pool.apply_async(run_process,
                         (deepcopy(root_file_list),
                          image_root, xml_root, save_img_root, save_xml_root,
                          class_index_dict, class_name_dict))
        # 清除列表中的存储
        root_file_list.clear()

    # 关闭进程池
    pool.close()
    # 等待所有子进程执行结束
    pool.join()

    print("\nFinish ...")
20240317-v1.0
import numpy as np
import cv2


def create_mask(box, height, width):
    """
    创建一个全零的掩码图像,目标区域是255(白色),北京是0(黑色)
    :param box: 坐标框
    :param height: 图片高
    :param width: 图片宽
    :return:
    """
    mask = np.zeros((height, width), dtype=np.uint8)

    # 在掩码图像上绘制矩形
    for b in box:
        x_min, y_min, x_max, y_max = b
        mask[y_min:y_max, x_min:x_max] = 255

    return mask


def blend_images_with_mask(image1, image2, mask, alpha=0.3, beta=0.7):
    """

    :param image1:
    :param image2:
    :param mask:
    :param alpha:
    :param beta:
    :return:
    """
    # 根据mask将目标从其中抠出来,除了目标区域其余都是0
    obj_masked = cv2.bitwise_or(image1, image1, mask=mask)
    # 根据mask将image1和image2中目标位置删除置为0(目标区域是黑色)
    image1_masked = cv2.bitwise_and(image1, image1, mask=cv2.bitwise_not(mask))
    image2_masked = cv2.bitwise_and(image2, image2, mask=cv2.bitwise_not(mask))

    # image1和image2融合
    blended = cv2.addWeighted(image1_masked, alpha, image2_masked, beta, 0)

    # 将目标放回融合后图像对应位置
    result = cv2.bitwise_or(blended, obj_masked)

    return result


if __name__ == '__main__':
    # 示例用法
    image1 = cv2.imread('image1.jpg')  # 原图
    image2 = cv2.imread('image2.jpg')  # 背景图
    # 保证两张图shape一致,这里只是粗暴的直接resize成了一样尺寸,
    # TODO:后续可以实现使用等比例缩放,多余区域填灰条的方式resize
    image2 = cv2.resize(image2, image1.shape[:2][::-1], )

    # 假设box是一个形状为 (N, 4) 的 numpy 数组,每行代表一个目标的坐标 [x_min, y_min, x_max, y_max]
    # TODO:这里的数据是直接复制过来的,可以改为从文件中读取
    box = np.array([[958, 302, 1046, 416],
                    [871, 316, 975, 464],
                    [1626, 445, 1676, 551],
                    ])  # 两个目标的坐标

    # TODO:添加代码将image1原图整图移动,保证目标不总是出现在同一个位置

    # 向外扩展一些,多保留一些原图背景,不会显得太突兀
    # TODO:后续改成随机向外扩展,实现完整代码,包括外扩后边界检查
    roi_box = box + np.array([-50, -50, 50, 50])

    # 获取图像宽高
    img_h, img_w = image1.shape[:2]
    # 创建mask掩码
    mask = create_mask(roi_box, img_h, img_w)

    # 设置融合比例
    # TODO:设置成随机
    alpha = 0.2  # image1 的比例
    beta = 0.8  # image2 的比例

    # 进行图像融合
    result = blend_images_with_mask(image1, image2, mask, alpha, beta)

    cv2.namedWindow('Blended Image', 0)
    cv2.resizeWindow('Blended Image', 1920 // 2, 1080 // 2)
    # 显示结果
    cv2.imshow('Blended Image', result)
    cv2.waitKey(0)
    cv2.destroyAllWindows()
image1
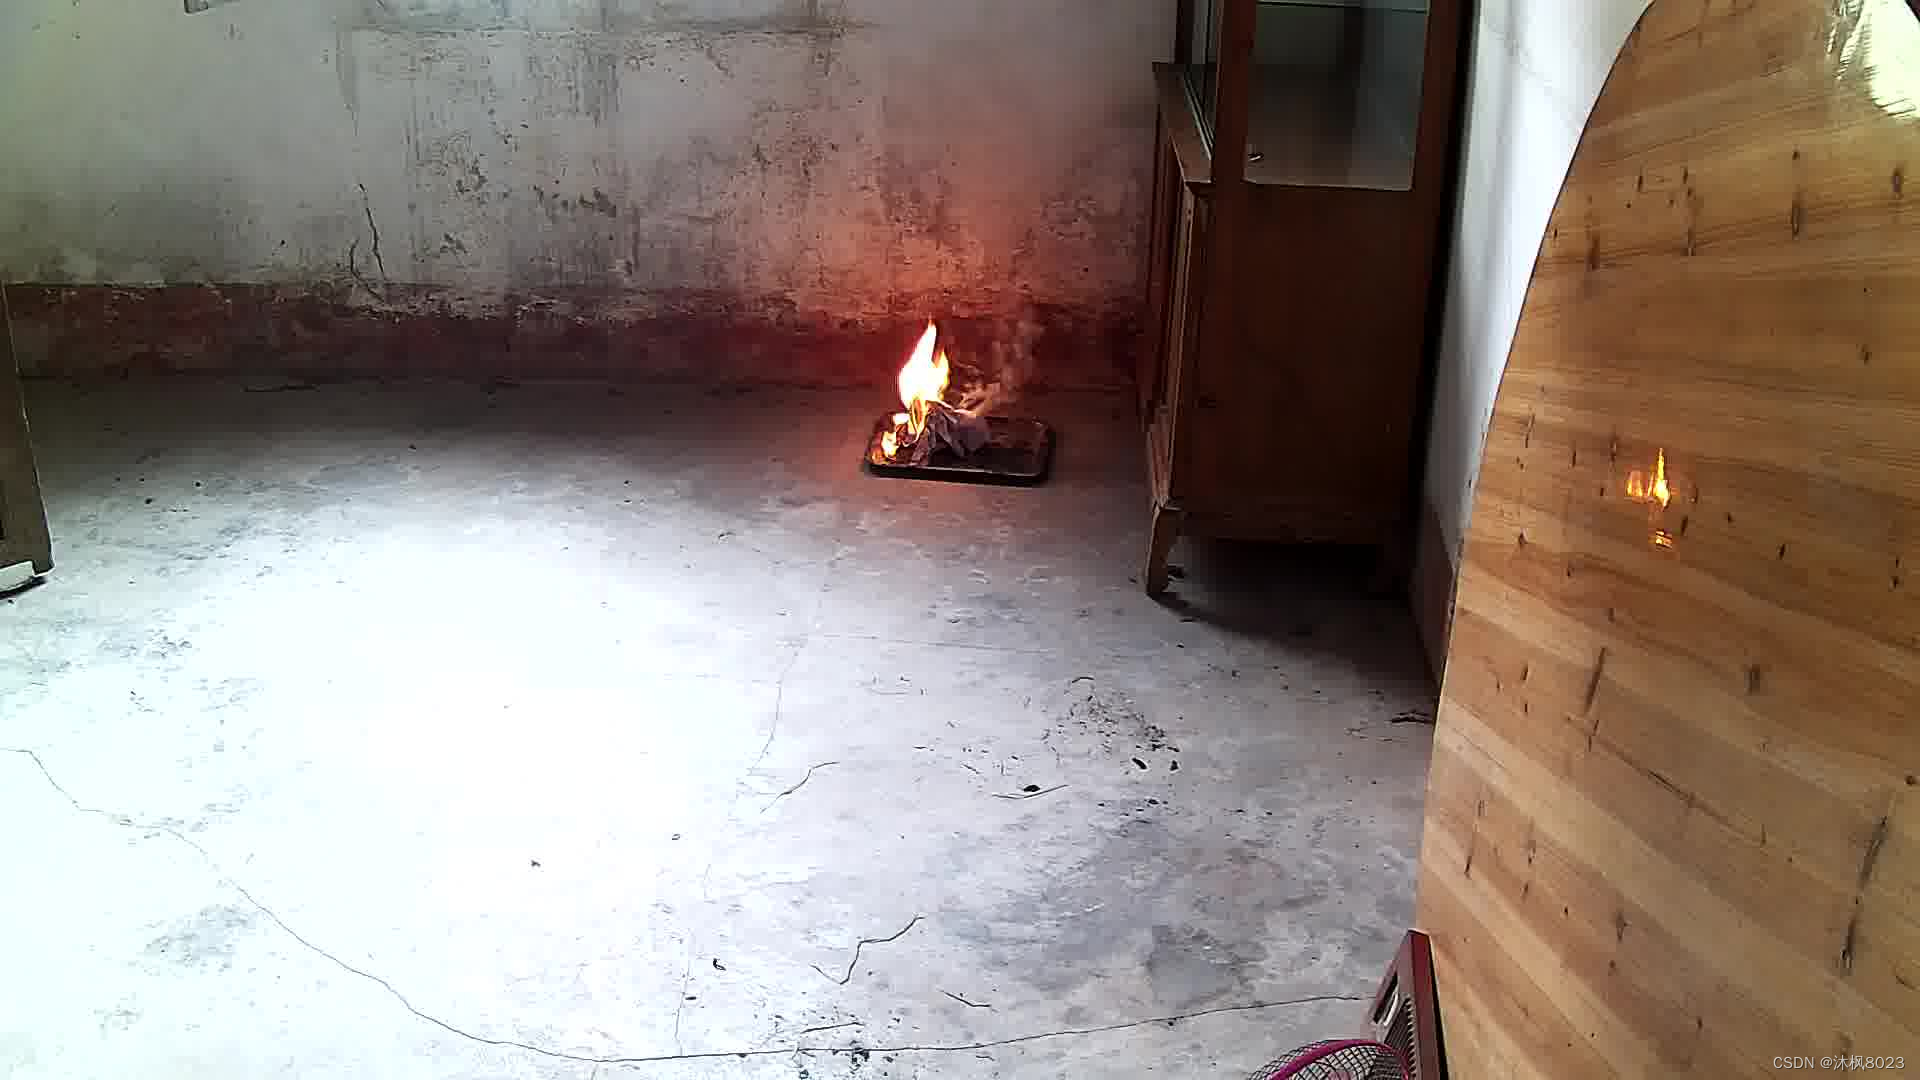
image2

obj_mask
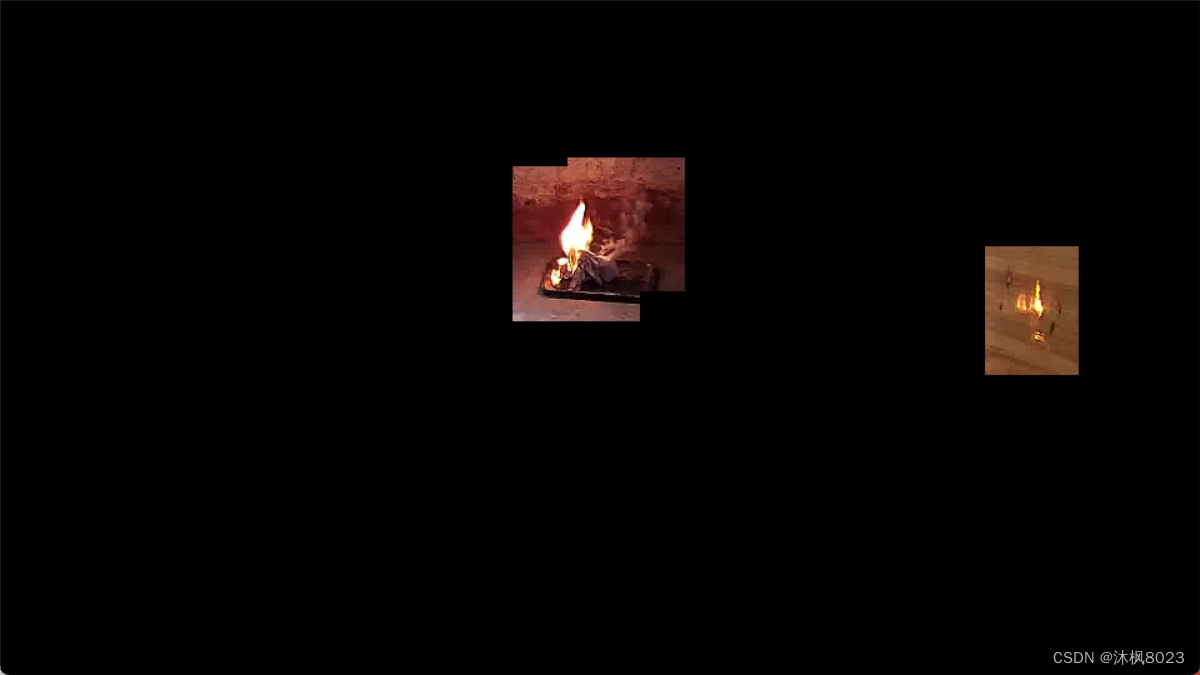
image1_masked
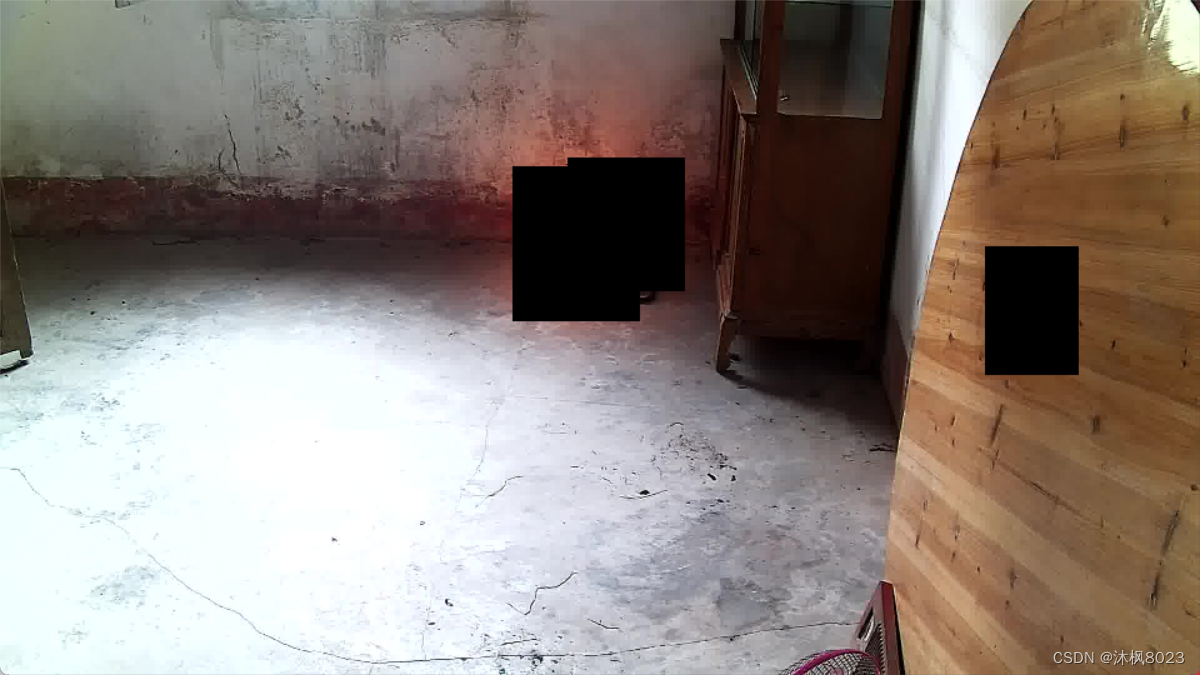
image2_masked

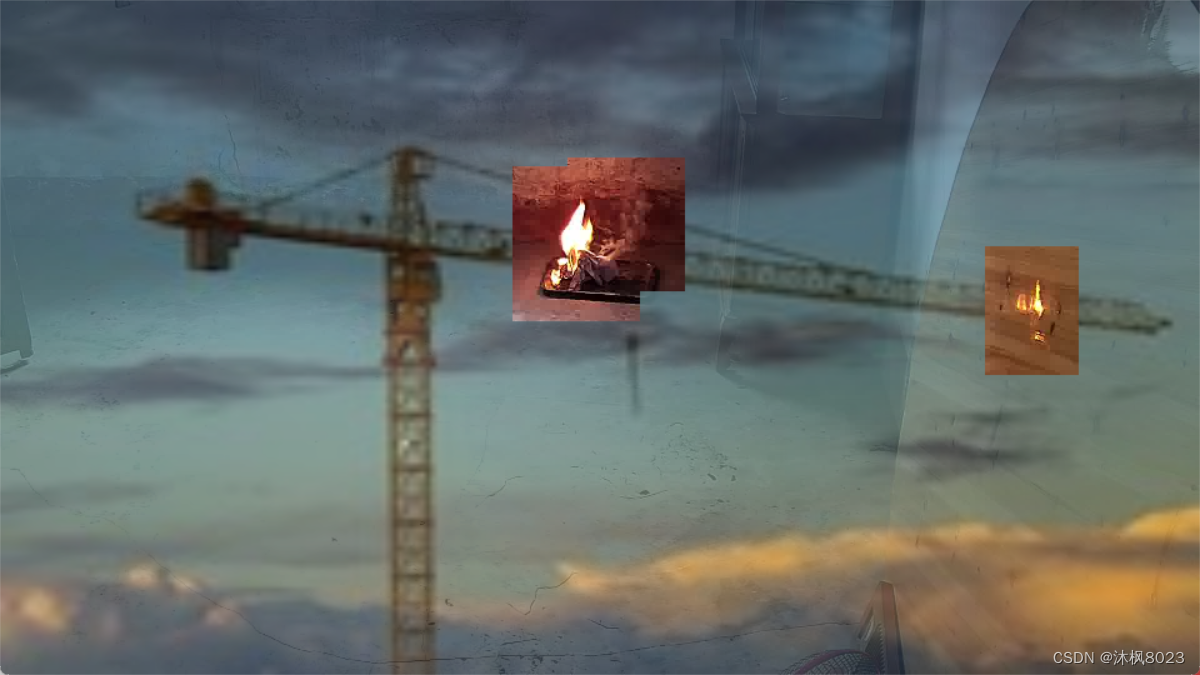
blended

result
注:示例图片来源网络,侵删。


 9018
9018


 被折叠的 条评论
为什么被折叠?
被折叠的 条评论
为什么被折叠?
 到【灌水乐园】发言


