


1.SPU和SKU
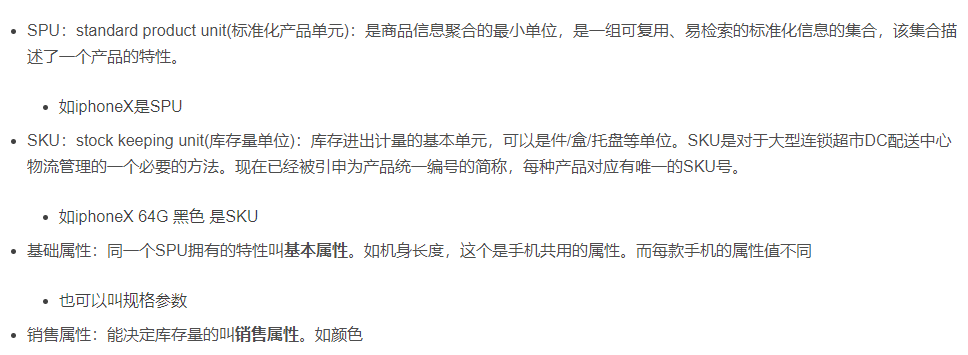
SPU:是商品信息聚合的最小单位,是一组可复用,易检索的标准化信息集合,该集合描述了一个产品的特性--相对于sku是类的概念--基本属性
SKU:顾客真正买的spu,比如华为的mate40蓝色 256G内存的手机--相对于spu是对象的概念---销售属性
执行admin.sql的sys_menu表获取到菜单信息
2.从这里开始前端的代码就不讲了--以后都是对照接口做后端业务
来编写获取分类属性分组的功能
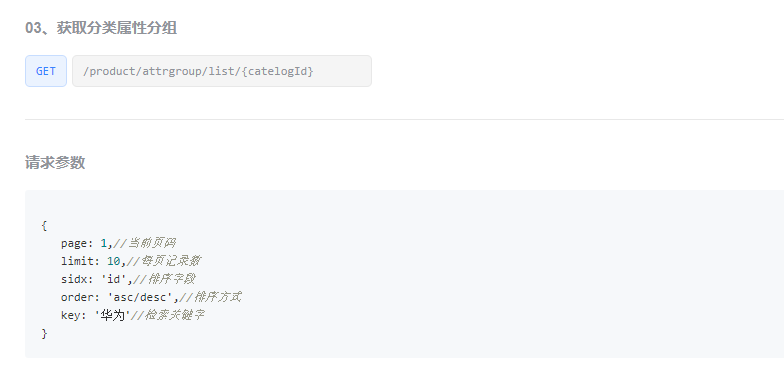
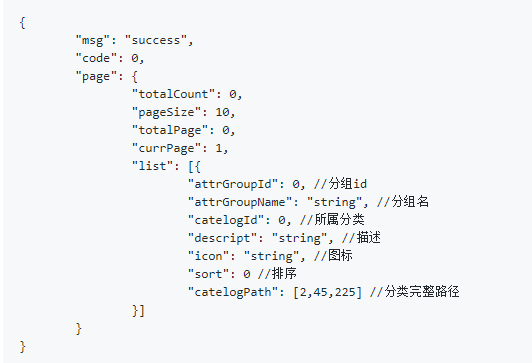
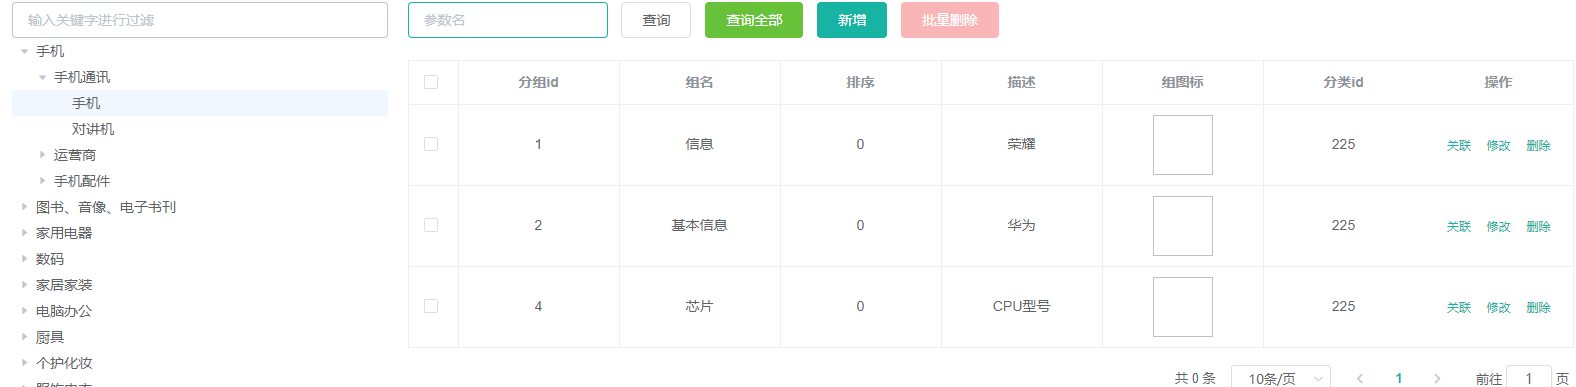
3.获取分类属性分组
具体类方法实现

//分页查询,需要匹配key的模糊查询
    @Override
    public PageUtils queryPage(Map<String, Object> params, Long catlogId) {
        //如果没有三级分类的id传过来,那么catlogId等于0,那就传所有的(前端规定)
        if(catlogId==0){
            IPage<AttrGroupEntity> page =
                    this.page(new Query<AttrGroupEntity>().getPage(params), new QueryWrapper<AttrGroupEntity>());//没有任何条件的情况下就是查所有
            return new PageUtils(page);//利用封装好的工具类进行解析
        }else{
            //需要的sql语句
            //select * from pms_attr_group where catelog_id=? and (attr_group_name=key or attr_group_id like %key%)
            //key就是检索框输入的东西
            String key= (String) params.get("key");
            QueryWrapper<AttrGroupEntity> wrapper = new QueryWrapper<AttrGroupEntity>().eq("catelog_id",catlogId);//三级分类id相等
            if(!StringUtils.isEmpty(key)){
                wrapper.and((obj)->{
                    obj.eq("attr_group_id",key).or().like("attr_group_name",key);
                });
            }
            IPage<AttrGroupEntity> page =
                    this.page(new Query<AttrGroupEntity>().getPage(params), wrapper);
            return new PageUtils(page);
        }
    }
Controller调用:
    /**
     * 列表,关键字索引,分类查询
     */
    @RequestMapping("/list/{catelogId}")
    public R list(@RequestParam Map<String, Object> params,@PathVariable("catelogId") Long catlogId){
        PageUtils page = attrGroupService.queryPage(params,catlogId);//拿到提交过来的参数和三级分类的id
        return R.ok().put("page", page);
    }
postman测试
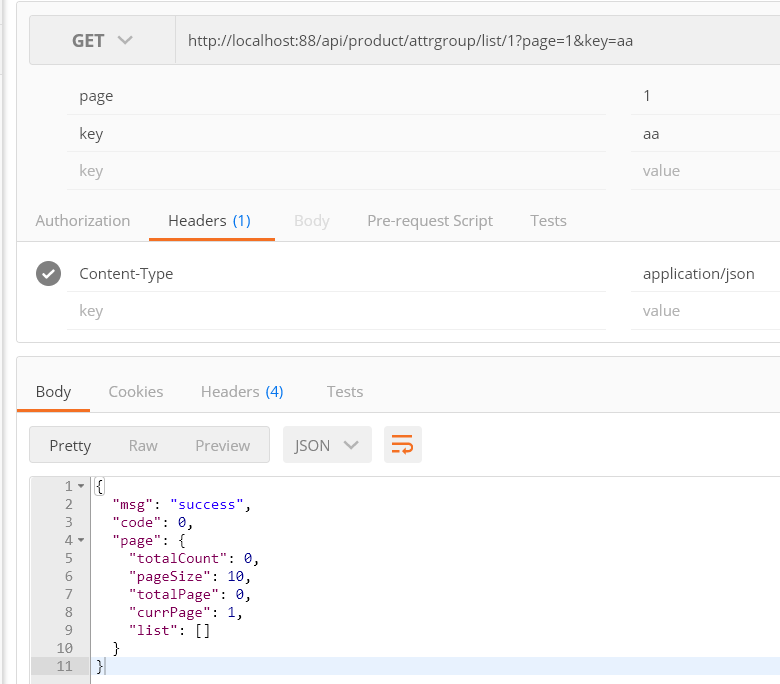
sql语句打印
Preparing: SELECT attr_group_id,attr_group_name,sort,descript,icon,catelog_id FROM pms_attr_group WHERE (catelog_id = ? AND (attr_group_id = ? OR attr_group_name LIKE ?))
前端联调测试
点击手机,根据手机的key和三级分类发出请求
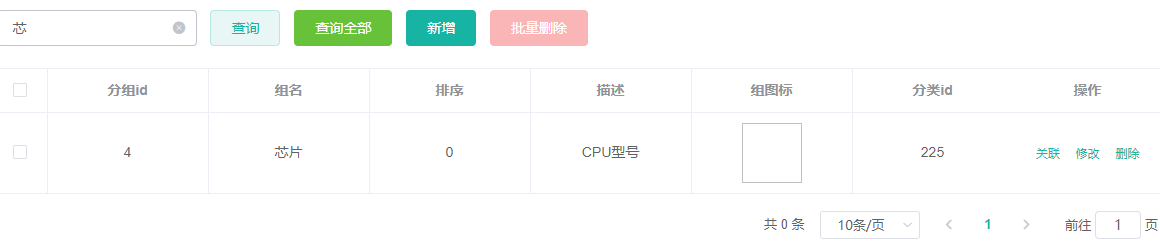
查询芯片的芯关键字
4.对之前的分类维护做一个处理
当前端在新增的时候,点到最后一层子目录还会显示子目录,这样就没有办法输入了
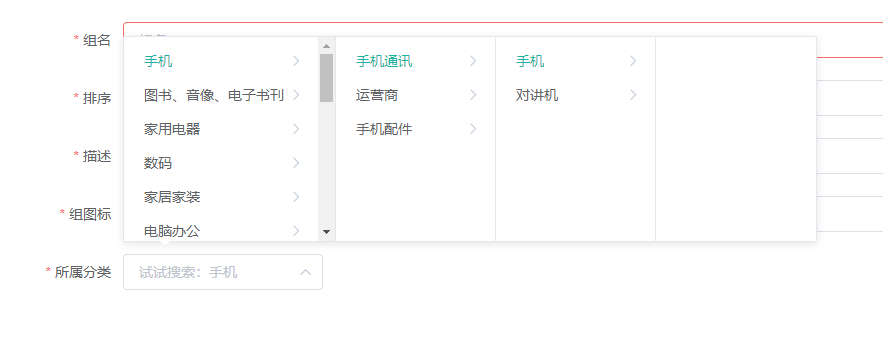
这是因为最后一个子目录虽然没有children字段,但是还是带上了

使用一个注解可以解决


再次请求发现已经不再带有children字段了,前端联调成功

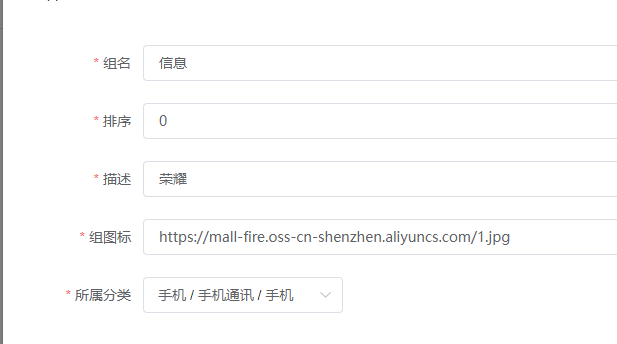
5.完善属性分组
在我们点击修改的时候,属性分类不能回显,后台需要给前台传递一个完整的cid路径
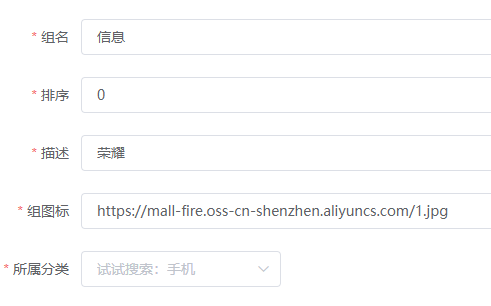
比如手机【2,25,225】
Controller

 /**
     * 信息
     */
    @RequestMapping("/info/{attrGroupId}")
    //@RequiresPermissions("product:attrgroup:info")
    public R info(@PathVariable("attrGroupId") Long attrGroupId){
        AttrGroupEntity attrGroup = attrGroupService.getById(attrGroupId);
        Long catlogId=attrGroup.getCatelogId();
        Long[] path=categoryService.findCatelogPath(catlogId);
        attrGroup.setCatelogPath(path);
        return R.ok().put("attrGroup", attrGroup);
    }
实现类

 @Override
    public Long[] findCatelogPath(Long catlogId) {
        List<Long> path=new ArrayList<>();
        findParentPath(catlogId,path);
        //集合逆序,添加的时候是反着添加的
        Collections.reverse(path);
        return path.toArray(new Long[path.size()]);//转化成数组的时候要指定数组
    }
    //找到父亲id的方法
    private List<Long> findParentPath(Long catlogId,List<Long> path){
        //收集当前id
        path.add(catlogId);
        CategoryEntity entity = this.getById(catlogId);
        //获得父节点id--递归
        Long parentCid = entity.getParentCid();
        if(parentCid!=0){
            //如果父节点id不为0就一直找
           findParentPath(parentCid,path);
        }
        return path;
    }
点击修改已经成功回显了
6.品牌分类关联和级联更新
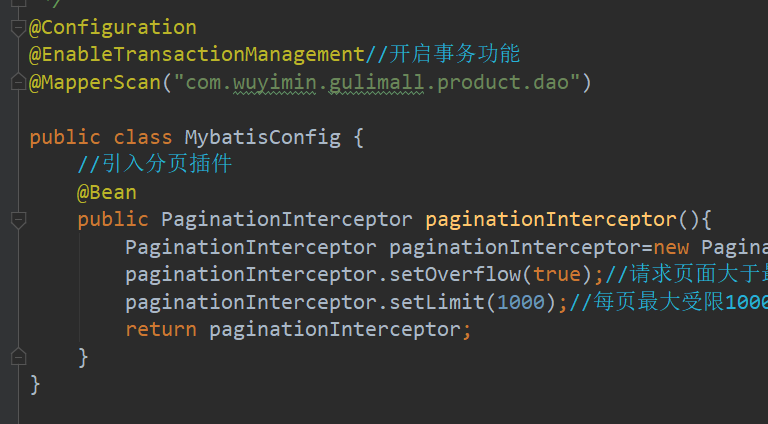
1.引入分页插件

@Configuration
@EnableTransactionManagement//开启事务功能
@MapperScan("com.wuyimin.gulimall.product.dao")

public class MybatisConfig {
    //引入分页插件
    @Bean
    public PaginationInterceptor paginationInterceptor(){
        PaginationInterceptor paginationInterceptor=new PaginationInterceptor();
        paginationInterceptor.setOverflow(true);//请求页面大于最后页面 false为默认-请求到空数据 true--跳到第一页
        paginationInterceptor.setLimit(1000);//每页最大受限1000条 -1不受限制
        return paginationInterceptor;
    }
}
可以看到分页已经正常了

2.修改品牌的模糊查询功能--之前实现过这里不赘述了

@Service("brandService")
public class BrandServiceImpl extends ServiceImpl<BrandDao, BrandEntity> implements BrandService {
    @Override
    public PageUtils queryPage(Map<String, Object> params) {
        String key= (String) params.get("key");
        QueryWrapper<BrandEntity> entityQueryWrapper=new QueryWrapper<>();
        if(!StringUtils.isEmpty(key)){
            entityQueryWrapper.eq("brand_id",key).or().like("name",key);
        }
        IPage<BrandEntity> page = this.page(
                new Query<BrandEntity>().getPage(params),
                entityQueryWrapper
        );
        return new PageUtils(page);
    }
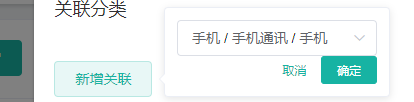
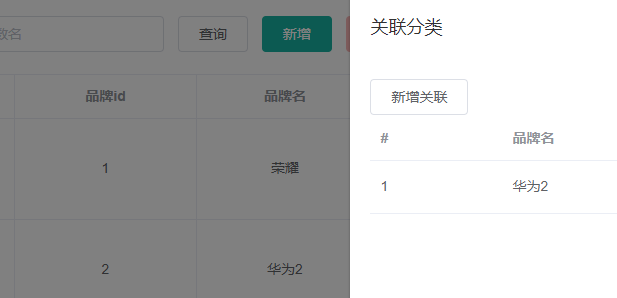
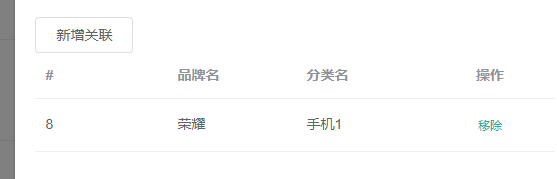
7.关联分类
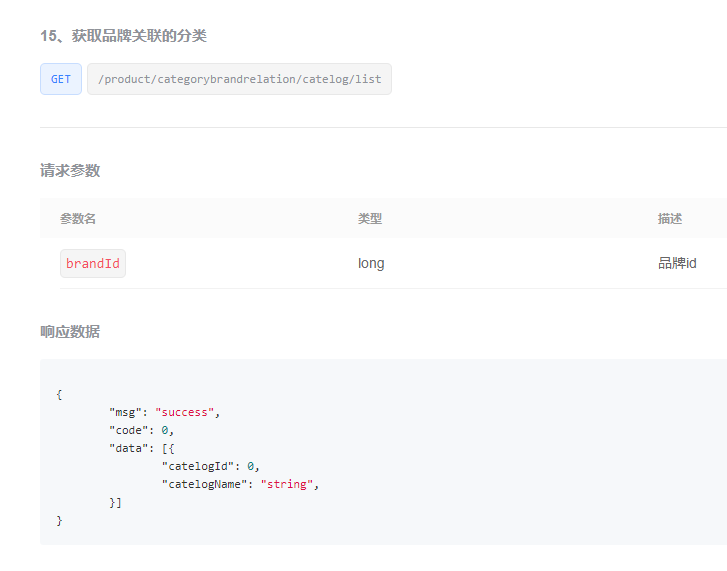
传入的brand_Id与category_brand_relation表的相关id相同就表示关联
    /**
     * 列表
     */
    @GetMapping("/catelog/list")
    public R catelogList(@RequestParam Map<String, Object> params){
        String brandId= (String) params.get("brandId");
        List<CategoryBrandRelationEntity> data = categoryBrandRelationService.
                list(new QueryWrapper<CategoryBrandRelationEntity>().eq("brand_id", brandId));

        return R.ok().put("data", data);
    }
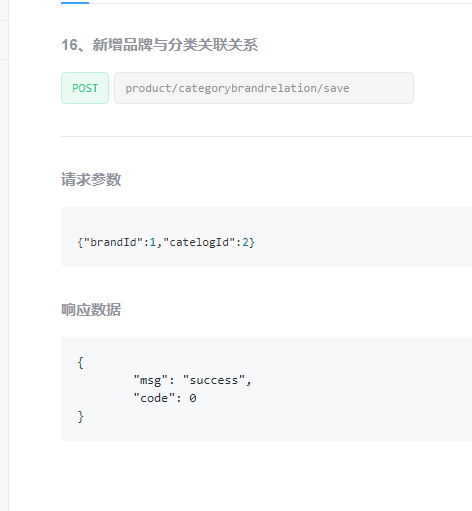
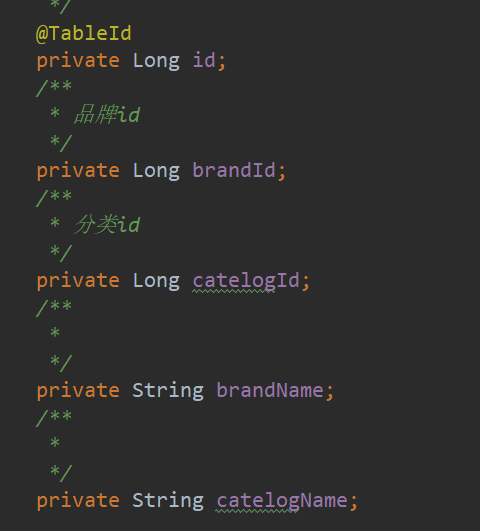
原生态的save方法,由于前端并没有传名字的信息,这里会显示为空,在大规模的电商系统来说,关联很耗内存,如果我们能增加两个冗余字段就能避免这种联表查询
后端代码:
/**
     * 保存
     */
    @RequestMapping("/save")
    //@RequiresPermissions("product:categorybrandrelation:save")
    public R save(@RequestBody CategoryBrandRelationEntity categoryBrandRelation){
        categoryBrandRelationService.saveDetail(categoryBrandRelation);

        return R.ok();
    }
@Service("categoryBrandRelationService")
public class CategoryBrandRelationServiceImpl extends ServiceImpl<CategoryBrandRelationDao, CategoryBrandRelationEntity> implements CategoryBrandRelationService {
    @Autowired
    BrandDao brandDao;
    @Autowired
    CategoryDao categoryDao;
    @Override
    public PageUtils queryPage(Map<String, Object> params) {
        IPage<CategoryBrandRelationEntity> page = this.page(
                new Query<CategoryBrandRelationEntity>().getPage(params),
                new QueryWrapper<CategoryBrandRelationEntity>()
        );

        return new PageUtils(page);
    }

    @Override
    public void saveDetail(CategoryBrandRelationEntity categoryBrandRelation) {
        Long brandId = categoryBrandRelation.getBrandId();
        Long catelogId = categoryBrandRelation.getCatelogId();
        //分别查询品牌名和分类名
        BrandEntity brandEntity = brandDao.selectById(brandId);
        String brandEntityName = brandEntity.getName();
        String cateEntityName=categoryDao.selectById(catelogId).getName();
        categoryBrandRelation.setBrandName(brandEntityName);
        categoryBrandRelation.setCatelogName(cateEntityName);//保存
        this.save(categoryBrandRelation);//调用自己的save方法保存数据
    }

}
保证冗余字段的一致性,在你改了其他表的时候,冗余字段也要跟着修改
当我修改了品牌名华为2的时候其关联分类名也应该跟着修改
具体实现:

@RequestMapping("/update")
    //@RequiresPermissions("product:brand:update")
    public R update(@RequestBody BrandEntity brand){
        brandService.updateDetail(brand);

        return R.ok();
    }


 @Autowired
    private CategoryBrandRelationService categoryBrandRelationService;
@Override
    public void updateDetail(BrandEntity brand) {
        //保证冗余字段的数据一致
        this.updateById(brand);
        if(!StringUtils.isEmpty(brand.getName())){
            //同步更新其他关联表的冗余字段
            categoryBrandRelationService.updateBrand(brand.getBrandId(),brand.getName());
            //TODO 更新其他的关联信息
        }
    }
 @Override
    public void updateBrand(Long brandId, String name) {
        CategoryBrandRelationEntity entity = new CategoryBrandRelationEntity();
        entity.setBrandId(brandId);//id
        entity.setBrandName(name);//只有名字是冗余字段,只更新名字就行
        this.update(entity,new UpdateWrapper<CategoryBrandRelationEntity>().eq("brand_id",brandId));//updateWrapper
    }
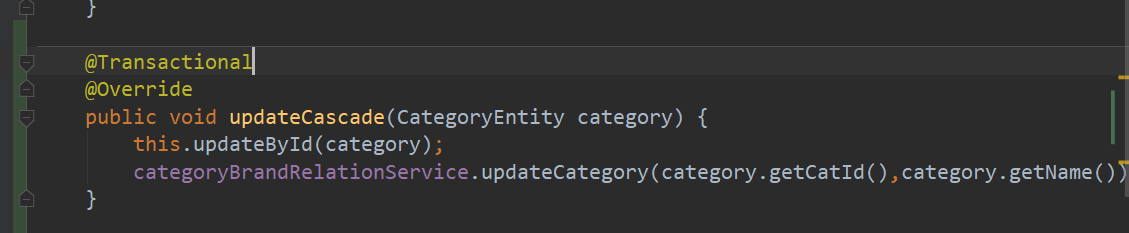
使用级联更新更新该关联表的另一个属性

 /**
     * 修改
     */
    @RequestMapping("/update")
    //@RequiresPermissions("product:category:update")
    public R update(@RequestBody CategoryEntity category){
        categoryService.updateCascade(category);

        return R.ok();
    }

@Override
    public void updateCascade(CategoryEntity category) {
        this.updateById(category);
        categoryBrandRelationService.updateCategory(category.getCatId(),category.getName());
    }

    @Override
    public void updateCategory(Long catId, String name) {
        this.baseMapper.updateCategory(catId,name);
    }

有两个以上的参数最好用@Param起一个名字
@Mapper
public interface CategoryBrandRelationDao extends BaseMapper<CategoryBrandRelationEntity> {

    void updateCategory(@Param("catId") Long catId,@Param("name") String name);
}
装了mybatisX插件之后就可以用这个


<?xml version="1.0" encoding="UTF-8"?>
<!DOCTYPE mapper PUBLIC "-//mybatis.org//DTD Mapper 3.0//EN" "http://mybatis.org/dtd/mybatis-3-mapper.dtd">

<mapper namespace="com.wuyimin.gulimall.product.dao.CategoryBrandRelationDao">

    <!-- 可根据自己的需求,是否要使用 -->
    <resultMap type="com.wuyimin.gulimall.product.entity.CategoryBrandRelationEntity" id="categoryBrandRelationMap">
        <result property="id" column="id"/>
        <result property="brandId" column="brand_id"/>
        <result property="catelogId" column="catelog_id"/>
        <result property="brandName" column="brand_name"/>
        <result property="catelogName" column="catelog_name"/>
    </resultMap>
    <update id="updateCategory">
    update `pms_category_brand_relation` set catelog_name=#{name} where catelog_id=#{catId}
    </update>
</mapper>
最后该方法是一个事件,必须具有原子性

同时也要在事务配置文件中添加注解开启事件
这样修改分类名就可以关联到品牌模块了


 被折叠的 条评论
为什么被折叠?
被折叠的 条评论
为什么被折叠?
 到【灌水乐园】发言


