


Swagger的配置
提示:依赖+配置即可
1、依赖
<dependency>
     <groupId>com.github.xiaoymin</groupId>
     <artifactId>knife4j-spring-ui</artifactId>
     <version>3.0.3</version>
</dependency>

<dependency>
     <groupId>io.springfox</groupId>
     <!--提供了使用Swagger和OpenAPI规范创建API文档的支持。-->
     <artifactId>springfox-boot-starter</artifactId>
     <version>3.0.0</version>
</dependency>
2、Swagger 配置类的书写
我的控制类的路径
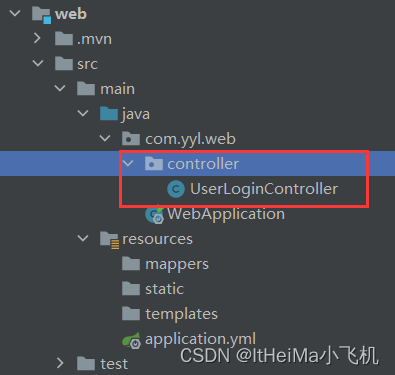
注意事项有注释
package com.yyl.common.config;

import org.springframework.context.annotation.Bean;
import org.springframework.context.annotation.Configuration;
import org.springframework.web.servlet.config.annotation.ResourceHandlerRegistry;
import org.springframework.web.servlet.config.annotation.WebMvcConfigurer;
import springfox.documentation.builders.ApiInfoBuilder;
import springfox.documentation.builders.PathSelectors;
import springfox.documentation.builders.RequestHandlerSelectors;
import springfox.documentation.service.ApiInfo;
import springfox.documentation.service.Contact;
import springfox.documentation.spi.DocumentationType;
import springfox.documentation.spring.web.plugins.Docket;
import springfox.documentation.swagger2.annotations.EnableSwagger2;
import springfox.documentation.swagger2.annotations.EnableSwagger2WebMvc;


/**
 * swagger接口文档的配置
 */
@Configuration
@EnableSwagger2
public class Knife4jConfiguration implements WebMvcConfigurer {

    @Override
    public void addResourceHandlers(ResourceHandlerRegistry registry) {
        /**
         *  /**表示所有的请求路径都将被映射到指定的资源路径中。
         */
        registry.addResourceHandler("/**")
        		.addResourceLocations("classpath:/META-INF/resources/");  // 自己的配置
        registry.addResourceHandler("/doc.html")  // 配置访问路径
                .addResourceLocations("classpath:/META-INF/resources/");  // 添加Swagger的页面资源
    }

    @Bean(value = "defaultApi2")
    public Docket defaultApi2() {
        return new Docket(DocumentationType.SWAGGER_2)
                .apiInfo(apiInfo())
                // 分组名称
                .groupName("模块化开发的系统接口测试文档")
                .select()
                //这里标注控制器的位置
                .apis(RequestHandlerSelectors.basePackage("com.yyl.web.controller"))
                .paths(PathSelectors.any())
                .build();
    }

    /**
     * api信息
     * @return api对象信息
     */
    private ApiInfo apiInfo()   {
        return new ApiInfoBuilder()
                .title("模块化开发的系统接口测试文档")  // 标题
                .description("用户中心接口文档")  // 简介
                .termsOfServiceUrl("http://localhost:9090/") // Swagger API文档中的一个可选配置项,用于指定API服务的服务条款URL。
                .contact(new Contact("yyl","http://localhost:9090/","778470787@qq.com"))
                .version("1.0")
                .build();
    }
}
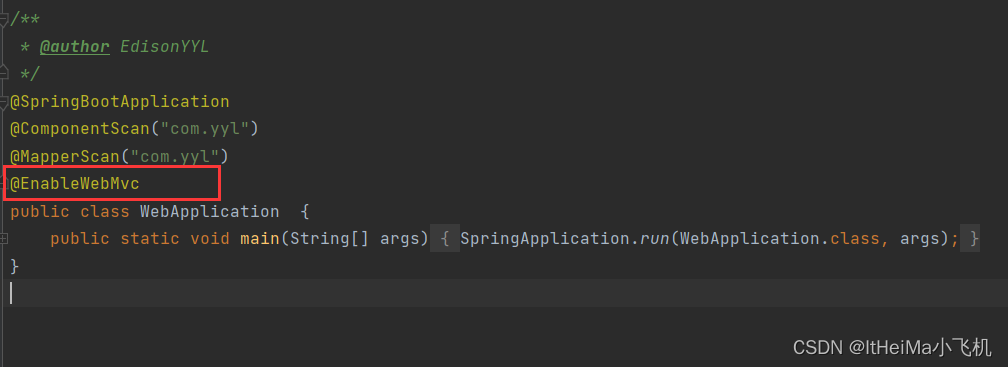
3、注解 @EnableWebMvc
因为Swagger配置类有实现 WebMvcConfigurer 接口,
所以在启动类上加上注解 @EnableWebMvc
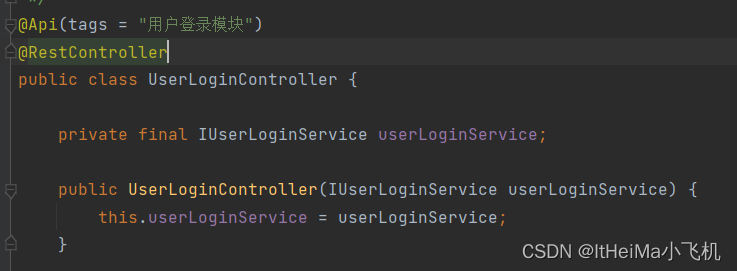
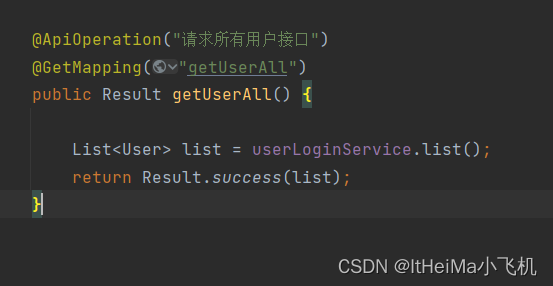
4、控制层改造
类:
方法:
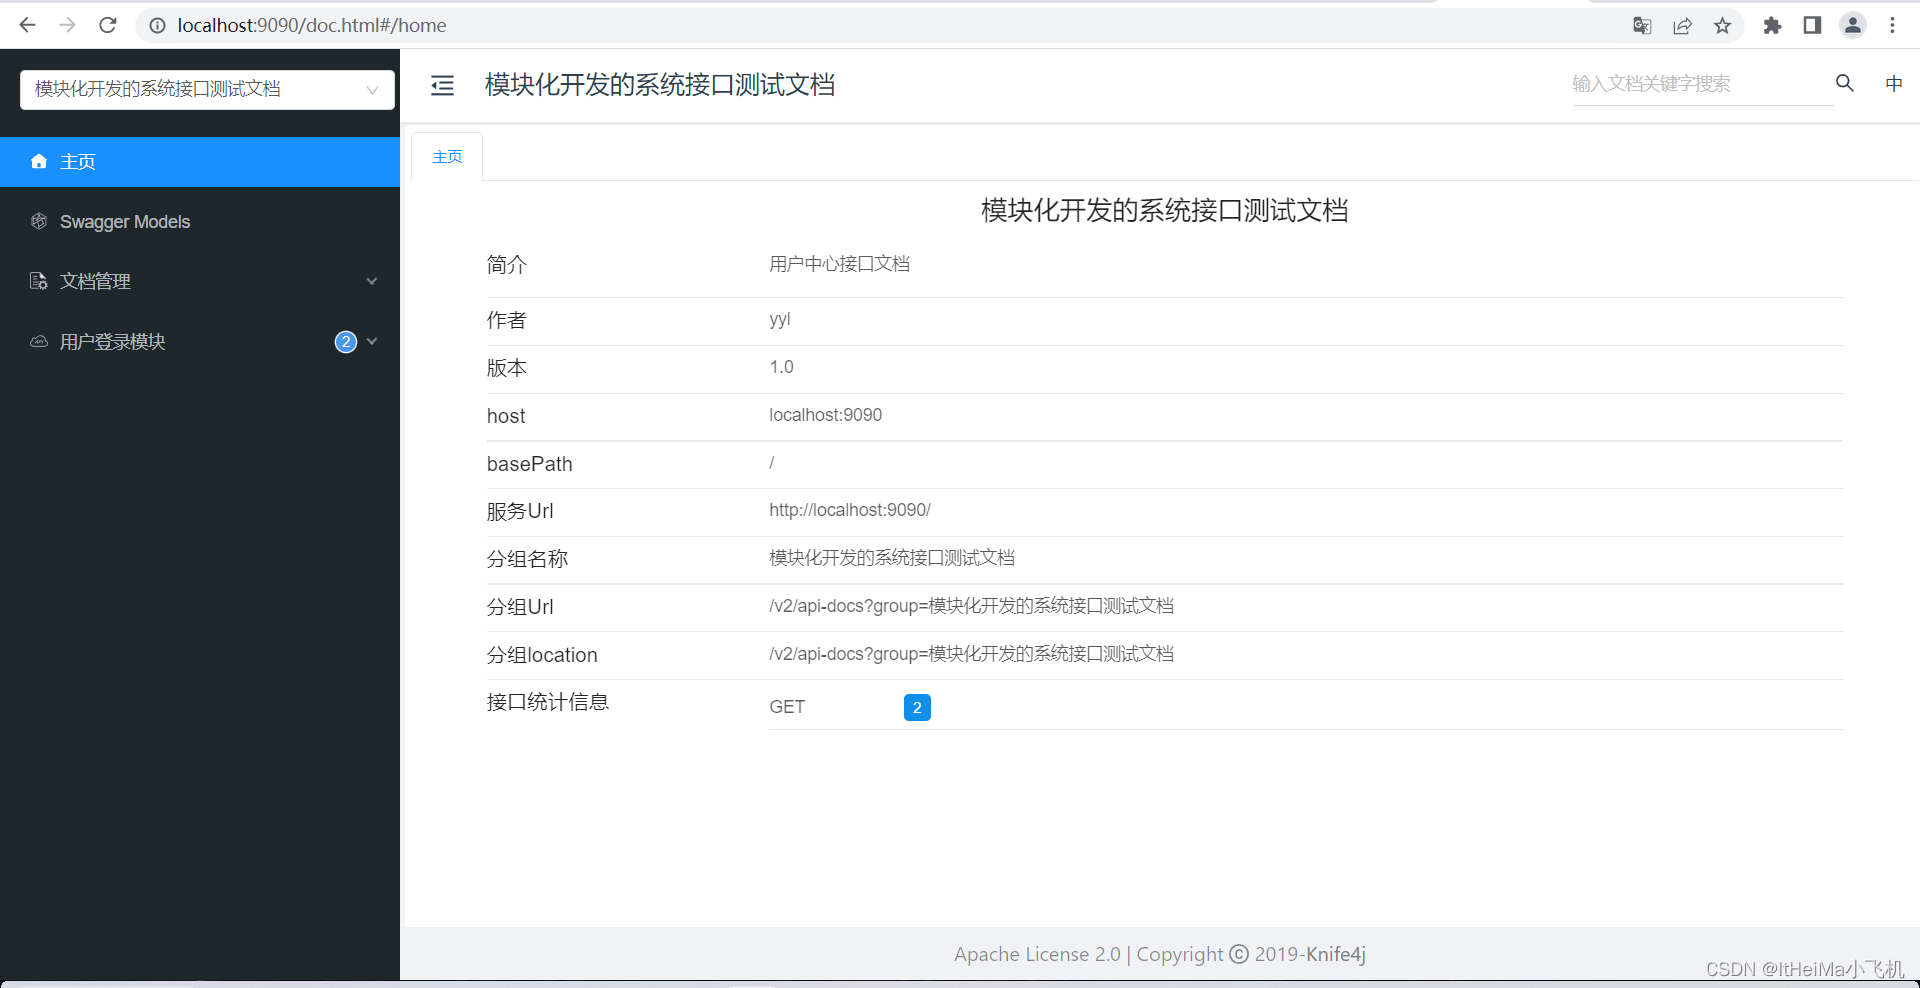
5、启动项目
访问 http://localhost:9090/doc.html 即可,doc.html路径在配置类有配置,可以更换。


 2414
2414


 被折叠的 条评论
为什么被折叠?
被折叠的 条评论
为什么被折叠?
 到【灌水乐园】发言


