


目录
一、安装
- 克隆仓库并导航到 LLaVA 文件夹
git clone https://github.com/haotian-liu/LLaVA.git cd LLaVA - 安装软件包
conda create -n llava python=3.10 -y conda activate llava pip install --upgrade pip # enable PEP 660 support pip install -e . - 为训练安装其他包(可选)
pip install -e ".[train]" pip install flash-attn --no-build-isolation - 升级
git pull
pip install -e .

# 如果在升级过程中报错,
# 尝试运行以下代码 (注意删除 #)
# pip install flash-attn --no-build-isolation --no-cache-dir
二、LLaVA-v1.6 模型下载
- 使用 Hugging Face 的官方下载工具 cli
pip install -U huggingface_hub - 更换镜像源
这里也可以直接写进~/.bashrcexport HF_ENDPOINT=https://hf-mirror.com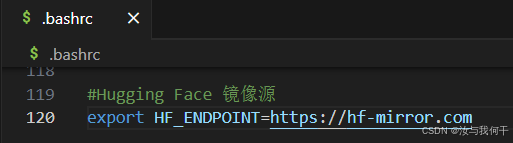
- 下载模型
huggingface-cli download --resume-download liuhaotian/llava-v1.6-vicuna-7b --local-dir /LLaVA/llava-v1.6-vicuna-7b

#--local-dir后面的参数可以替换成自己的实际保存路径
开始下载模型

三、ViT 模型下载
- 通过以下代码下载视觉编码权重
正常运行示例:huggingface-cli download --resume-download openai/clip-vit-large-patch14-336 --local-dir /LLaVA/clip-vit-large-patch14-336 #--local-dir后面的参数可以替换成自己的实际保存路径
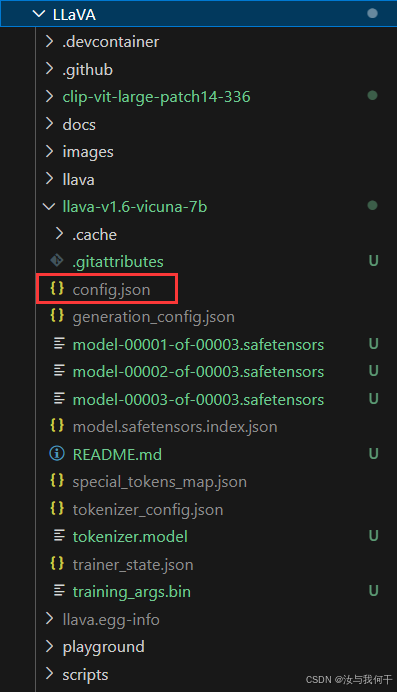
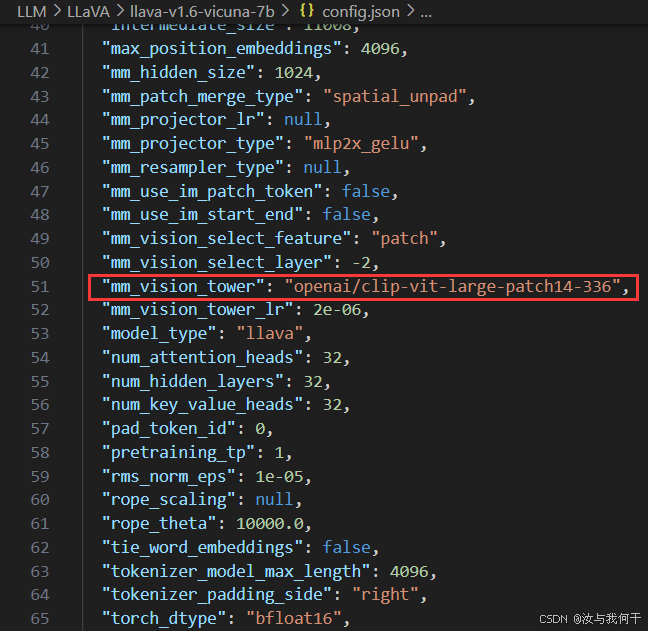
- 修改 llava-v1.6-vicuna-7b/config.json 文件,将 "mm_vision_tower" 修改为 clip-vit-large-patch14-336 文件夹路径。
四、终端测试
- 在终端运行以下命令
python -m llava.serve.cli --model-path {模型权重路径} --image-file "https://llava-vl.github.io/static/images/view.jpg" --load-4bit #示例:python -m llava.serve.cli --model-path /LLaVA/llava-v1.6-vicuna-7b --image-file "https://llava-vl.github.io/static/images/view.jpg" --load-4bit - 测试结果

五、Web 测试
注意:这里我们需要准备 3 个终端
- (终端1)启动控制器
运行结果:python3 -m llava.serve.controller --host 0.0.0.0 --port 20000
- (终端2)终端启动 gradio Web 服务器
python3 -m llava.serve.gradio_web_server --controller http://localhost:20000 --model-list-mode reload --share

#在服务器中运行,应用服务器网址替换 0:0:0:0。
#即在客户端浏览器中输入网址:服务器ip:端口号。
注意:
此处容易报错,如果在完成第 3 步后打开 Web 页面出现如下问题:
SyntaxError: 意外的令牌 'I', “Internal S”...是无效的 JSON运行以下命令重新安装指定版本的 gradio :
pip install gradio==4.43.0运行结果:

-
启动 Model Worker
python3 -m llava.serve.model_worker --host 0.0.0.0 --controller http://localhost:20000 --port 40000 --worker http://localhost:40000 --model-path {模型权重路径} --load-4bit

#这里注意更换模型权重路径
运行结果:

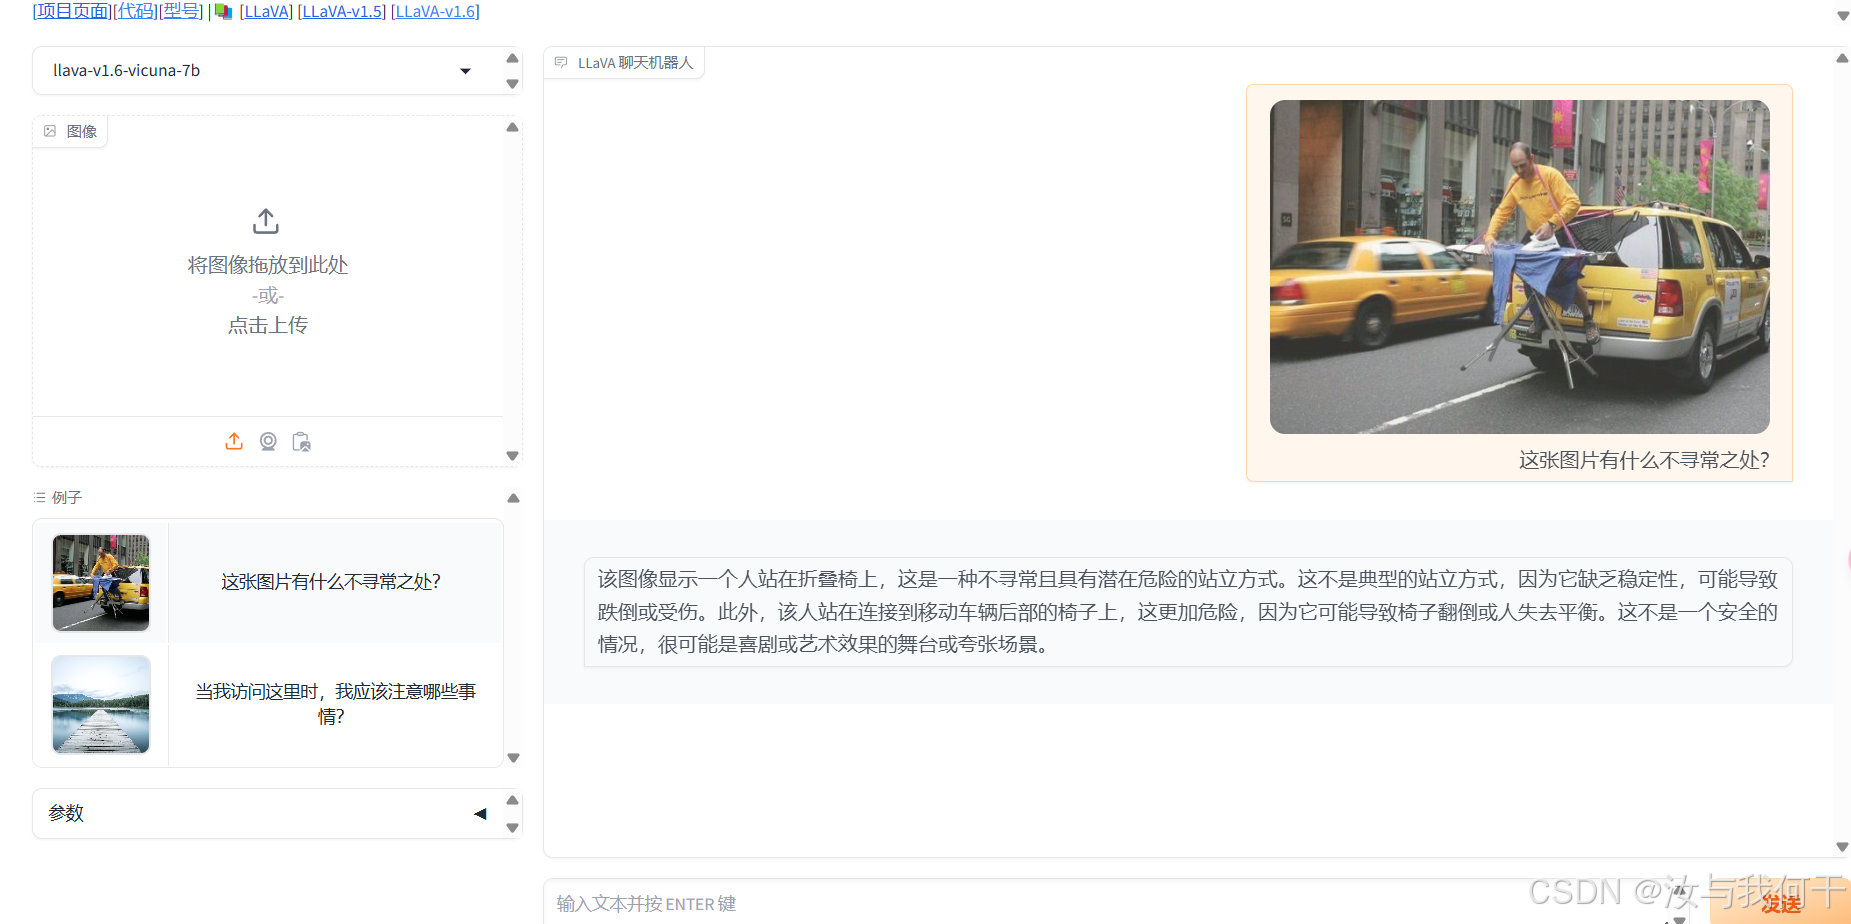
- Web 运行示例
六、作者文章引用
@misc{liu2023improvedllava,
      title={Improved Baselines with Visual Instruction Tuning},
      author={Liu, Haotian and Li, Chunyuan and Li, Yuheng and Lee, Yong Jae},
      publisher={arXiv:2310.03744},
      year={2023},
}

@misc{liu2023llava,
      title={Visual Instruction Tuning},
      author={Liu, Haotian and Li, Chunyuan and Wu, Qingyang and Lee, Yong Jae},
      publisher={arXiv:2304.08485},
      year={2023},
}


 1539
1539

 被折叠的 条评论
为什么被折叠?
被折叠的 条评论
为什么被折叠?
 到【灌水乐园】发言


