


 本文详细介绍了如何在Mybatis中实现分页功能,包括导入依赖、配置拦截器、编写CRUD接口、配置SQL语句,以及在SpringMVC和前端展示分页结果的过程。
mybatis分页代码参考
该数据为后端传输给前端使用:
以下代码为后端传输至前端使用属性 与信息
PageInfo{pageNum=1, pageSize=6, size=6, startRow=1, endRow=6, total=16, pages=3,

list=Page{count=true, pageNum=1, pageSize=6, startRow=0, endRow=6,
 total=16, pages=3, reasonable=false, pageSizeZero=false}[User(userId=1,
 username=哈哈, gender=男, phone=11111, emil=222@qq.com, address=湖北,
 dataTime=2023-09-10 15:07:37.0, state=已启用),...],

 prePage=0,nextPage=2,isFirstPage=true,isLastPage=false,hasPreviousPage=false,
  hasNextPage=true, navigatePages=8, navigateFirstPage=1, navigateLastPage=3, navigatepageNums=[1, 2, 3]}
分页操作流程:
1. 导入依赖:
<!--引入mybatis分页功能  记得加拦截器-->
    <dependency>
      <groupId>com.github.pagehelper</groupId>
      <artifactId>pagehelper</artifactId>
      <version>5.2.1</version>
    </dependency>
2. 在applicationContext.xml配置文件中添加拦截器,用于扫描分页信息
<!--引入SqlSessionFactoryBean 用于实例化CRUD方法-->
    <bean name="sqlSessionFactoryBean" class="org.mybatis.spring.SqlSessionFactoryBean">
        <property name="dataSource" ref="dataSource"/><!--注入数据源-->
        <!--别名包-->
        <property name="typeAliasesPackage" value="com.qs.ssm.domain"/>
        <!--映射文件 ,支持通配符 *Mapper.xml-->
        <property name="mapperLocations" value="classpath*:mapper/UserMapper.xml"/>
        <!--可以不用上面的属性,直接将Mybatis主配置文件 载入-->
<!--        <property name="configLocation" value="classpath*:mybatis-config.xml"/>-->
        <!--添加分页拦截器-->
        <property name="plugins">
            <array>
                <bean class="com.github.pagehelper.PageInterceptor">
                    <property name="properties">
                        <!--什么都不配,使用默认的分页配置-->
                        <value></value>
                    </property>
                </bean>
            </array>
        </property>
    </bean>
3. 编写CRUD接口
//mybatis框架分页查询
    List<User> findPage();
4. mybatis配置文件查询sql语句:
<!--mybatis框架分页查询-->
    <select id="findPage" resultType="User">
        select * from user
	</select>
5. 编写业务层接口与实现类
//4:业务层实现类
//mybatis框架分页查询
PageInfo<User> findPage(int pageNumber);
    @Override
    public PageInfo<User> findPage(int pageNumber) {
        PageHelper.startPage(pageNumber,6);//pageNumber代表从那一页开始,每页分6条
        PageInfo<User> pageInfo = new PageInfo<User>(userMapper.findPage());
        System.out.println(pageInfo);
        return pageInfo;
    }
6. 编写springmvc控制层
//插件分页
    @RequestMapping("/page2/{pageNumber}")
    public String page2(ModelMap map ,@PathVariable int pageNumber){
        System.out.println("进入分页");
        map.addAttribute("pageinfo",userService.findPage(pageNumber));
        return "indexNew";//分页跳转界面
}
7. 前端代码
<%@ page contentType="text/html;charset=UTF-8" language="java" %>
<%@taglib prefix="c" uri="http://java.sun.com/jsp/jstl/core" %>

<html>
<head>
    <title>Title</title>
    <script src="${pageContext.request.contextPath}/js/jquery2.js"></script>
</head>
<body>

<table border="1">
    <tr>
        <td>id</td>
        <td>用户名</td>
        <td>性别</td>
        <td>手机</td>
        <td>邮箱</td>
        <td>地址</td>
        <td>加入时间</td>
        <td>状态</td>
        <td>操作</td>
    </tr>
    <!--分页内容-->
    <c:forEach var="user" items="${pageinfo.list}">
        <tr>
            <td>${user.userId}</td>
            <td>${user.username}</td>
            <td>${user.gender}</td>
            <td>${user.phone}</td>
            <td>${user.emil}</td>
            <td>${user.address}</td>
            <td>${user.dataTime}</td>
            <td>${user.state}</td>
            <td>
                  <a>修改</a>
            	  <a>删除</a>
            </td>
        </tr>
    </c:forEach>
    <tr><!--分页 :上一页、下一页、每页显示-->
        <td colspan="9" style="text-align: right" class="page">

        </td>
    </tr>
</table>
<script>
    let sta = "";
    //上一页信息
    if (${pageinfo.prePage==0}){
        sta += '<a>上一页</a>'
    }else{
        sta += '<a href="${pageContext.request.contextPath}/page2/${pageinfo.prePage}">【上一页】</a>'
    }
	//显示可选择每一页
    for (let i = 1; i<= ${pageinfo.pages}; i++){
        sta += '<a href="${pageContext.request.contextPath}/page2/'+i+'">'+i+'</a>'
        console.log("哈啊哈"+i)
    }
    console.log("最大分页数:"+${pageinfo.pages});
    console.log("上一页为:"+${pageinfo.prePage});
    console.log("下一页为:"+${pageinfo.nextPage});
    //下一页设置
    if (${pageinfo.nextPage==0}){
        sta += '<a>下一页</a>'
    }else{
        sta += '<a href="${pageContext.request.contextPath}/page2/${pageinfo.nextPage}">【下一页】</a>'
    }
    $('.page').html(sta);
</script>
</body>
</html>
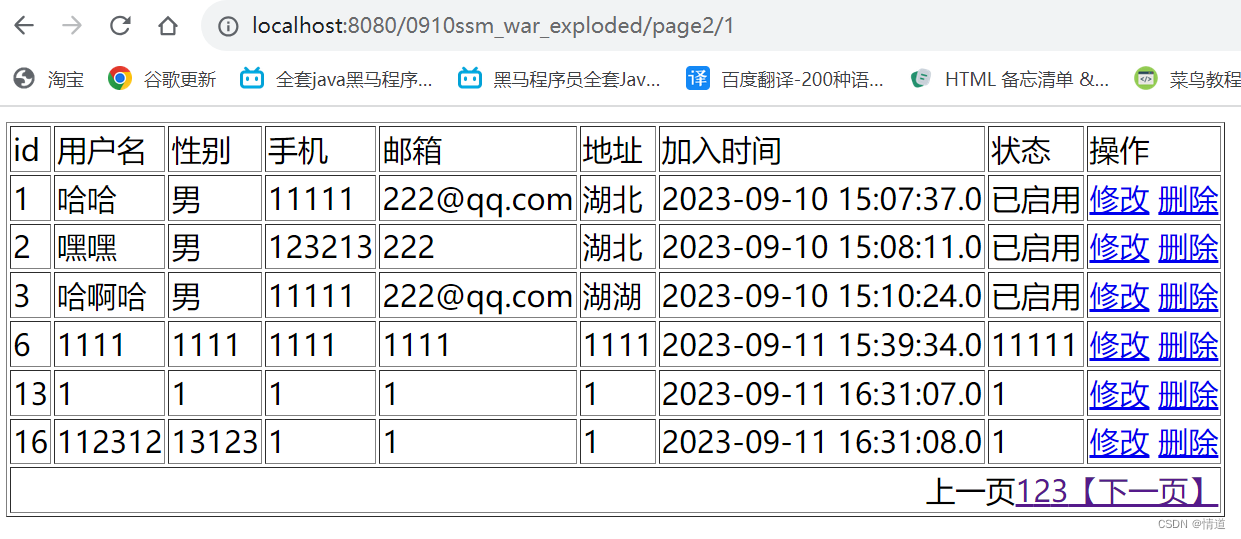
效果展示:


 309
309

 被折叠的 条评论
为什么被折叠?
被折叠的 条评论
为什么被折叠?
 到【灌水乐园】发言


