


在前面讲到了关于Vuex数据状态管理的内容,讲了Vuex的五大核心属性,在这五大核心属性中就 state、mutation 和 actions 在前面介绍 Vuex 状态管理和讲 Vuex 中的同步和异步操作已经比较熟悉了,getter 是基于state 的计算属性,vue 中 computed从data中派生出的计算属性, vuex中 getter是从state中派生出的属性,对于getter的使用还是比较简单的,那么本篇主要来讲关于这最后一个核心属性 —— Module .
创建项目之后在 /store/index.js 文件后,将之前编写获取swiperList的操作放进入之后:
import Vue from 'vue'
import Vuex from 'vuex'
import { reqSwiperList } from '@/api'

Vue.use(Vuex)

export default new Vuex.Store({
  state: {
    swiperList: [] // swiperList-轮播列表
  },
  getters: {

  },
  actions: {
    async getSwiperList (store) {
      const result = await reqSwiperList()
      console.log(result)
      if (result.meta.status === 200) {
        const data = result.data.swiperList
        store.commit('receive_SwiperList', data)
      }
    }
  },
  mutations: {
    receive_SwiperList (state, data) {
      state.swiperList = data
    }
  },
  modules: {

  }
})
设想一下假设项目中还有其他模块内容,这些模块内容在编写上还是相信你可以完成而且排序整齐,但项目完成会发现这个index.js的文件太大了且可维护性差,项目的开发是一个团队的事情,而且负责的模块内容也需要编写到这里,团队成员的合作就会产生一些冲突,使用 Vuex 状态管理的本意是让团队的协助会变得方便且后期维护起来方便,但现在仅仅将所有的内容放置在index.js 下就不合理,所以就需要将内容分为模块(module),最后将模块在index.js进行管理!
下面来进行模块(Module)的引入使用:
Module
上面编写的是一个获取swiperList(轮播)数据,现在它是分到了项目中的首页去展示的,那么就来创建一下首页模块:
创建 /store/Module 文件夹来存放各模块内容,并在该文件目录下创建 HomeModule.js 模块文件:
// store/Module/HomeModule.js

/* 首页数据状态管理模块 */
import { reqSwiperList } from '@/api/index'

const module = {
  state: {
    swiperList: [] // swiperList-轮播列表
  },
  mutations: {
    receive_SwiperList (state, data) {
      state.swiperList = data
    }
  },
  actions: {
    async getSwiperList (store) {
      const result = await reqSwiperList()
      console.log(result)
      if (result.meta.status === 200) {
        const data = result.data.swiperList
        store.commit('receive_SwiperList', data)
      }
    }
  }
}

export default module
这个内容就是首页模块需要管理的数据状态了,那么还需要将它引入到 /store/index.js 的文件中去,如下:
// store/index.js
import Vue from 'vue'
import Vuex from 'vuex'
import HomeModule from '@/store/Module/HomeModule'

Vue.use(Vuex)

export default new Vuex.Store({
  state: {
  },
  getters: {
  },
  mutations: {
  },
  actions: {
  },
  modules: {
    HomeModule
  }
})
可以看到现在 /store/index.js 的文件中引入 modules: { HomeModule } 首页数据状态管理的模块,如果要引入其他的模块,例如:服务模块,在Module文件夹中创建服务模块ServiceModule.js后,编写需要管理的数据状态即可,接着将在/store/index.js文件中去引入该模块就好了,妙哉!
下面来测试运行一下是否成功:(实践是检验真理的唯一标准)
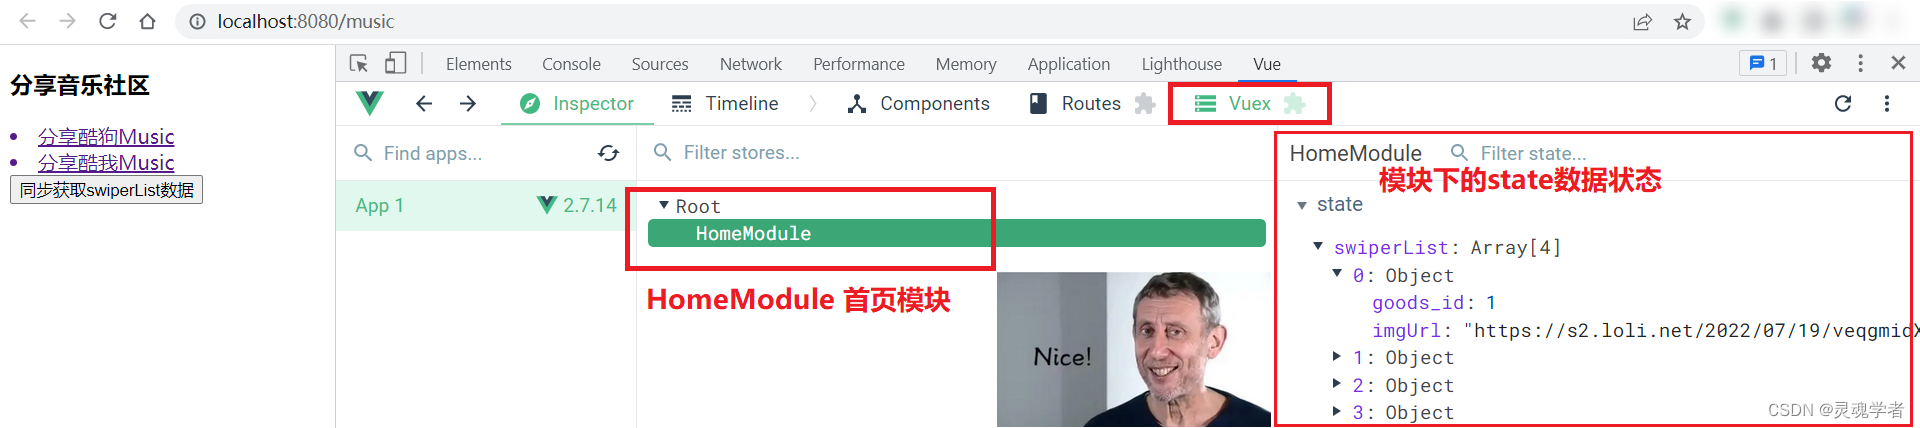
通过 Devtools 拓展工具就可以看到加载了HomeModule模块以及有对应模块的state数据状态管理,到这一步是不是隐隐约约有个老头撅个嘴说 "Nice!!!" 别急,还有下一步呢!
如果是上一篇目到达此地,可能就说,视图怎么没更新?
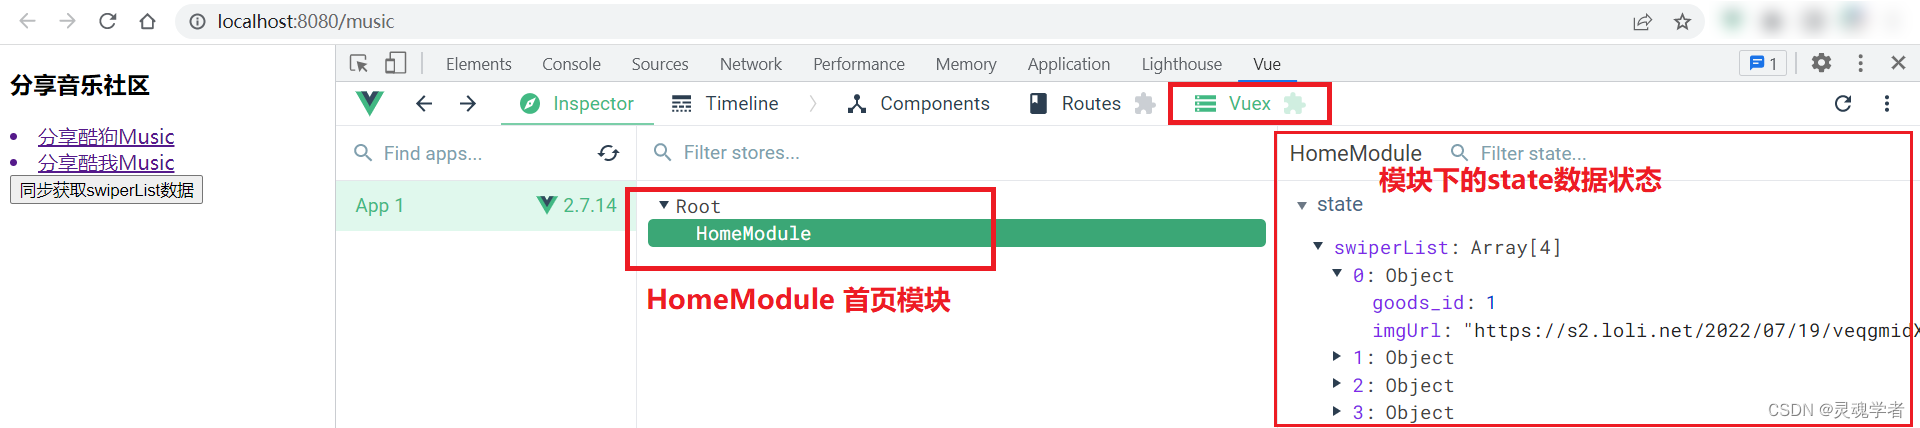 不应该是如下面这般的吗?


就挺秃然的是吧,那下面就来讲怎么让它出来好吧!
渲染视图
Vuex状态模式改变了,对应的渲染视图操作也需要调整;首先先来打开命名空间:
namespace 命名空间
在编写的模块当中添加一个namespace属性,属性值为true!
// store/Module/HomeModule.js

/* 首页数据状态管理模块 */
import { reqSwiperList } from '@/api/index'

const module = {
  // 命名空间
  namespace: true,
  state: {
    swiperList: [] // swiperList-轮播列表
  },
...
mapState 映射状态
那么就来到首页页面MusicView.vue中来导入vuex,通过 mapState 来映射状态,那么现在在mounted生命周期打印一下,使用 mapState 来将 HomeModule 模块中 state.swiperList 进行切割出来;
mapState('模块名称',[切割内容])注:使用数组[ ] 是因为在模块中的state中的数据状态不止一个,比如有swiperList,可能还有navList 等这些其他数据状态;
<!--MusicView.vue-->
...
<script>
import { mapState } from 'vuex'
export default {
  mounted () {
    console.log(mapState('HomeModule', ['swiperList']))
  },
...
可以知道拿到的是一个对象,怎么来使用呢?那么在这个对象中呢有这样一个方法供你在计算属性当中来使用;在 第十六篇 Computed 计算属性的应用 中就讲过了计算属性的使用,举一个简单的例子:computed:{ sum(){ return ... } } ,在页面中直接把 sum 拿过来用就可以了对吧,那么现在就是去展开这个对象,然后将它取出来用!
... mapState()
在计算属性中通过三个点 ' ... ' 就可以展开一个数组或是一个对象(ES6语法),如下:

通过以上的讲解你就知道这块 ...mapState('HomeModule',['swiperList']) 是什么了,就是展开切割出来的对象,这对象就是映射该模块的所要取的状态;现在来计算属性中展开:
...
<script>
import { mapState } from 'vuex'
export default {
computed: {
...mapState('HomeModule', ['swiperList'])
},
mounted () {
console.log(mapState('HomeModule', ['swiperList']))
},
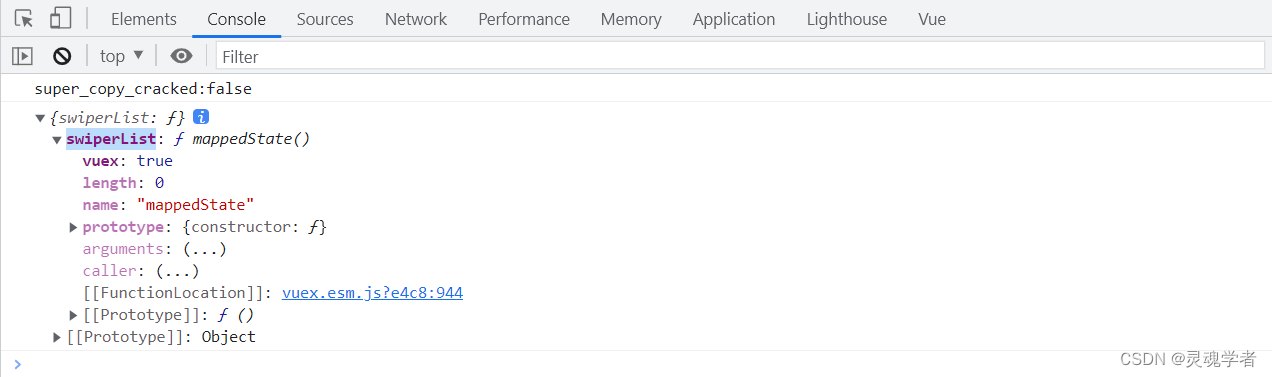
...依然没有视图,打开控制台出现这一句(心想:"真的要奔溃啦"):

同理,mapState 将状态映射出来,同理,这里也需要将 actions 的方法进行映射出来这个模块的方法 getSwiperList ;
...mapActions
将mapActions引入之后,通过在methods中将方法进行映射;
...
<button @click="getSwiperList">同步获取swiperList数据</button>
...
<script>
import { mapActions, mapState } from 'vuex'
export default {
  computed: {
    ...mapState('HomeModule', ['swiperList'])
  },
  methods: {
    ...mapActions('HomeModule', ['getSwiperList']),
    // 按钮事件
    getSwiperList () {
      // 通过dispatch触发actions调用
      this.$store.dispatch('getSwiperList')
    }
  }
...
别急,现在已经将 getSwiperList 方法引入了,就不需要通过this.$store.dispatch()来调用函数了,直接调用该函数就可以了;[ 注:把按钮的触发事件名称修改一下,避免冲突 ]
<button @click="getSwiperData">同步获取swiperList数据</button>
...
methods: {
// 按钮事件
getSwiperData () {
// 通过dispatch触发actions调用
this.getSwiperList()
}
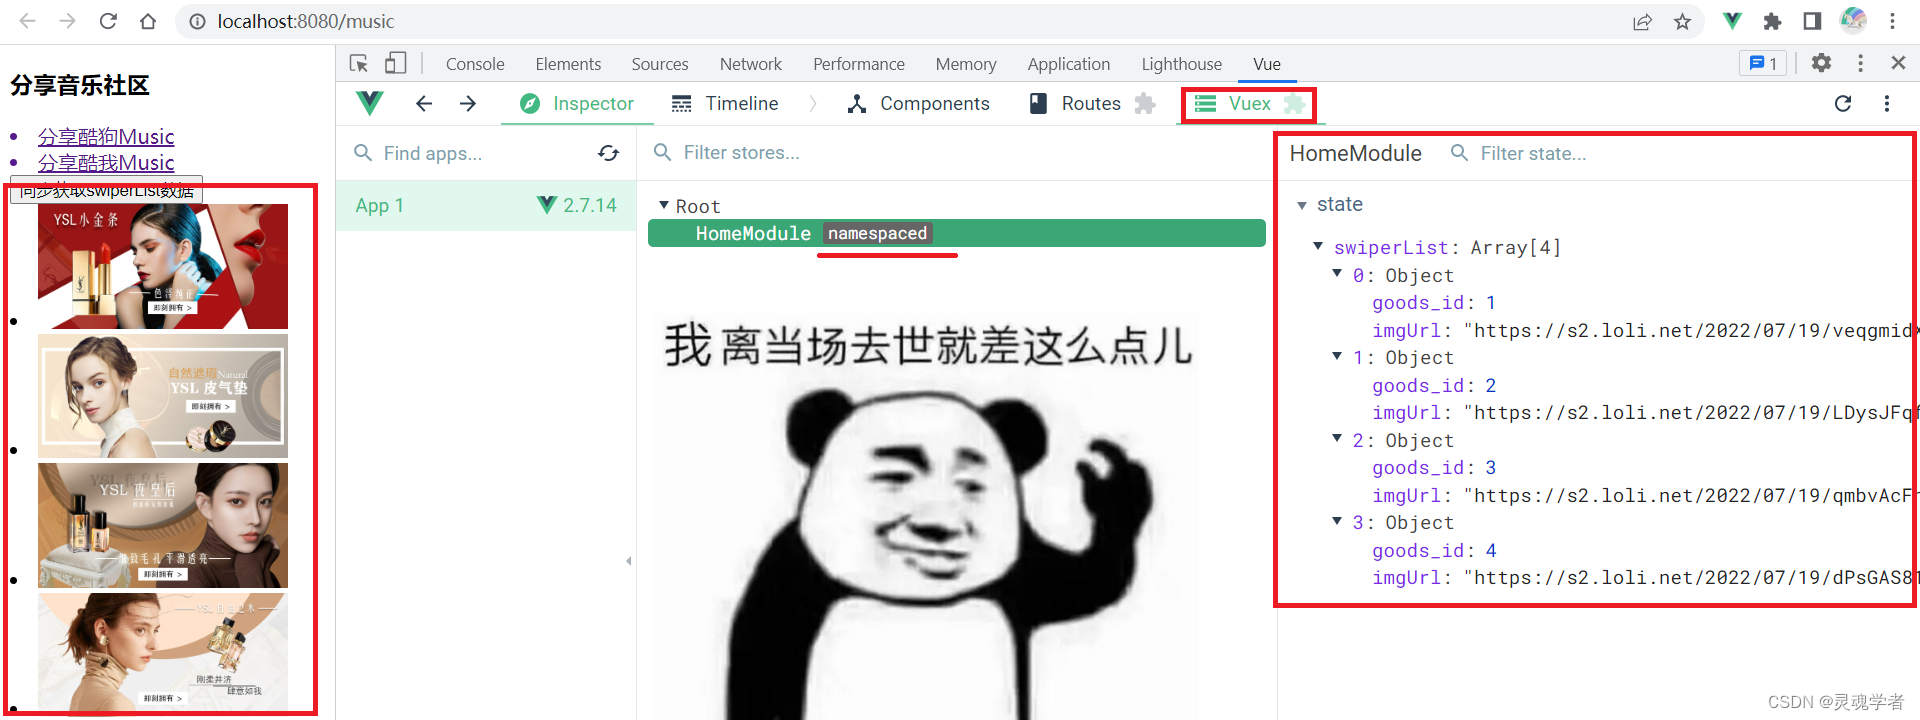
}现在来测试一下代码:在页面使用v-for做渲染的时候,也不需要使用 this.$store.state.swiperList
通过 mapState 映射状态可以直接使用 swiperList 即可!
<template>
    <div>
        <h3>分享音乐社区</h3>
        <router-link to="/music/kugou" active-class="chosen_cl"><li>分享酷狗Music</li></router-link>
        <router-link to="/music/kuwo" active-class="chosen_cl"><li>分享酷我Music</li></router-link>
        <router-view></router-view>
        <button @click="getSwiperData">同步获取swiperList数据</button>
        <li v-for="item in swiperList" :key="item.goods_id">
          <img :src="item.imgUrl" alt="">
        </li>
    </div>
</template>

<script>
import { mapActions, mapState } from 'vuex'
export default {
  computed: {
    ...mapState('HomeModule', ['swiperList'])
  },
  methods: {
    ...mapActions('HomeModule', ['getSwiperList']),
    // 按钮事件
    getSwiperData () {
      // 通过dispatch触发actions调用
      // this.$store.dispatch('getSwiperList')
      this.getSwiperList()
    }
  }
}
</script>

<style lang="scss">
  .chosen_cl{
    color:skyblue;
    font-weight: bold;
  }
  img{
    width: 200px;
  }
</style>
本篇目讲到这里就已然结束了,在此关于对Vuex的数据状态管理有了一个比较充分的认识,对Vuex中的五大核心属性也有了了解,在之后的项目开发中可以尝试着使用Vuex数据状态管理的模式来开发项目,希望本篇能助你在项目开发这条路上的起初是一块垫脚石!感谢大家的支持!


 4387
4387


 被折叠的 条评论
为什么被折叠?
被折叠的 条评论
为什么被折叠?
 到【灌水乐园】发言


