


🧡🧡🧡 原生 JS 学习中,我们学会了使用 offset 来获取元素距离 父元素(有定位的父元素) 或 文档元素 上(offsetLeft)左(offsetTop)的距离,还学会了使用 offsetWidth 来获取元素的尺寸,以及 scroll 事件中的 scrollTop 卷上去头部尺寸的方法等等。jQuery 里也封装了一系列方法来完成 元素尺寸 以及 位置 的操作,学会了这个,我们便可以使用 jQuery 来完成以前用原生 JS 写过的京东放大镜,以及电梯导航等案例啦,大家下面跟我一起学习看看吧!!!
尺寸位置操作类别导图:

文章目录:
1.2 innerWidth() / innerHeight() 尺寸操作
1.3 outerWidth() / outerHeight() 尺寸操作
1.4 outerWidth(true) / outerHeight(true) 尺寸操作
一:尺寸方法
💜 jQuery对于元素尺寸封装的方法有以下几种:
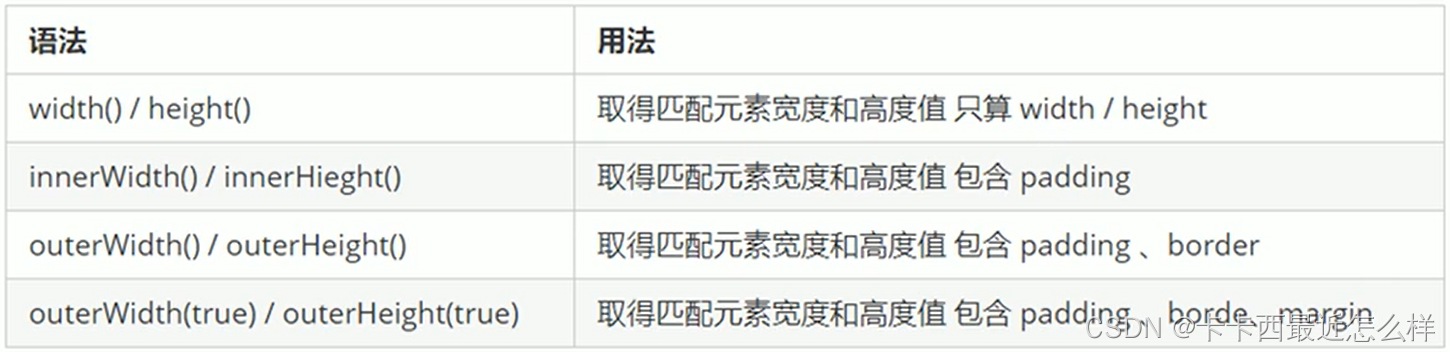
1.1 width() / height() 尺寸操作
width() / height() 可以获取设置元素的宽高,但是这个值 不包含 border,padding,margin,只包含元素本身的 width 与 height,括号内无参数为获取操作,加上对应数值为赋值设置操作
获取宽高(本身大小):
 <style>
        div{
            width: 200px;
            height: 200px;
            padding: 20px;
            margin: 20px;
            border: 20px solid rgb(131, 131, 131);
            background-color: rgb(245, 203, 203);
        }
    </style>
</head>
<body>
   <div></div>
      <script>
           console.log($('div').width())
           console.log($('div').height())
      </script>
  </body>
💛 我们只拿到了宽高 200,不包含内外边距和边框,并且得到的是数字型

设置宽高(本身大小):
    <style>
        div{
            width: 200px;
            height: 200px;
            padding: 20px;
            margin: 20px;
            border: 20px solid rgb(131, 131, 131);
            background-color: rgb(245, 203, 203);
        }
    </style>
</head>
<body>
   <div></div>
      <script>
           $('div').width(300)
           $('div').height(300)
      </script>
  </body>
💛 宽高均被设置成了 300

1.2 innerWidth() / innerHeight() 尺寸操作
innerWidth() / innerHeight() 可以获取设置元素的宽高,但是这个值 不包含 border,margin,只包含元素本身的 width 与 height 和 padding,括号内无参数为获取操作,加上对应数值为赋值设置操作
获取宽高(本身大小 + padding):
    <style>
        div{
            width: 200px;
            height: 200px;
            padding: 20px;
            margin: 20px;
            border: 20px solid rgb(131, 131, 131);
            background-color: rgb(245, 203, 203);
        }
    </style>
</head>
<body>
   <div></div>
      <script>
           console.log($('div').innerWidth())
           console.log($('div').innerHeight())
      </script>
  </body>
💛 我们拿到了宽高 以及内边距 padding,不包含外边距和边框,得到的是数字型

获取宽高(本身大小 + padding):
    <style>
        div{
            width: 200px;
            height: 200px;
            padding: 20px;
            margin: 20px;
            border: 20px solid rgb(131, 131, 131);
            background-color: rgb(245, 203, 203);
        }
    </style>
</head>
<body>
   <div></div>
      <script>
        $('div').innerWidth(300)
        $('div').innerHeight(300)
      </script>
  </body>
💛 设置的值虽然为 300,但是由于 innerWidth 或 innerHeight 是包含padding 的,由于此处 padding 为 20,所以会自动将内容区域改为 260(300-20-20)

1.3 outerWidth() / outerHeight() 尺寸操作
outerWidth() / outerHeight() 可以获取设置元素的宽高,但是这个值 不包含 margin,只包含元素本身的 width 与 height,padding,border,括号内无参数为获取操作,加上对应数值为赋值设置操作
获取宽高(本身大小 + padding + border):
    <style>
        div{
            width: 200px;
            height: 200px;
            padding: 20px;
            margin: 20px;
            border: 20px solid rgb(131, 131, 131);
            background-color: rgb(245, 203, 203);
        }
    </style>
</head>
<body>
   <div></div>
      <script>
           console.log($('div').outerWidth())
           console.log($('div').outerHeight())
      </script>
  </body>
💛 我们拿到了宽高 以及内边距 padding 还有边框 border,不包含外边距,得到的是数字型

设置宽高(本身大小 + padding + border):
    <style>
        div{
            width: 200px;
            height: 200px;
            padding: 20px;
            margin: 20px;
            border: 20px solid rgb(131, 131, 131);
            background-color: rgb(245, 203, 203);
        }
    </style>
</head>
<body>
   <div></div>
      <script>
           $('div').outerWidth(300)
           $('div').outerHeight(300)
      </script>
  </body>
💛 设置的值虽然为 300,但是由于 outerWidth 或 outerHeight 是包含padding 和 border 的,由于此处 padding 和 border 均为 20,所以会自动将内容区域改为 220(300-20-20-20-20)

1.4 outerWidth(true) / outerHeight(true) 尺寸操作
既然边框,内边距都能获取过来了,那么外边距是不是也能获取来呢?对啦,只需要将参数改为 true 就可以获取包含所有边距边框的尺寸,outerWidth(true) / outerHeight(true) 可以获取设置元素的宽高,获取值包含元素本身的 width 与 height,padding,border,以及margin,由于参数只能为 true,所以这个方法只能获取,不能设置
🧀 注意:我们可以发现,jQuery 给了我们可以拿到外边距 margin 的方法,而原生 JS 没有给我们该类方法
获取包含 padding,border,margin 的元素尺寸:
    <style>
        div{
            width: 200px;
            height: 200px;
            padding: 20px;
            margin: 20px;
            border: 20px solid rgb(131, 131, 131);
            background-color: rgb(245, 203, 203);
        }
    </style>
</head>
<body>
   <div></div>
      <script>
           console.log($('div').outerWidth(true))
           console.log($('div').outerHeight(true))
      </script>
  </body>
💛 我们拿到了宽高 以及内边距 padding,border 以及 margin,得到的是数字型

二:位置方法 offset
位置方法主要有四个,分别是 offset(),position(),scrollTop,scrollLeft,此版块为 offset() 相关方法
2.1 offset() 位置方法
offset() 返回的是包含了相对于文档的位置的一个对象,对象内容有元素的 top left 信息,并且这个信息是相对于文档的,无参数为获取,有参数为设置,大家需要记住一点,offset 的方法无论元素有没有父元素,也不论父元素有没有定位,得到的都是到文档的位置,下面举例证明一下:
offset() 获取位置:
无父元素:
        div{
            position: absolute;
            left: 30px;
            top: 20px;
            width: 200px;
            height: 200px;
            background-color: rgb(245, 203, 203);
        }
    </style>
</head>
<body>
   <div></div>
      <script>
           console.log($('div').offset())
      </script>
  </body>

有父元素(无定位):
        .father{
            width: 500px;
            height: 500px;
            background-color: rgb(173, 173, 173);
        }
        .son{
            position: absolute;
            left: 30px;
            top: 20px;
            width: 200px;
            height: 200px;
            background-color: rgb(245, 203, 203);
        }
    </style>
</head>
<body>
    <div class="father">
        <div class="son"></div>
    </div>

      <script>
           console.log($('.son').offset())
      </script>
  </body>
有父元素(有定位):
        .father{
            position: relative;
            top: 20px;
            width: 500px;
            height: 500px;
            background-color: rgb(173, 173, 173);
        }
        .son{
            position: absolute;
            left: 30px;
            top: 20px;
            width: 200px;
            height: 200px;
            background-color: rgb(245, 203, 203);
        }
    </style>
</head>
<body>
    <div class="father">
        <div class="son"></div>
    </div>

      <script>
           console.log($('.son').offset())
      </script>
  </body>

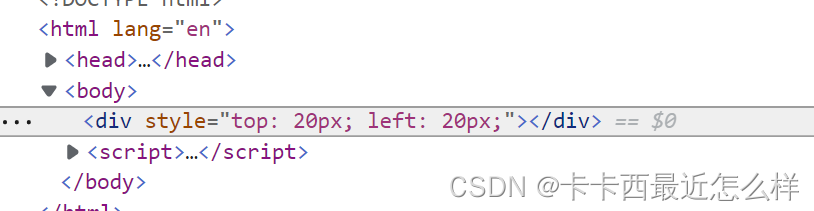
offset() 设置位置:
以对象形式设置 top 或 left
        div{
            position: absolute;
            width: 200px;
            height: 200px;
            background-color: rgb(245, 203, 203);
        }
    </style>
</head>
<body>
   <div></div>
      <script>
           console.log($('div').offset({
               'top':'20',
               'left':'20'
           }))
      </script>
  </body>
💛 我们成功设置了其 top 与 left
2.2 offset().top 位置方法
获取到文档顶部的距离,同样不论有无父元素或定位,均为到文档顶部
        .father{
            position: relative;
            top: 20px;
            width: 500px;
            height: 500px;
            background-color: rgb(173, 173, 173);
        }
        .son{
            position: absolute;
            left: 30px;
            top: 20px;
            width: 200px;
            height: 200px;
            background-color: rgb(245, 203, 203);
        }
    </style>
</head>
<body>
    <div class="father">
        <div class="son"></div>
    </div>

      <script>
           console.log($('.son').offset().top)
      </script>
  </body>
💛 拿到了其到文档顶部的距离
2.3 offset().left 位置方法
获取到文档左侧的距离,同样不论有无父元素或定位,均为到文档左侧
        .father{
            position: relative;
            top: 20px;
            left: 40px;
            width: 500px;
            height: 500px;
            background-color: rgb(173, 173, 173);
        }
        .son{
            position: absolute;
            left: 30px;
            top: 20px;
            width: 200px;
            height: 200px;
            background-color: rgb(245, 203, 203);
        }
    </style>
</head>
<body>
    <div class="father">
        <div class="son"></div>
    </div>

      <script>
           console.log($('.son').offset().left)
      </script>
  </body>
💛 拿到了其到文档左侧的距离

三:位置方法 position()
位置方法主要有四个,分别是 offset(),position(),scrollTop,scrollLeft,此版块为 position() 相关方法,这个方法是为了解决如上不能获取到距离父元素的距离而出现的方法,也就是说这个方法可以得到距离有定位父元素的左和上方距离,若要单独得到某个 top 或 left,position().top 或 position().left 即可,此版块不多解释啦,同上
注意:position() 只能获取,不能设置!!!
position() 获取位置:
        .father{
            position: relative;
            top: 20px;
            left: 40px;
            width: 500px;
            height: 500px;
            background-color: rgb(173, 173, 173);
        }
        .son{
            position: absolute;
            left: 30px;
            top: 20px;
            width: 200px;
            height: 200px;
            background-color: rgb(245, 203, 203);
        }
    </style>
</head>
<body>
    <div class="father">
        <div class="son"></div>
    </div>
      <script>
           console.log($('.son').position())
      </script>
  </body>
💛 拿到了其距离有定位父元素的左和上方距离

四:页面滚动
页面滚动我们先要知道一个页面滚动的事件:
- $(window).scroll( function(){ } )
scrollTop() 和 scrollLeft() 一个是返回被卷去的头部,另一个是被卷去的左侧,二者使用方法一样,此文章只讲 scrollTop()
4.1 页面滚动事件
<script>
          $(window).scroll(function(){
              console.log($(document).scrollTop());
          })
      </script>
💛 我们可以看到,滚动页面触发了页面滚动事件,被卷上去的距离在不断输出
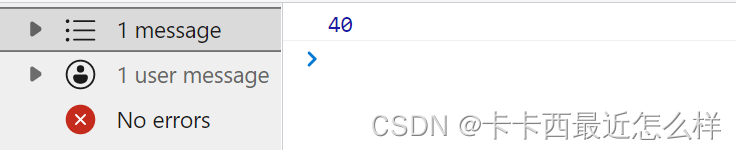
4.2 使页面到某个位置
要使页面到某个位置,使用的仍然是 scrollTop(),只不过需要将你目标位置写为参数即可
<body>
    <div></div>
    <button>点击后页面到100的位置</button>
      <script>
          $('button').click(function(){
               $(document).scrollTop(100)
               console.log($(document).scrollTop());
          })
      </script>
  </body>
💛 点击后页面滚动到了 卷上去100px 的位置

案例一:侧边栏固定及回顶弹窗
依旧是我们的这个页面:
- 上次我们是用原生JS 实现的,这次我们用 jQuery 来实现一样的功能,下面是原生 JS 的页面实现文章:
淘宝侧边栏下滑页面固定案例_卡卡西最近怎么样的博客-CSDN博客
https://blog.csdn.net/weixin_52212950/article/details/123618721

jQuery 实现代码:
完整的页面样式布局代码小伙伴们自己去上方链接文章中复制噢,把 script 标签内的内容换成这个即可
<script>
$(function(){
long1=$('.innercenter').offset().top
long2=$('.box').offset().top-$('.innercenter').offset().top
long3=$('.innerbottom').offset().top
$(window).scroll(function(){
if($(document).scrollTop()>=long1){
$('.box').css({
'position':'fixed',
'top':long2
})
}else{
$('.box').css({
'position':'absolute',
'top':'300px'
})
}if($(document).scrollTop()>=long3){
$('.center').fadeIn(1000)
}else{
$('.center').fadeOut(1000)
}
})
})
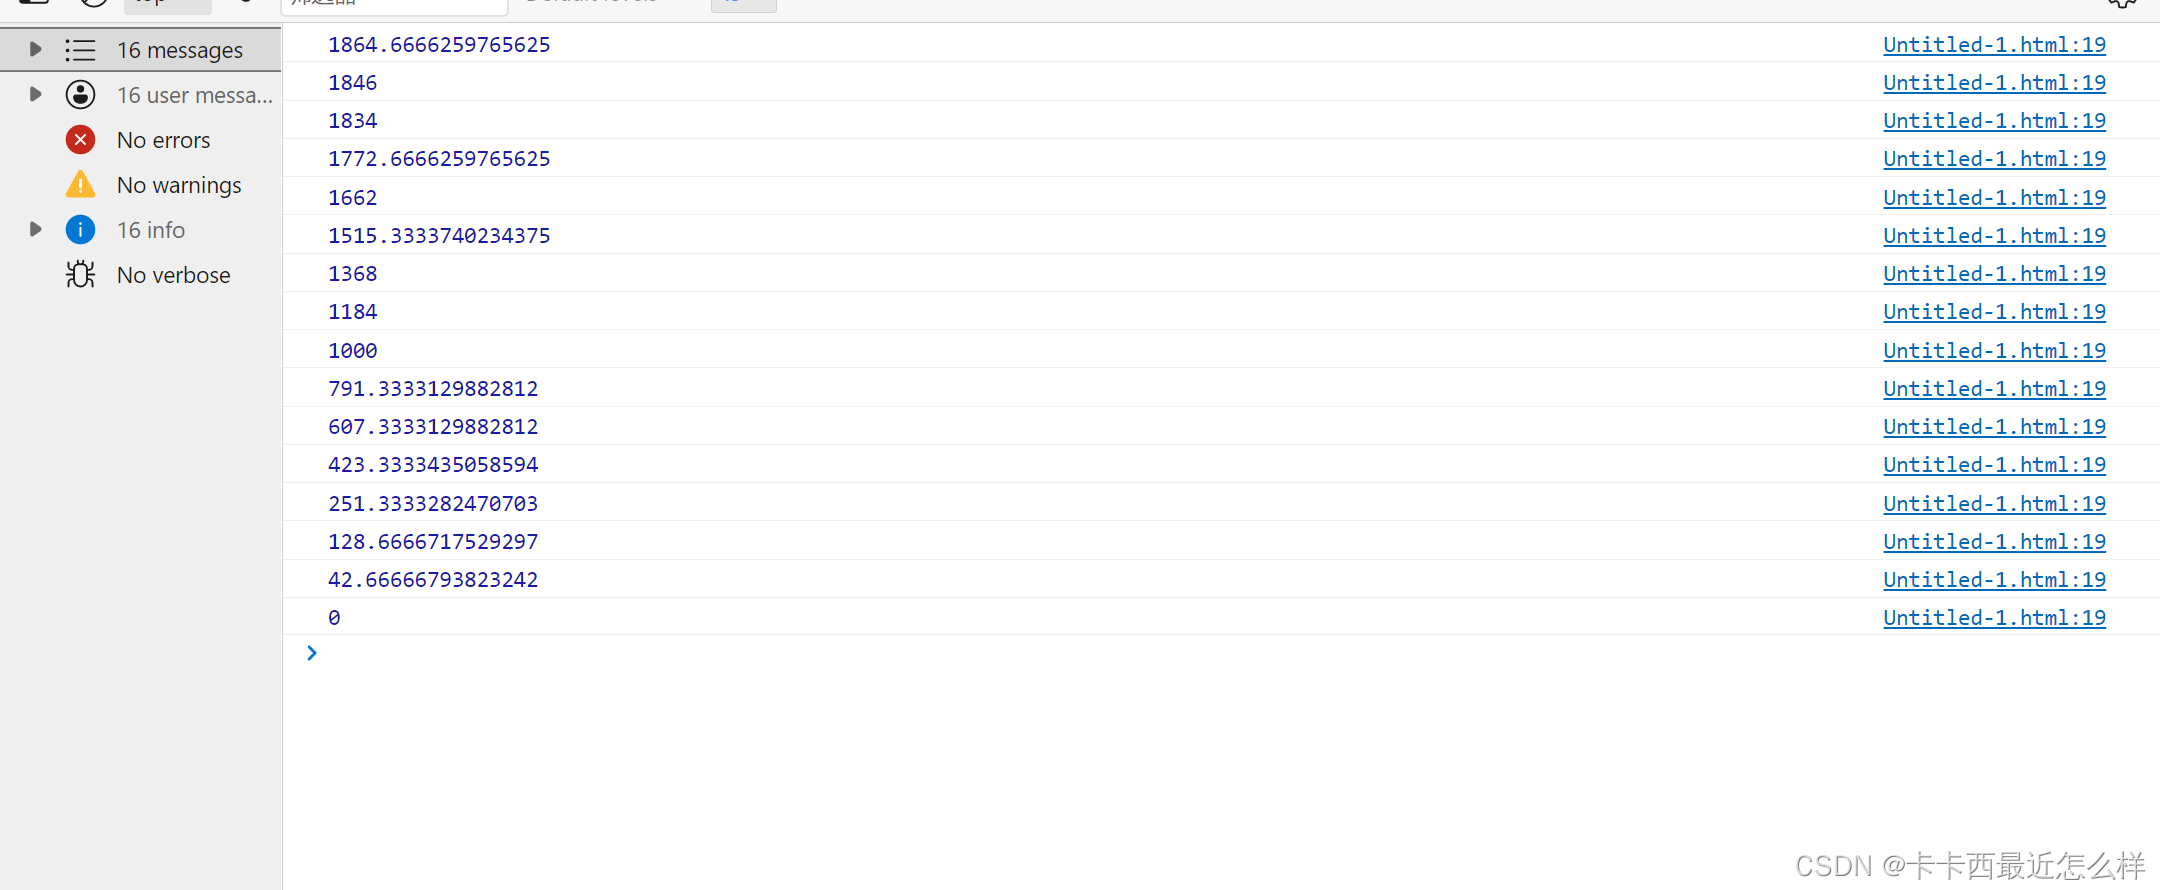
</script>案例二:缓动动画回到顶部
原生JS我们自己写了缓动动画回到了页面顶部,jQuery 既然给我们封装好了缓动动画 animate,那不用白不用呢是不是
🍿 注意点:
- 调用动画函数方法的应该是一个元素,而不是一个文档,此处要让页面文档滚动到0,但是我们应该写成 $('html'),不能写成文档形式 $(document)
  <script>
      $(function(){
        long1=$('.innercenter').offset().top
        long2=$('.box').offset().top-$('.innercenter').offset().top
        long3=$('.innerbottom').offset().top
          $(window).scroll(function(){
              if($(document).scrollTop()>=long1){
                  $('.box').css({
                      'position':'fixed',
                      'top':long2
                  })
              }else{
                  $('.box').css({
                      'position':'absolute',
                      'top':'300px'
                  })
              }if($(document).scrollTop()>=long3){
                  $('.center').fadeIn(1000)
              }else{
                $('.center').fadeOut(1000)
              }
          })
          $('a').click(function(){
               $('html').animate({
                   'scrollTop':'0',
               },1000)
          })
      })
  </script>


 1895
1895


 被折叠的 条评论
为什么被折叠?
被折叠的 条评论
为什么被折叠?
 到【灌水乐园】发言


