


uniapp
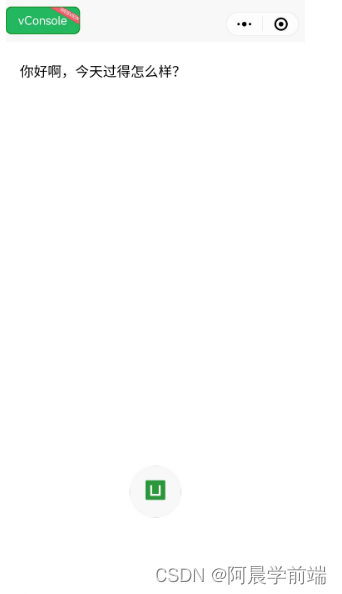
效果图:
插件:
采用小程序插件:微信同声传译。插件文档定位
具体步骤:
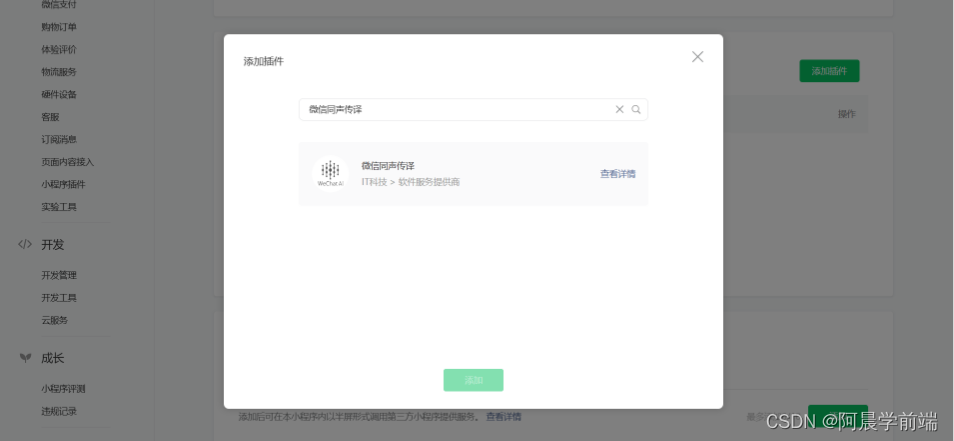
- 先登录小程序后台(项目别错了):官网传送
- 然后 设置 => 第三方设置 => 添加插件
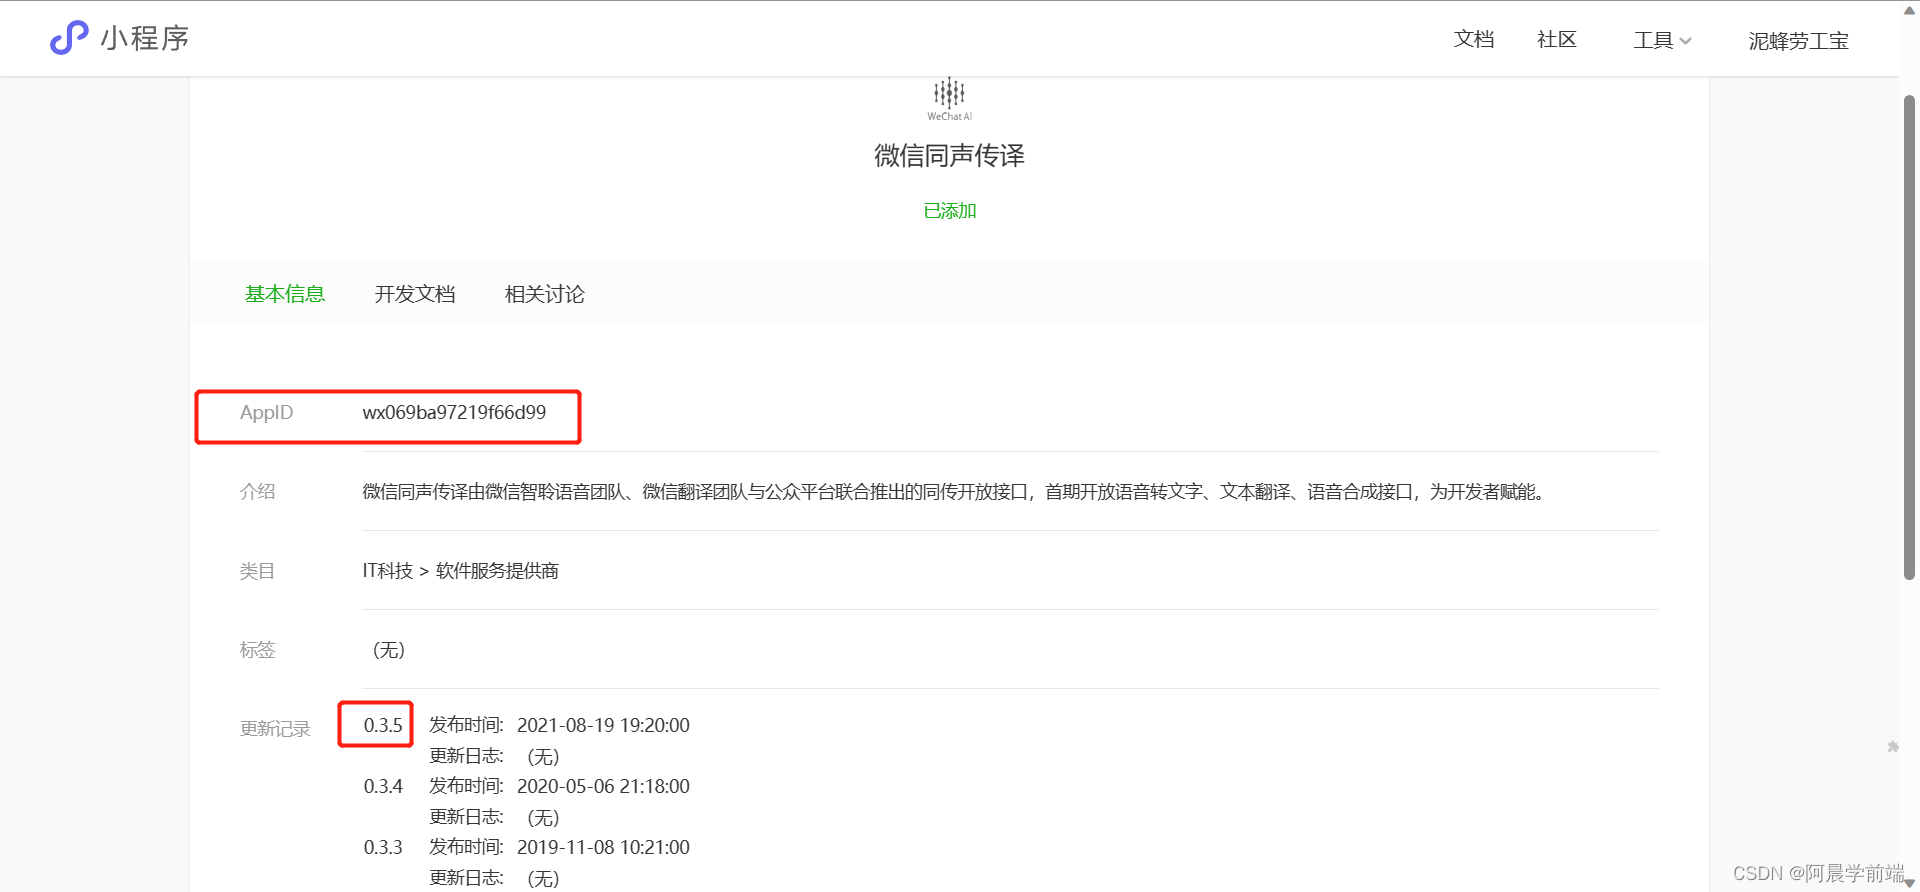
- 在插件文档里面拿到Appid和版本号
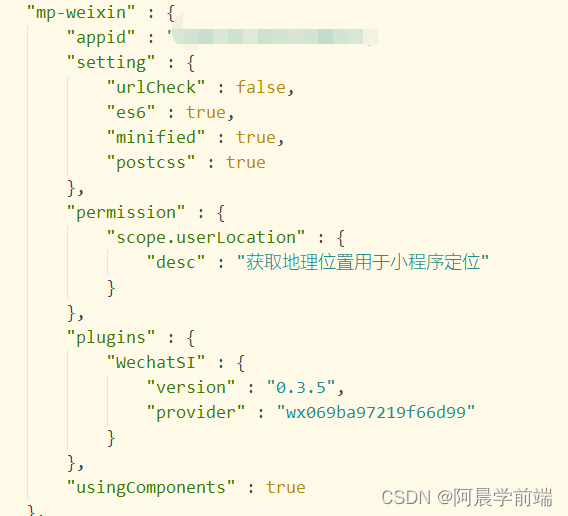
- 在manifest.json切换成源码视图 然后在appid同级目录添加插件
- 然后就是引用插件,开始使用了
完整代码:
<template>
	<view>
		<view class="voicepad">
			{{voiceState}}
		</view>
		<button class="cu-btn  bg-green voicebtn " @touchstart="touchStart" @touchend="touchEnd">
			<image src="../../static/logo.png" mode="widthFix" style="width: 50rpx;"></image>
		</button>
		<view class="center" style="background-color: #555555; color: #FFF;" v-show="isShow">
			正在录音...
		</view>
	</view>
</template>

<script>
	var plugin = requirePlugin("WechatSI")
	let manager = plugin.getRecordRecognitionManager();

	export default {
		data() {
			return {
				voiceState: "你可以这样说...",
				isShow: false
			}
		},
		onShow() {

		},
		onLoad() {
			this.initRecord();
		},
		methods: {
			touchStart() {
				this.isShow = true
				manager.start({
                    //指定录音的时长,单位ms,最大为60000
					duration: 60000,
                    //识别的语言,目前支持zh_CN en_US zh_HK
					lang: "zh_CN"
				});
			},
			touchEnd() {
				uni.showToast({
					title: '录音完成',
					icon: "none"
				})
				this.isShow = false
				manager.stop();
			},
			/**
			 * 初始化语音识别回调
			 * 绑定语音播放开始事件
			 */
			initRecord() {
				manager.onStart = (res) => {
					console.log('start', res.msg);
					this.voiceState = res.msg;
				};
				//有新的识别内容返回,则会调用此事件
				manager.onRecognize = (res) => {
					this.voiceState = res.result;
					console.log('onRecognize');
				}

				// 识别结束事件
				manager.onStop = (res) => {
					this.voiceState = res.result;
					console.log('onStop', res.result);
				}

				// 识别错误事件
				manager.onError = (res) => {
					this.voiceState = res.msg;
					console.log('onError');

				}
			},
		}
	}
</script>

<style>
	.voicebtn {
		height: 130upx;
		display: block;
		width: 130upx;
		line-height: 130upx;
		border-radius: 65upx;
		font-size: 50upx;
		position: absolute;
		top: 1060upx;
		left: 310upx;
	}

	.voicepad {
		height: 250upx;
		width: 680upx;
		background: #fff;
		margin: 30upx auto;
		border-radius: 8upx;

		padding: 20upx;
		font-size: 35upx;
	}

	.center {
		text-align: center;
		align-items: center;
		width: 200rpx;
		position: absolute;
		top: 50%;
		left: 50%;
		transform: translate(-50%, -50%);
		padding: 20rpx;
		border-radius: 20rpx;
		/* 	height: 50rpx; */
		opacity: 0.8;
	}
</style>
注解:
@touchstart="touchStart" 手指触摸动作开始触发
@touchend="touchEnd" 手指触摸动作结束触发
问题:
有的朋友启用真机调试可以会报:error occurs:no such file or directory, access 'wxfile://usr/miniprogramLog/log2'
将2.0转为1.0就行了,发布后可正常 不会出现问题
node
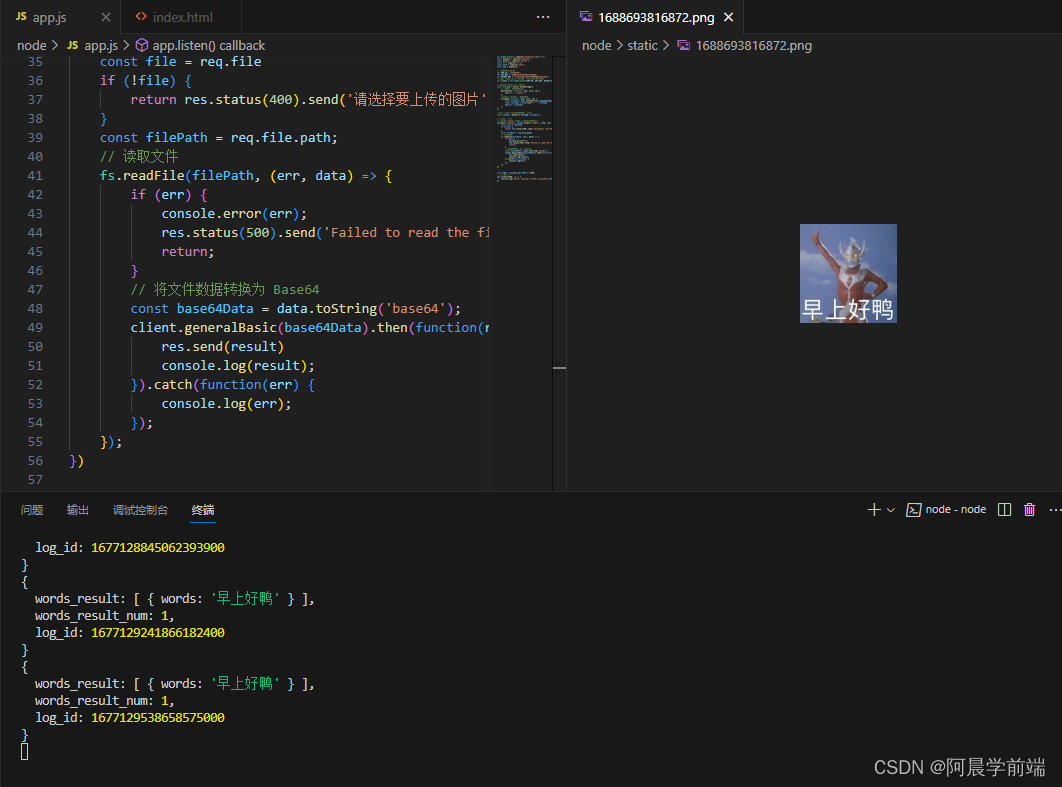
效果图:
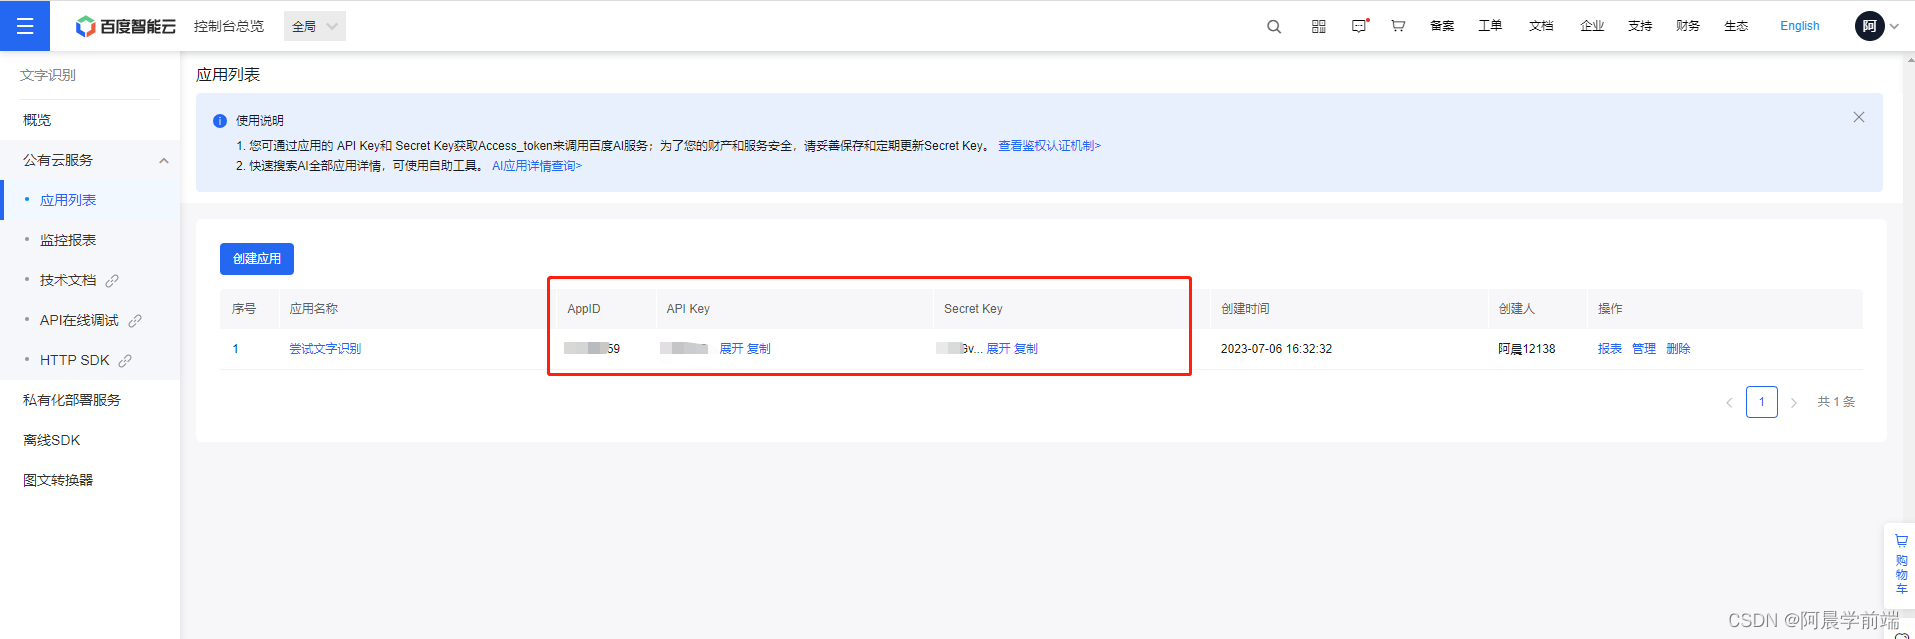
一、对接百度智能云
登录百度智能云:百度智能云-云智一体深入产业
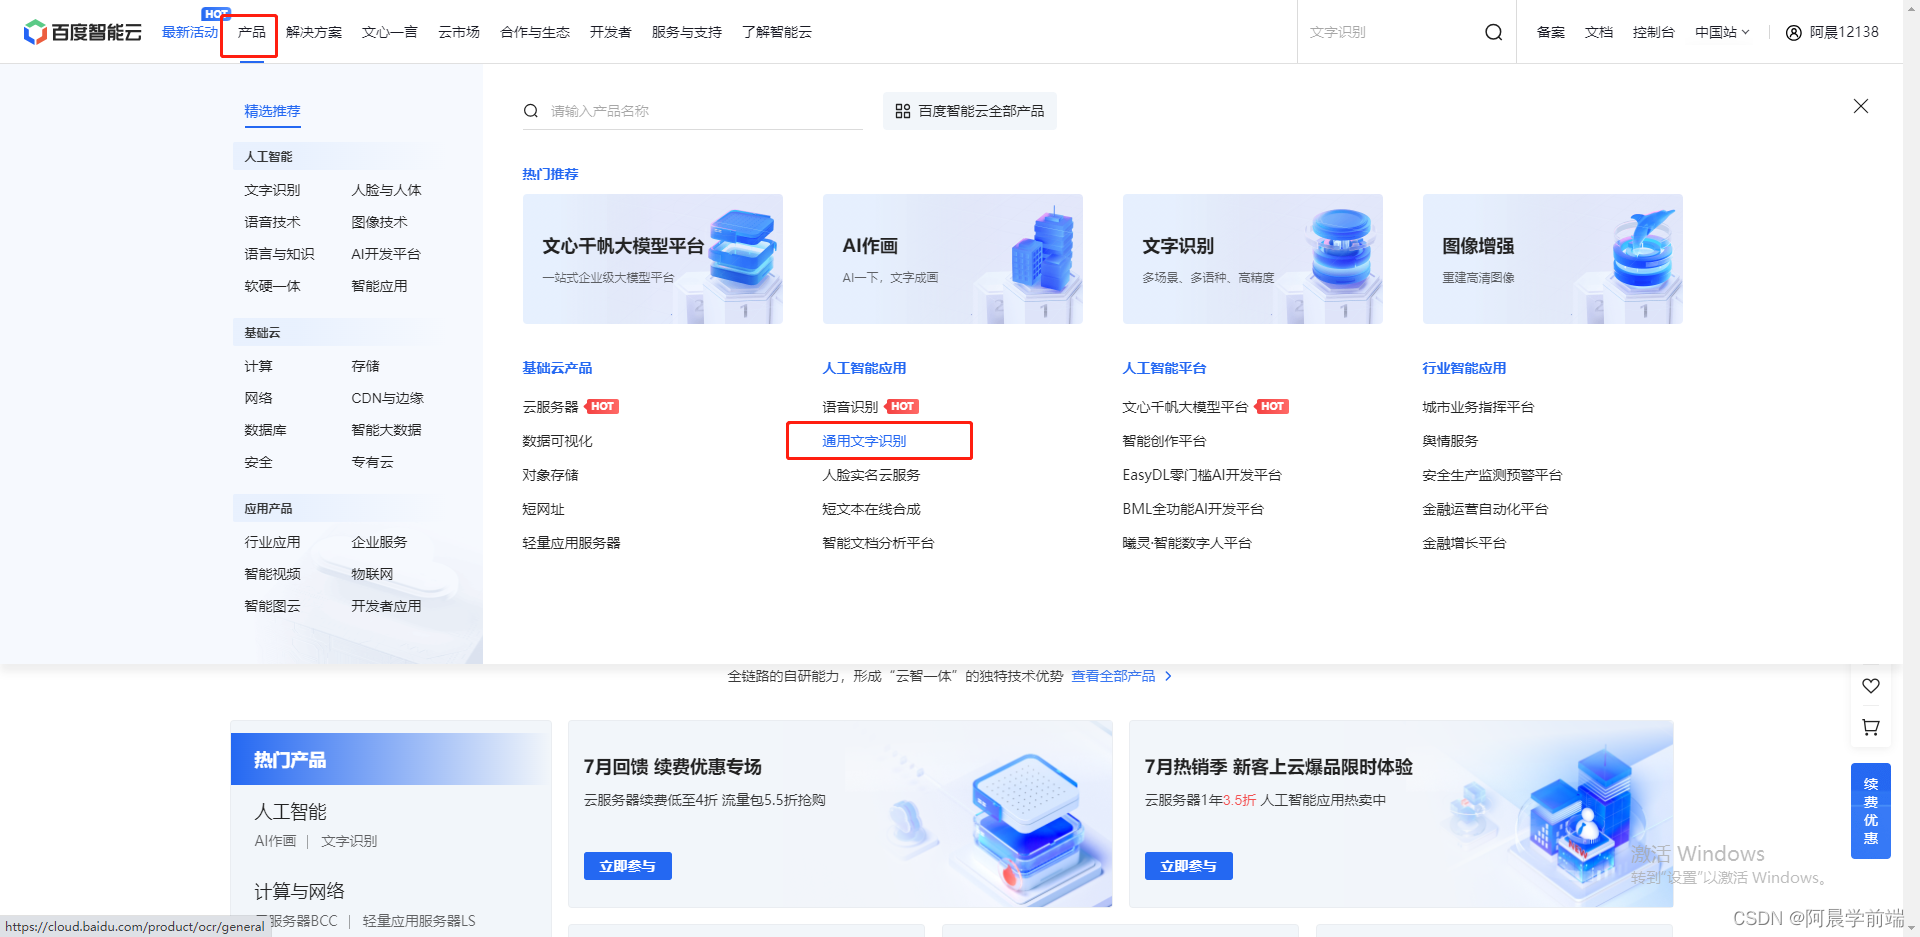
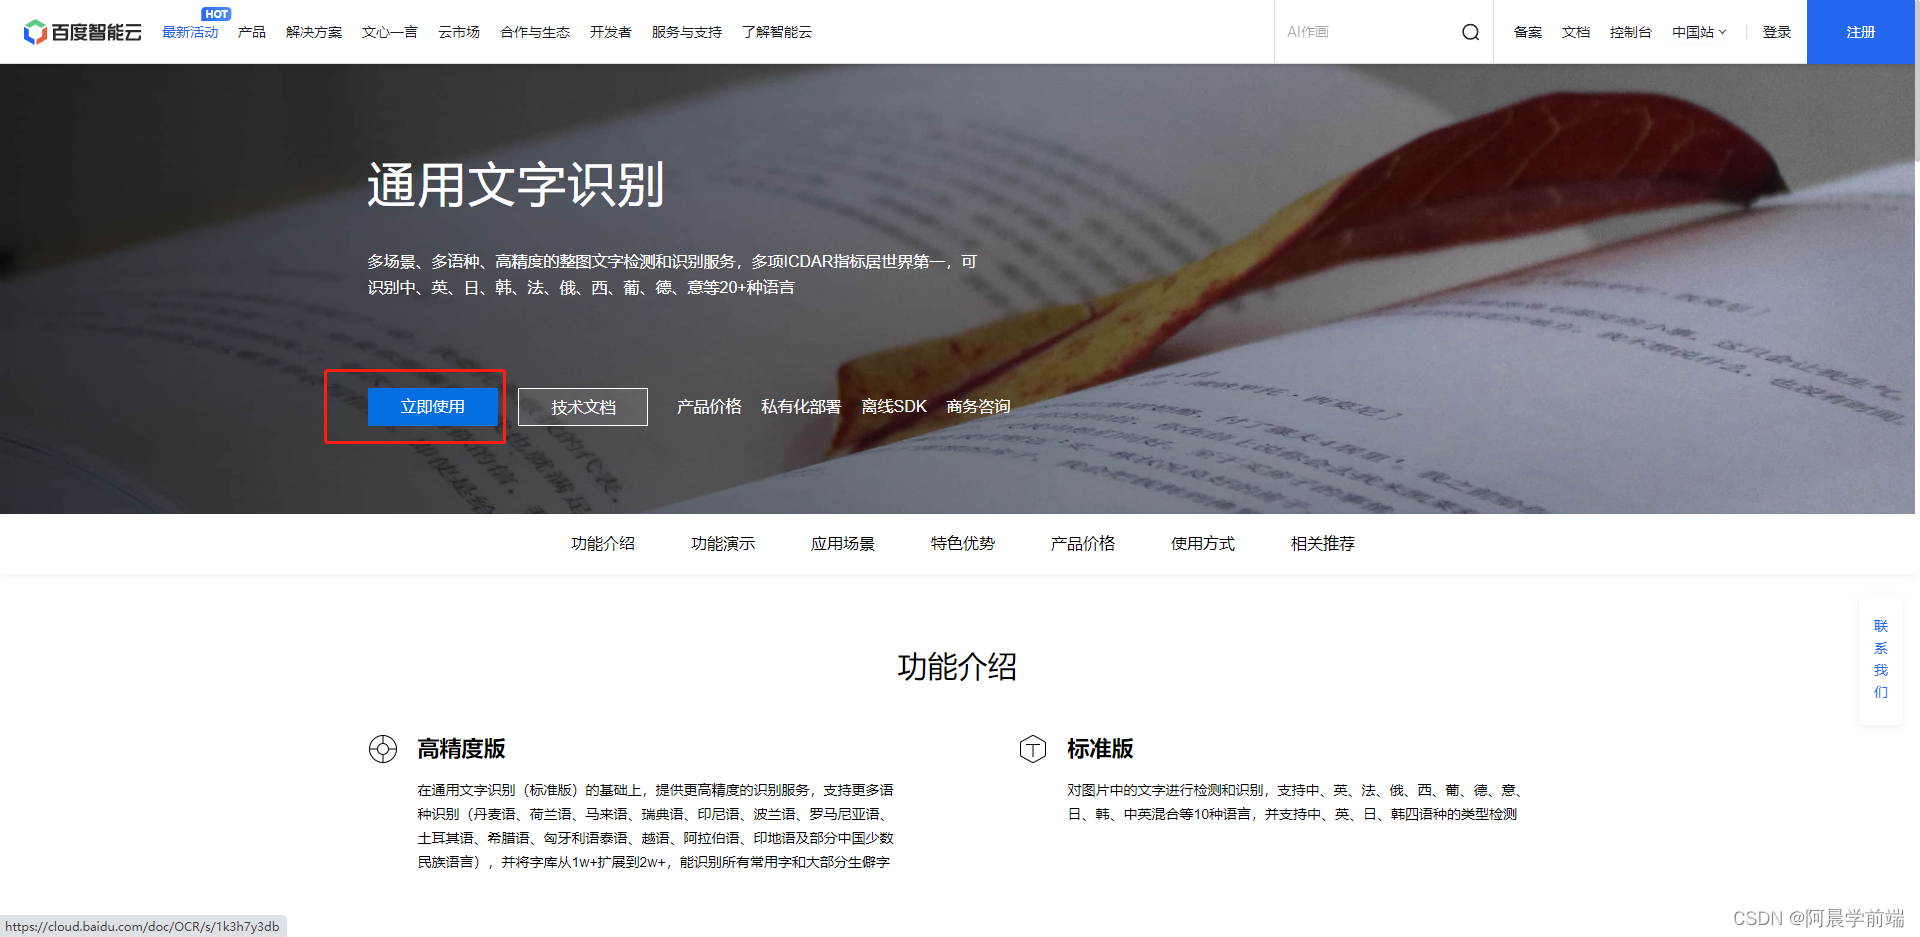
新用户可以免费体验,按照下面来就行:
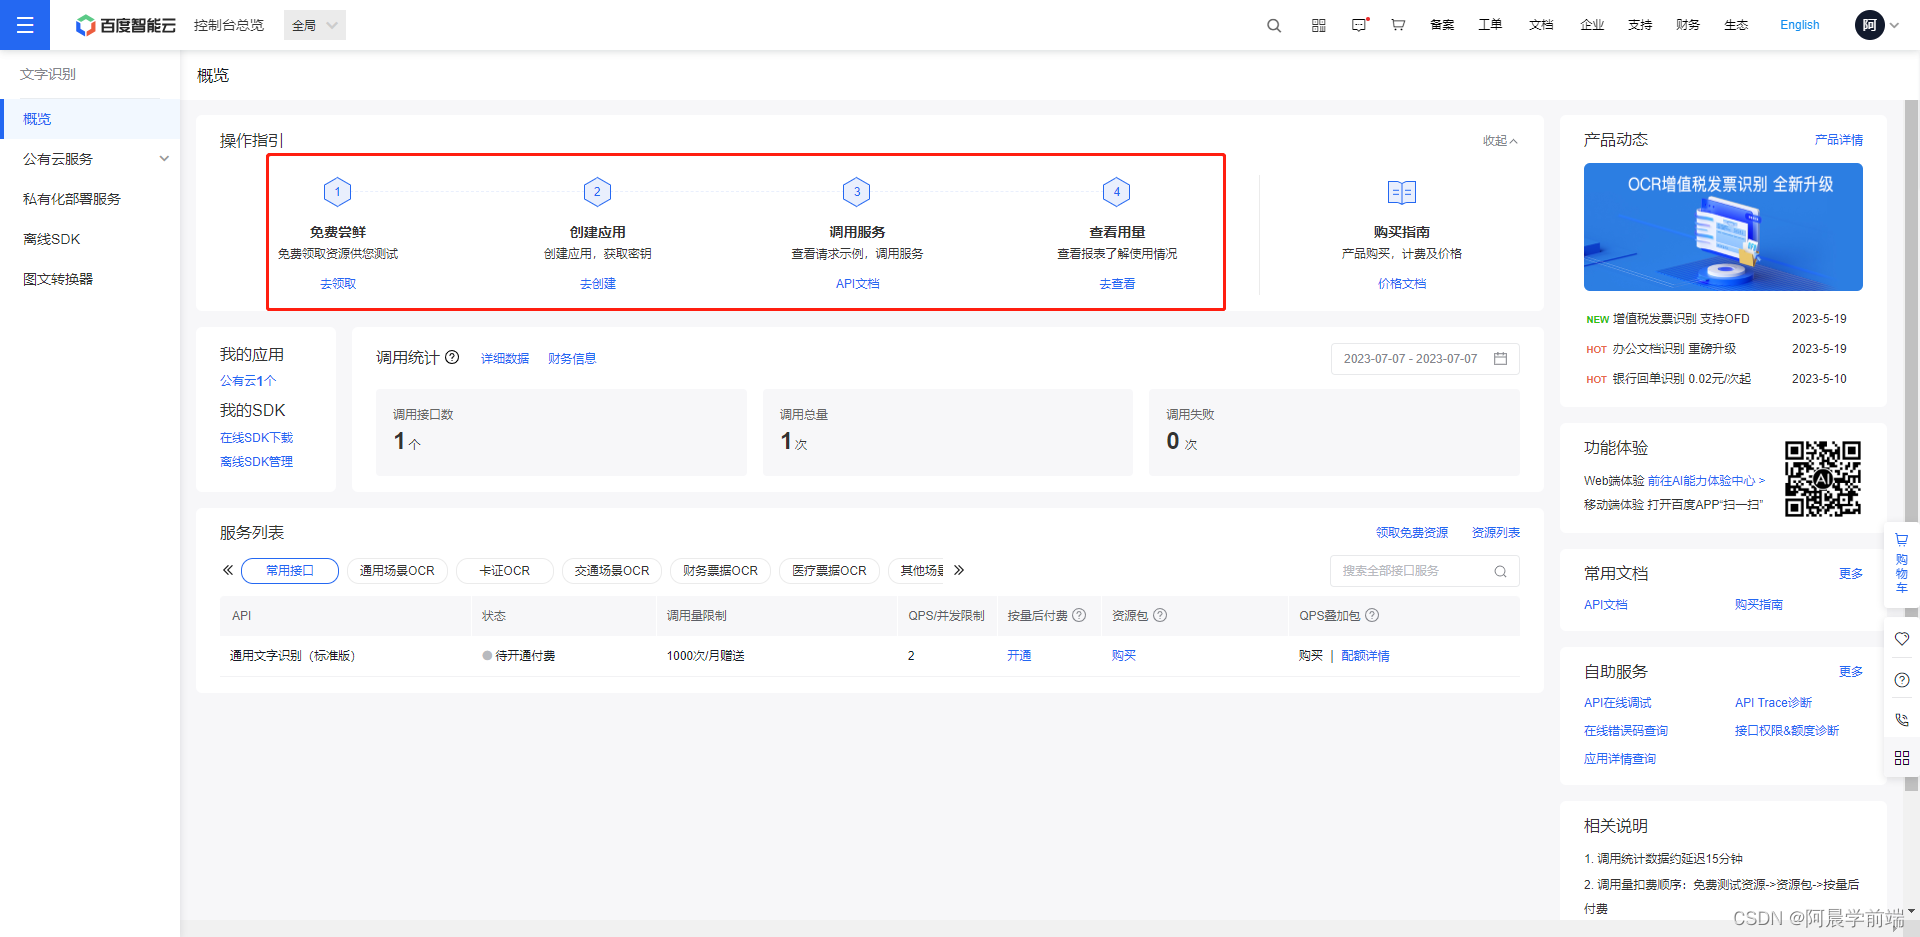
创建应用之后就会有密钥啥的了
二、在node项目中安装依赖并使用
所有依赖如下:
    "baidu-aip-sdk": "^4.16.12",
    "express": "^4.18.2",
    "multer": "^1.4.5-lts.1",
"nodemon": "^2.0.22"不知道安装命令可到此处查找:npm
index.html
<!DOCTYPE html>
<html>

<head>
    <meta charset="UTF-8">
    <title>图片上传</title>
</head>

<body>
    <form id="uploadForm">
        <input type="file" id="fileInput">
        <button type="submit">上传图片</button>
    </form>

    <script src="https://code.jquery.com/jquery-3.6.0.min.js"></script>
    <script>
        $(document).ready(function () {
            $('#uploadForm').submit(function (event) {
                event.preventDefault(); // 阻止表单的默认提交行为

                const formData = new FormData();
                formData.append('image', $('#fileInput')[0].files[0]);

                $.ajax({
                    url: 'http://127.0.0.1:3000/upload',
                    type: 'POST',
                    data: formData,
                    processData: false,
                    contentType: false,
                    success: function (result) {
                        console.log(result);
                    },
                    error: function (error) {
                        console.error(error);
                    }
                });
            });
        });
    </script>
</body>

</html>
app.js,需要在app.js的同级目录下创建static存放图片
var AipOcrClient = require("baidu-aip-sdk").ocr;
const express = require('express')
const multer = require('multer')
const fs = require('fs');
const path = require('path')
const app = express()

// 设置APPID/AK/SK
var APP_ID = "xxxxxxx";
var API_KEY = "xxxxxxxxxxxxxxxxxxxx";
var SECRET_KEY = "xxxxxxxxxxxxxxxxxxxxx";
// 新建一个对象,建议只保存一个对象调用服务接口
var client = new AipOcrClient(APP_ID, API_KEY, SECRET_KEY);

// diskStorage创建上传存储器
const storage = multer.diskStorage({
    // 设置上传文件存储目录
    destination: function (req, file, cb) {
        cb(null, './static/')
    },
    //保存在 uploads 中的文件名
    filename: function (req, file, cb) {
        const extname = path.extname(file.originalname) // 获取文件后缀名
        const filename = Date.now() + '' + extname     // 时间戳+后缀名 生成唯一文件名
        cb(null, filename)
    }
})

//创建一个名为upload的文件上传示例
const upload = multer({ storage: storage })

// 创建上传路由
// upload.single('image') 处理单个文件上传
app.post('/upload', upload.single('image'), (req, res) => {
    const file = req.file
    if (!file) {
        return res.status(400).send('请选择要上传的图片')
    }
    const filePath = req.file.path;
    // 读取文件
    fs.readFile(filePath, (err, data) => {
        if (err) {
            console.error(err);
            res.status(500).send('Failed to read the file.');
            return;
        }
        // 将文件数据转换为 Base64
        const base64Data = data.toString('base64');
        client.generalBasic(base64Data).then(function(result) {
            res.send(result)
            console.log(result);
        }).catch(function(err) {
            console.log(err);
        });
    });
})


const PORT = process.env.PORT || 3000;
// 启动服务器
app.listen(3000, () => {
    console.log(`Server running on http://localhost:${PORT}`)
})
注解:
百度智能云更详细的可看文档:接口说明 - 文字识别OCR


 9353
9353


 被折叠的 条评论
为什么被折叠?
被折叠的 条评论
为什么被折叠?
 到【灌水乐园】发言


