


1.async get请求接口数据
async xzlist() {
const { data: res } = await this.$http_message.post(
"/shift_change_log/list",
this.queryList
);
if (res.code == 0) {
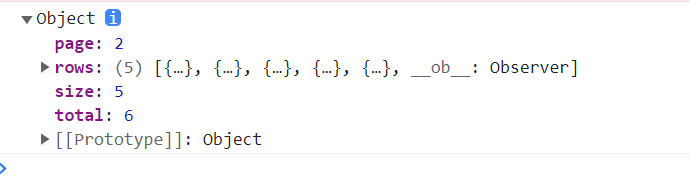
console.log(res.data);
this.list = res.data.rows;
this.total = res.data.total;
} else {
return this.$message.error("获取用户信息失败!");
}
},
queryList看到这里大家可能是看懵了吧
这里面我们放的是我们请求的参数 ID name 或者分页参数
例如:
  queryList: {
        asc: true,
        orderBy: "id",
        pageNum: 1,
        pageSize: 10,
         regDateBeginTime: "2001-01-01",
         regDateEndTime: "2001-01-01",
         shiftId: 0,
         status: 1,
        teamId: 10,
      },
xzlist这个为事件名 我们可以在mounted 或者created 中进行挂载。
 created() {
    // 进入页面调用部门用户信息
    this.xzlist();
  },
我们可以在console.log()打印一下我们在控制台看下
同时更方便的是我们在后台network中看接口请求信息更为方便。

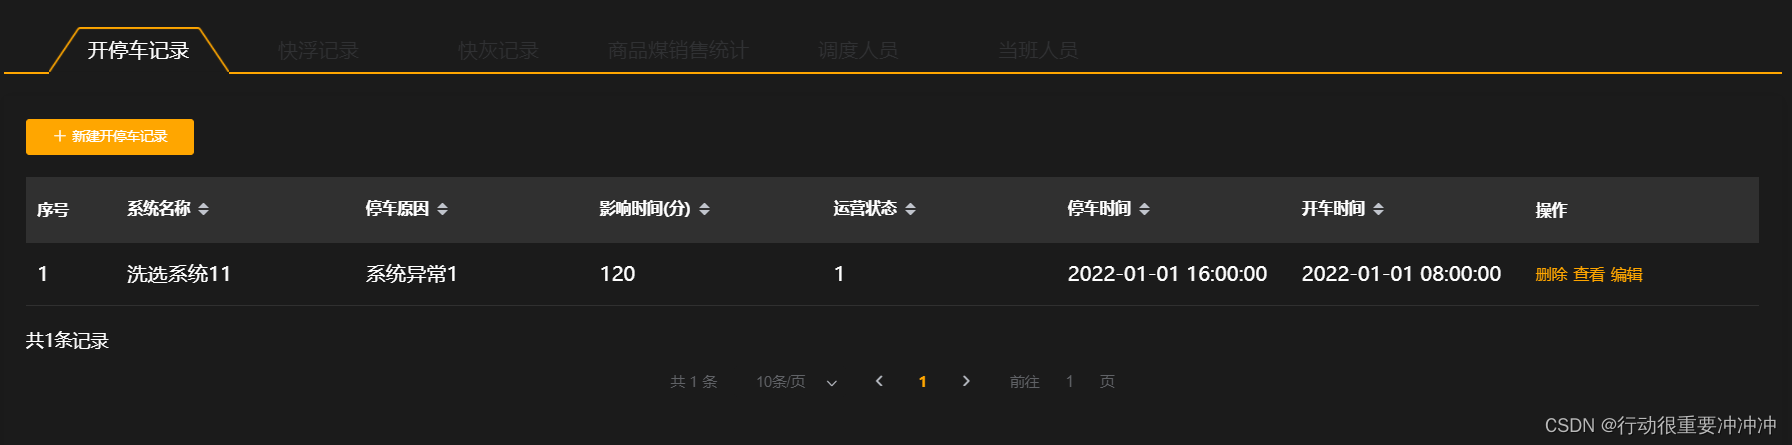
这样我们数据就通过list数组渲染到页面上来了
添加的话我们用post请求
同上把请求的参数放到addForm中
//新增部门
    async addDepartment() {
      const { data: res } = await this.$http_message.post(
        "/fault_info/create",
        this.addForm
      );
      console.log(res.data);
      if (res.code == 0) {
        this.$message.success(res.msg);
        this.ediDialogVisible = false;
        this.xzlist();
      } else {
        return this.$message.error("添加部门失败!");
      }
    },
编辑的话我们首先点击编辑按钮要取到当前id的数据 回显
  //修改部门
    async showEditDialog(id) {
      this.addDialogVisible = true;
      const { data: res } = await this.$http_message.get(
        "fault_info/getDataById?id=" + id
      );
      if (res.code == 0) {
        console.log(res.data);
        this.ediForm = res.data;
      } else {
        console.log("失败");
      }
    },
其次是编辑修改页面弹框
async eidtUserInfo() {
  const { data: res } = await this.$http_base.post(
    "parameters/main/update",
    this.ediForm
  );
  if (res.code == 0) {
    this.$message.success("修改部门成功");
    this.addDialogVisible = false;
    this.xzlist();
  } else {
    console.log("失败");
    return this.$message.error("修改部门失败!");
  }
},
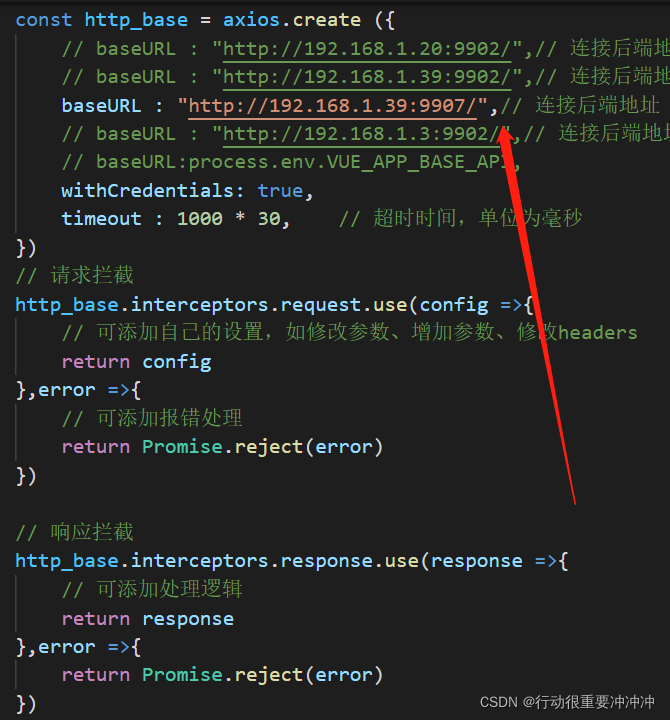
可能有人对**$http_base**这个比较陌生了 这个是我们的服务器请求
因为我们好几个服务器 为了区分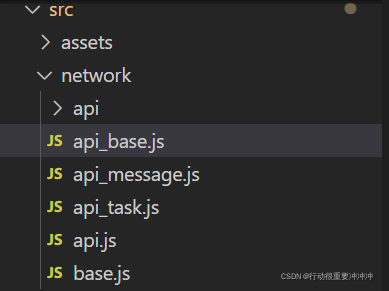
配置一个请求后端服务的api
删除大家就不陌生了 可能我最喜欢的就是删除了 直接通过id删除
  //删除用户
    async removeUserById(id) {
      const confirmResult = await this.$confirm(
        "你确定要删除当前用户吗",
        "删除",
        {
          confirmButtonText: "确定",
          cancelButtonText: "取消",
          type: "warning",
        }
      ).catch((err) => {
        return err;
      });
      if (confirmResult !== "confirm") {
        return this.$message.info("取消删除成功");
      } else {
        const { data: res } = await this.$http_message.get(
          "fault_info/delete?id=" + id,
          this.delete
        );
        if (res.code == 0) {
          this.$message.success("删除用户成功");
          this.xzlist();
        } else {
          return this.$message.error("删除用户失败!");
        }
      }
    },
分页也是必不可少的一部分(html部门)
  <p style="margin-top: 20px; color: #fff">共{{ total }}条记录</p>
      <div class="fenye">
        <el-pagination
          @size-change="handleSizeChange"
          @current-change="handleCurrentChange"
          :current-page="queryList.page"
          :page-sizes="[5, 10, 15]"
          :page-size="queryList.pageSize"
          layout="total, sizes, prev, pager, next, jumper"
          :total="total"
        ></el-pagination>
      </div>
methods:里面写事件
handleSizeChange(newSize) {
  console.log(newSize);
  this.queryList.pageSize = newSize;
  this.xzlist();
},
handleCurrentChange(newpage) {
  console.log(newpage);
  this.queryList.pageNum = newpage;
  this.xzlist();
},
美中不足 还请多多提议


 1596
1596

 被折叠的 条评论
为什么被折叠?
被折叠的 条评论
为什么被折叠?
 到【灌水乐园】发言


