


目录
4.4 @ApiImplicitParams 和 @ApiImplicitParam
4.5 @ApiResponses 和 @ApiResponse
swagger是一个RESTFUL 接口的文档在线自动生成和功能测试的框架。
官网: 适用于 Teams | 的 API 文档和设计工具斯瓦格 (swagger.io)
1、为什么使用Swagger?
我们做前后端分离项目,前后端分离一定会有接口文档,不然会前后端会深深陷入到扯皮中。一个比较笨的方法就是使用 word 或者 md 来维护接口文档。
但是效率太低,接口一变,所有人手上的文档都得变。在 Spring Boot 中,这个问题常见的解决方案是 Swagger 。
使用 Swagger 我们可以快速生成一个接口文档网站,接口一旦发生变化,文档就会自动更新, 所有开发工程师访问这一个在线网站就可以获取到最新的接口文档,非常方便。
使用 Swagger 我们可以快速生成一个接口文档网站,接口一旦发生变化,文档就会自动更新, 所有开发工程师访问这一个在线网站就可以获取到最新的接口文档,非常方便。
当然,主要是自动的!
2、Springboot整合Swagger2
1.创建springboot项目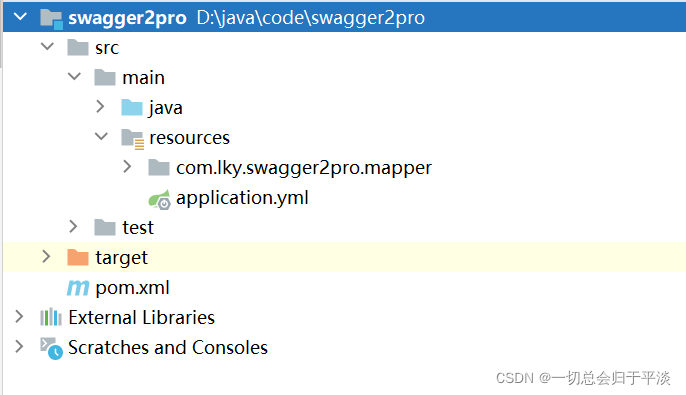
2.添加依赖
<dependency>
    <groupId>io.springfox</groupId>
    <artifactId>springfox-swagger-ui</artifactId>
    <version>2.9.2</version>
</dependency>
<dependency>
    <groupId>io.springfox</groupId>
    <artifactId>springfox-swagger2</artifactId>
    <version>2.9.2</version>
</dependency>
3、添加Swagger2配置类SwaggerConfig
package com.jie.swaggerdemo.utils;

import io.swagger.annotations.ApiOperation;
import org.springframework.context.annotation.Bean;
import org.springframework.context.annotation.Configuration;
import org.springframework.context.annotation.Profile;
import org.springframework.web.servlet.config.annotation.ResourceHandlerRegistry;
import org.springframework.web.servlet.config.annotation.WebMvcConfigurationSupport;
import springfox.documentation.builders.ApiInfoBuilder;
import springfox.documentation.builders.PathSelectors;
import springfox.documentation.builders.RequestHandlerSelectors;
import springfox.documentation.service.ApiInfo;
import springfox.documentation.spi.DocumentationType;
import springfox.documentation.spring.web.plugins.Docket;
import springfox.documentation.swagger2.annotations.EnableSwagger2;

//配置类
//参考:https://github.com/SpringForAll/spring-boot-starter-swagger
//     https://blog.csdn.net/a704397849/article/details/100123686
@Configuration
//开启Swagger2
@EnableSwagger2
//配置生产环境下不可用  dev(开发)、test(测试)、prod(生产)
@Profile({"dev","test"})
public class Swagger2Configuration extends WebMvcConfigurationSupport {
    //api接口包扫描路径
    public static final String
            SWAGGER_SCAN_BASE_PACKAGE = "com.jie.swaggerdemo.controller";
    //指定当前Swagger API文档版本
    public static final String VERSION = "1.0.0";

    /**
     * 创建API应用
     * apiInfo() 增加API相关信息
     * 通过select()函数返回一个ApiSelectorBuilder实例,用来控制哪些接口暴露给Swagger来展现,
     * 本例采用指定扫描的包路径来定义指定要建立API的目录。
     * @return
     */
    @Bean
    public Docket createRestApi() {
        return new Docket(DocumentationType.SWAGGER_2)
                // 接口文档的基本信息
                .apiInfo(apiInfo())
                .select()
                // 方法需要有ApiOperation注解才能生存接口文档
                //.apis(RequestHandlerSelectors.basePackage(SWAGGER_SCAN_BASE_PACKAGE))
                .apis(RequestHandlerSelectors.withMethodAnnotation(ApiOperation.class))
                // 路径使用any风格
                .paths(PathSelectors.any())
                .build();
    }

    /**
     * 创建该API的基本信息(这些基本信息会展现在文档页面中)
     * 访问地址:http://项目实际地址/doc.html
     * @return
     */
    private ApiInfo apiInfo() {
        return new ApiInfoBuilder()
                .title("SpringBoot中使用Swagger2构建RestFul APIs")
                .description("测试系统")
                //.termsOfServiceUrl("http://www.**.com")
                .version(VERSION)
                .build();
    }

    @Override
    protected void addResourceHandlers(ResourceHandlerRegistry registry) {
        registry.addResourceHandler("doc.html").addResourceLocations("classpath:/META-INF/resources/");
        registry.addResourceHandler("/webjars/**").addResourceLocations("classpath:/META-INF/resources/webjars/");
    }
}
4.API接口编写
这里就给各位展示比较常用的swagger2注解
4.1 @ApiModel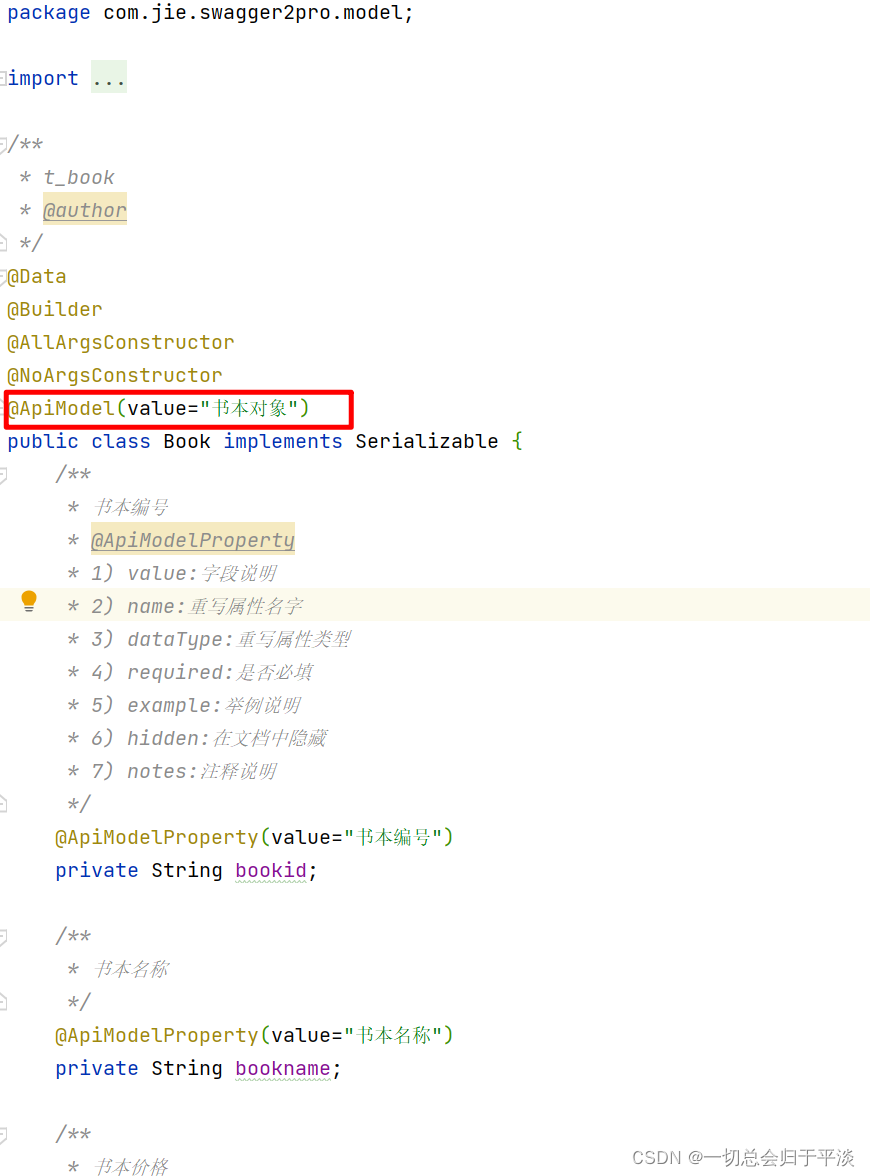
描述一个Model的信息(一般用在请求参数无法使用@ApiImplicitParam注解进行描述的时候)
4.2 @Api

用在类上,说明该类的作用。value和tags的作用是一样的
4.3 @ApiOperation

注解用在方法上给API增加方法说明。
4.4 @ApiImplicitParams 和 @ApiImplicitParam

@ApiImplicitParams用在方法上包含一组参数说明;
@ApiImplicitParam:用在@ApiImplicitParams中用来注解来给方法入参增加说明。
参数说明:
paramTpye:指定参数放在哪些地方(header/query/path/body/form) name:参数名 dataTpye:参数类型 required:是否必输(true/false) value:说明参数的意思 defaultValue:参数默认值
4.5 @ApiResponses 和 @ApiResponse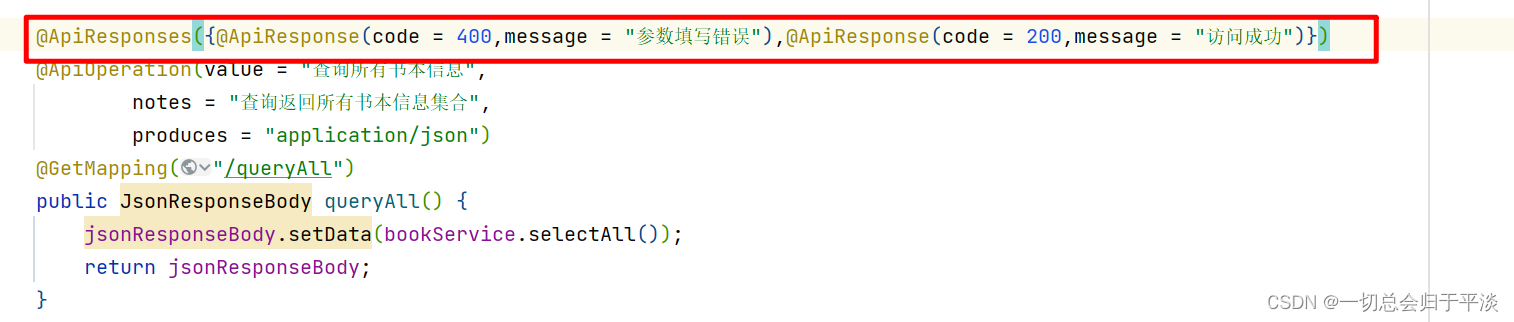
@ApiResponses:用于表示一组响应
@ApiResponse:用在@ApiResponses中,一般用于表达一个错误的响应信息
参数说明:
code:数字,如400 message:信息,如“参数填写错误” response:抛出异常的类
4.6 @ApiModelProperty

描述一个model的属性
5.SpringBoot启动成功后
访问http://localhost:8080/swagger-ui.html即可
3、本次博客所写代码仓库地址
可能本次博客有些地方没有记录到位,大家可以直接看代码。
踩坑


 276
276


 被折叠的 条评论
为什么被折叠?
被折叠的 条评论
为什么被折叠?
 到【灌水乐园】发言


