WebLogic 笔记汇总
一、weblogic安装
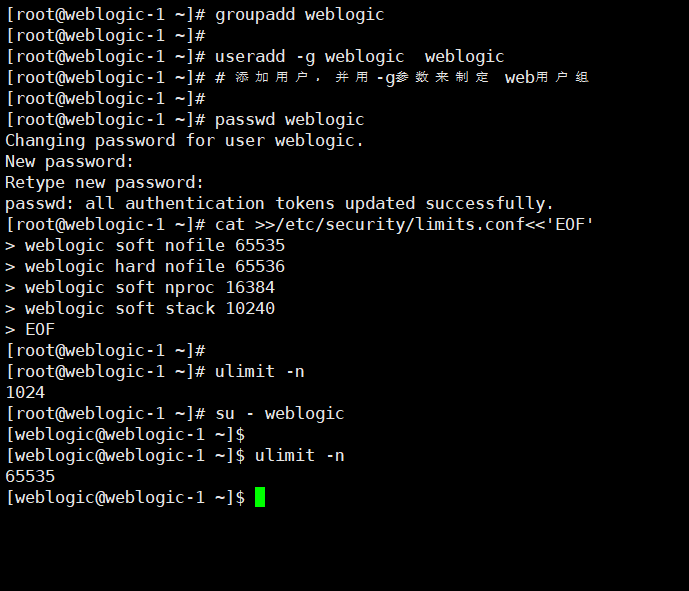
1、创建用户和用户组
groupadd weblogic

useradd -g weblogic  weblogic
# 添加用户,并用-g参数来制定 web用户组

passwd weblogic
# passwd命令修改密码

# 在文件末尾增加以下内容
cat >>/etc/security/limits.conf<<'EOF'
weblogic soft nofile 65535
weblogic hard nofile 65536
weblogic soft nproc 16384
weblogic soft stack 10240
EOF
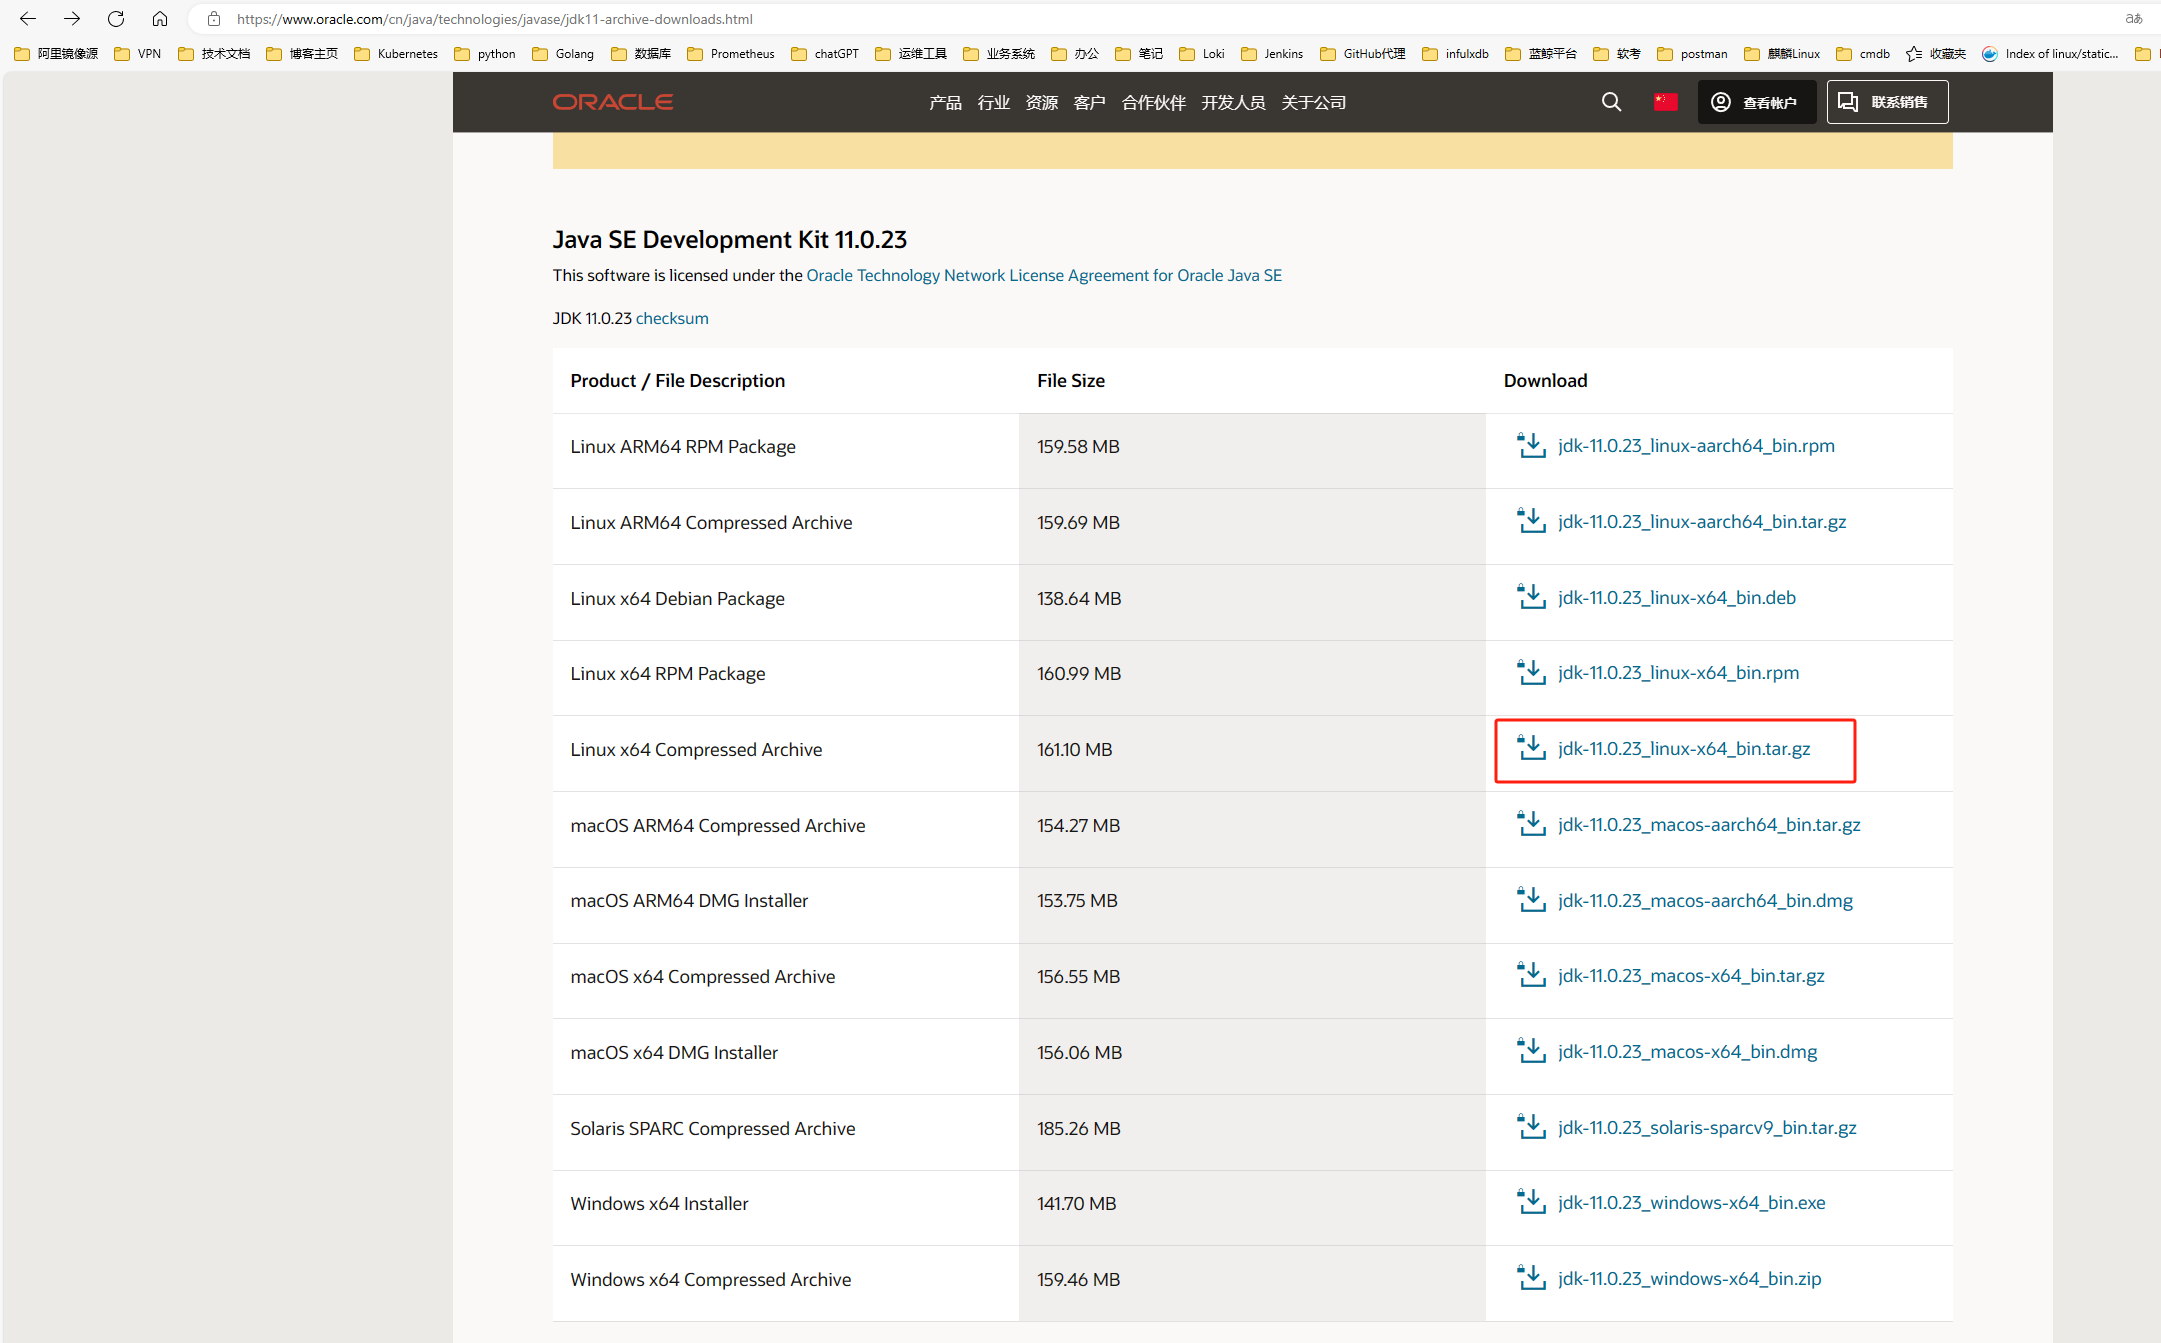
2、安装Java
Java Archive Downloads - Java SE 11 | Oracle 中国
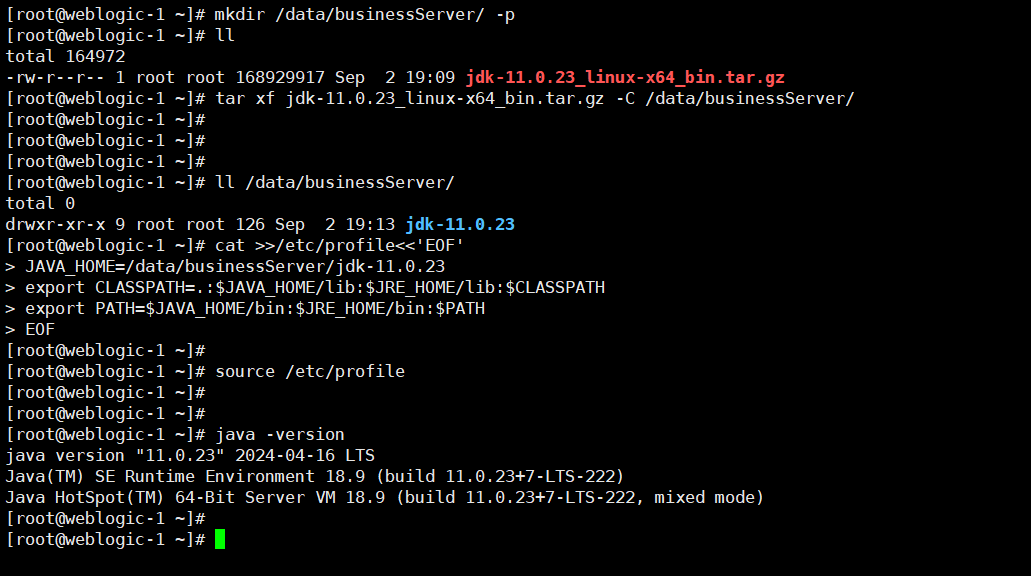
mkdir /data/businessServer/ -p
tar xf jdk-11.0.23_linux-x64_bin.tar.gz -C /data/businessServer/

cat >>/etc/profile<<'EOF'
JAVA_HOME=/data/businessServer/jdk-11.0.23
export CLASSPATH=.:$JAVA_HOME/lib:$JRE_HOME/lib:$CLASSPATH
export PATH=$JAVA_HOME/bin:$JRE_HOME/bin:$PATH
EOF

source /etc/profile
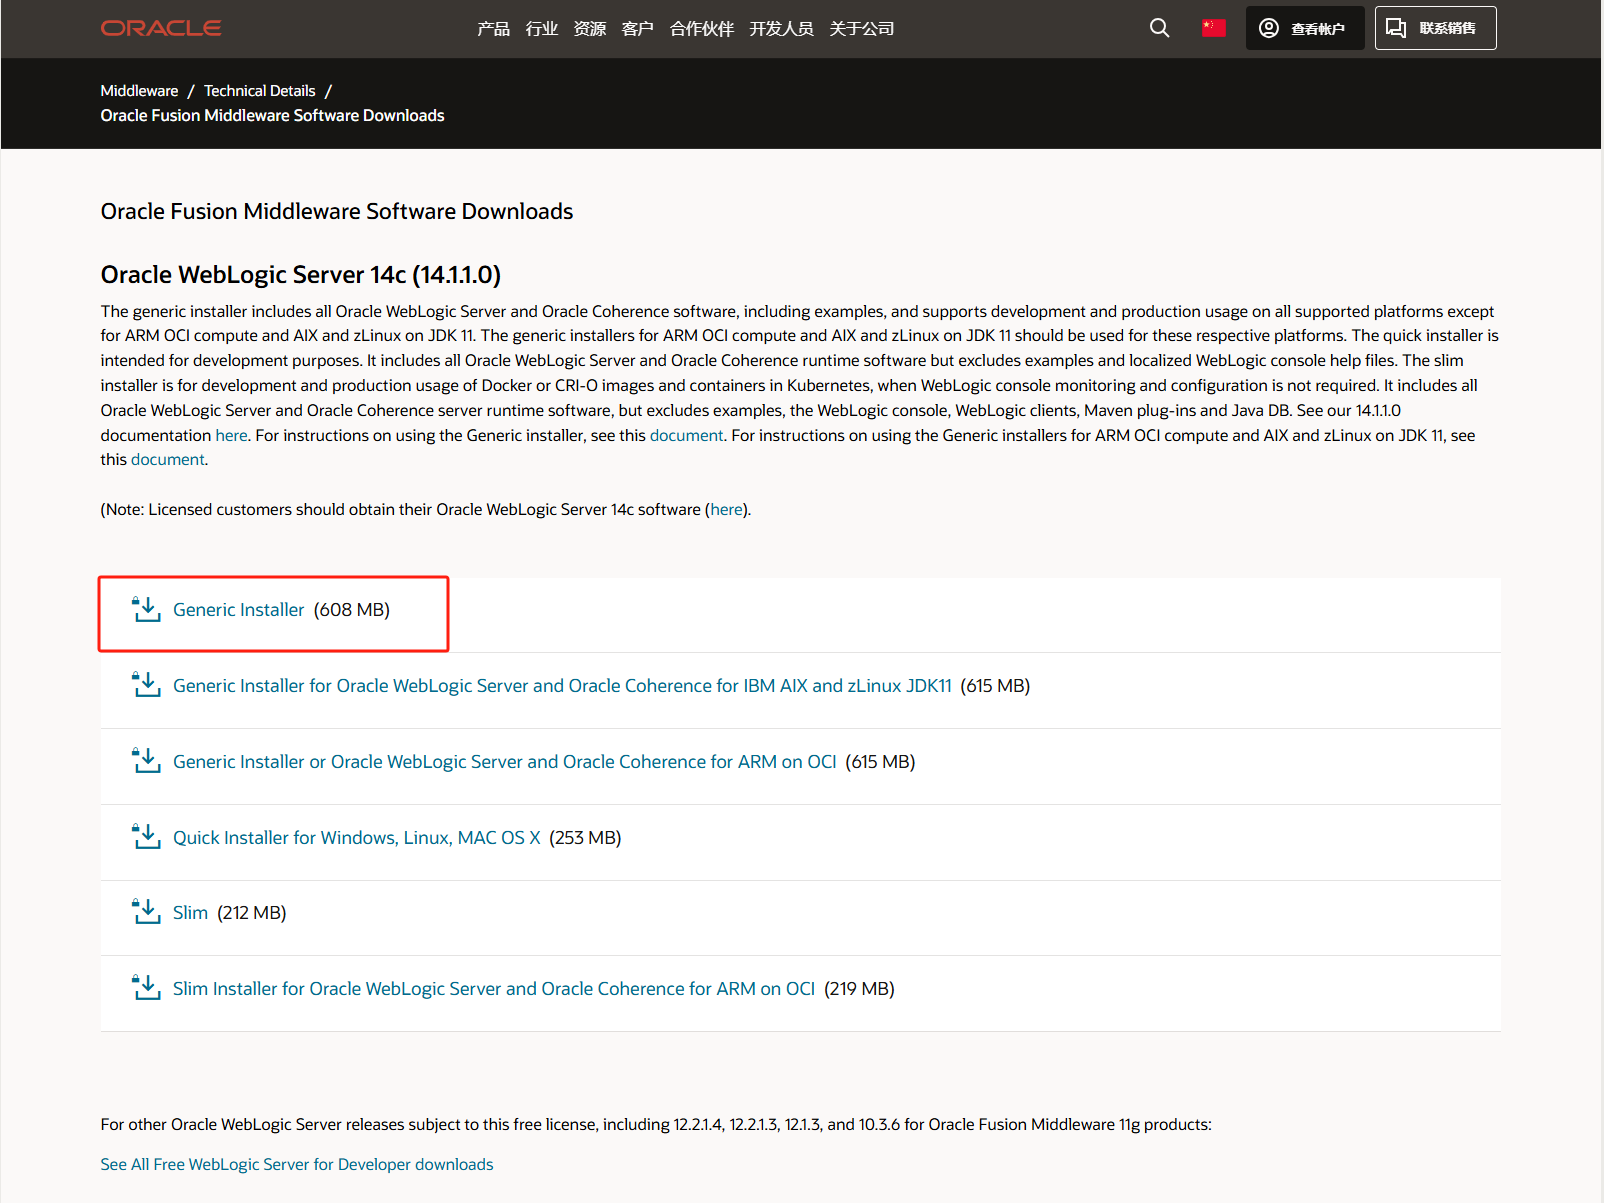
3、安装weblogic
Oracle Fusion Middleware Software Downloads | Oracle 中国
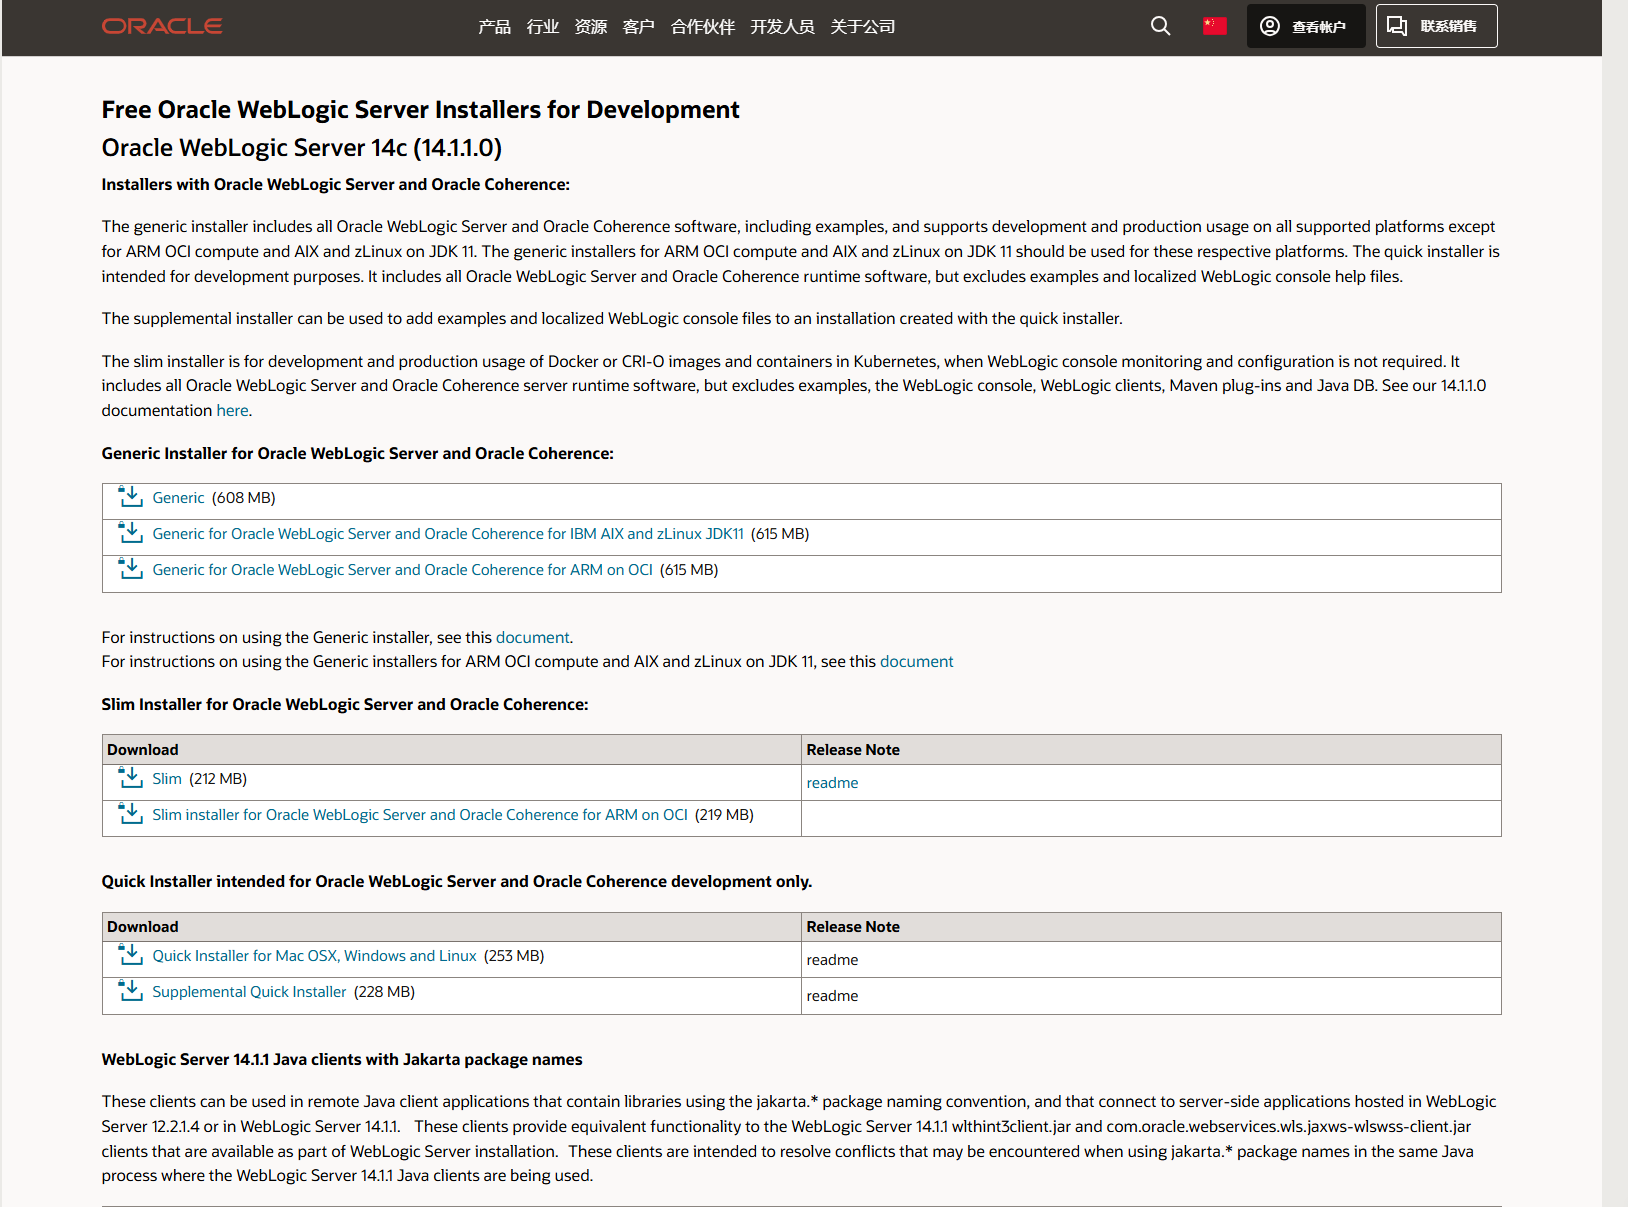
weblogic版本区别
Free Oracle WebLogic Server 12c (12.2.1) Installers for Development | Oracle 中国
三个版本 的主要区别:
lite版主要为开发和测试使用,也可以使用OPatch工具打补丁;
supplemental版也主要为开发和测试使用,还包含一些demo程序和帮助文档;
slim版主要为虚拟化用于开发、测试和生产环境使用,包含一些运行时需要的软件,但不包含demo示例程序、weblogic console、weblogic clients、Maven插件 和 JavaDB
1、上传并解压
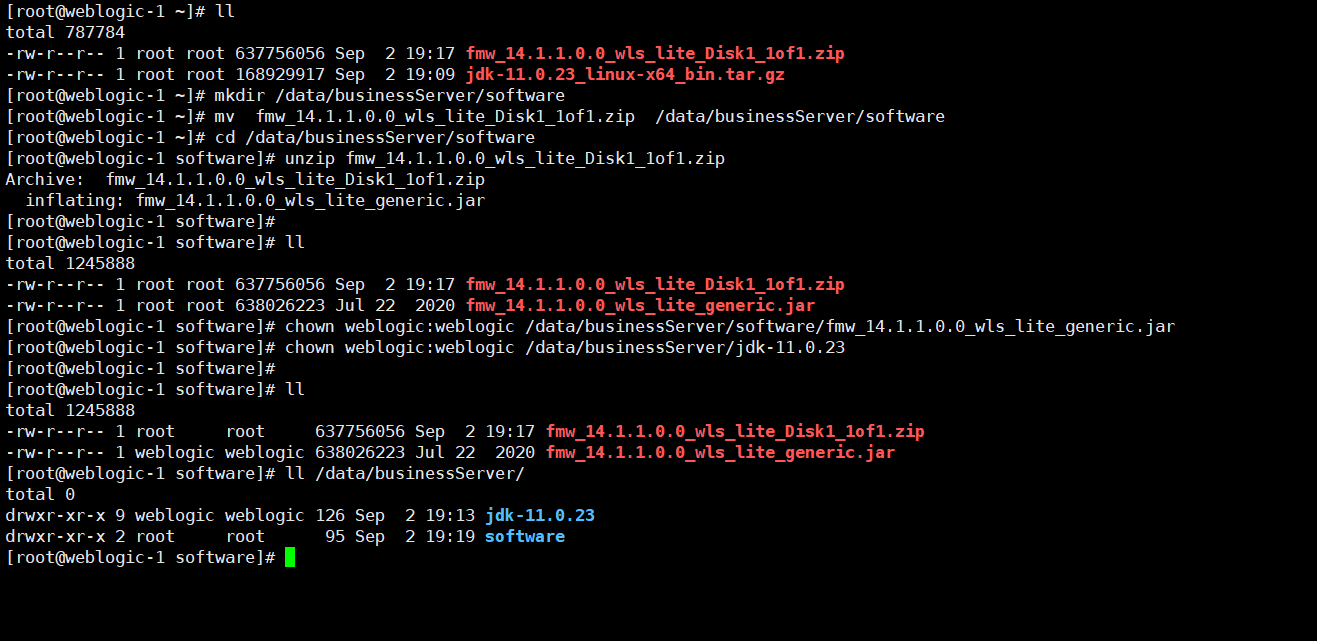
# 上传并解压
mkdir /data/businessServer/software
mv  fmw_14.1.1.0.0_wls_lite_Disk1_1of1.zip  /data/businessServer/software
cd /data/businessServer/software
unzip fmw_14.1.1.0.0_wls_lite_Disk1_1of1.zip

chown weblogic:weblogic /data/businessServer/software/fmw_14.1.1.0.0_wls_lite_generic.jar
chown weblogic:weblogic /data/businessServer/jdk-11.0.23
2、创建oraInst.loc
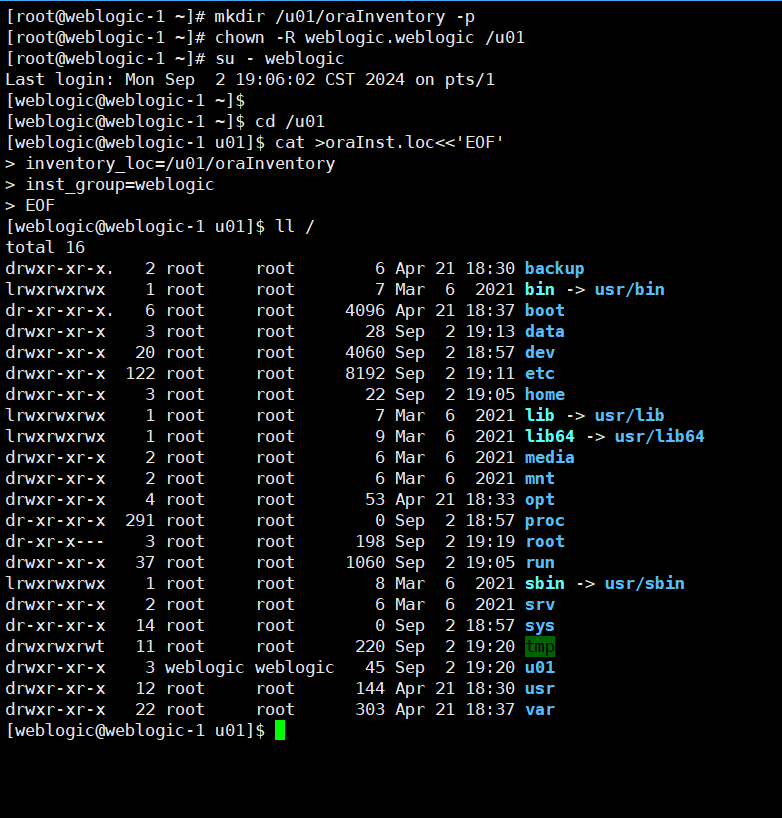
mkdir /u01/oraInventory -p
chown -R weblogic.weblogic /u01
su - weblogic

cd /u01
cat >oraInst.loc<<'EOF'
inventory_loc=/u01/oraInventory
inst_group=weblogic
EOF
3、创建响应文件wls.rsp
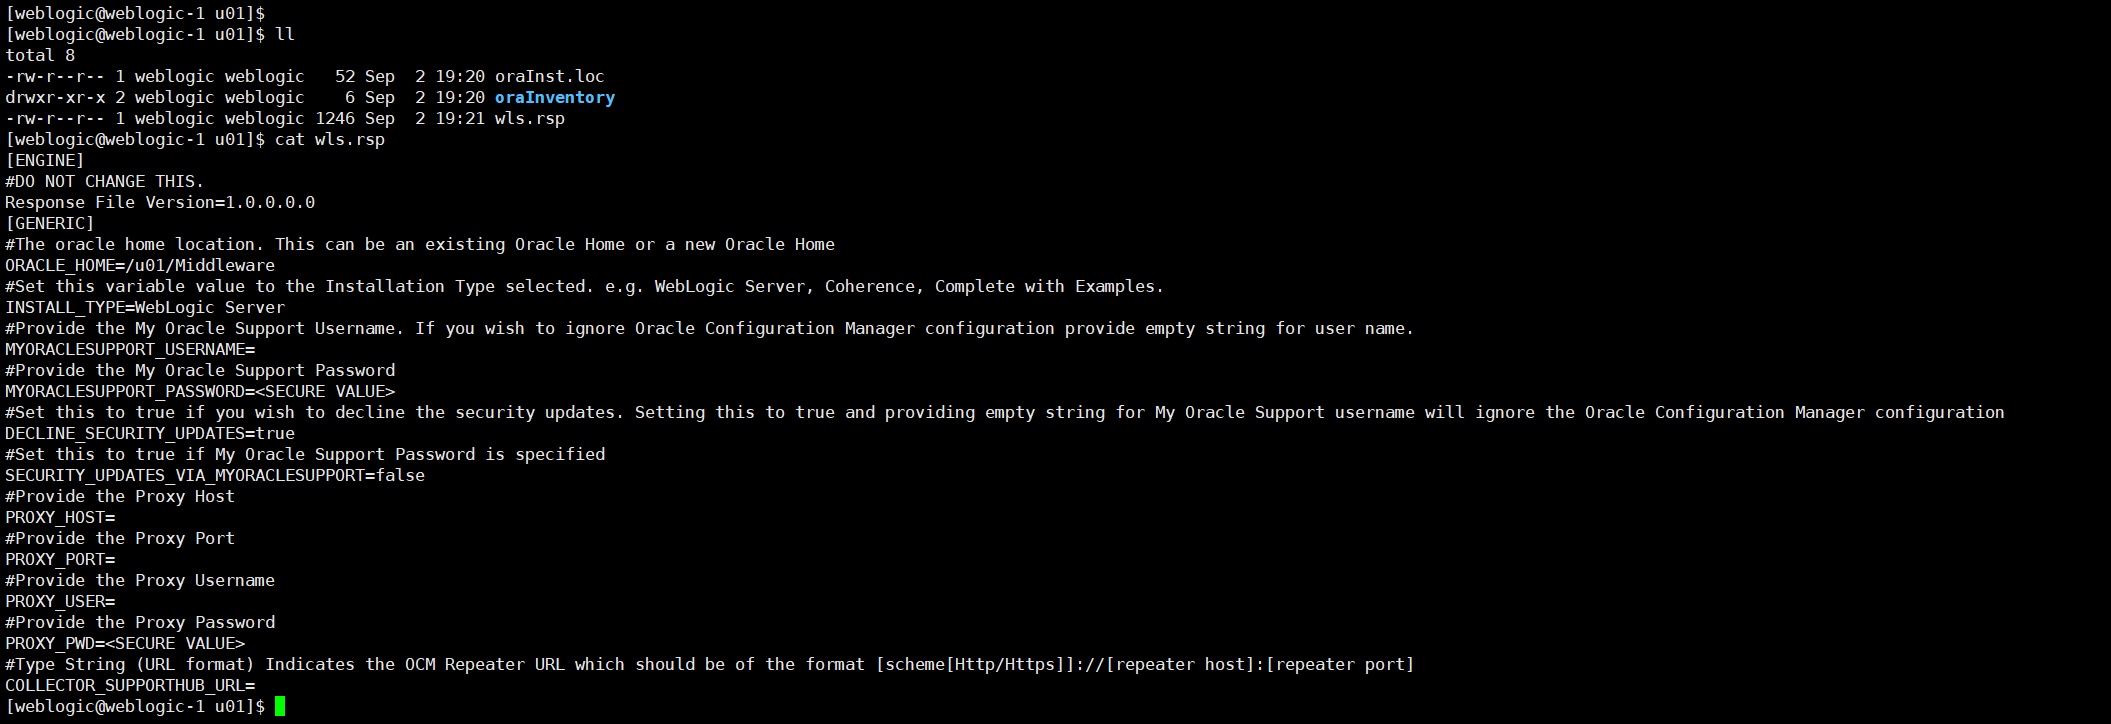
cat >wls.rsp<<'EOF'
[ENGINE]
#DO NOT CHANGE THIS.
Response File Version=1.0.0.0.0
[GENERIC]
#The oracle home location. This can be an existing Oracle Home or a new Oracle Home
ORACLE_HOME=/u01/Middleware
#Set this variable value to the Installation Type selected. e.g. WebLogic Server, Coherence, Complete with Examples.
INSTALL_TYPE=WebLogic Server
#Provide the My Oracle Support Username. If you wish to ignore Oracle Configuration Manager configuration provide empty string for user name.
MYORACLESUPPORT_USERNAME=
#Provide the My Oracle Support Password
MYORACLESUPPORT_PASSWORD=<SECURE VALUE>
#Set this to true if you wish to decline the security updates. Setting this to true and providing empty string for My Oracle Support username will ignore the Oracle Configuration Manager configuration
DECLINE_SECURITY_UPDATES=true
#Set this to true if My Oracle Support Password is specified
SECURITY_UPDATES_VIA_MYORACLESUPPORT=false
#Provide the Proxy Host
PROXY_HOST=
#Provide the Proxy Port
PROXY_PORT=
#Provide the Proxy Username
PROXY_USER=
#Provide the Proxy Password
PROXY_PWD=<SECURE VALUE>
#Type String (URL format) Indicates the OCM Repeater URL which should be of the format [scheme[Http/Https]]://[repeater host]:[repeater port]
COLLECTOR_SUPPORTHUB_URL=
EOF
4、安装weblogic
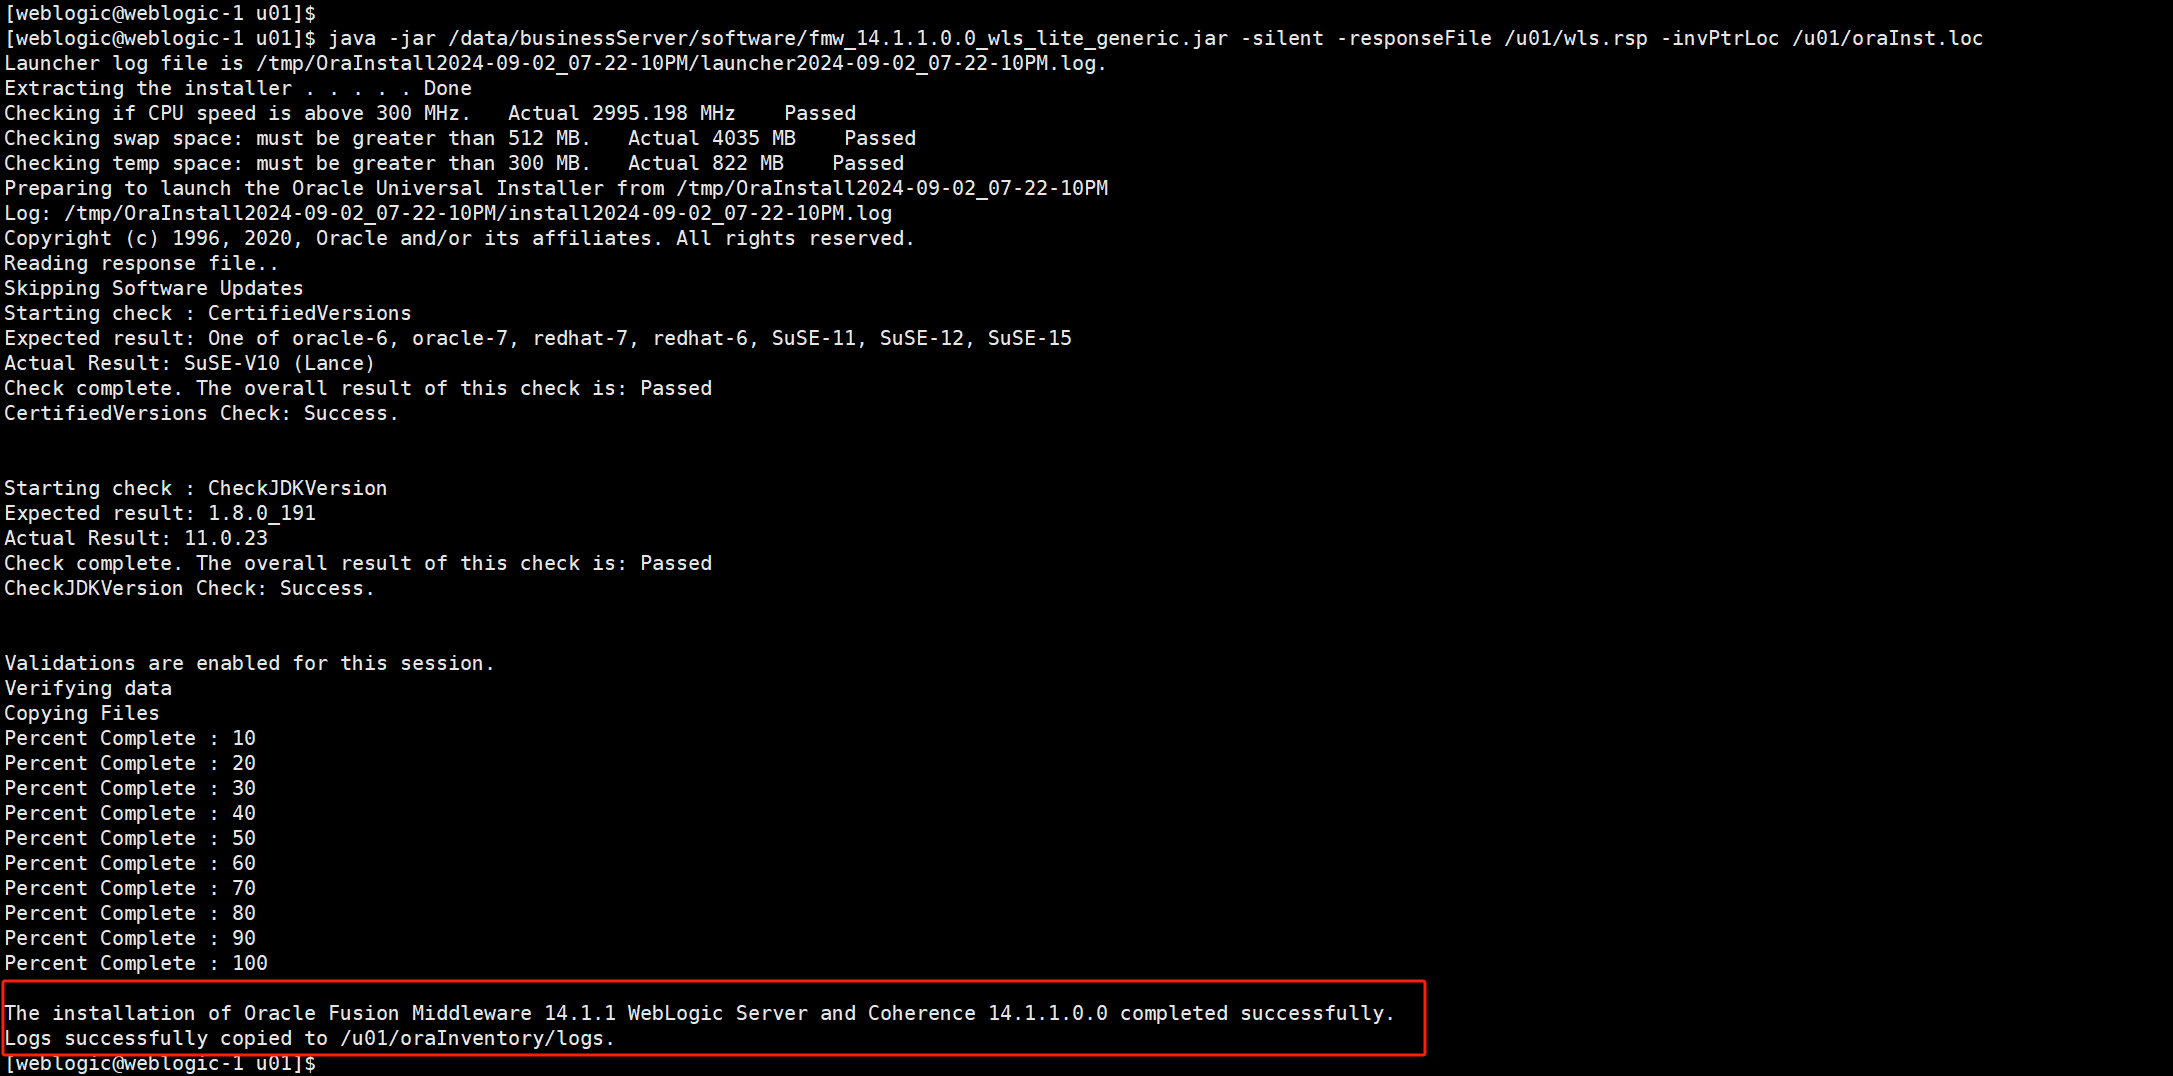
java -jar /data/businessServer/software/fmw_14.1.1.0.0_wls_lite_generic.jar -silent -responseFile /u01/wls.rsp -invPtrLoc /u01/oraInst.loc
二、weblogic配置
1、建域方式
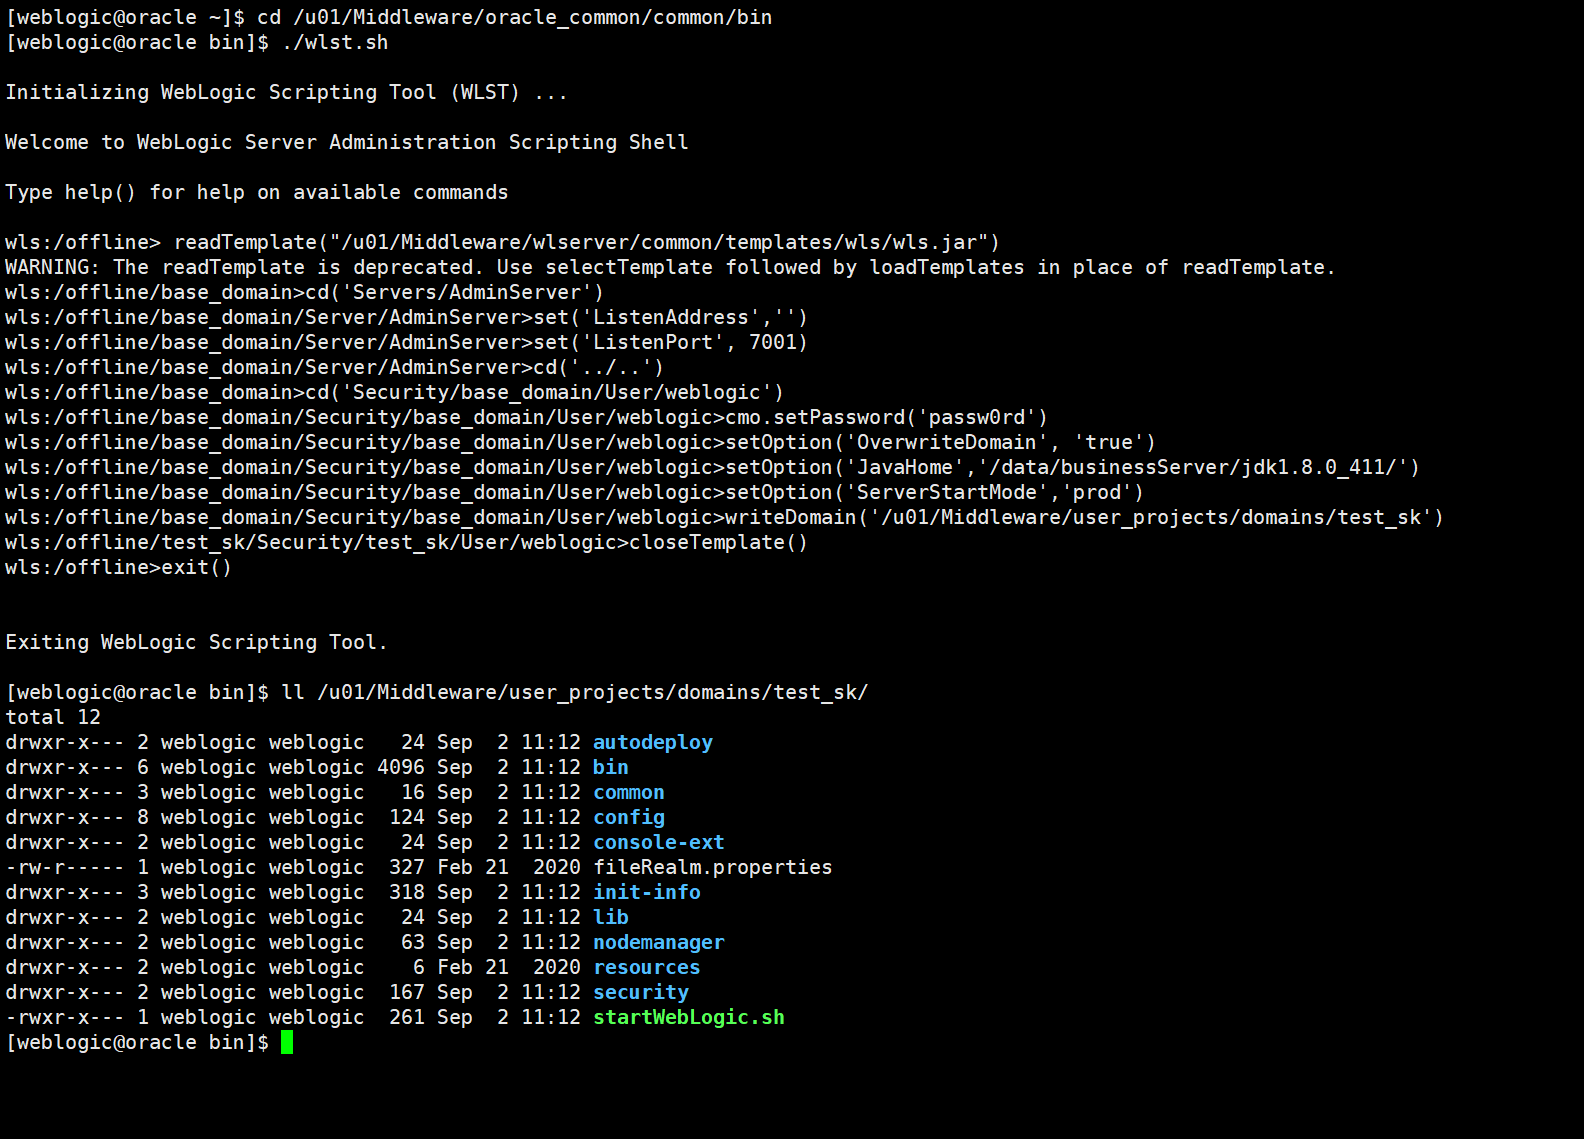
1、wlst命令行
su - weblogic

[weblogic@oracle ~]$ cd /u01/Middleware/oracle_common/common/bin
[weblogic@oracle bin]$ ./wlst.sh

Initializing WebLogic Scripting Tool (WLST) ...

Welcome to WebLogic Server Administration Scripting Shell

Type help() for help on available commands

# 读入基本模板
wls:/offline> readTemplate("/u01/Middleware/wlserver/common/templates/wls/wls.jar")
WARNING: The readTemplate is deprecated. Use selectTemplate followed by loadTemplates in place of readTemplate.
# 进入管理server
wls:/offline/base_domain>cd('Servers/AdminServer')
# 配置监听地址
wls:/offline/base_domain/Server/AdminServer>set('ListenAddress','')
# 配置监听端口
wls:/offline/base_domain/Server/AdminServer>set('ListenPort', 7001)
wls:/offline/base_domain/Server/AdminServer>cd('../..')
wls:/offline/base_domain>cd('Security/base_domain/User/weblogic')
# 设置管理员密码
wls:/offline/base_domain/Security/base_domain/User/weblogic>cmo.setPassword('passw0rd')
wls:/offline/base_domain/Security/base_domain/User/weblogic>setOption('OverwriteDomain', 'true')
# 设置jdk路径
wls:/offline/base_domain/Security/base_domain/User/weblogic>setOption('JavaHome','/data/businessServer/jdk1.8.0_411/')
# 设置生产模式,默认是开发模式
wls:/offline/base_domain/Security/base_domain/User/weblogic>setOption('ServerStartMode','prod')
# 为新建域指定路径
wls:/offline/base_domain/Security/base_domain/User/weblogic>writeDomain('/u01/Middleware/user_projects/domains/test_sk')
# 关闭模板
wls:/offline/test_sk/Security/test_sk/User/weblogic>closeTemplate()
# 退出
wls:/offline>exit()


Exiting WebLogic Scripting Tool.

[weblogic@oracle bin]$
2、参数文件方式
1、备份wlsd文件,将# Create a JMS Server到# Write the domain and close the domain template.这一部份的内容删除(可以使用命令sed -i “62,127d” /u01/Middleware/wlserver/common/templates/scripts/wlst/basicWLSDomain.py),然后添加修改部份参数。
正确参数如下:


cd  /u01/Middleware/wlserver/common/templates/scripts/wlst/
mv  basicWLSDomain.py  basicWLSDomain.py.bak


cat >basicWLSDomain.py<<'EOF'
#=======================================================================================
# This is an example of a simple WLST offline configuration script. The script creates
# a simple WebLogic domain using the Basic WebLogic Server Domain template. The script
# demonstrates how to open a domain template, create and edit configuration objects,
# and write the domain configuration information to the specified directory.
#
# This sample uses the demo Derby Server that is installed with your product.
# Before starting the Administration Server, you should start the demo Derby server
# by issuing one of the following commands:
#
# Windows: WL_HOME\common\derby\bin\startNetworkServer.cmd
# UNIX: WL_HOME/common/derby/bin/startNetworkServer.sh
#
# (WL_HOME refers to the top-level installation directory for WebLogic Server.)
#
# The sample consists of a single server, representing a typical development environment.
# This type of configuration is not recommended for production environments.
#
# Please note that some of the values used in this script are subject to change based on
# your WebLogic installation and the template you are using.
#
# Usage:
#      java weblogic.WLST <WLST_script>
#
# Where:
#      <WLST_script> specifies the full path to the WLST script.
#=======================================================================================

#================================================&


 最低0.47元/天 解锁文章


 736
736

 被折叠的 条评论
为什么被折叠?


